

Everything posted by phutumsch
-
I know people don't particularly read through so briefly i have tried to jump papers from the coarse 150 to the 50......it cannot be done i can report !!! I have ordered the 100 grade. The 150 has flattened out the deep scratches but as you'd expect it leaves scratches behind !! The 50 is too fine to get these out, fully expect the 100 will. I also received today some polishing pads so i had a very quick go and i can see it coming back already on the right hand side of this pic, the haze top right is a bit on the inside i have not yet touched since the coarse grade.

-
Yes Andrew that's the company i've been buying from, thought about one of their full kits but most of the stuff i had so i am just buying from them in 10 disc lots. Not seen that particular video before but have seen similar ones with of course the same process/end result. I am very confident i can achieve a perfect finish - just as long as i don't rub away all the blue tint, haha !!
-
The papers available to me are 175, 150, 100 and 50, 50 being the finest, and yes the numbers seem to be the 'wrong' way round to what we're used to. I used as stated the 150 and it was plenty coarse enough, i am now jumping when they arrive to the finer 50 sheets, it is possible i may have to go to 100 next but i'll give the 50 a go. When sanding back glass i have read that 'using' the glass dust does no harm - so dry it is initially :cool3:.
-
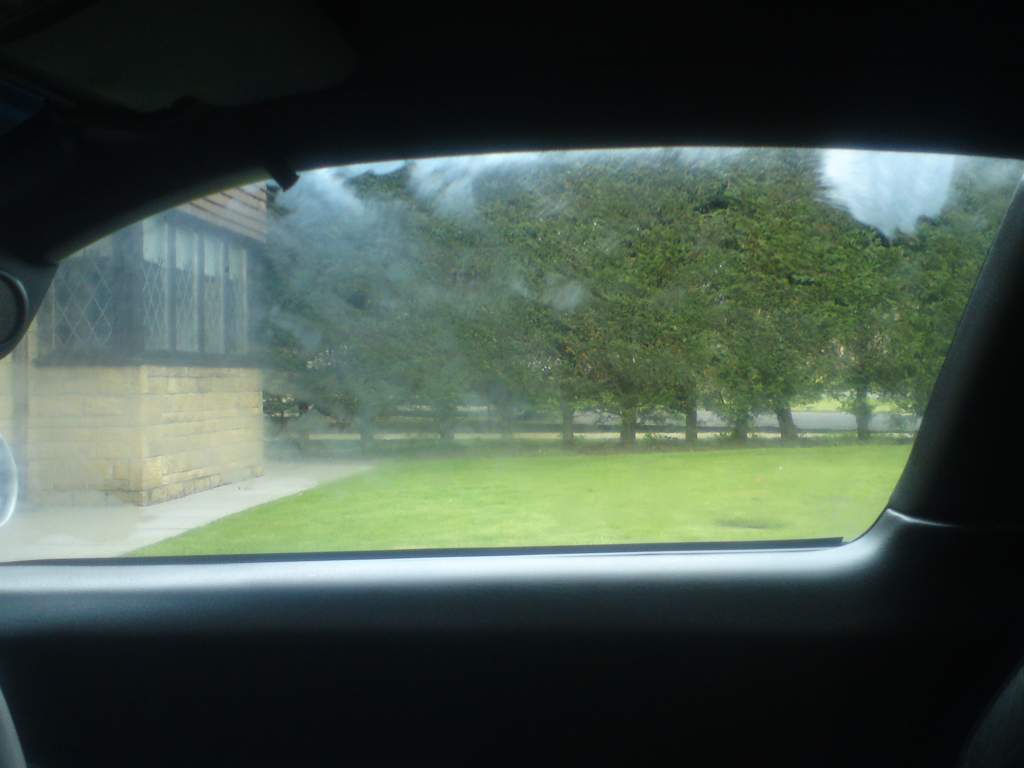
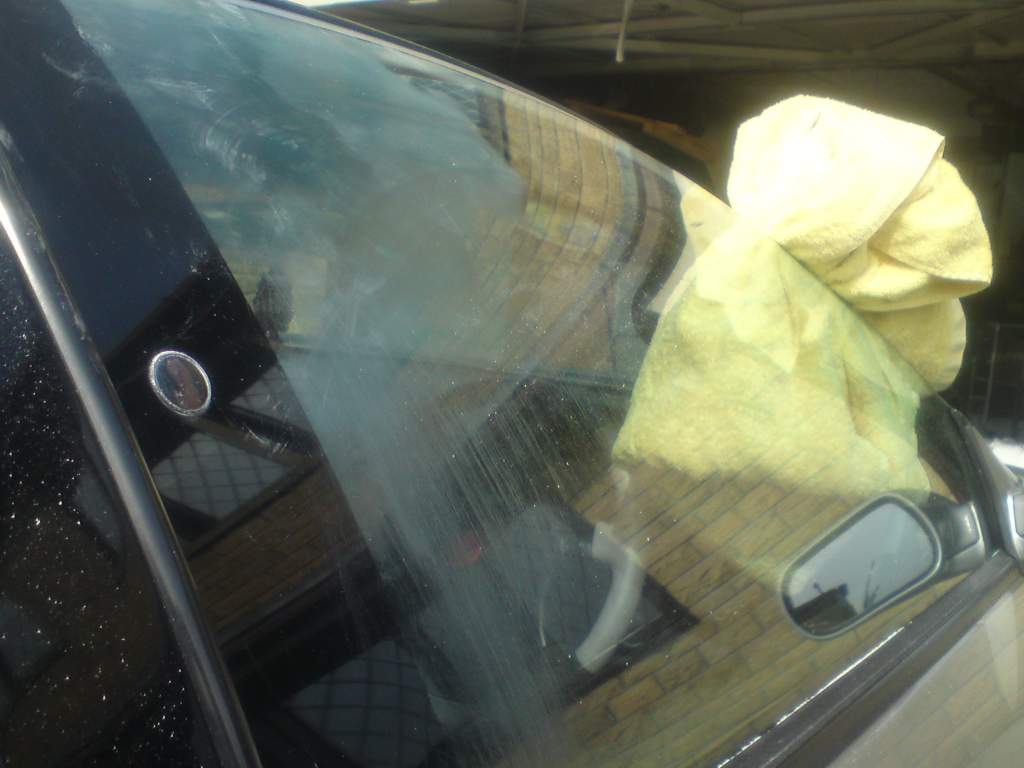
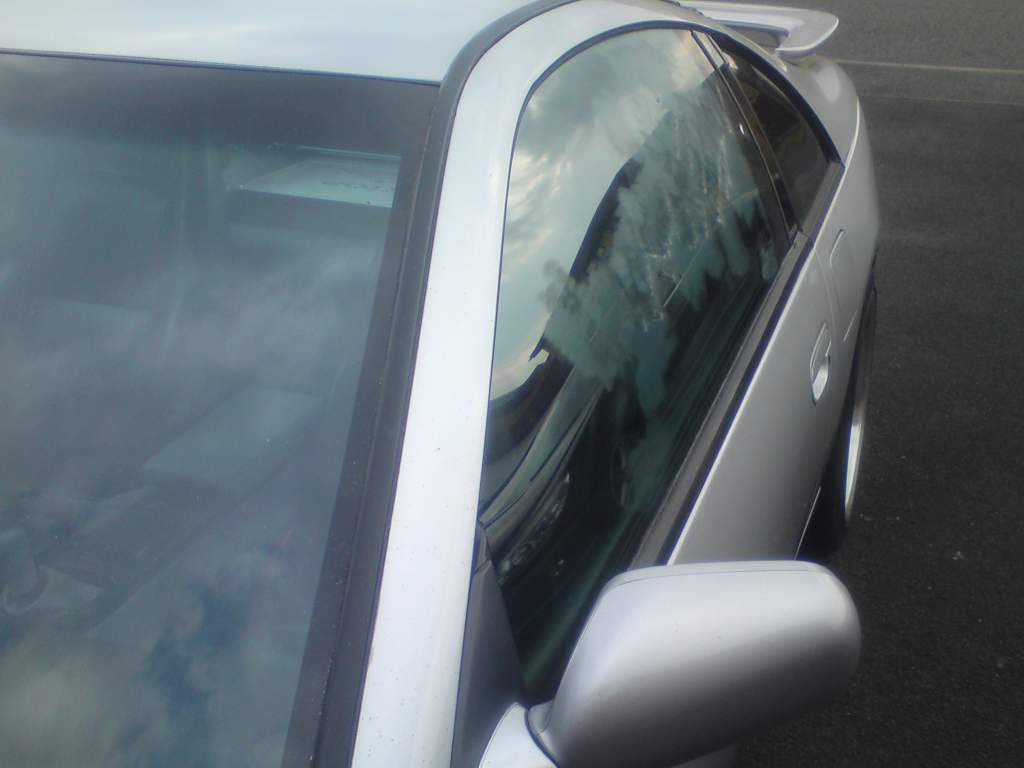
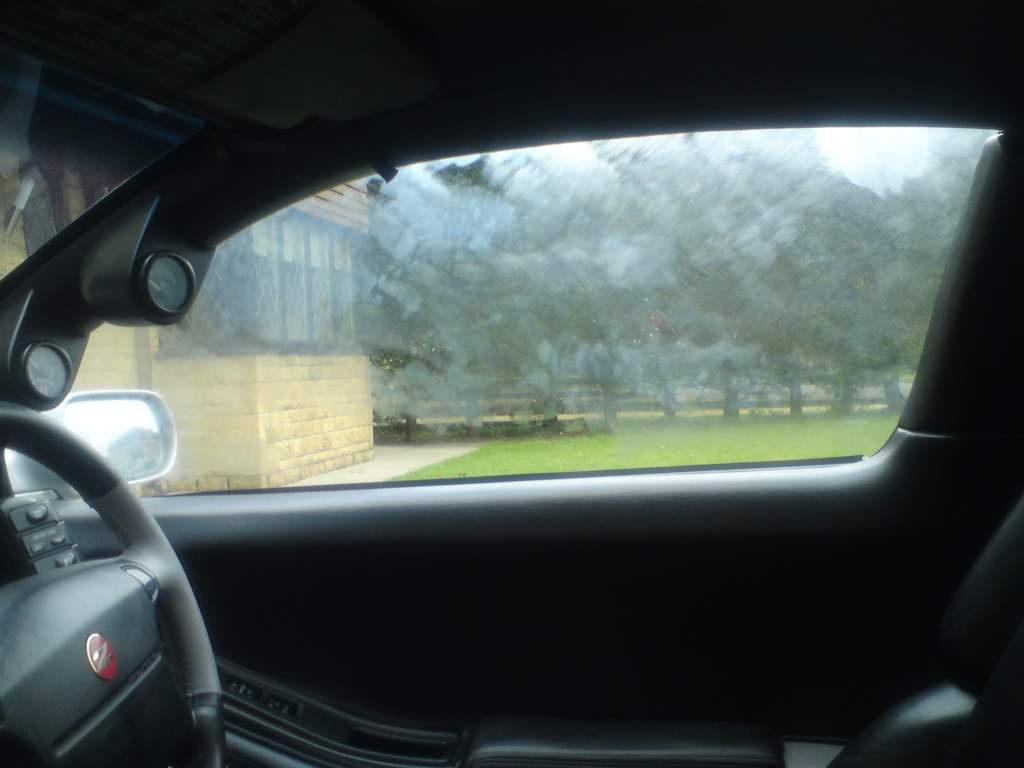
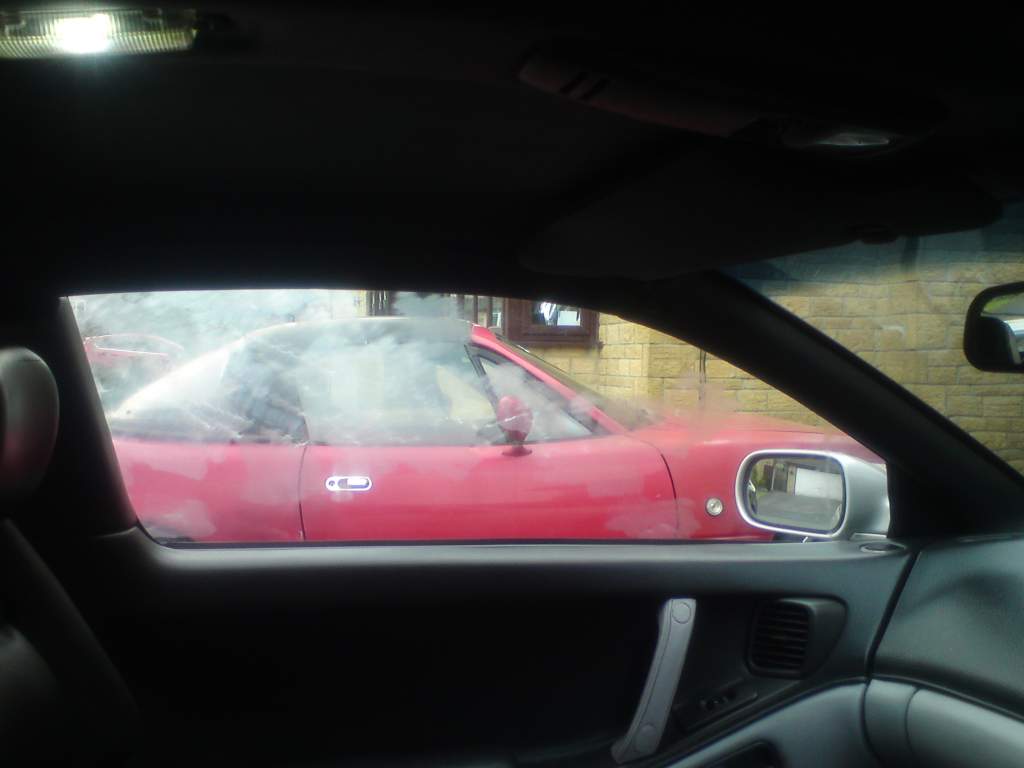
Just briefly, i have factory blue glass all around in my 1994 Z. The front screen is a Pilkington 'copy', replaced under insurance several years ago, it's lovely and it's matching blue.......happy days. Both my door windows were scratched quite bad from when i purchased in 2009, so i replaced just these two with bronze but over time the mismatchiness gave me sleepless nights !! So i re fit the blue a month back and now this thread will be my attempts at restoring them, never attempted this before i might add. You can see below the scratches, felt with a finger nail so i knew these were classed as deep/bad, all done initially with window going up and down over 15+ years. In my 'nothing to lose silliness' i even rubbed them by hand with 80 grit paper many many moons ago, made them appear worse than they are or were, this got the scratches 'back', well it would but wasn't the professional way forward and was slow hard work. Towards the top left of the glass is where i have sanded, bottom left - yet to do. The towel is to hold the glass away so i can go right over at the top. I admit doing them off the car would be ideal but there isn't a scratch really i cannot get to in situ and plus i can still use the car. I bought some gp150 coarse for glass is this grit, 115mm velcro sanding sheets and used these on my drill attachment at around 2000rpm. My L/H was not as bad as the R/H, this is completely done for now with this grade of paper. I sanded right over the window guide peg, they want making less bulky anyway and i'll give these some tlc at a later date. A view from inside and you can see i am left with cloudiness for now, it was my intention/plan to just try and improve but i have in fact done every little mark...god help me !! Fyi the glass is 4mm thick, so what i am removing.........................0.2mm ? Easier job than i thought really, just kept moving about the disc with just moderate pressure until each scratch disappeared before my eyes !! I will update but i have some finer paper plus some other bits on order for the next stage but atm i am very happy with my progress, total spent up to now £9.00.


-
Yes get yourself at least a 25w resistor per bulb but if i'm honest it's a 'load' of messing about when you can just pull the cluster bulb but eh it's up to you.
-
Mine were 5th and 10th, bet £10 online and got paid £2.50 back on the 5th place but it's not cash that i can draw out - as good as though it's a free bet. I was going to put up a forum sweep on the Thursday morning, so in good time in the hope i'd sell all 40 runners for £2.00 each but time slipped by and i decided against it.
-
Don't forget a dangling filament bulb will get hot very quickly. You'd need a load resistor per bulb that is missing, these just go across the neg and pos of the bulbs two wires.
-
Pretty sure a 3rd brake light is not part of the test and neither is a warning light coming on. You could fit a dangling bulb at the end of the plug, pull the warning light bulb from the cluster or fit a load resistor on to the plugs 2 x wires.
-
I still hope to get my hands on those 3 tail light pieces.............anyone find out where it's gone give me a shout :whistling:.
-
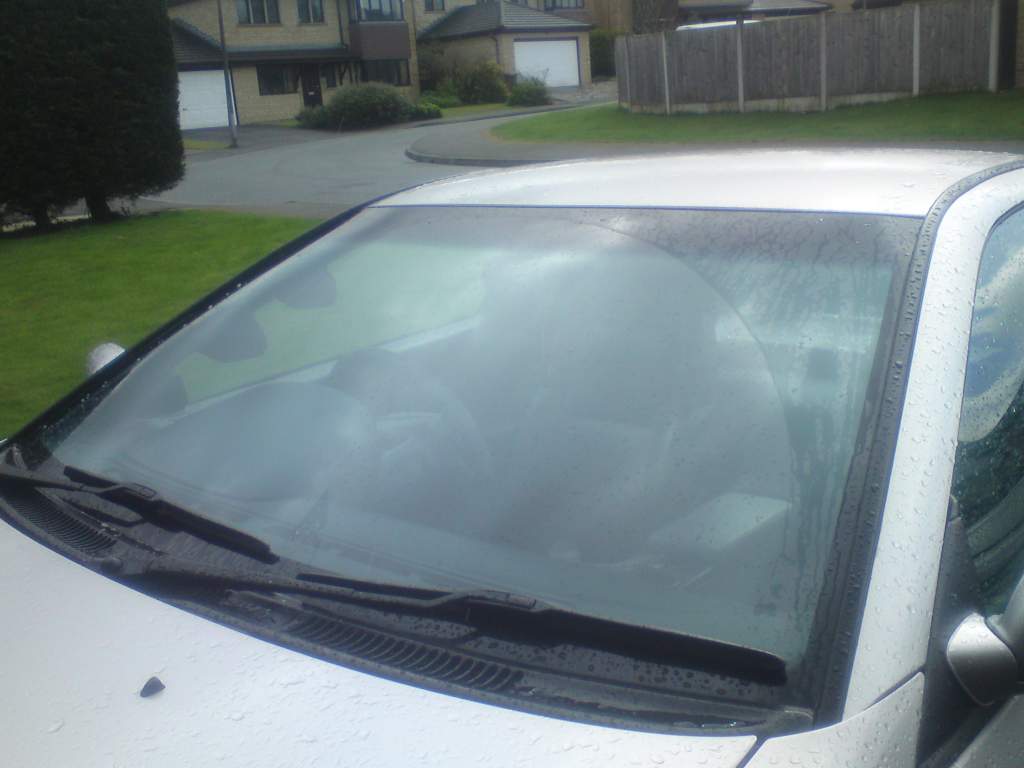
My bonnet flew up in the wind and smashed the L/H wiper :censored:. Bought some more, this time 21 inch, on the pick you can see the sweep. I relegated the 'old' 20 inch R/H to the rear, which it looks up to a 24 inch will fit just fine. £7.60 the pair I paid but they seem to be £9.50 when i look just now. http://www.ebay.co.uk/itm/Autodapper-Hybrid-Windscreen-Wiper-Blades-Cars-Vans-Choose-Your-Size-UK-SELLER-/171663928636?ssPageName=ADME:X:RTO:GB:3160

-
Sorry i didn't make it clear, these are for the OP :biggrin:.
-
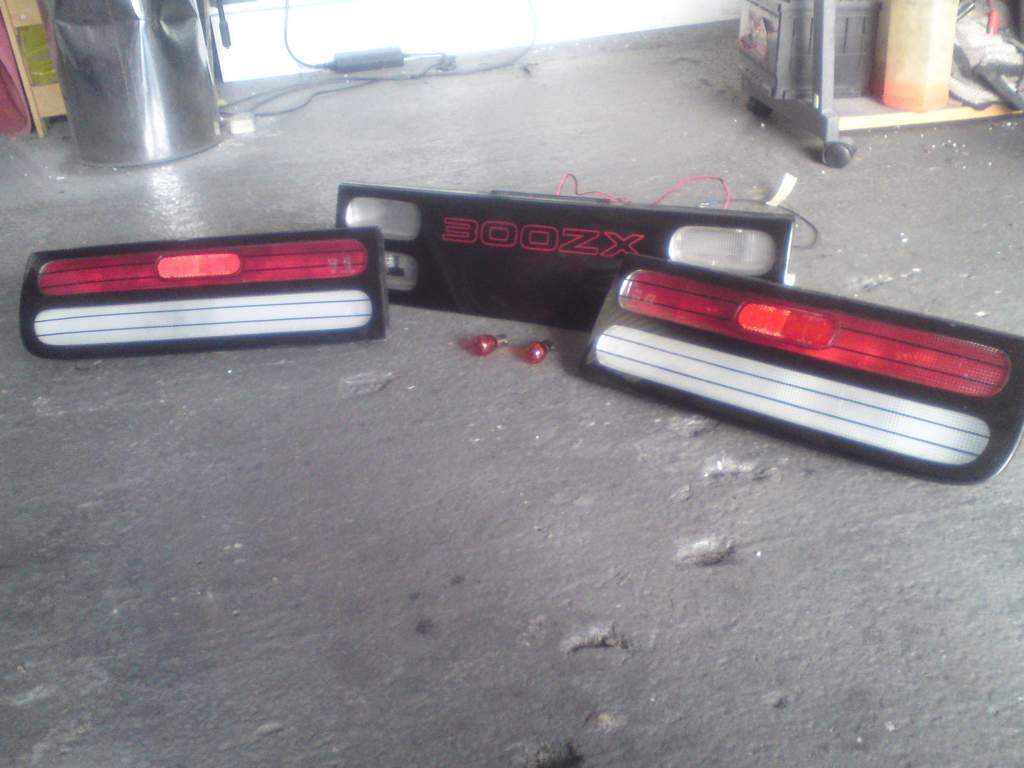
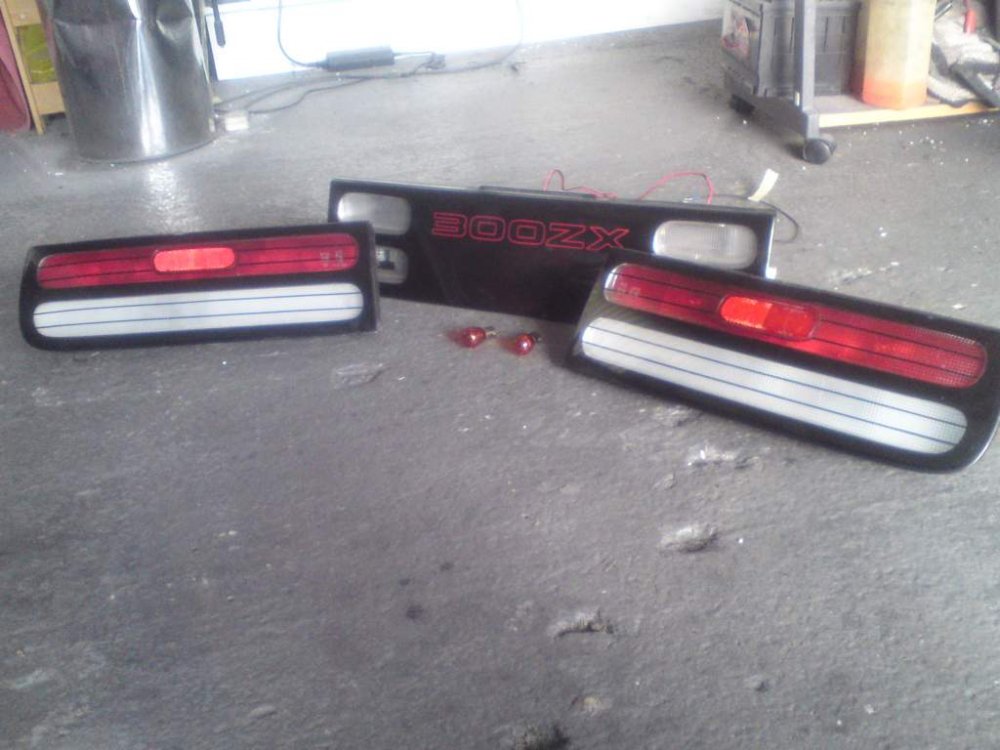
Well a month on and this is where we are now, just before i packed them up. 'Classic' i like to call it conversion of all three pieces to 99 spec, add to that the 300ZX subtly illuminates, top two chambers in the reverse panel are bright red fog and the lower two are the reverse lights with fitted smd bulbs in the still stock holders. There's more to it than just putting a clear lens in............some bolt in studs were missing, the white backs inside were flaking and fading to cream, amber bulbs supplied, i have had to send back the 14 oem nuts and a gasket - all part of the service i guess :wink:.
-
It does indeed, try and incorporate a ZX and this can be the happy chaps nose :).
-
Don't mention it :oops:.
-
See here....leave me alone, haha ! http://www.300zx.co.uk/forums/showthread.php?174388-Bit-of-progress
-
Don't worry i don't throw away the amber lenses when i rip them out - so if fashions reverse i can charge people again for putting them back in :tt2:. Think they call that win, win !!
-
I must refer the right honorable gentleman to the answer i gave in post 6 :).
-
If these are to the door for 60 USD then i think that's not expensive at all, they are even brand new and to your remit. I have the later plenum style with spring covers so i have no need for these but for the ones i'd need it'd be easy that amount of coin. Moral is therefore.................................i'd be all over this :).
-
You'll have later series clocks with yours being a 99 and so the pic in post 6 is not applicable. See post 4 http://www.300zx.co.uk/forums/showthread.php?184096-Finally-Happy-with-my-Instrument-Cluster&highlight=clocks
-
Alic is correct the decals are not the best Paul, personally i'm a stock light fan but they don't look too bad at all, so all 6 are stop and tails ? Just six nuts to remove, maybe if it's still there a centre popper and the reverse light plugs that's it........it just slides over the lock barrel, reverse panel does normally have to come out first before the 2 x tail pieces !!
-
You understand it correctly, 2 chambers each side both lit with a single bulb, so you would need as you say to divide :).
-
Just be careful because the loom in the car the colour of wires does not match up, meaning it's red/green on the stock short bulb harness but to it it's not red/green to it, and either side has a different colour, so please note. Think the red/green wire actually goes to the reverse light !! Quite common for owners to crimp on the live cabin switch feed to the STOP part for the fog light, put on one of the r/h bulbs, not bright enough on the 'tail' part. Fog could of been put on both sides to balance things up but only one on the r/h side is required for test. Yes just ground your new fog and put the live cabin to it. I would always use the top two chambers btw, on the reverse panel for the fog, that way all the 'red' lines up.
-
You did mention that Graham..............still all working perfectly my friend :cool3:. I'll give you a shout when they fail :tt2:.
-
As far as i am aware Sky are putting it on a FTA channel, good intentions but my guess is that will not last long !! It's like a company taking over a company and they always say 'no job cuts or factory closures', a year down the line one or both occur. EDIT : It seems i understood it wrong.......and i quote ''Sky Sports said the whole of the British Grand Prix would be broadcast on a new "free-to-air" channel. The five-year deal will also see race highlights shown on the free channel.'' So it's pay, pay and pay again.............i don't btw !!
-
Where's the pic then !!