




Everything posted by AndrewG
-
I'm aware of the corrosion inhibitors that are added to Ethylene glycol anitifreeze, but what chemicals are added to deal with hard water? Tap water contains minerals such as magnesium and calcium (more so in hard water areas) and can form deposits in a cooling system, especially in the engine’s hottest parts. Premix coolants are produced with distilled water. If you are going to make up your own, why not do the same?
-
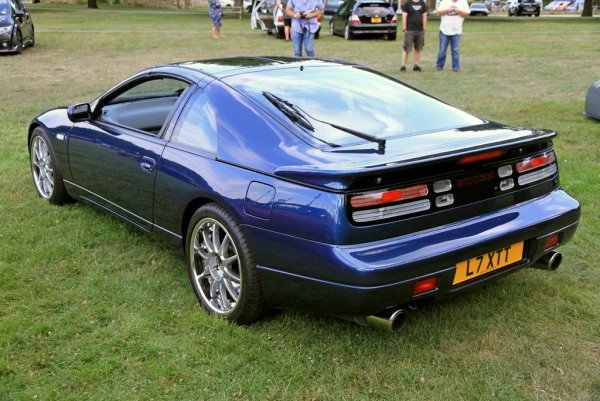
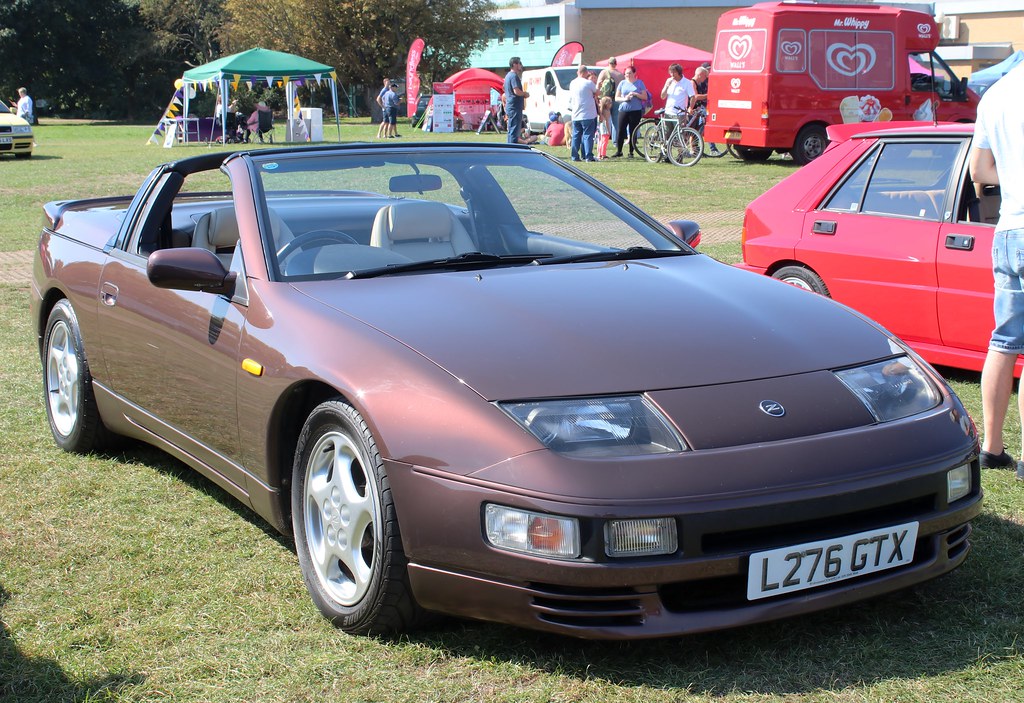
From the album: Project 1547 - Out of the Blue
Simply Japanese Beaulieu - July 2019 -
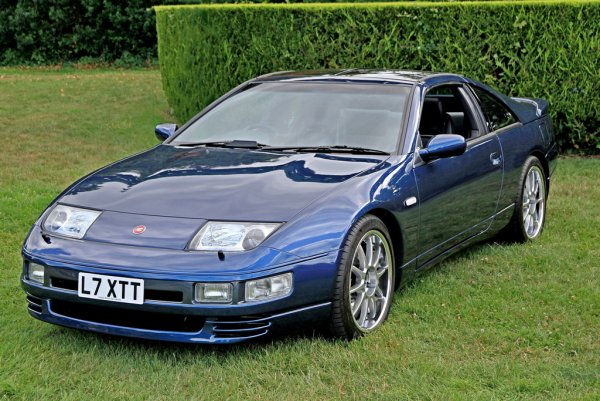
From the album: Project 1547 - Out of the Blue
Simply Japanese Beaulieu - July 2019 -
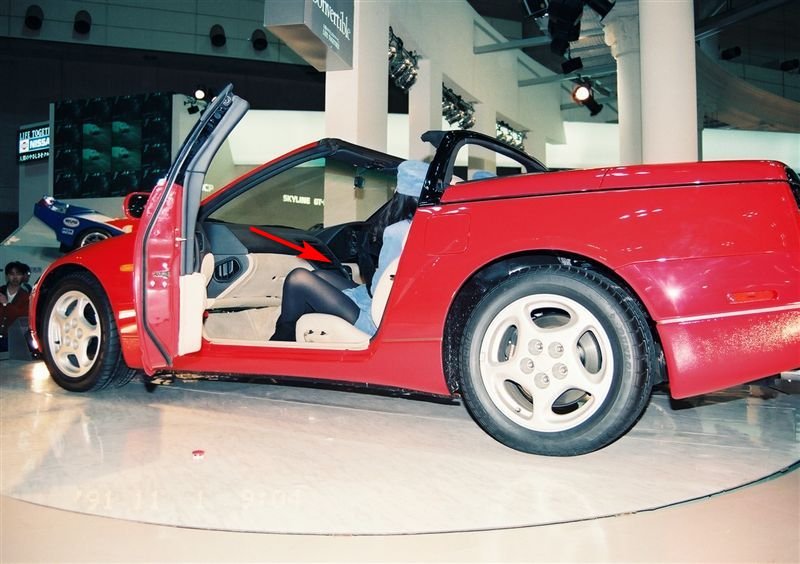
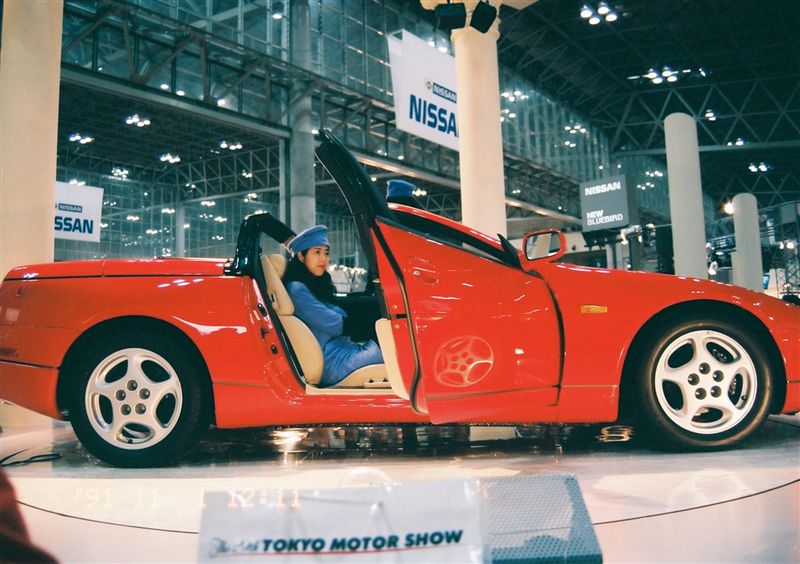
The one at the Toyko Auto show was an auto.
-
Sleep well little Zed!
-
Glad to read that you haven't lost your Zed Mojo Stephen! I do give a toss about what you do to your car and look forward to reading about your plans for your Z32.
-
27864X above is 25167-40P00, is that what you mean? https://jp-carparts.com/nissan/partlist.php?maker=nissan&type=132&fig=251*&part=2516740P00&page=1 Update - Just read your reply!
-
Taking another look at the parts fiche I posted above, I don't think the metal bracket you asked for in your OP comes with 25167-40P00. It is listed as item 5 Part# 25357-40P00. I know when I fitted my new 25167-40P00 I transfered over the metal bracket that screws to the two plastic pillars. I would look for it s/h as it is very expensive new: https://jp-carparts.com/nissan/partlist.php?maker=nissan&type=132&fig=251*&part=2535740P00&page=1
-
Item 10 in diagram below, Part#25167-40P00 http://nissan4u.com/parts/300zx/er_z32/1993_11/type_1/body_electrical/switch/illustration_3/ In the US: https://conceptzperformance.com/nissan-infiniti-nissan-oem-pod-bracket-lighting-switch-rhd-nissan-300zx-z32-25167-40p00_p_8450.php In the UK: https://www.allcarpartsfast.co.uk/nissan/nissan-2516740p00-bracket-switch/
-
You are better off using the OEM metal speaker brackets which will (with new sealing foam) properly fit the aperture and contours of the inner door panel and the door card to give the best acoustic sealing. Get them s/h. The picture first picture shows the old sealing foam in place on the reverse. The second on the front face.


-
It all rather depends on how many letters/numbers make up your registration. This is my front plate (355mm x 111mm) with legal character sizing and border.

-
UK spec dummy vs crystal corner lights.
-
You still need to take the bumper off and find out what is going on with its fixings.
-
I stand corrected! I was thinking they all looked like TT bumpers: https://conceptzperformance.com/nissan-infiniti-nissan-oem-factory-front-bumper-fascia-twin-turbo-tt-nissan-300zx-90-96-z32-62022-40p28_p_5335.php
-
I would take the bumper off so you can see what exactly is going on with the fixings. An OEM bumper is a beige colour in its unpainted state.
-
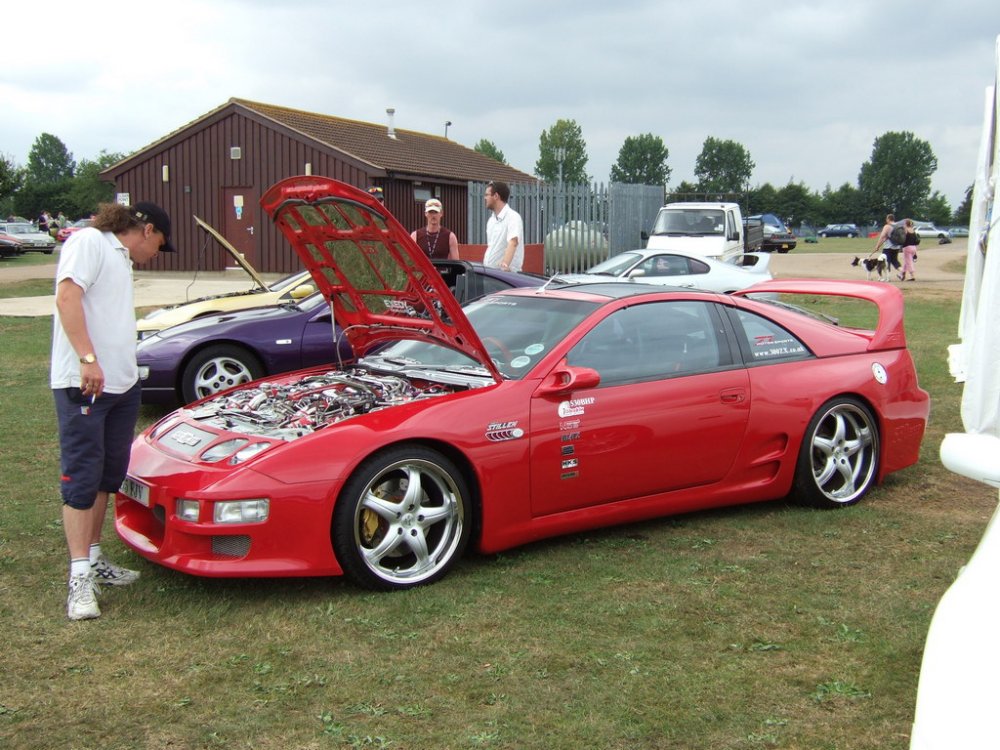
I had a rummage and found a photo from 2006... Memory lane eh?
-
A good opportunity to start your own thread and tell us more about your UK spec.
-
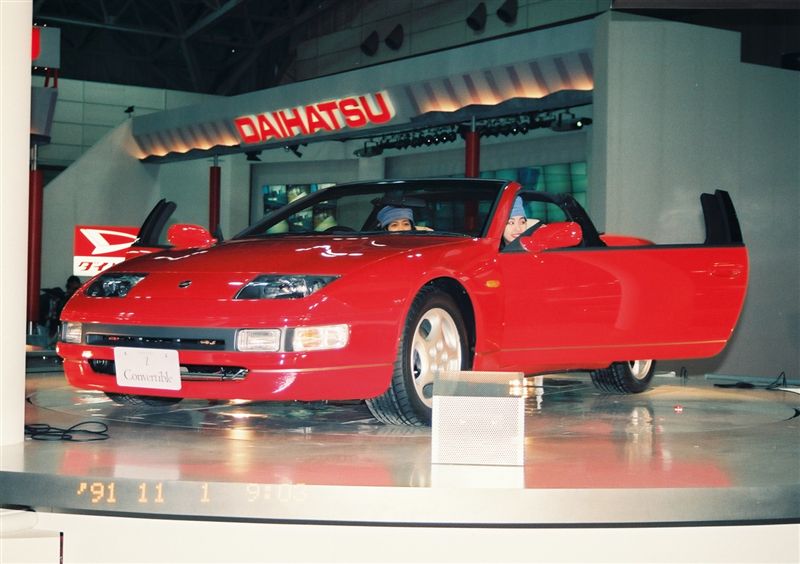
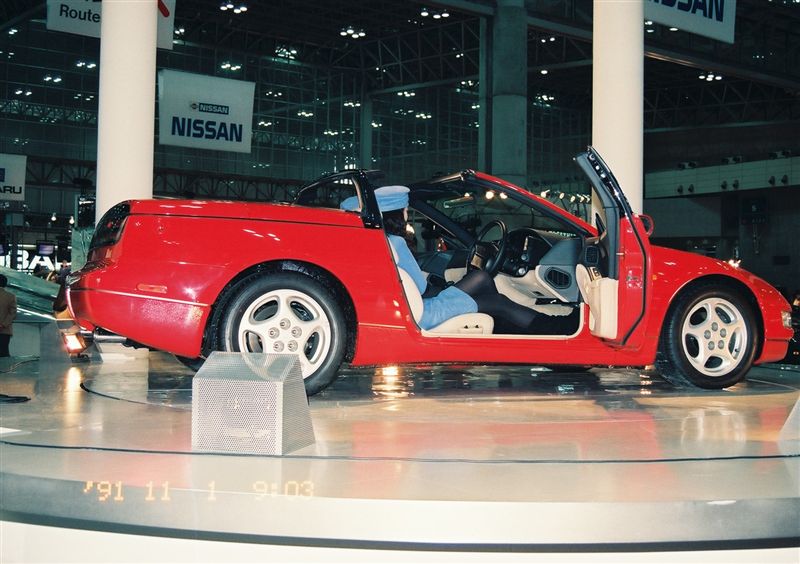
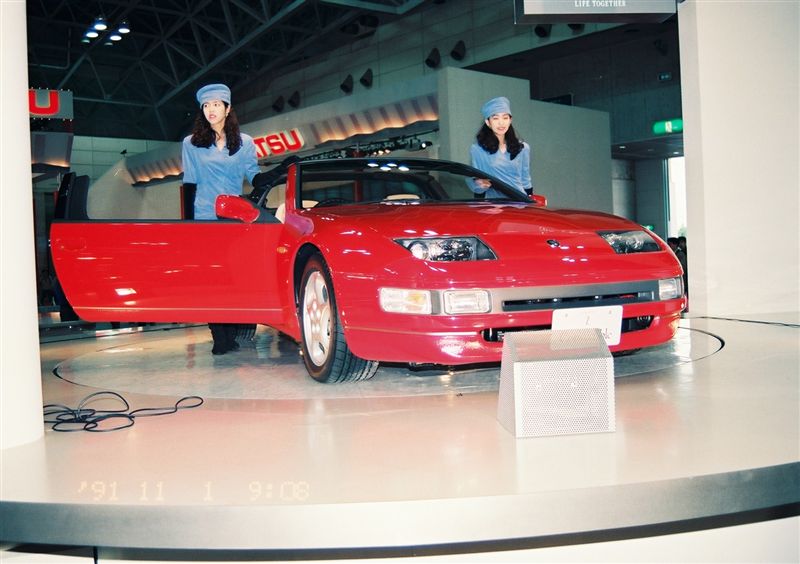
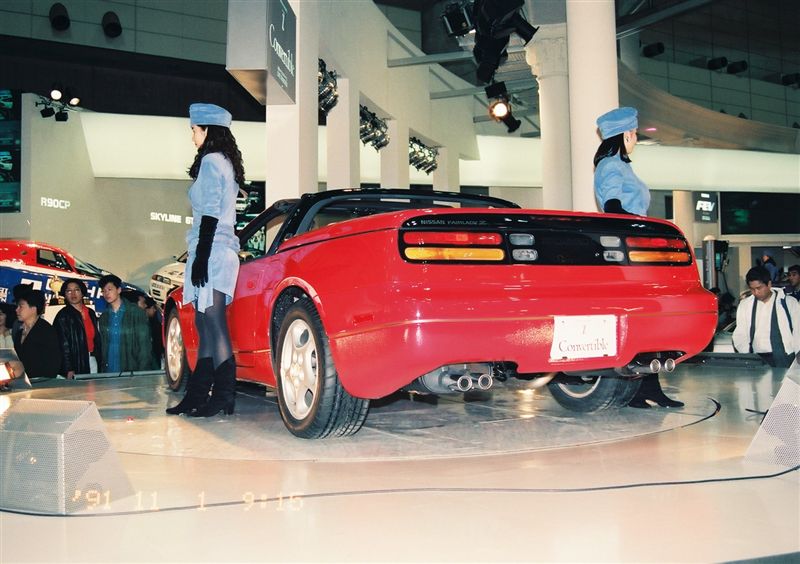
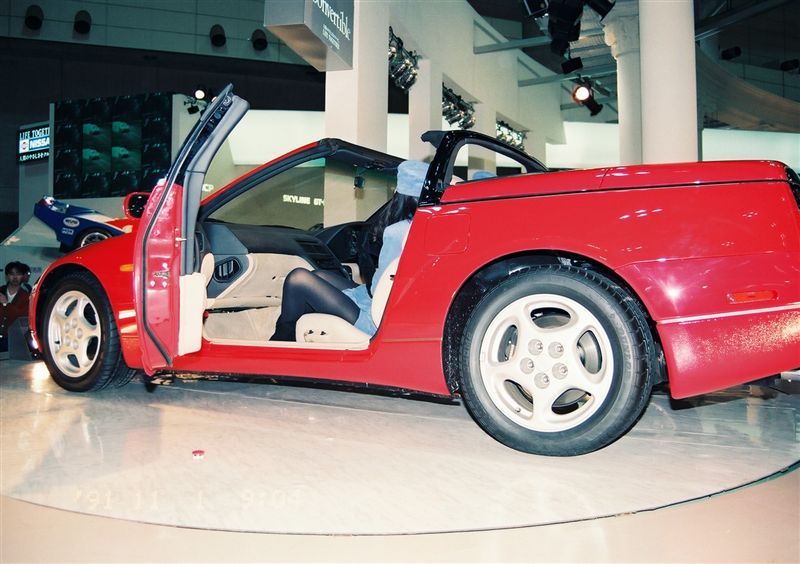
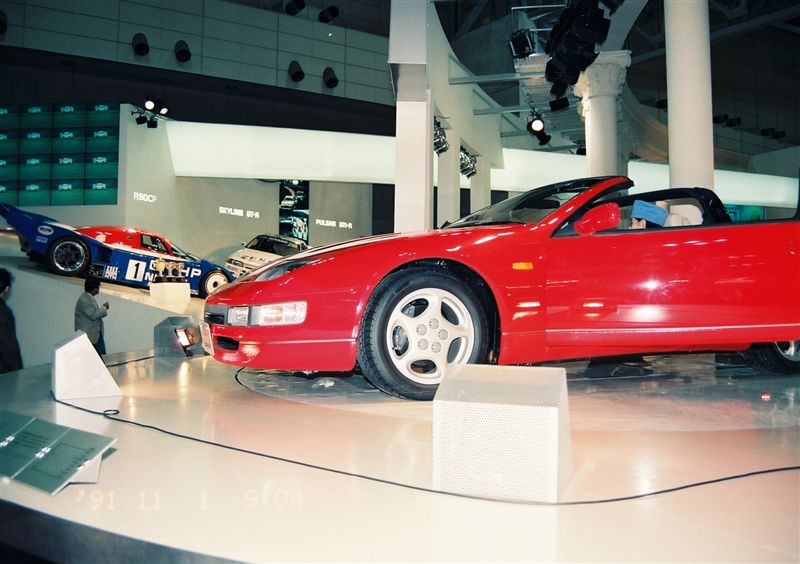
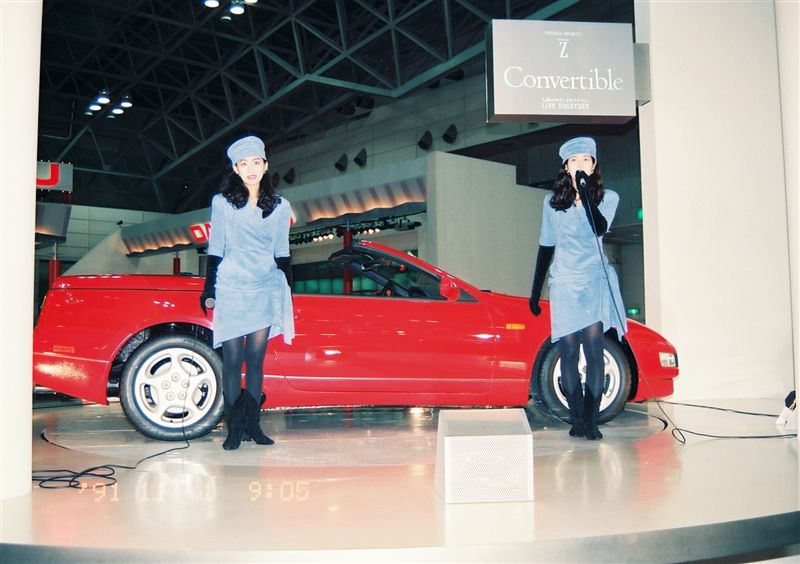
Here you go, photos from the '91 Tokyo Motor Show launch of the convertible.
-
I have some photos from the '91 Tokyo Motor Show launch of the convertible. Would you like me to post them here?
-
It's not my car.
-
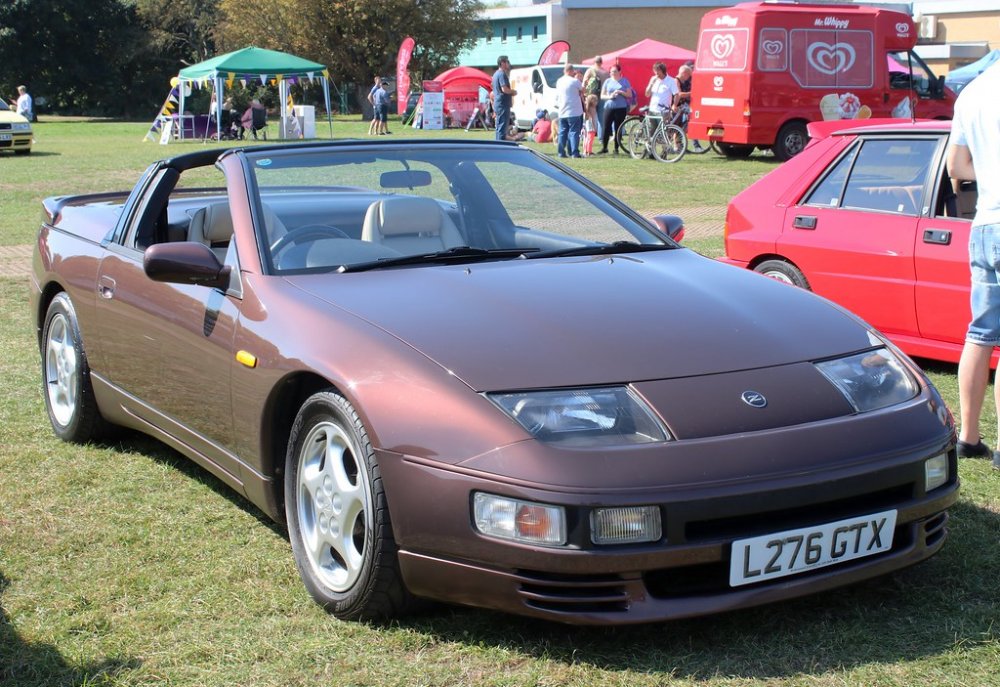
You can also fit a TT bumper if you like. It has a different profile (on the front by the Intercooler vents) to the NA.
-
*VERY* bling as I recall!
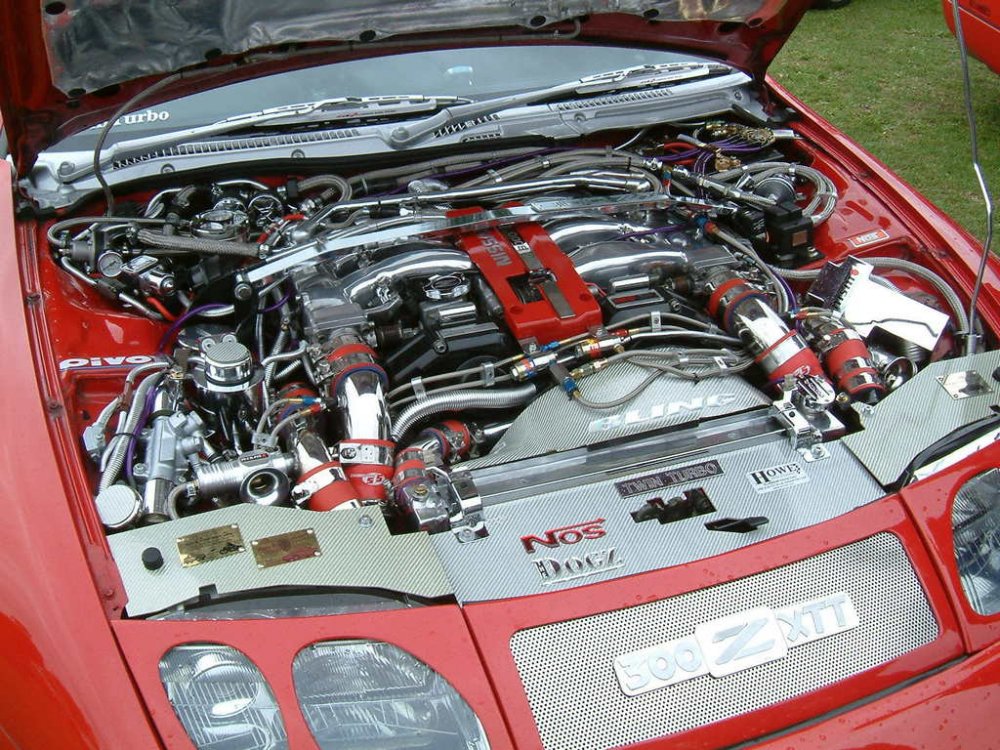
-
Know you know!

-
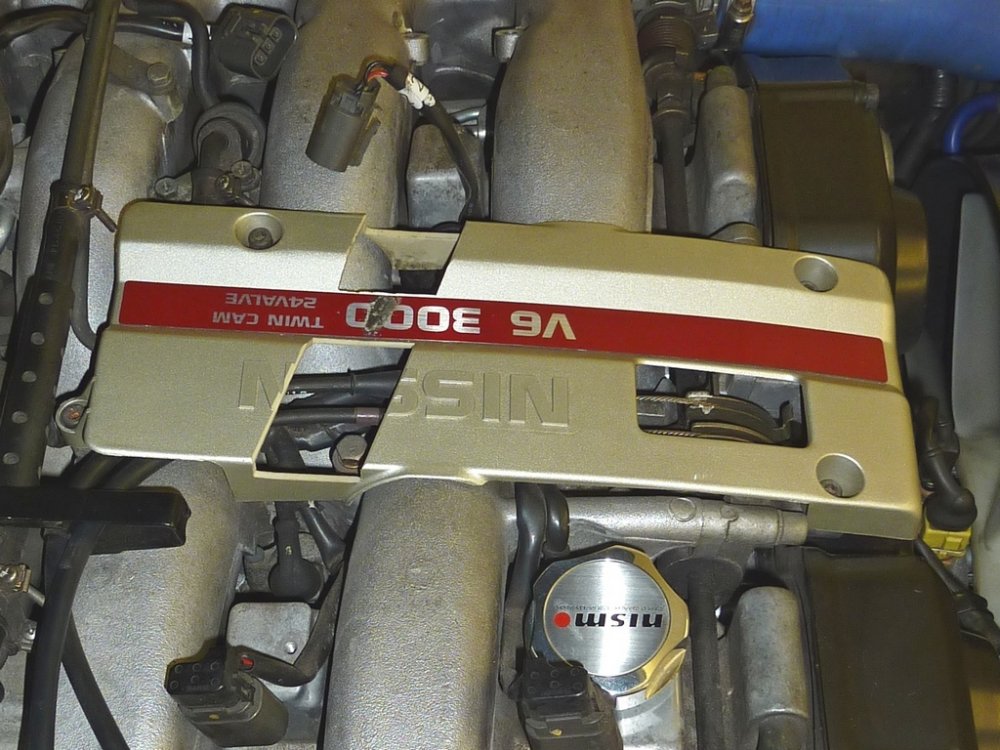
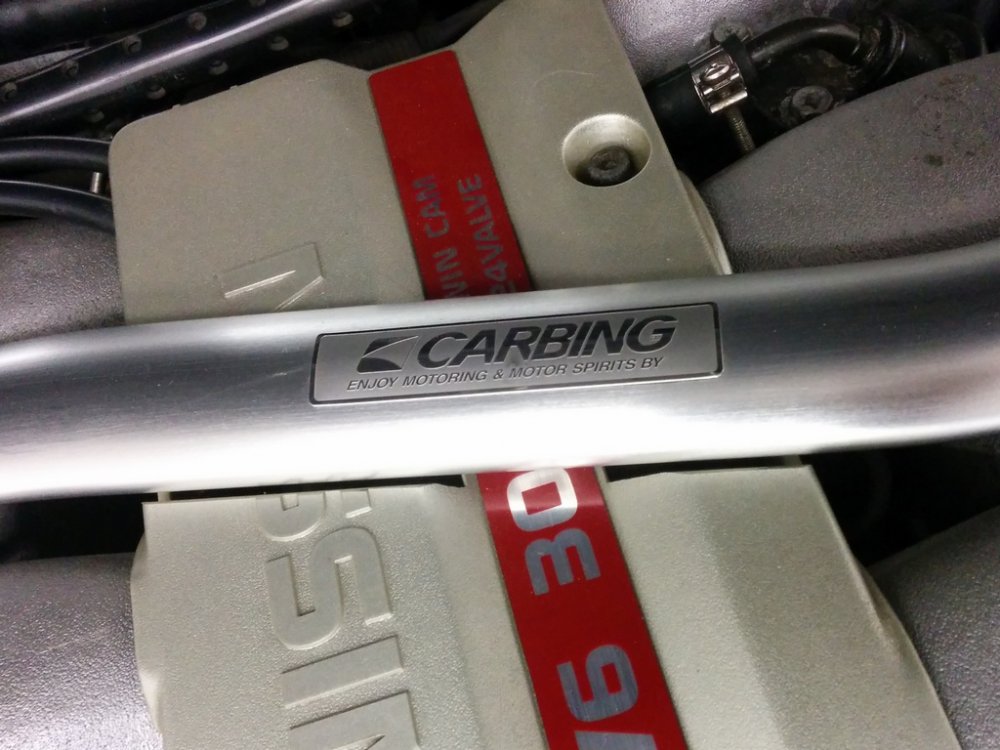
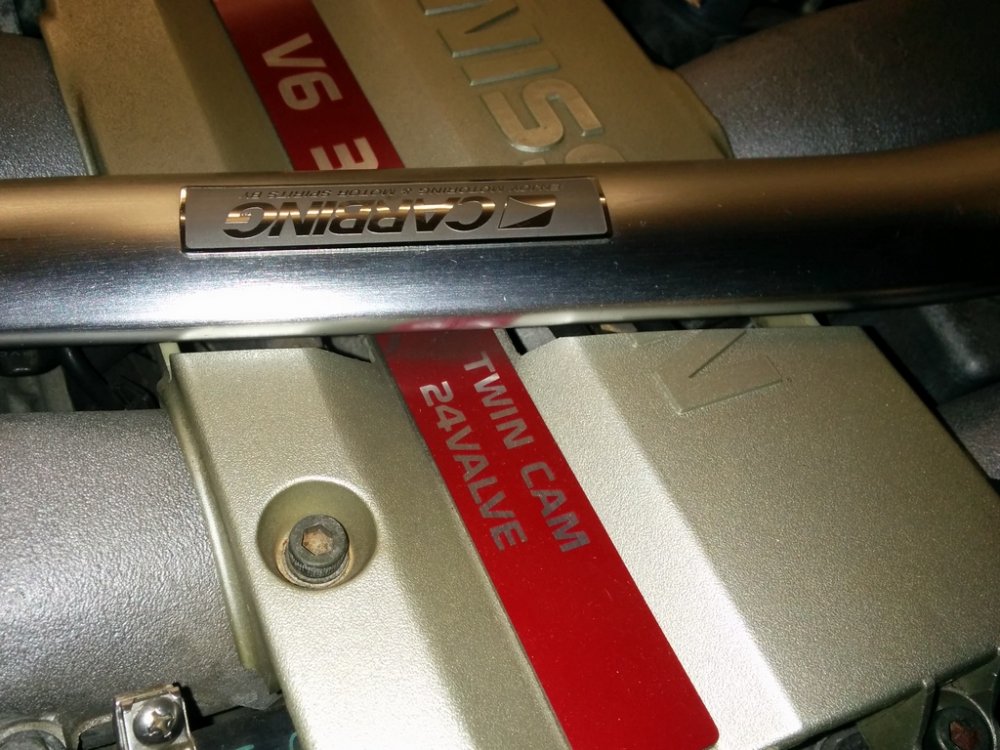
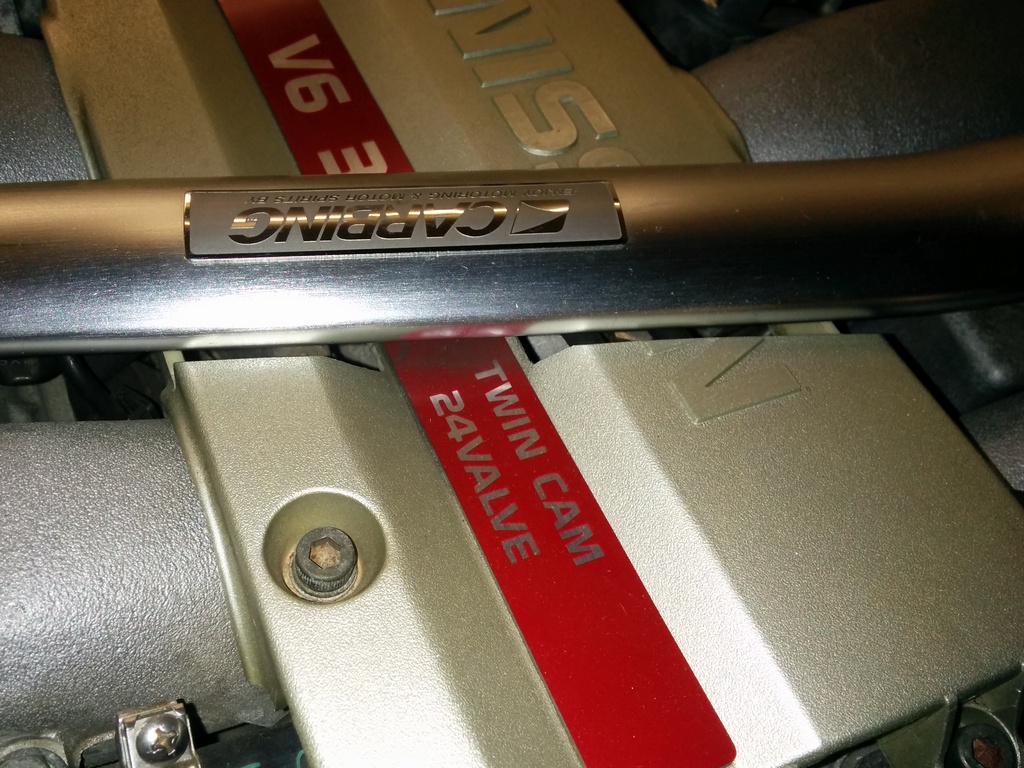
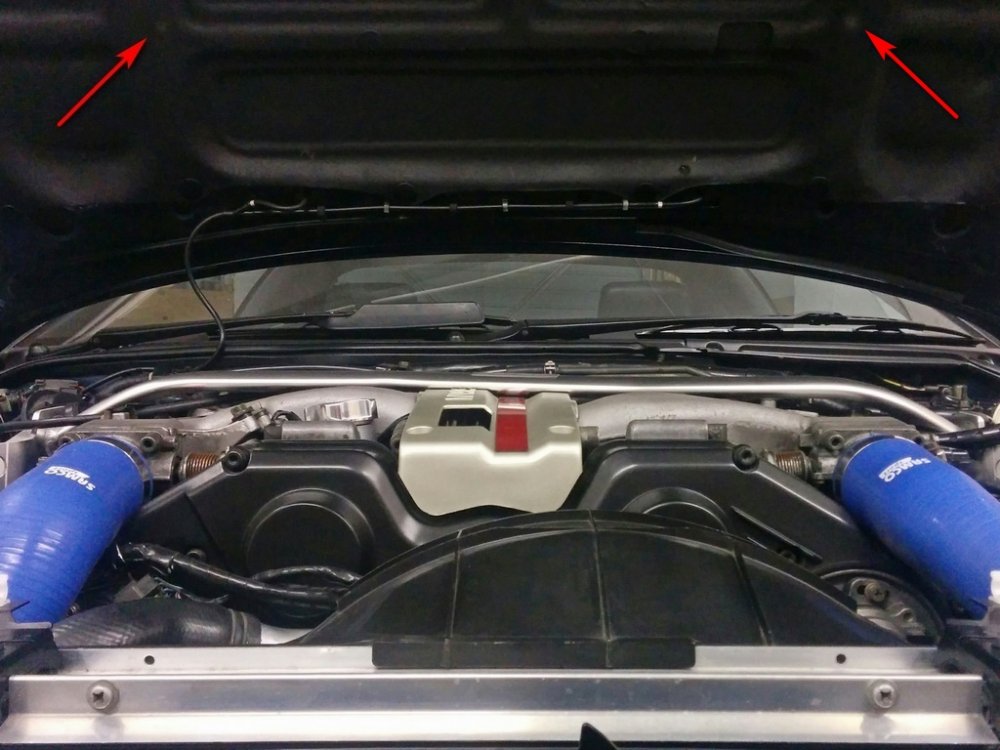
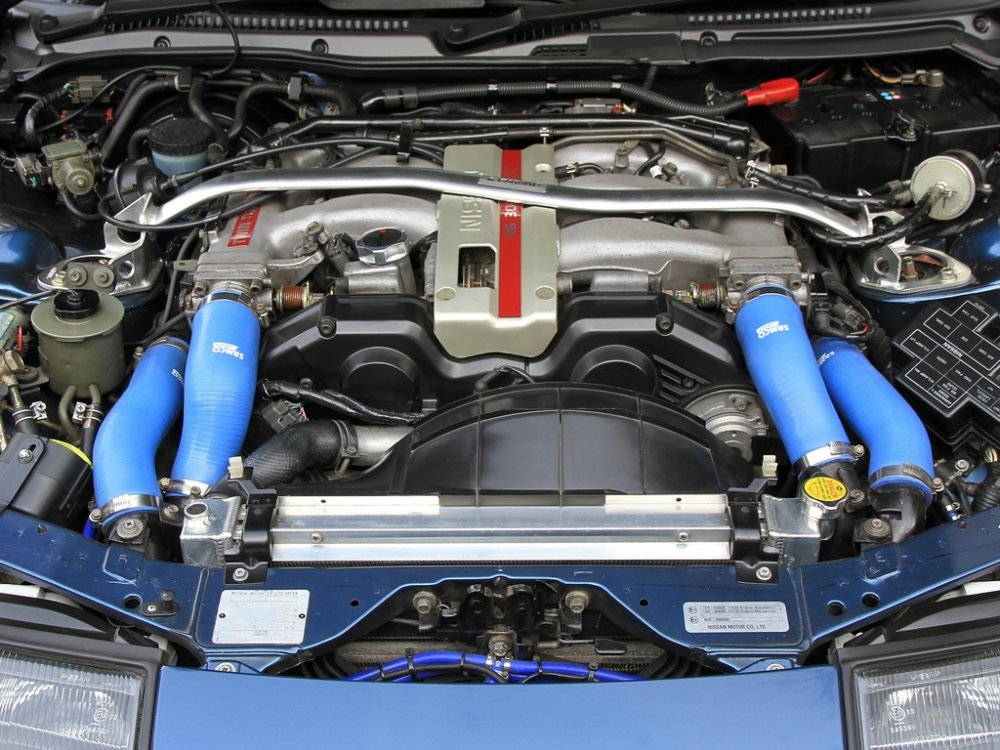
No, not really Andy. As it is the top of the Carbing strut rubs (very slightly) on the bonnet insulation (arrowed). It is very tight in there. When you see the strut in place in the engine bay, it is a pretty discreet piece of surgery on the cover.
-
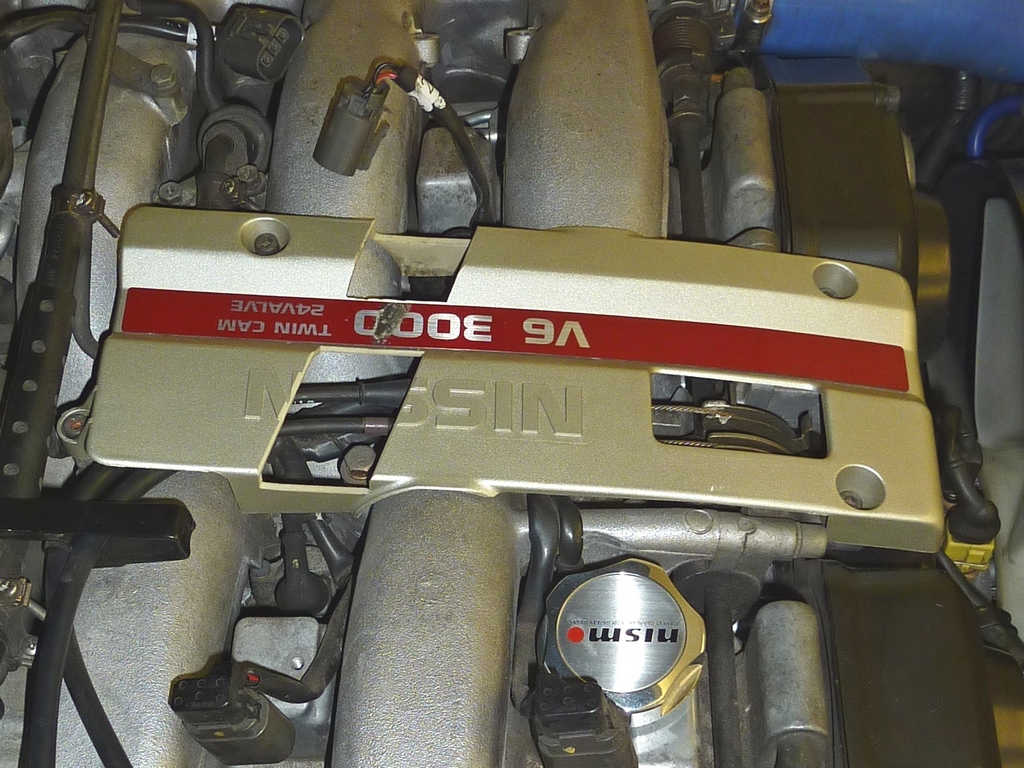
With the cover fixed in place I partially bolted down the strut and then traced two pencil lines on the cover where the strut crossed. I then made up a wooden support to hold and fix the cover in place (using the four mounting points) in a mitre saw and then cut across the cover to the required depth. The rest of the cutting was done with a fret saw and finished off with files. You can see how tight things are between the cover's red decal and the bottom of the strut in the first photo below.