Everything posted by redwine300
-
I need to visit this fellow, I believe he is no too far either.
-
When the engine is fully up to temperature, have you removed the Yellow connector from the IAC valve so as to set the base idle? You are looking for around 650RPM and when you reconnect the connector, it should rise by 100RPM as the ECU takes over.
-
I think it might be prudent to start with the basics, by this I mean some of the electrical connectors in the engine bay. The primary ones being those that attach to the IAC valve, you will find a black (may be Grey, can't remember) one and a yellow one. You will need to look down the back of the engine slightly close to the battery underneath the main electrical harness, be careful mind as the connectors can be brittle. Those spring clips can be difficult to remove also. What you are looking for is signs of corrosion, if this is the case, clean them well and re fit. Also, look at the engine temperature connectors at the front of the engine just behind the fan, pay particular attention to the yellow one. This will be a good place to start at least.
-
Are you able to put the system into diagnostic mode and try each operation step by step. Maybe that way you could possibly isolate the offending item.
-
As Jeff says, worth doing even if to only eliminate it from the equation.
-
Ditto.
-
I know what you mean mate, the claustrophobia can really mess with your head.
-
Good to hear you got there in the end mate, I would however get that 3rd bolt sorted as soon as you can though.
-
Coated the connections in Dielectric grease prior to re fitting, should be good for another 24 years! :lol:
-
All the best for the future.
-
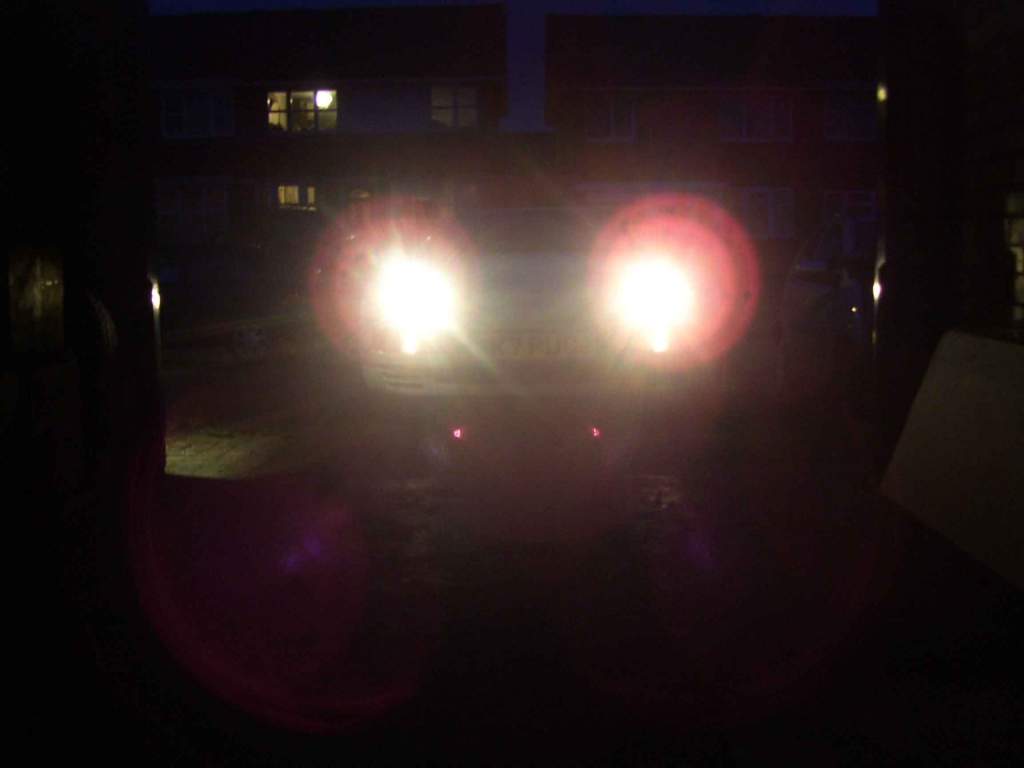
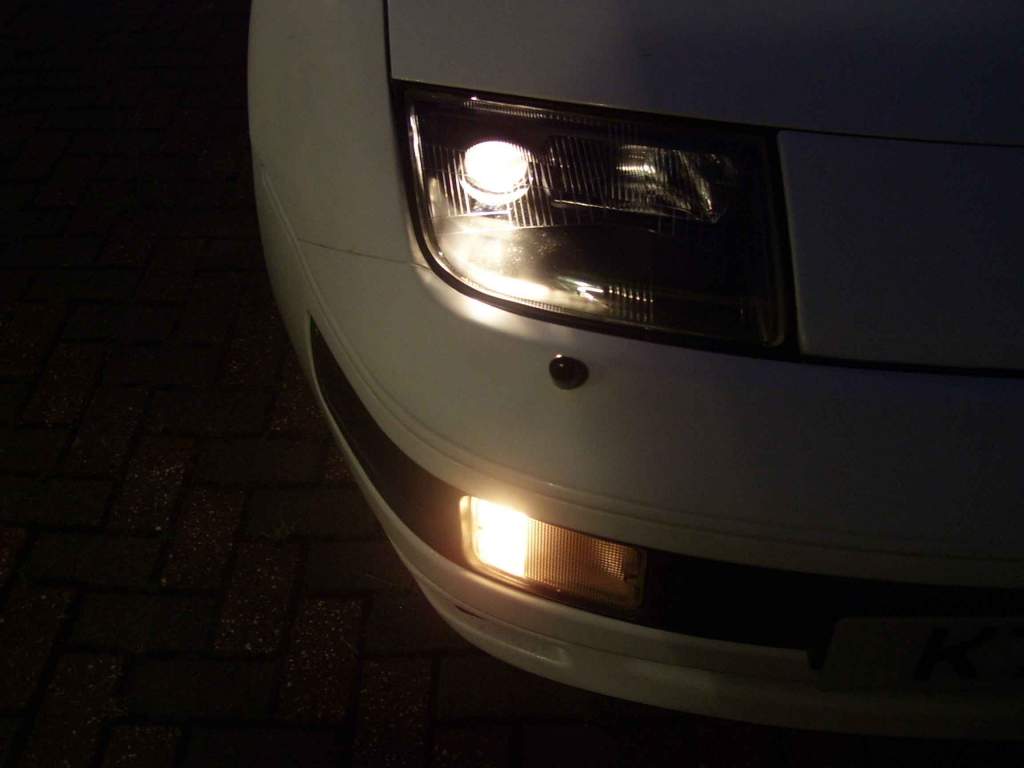
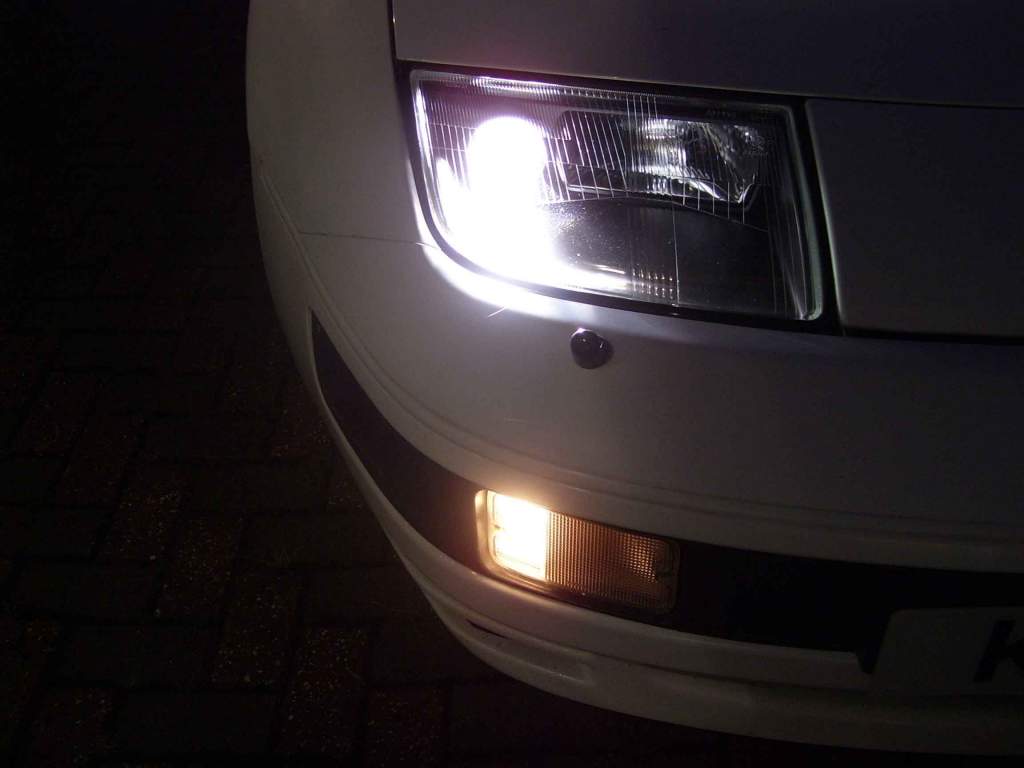
Some photo's of the Dim-Dip and main beam. Difficult to capture the real difference head on, as my camera could not cope with the main beam brightness. As for the close ups, the difference was significant. So chuffed.


-
Fingers crossed you manage all 6, definitely worth soaking over night mind. After all, what have you got to loose apart from time.
-
Thanks Andrew, If I understand correctly, packing with Dielectric grease is the way to go. Yes? Never have been good at navigating that site.
-
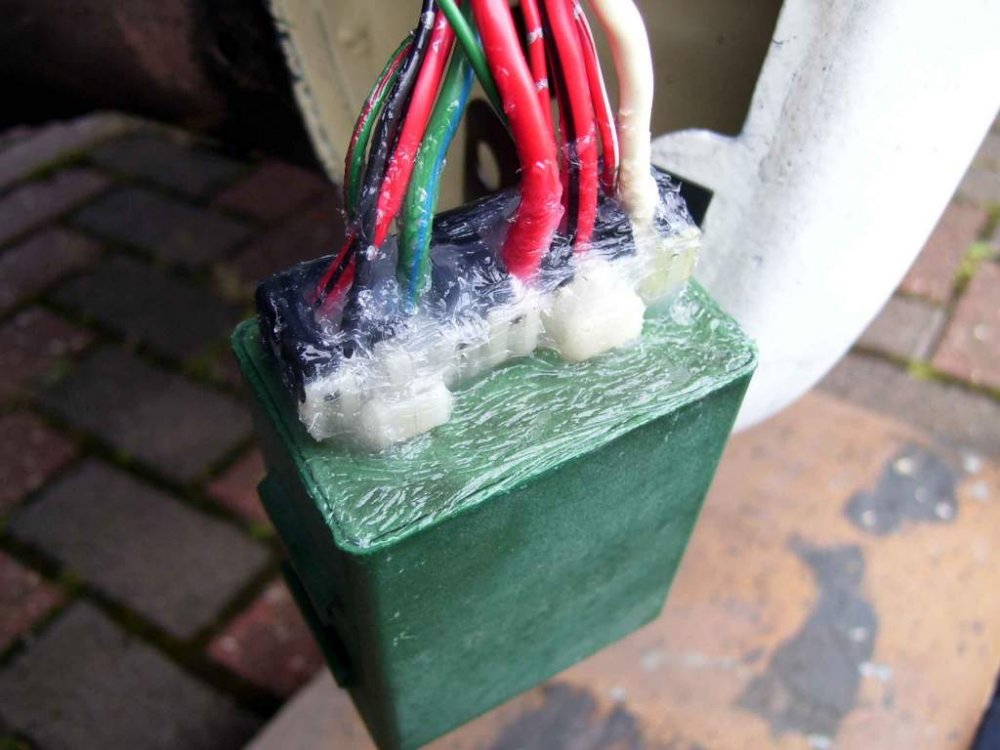
Question... What should I treat the connectors and box with so as to protect it from the elements? I'm tempted to brush on some Dielectric grease to prevent a recurrence of the corrosion.
-
There maybe difficulty with access, not only for inserting the bolts, but also for tightening. Not sure, but I'm sure there are some very knowledgeable guys on here that will know.
-
Thanks Russ, :thumbup1: Even gave the Dim-Dip box itself a little wash and brush up.
-
I would go with a standard 3/8 drive ratchet with extensions topped with a impact socket for added strength.
-
Cheers mate.
-
If you are referring to the bolts protruding from the turbo elbow, you are correct, they are studs. I think the nuts are 14mm if memory serves me right. I would recommend using plus gas and soaking over night, also, I used a impact socket for added strength and purchase. The last thing you need is to round the nuts off.
-
Success, everything works as it should! Couple of pictures below, but they do not do the difference in brightness justice. I will take some more later when it is dark.


-
So that's the connector all re built and clean, looks like new! Just have to clean the spade connectors on the Dim-Dip box and re connect, Simples!


-
Thanks Andrew... :thumbup1:
-
So far so good, managed to get the 3 larger cables snapped into position. Just have to pop the 3 smaller ones in, triple check and re assemble. Can't wait to see the headlights working as Nissan intended, especially as I have recently refurbished them.

-
I take your point Andrew, although I did cut back the cables a little so as to remove the green verdigri, the copper core was still very tarnished and dark looking. In hindsight, taking on board what you have said, I should have cut back a little further so as to get to bright copper flex. Another lesson learned.
-
Ditto