Everything posted by nickz32
-
Which style centre caps are you running mate? If you have a spare moment would you be willing to pop one off and measure the internal diameter of where your centre cap fits. I want to look at fitting the more modern centre caps on my 500R’s as I don’t like the type X centre caps they came with, but the 500’s aren’t listed on SSR’s website any more so I’m not sure what options I have.
-
Is there anyone else in the club running SSR wheels? If there is, I have a Q about the centre caps and was wondering if someone could oblige me with some information. Cheers Nick
-
If there is, I’m not aware of one. Limitations of what? Range of adjustment?
-
I used to drink Southern Comfort a lot but find it too sweet now. I’ve basically become a pirate and drink copious amount of spiced rum. Red Leg is currently my favourite to drink neat. Whiskey on the other hand, hate the stuff. Taste like the squeezed juices from an old peat farmers 4 day old sock
-
I’ve still got mine, I just completely forgot about their existence. They came off ok apparently so hopefully they’ll do the trick
-
Yep, Joely reminded me of that aswell. I knew something didn’t look right, but couldn’t put my finger on it
-
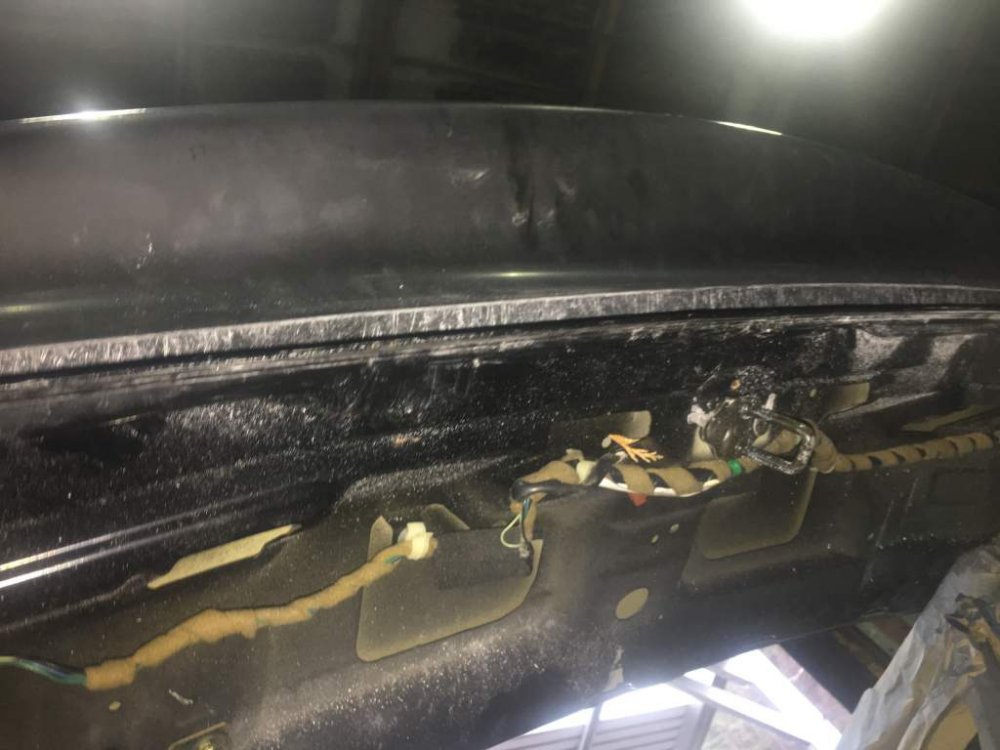
It’s more the recess that used to be filled by the strip. Once the spoiler is fitted, you wouldn’t see that recess as it cover it. It’s more that there’s a gap between the recessed part of the boot lid and the inner surface of the wing that you would see once the boot was opened. On top of that, I can imagine it wouldn’t take long for moisture to travel up through that gap and get trappped an the subsequent tin worm. Ideally I’d like to fill the gap and then bond the spoiler to whatever I use to fill it so no moisture can get between the spoiler and boot lid (if that makes sense)
-
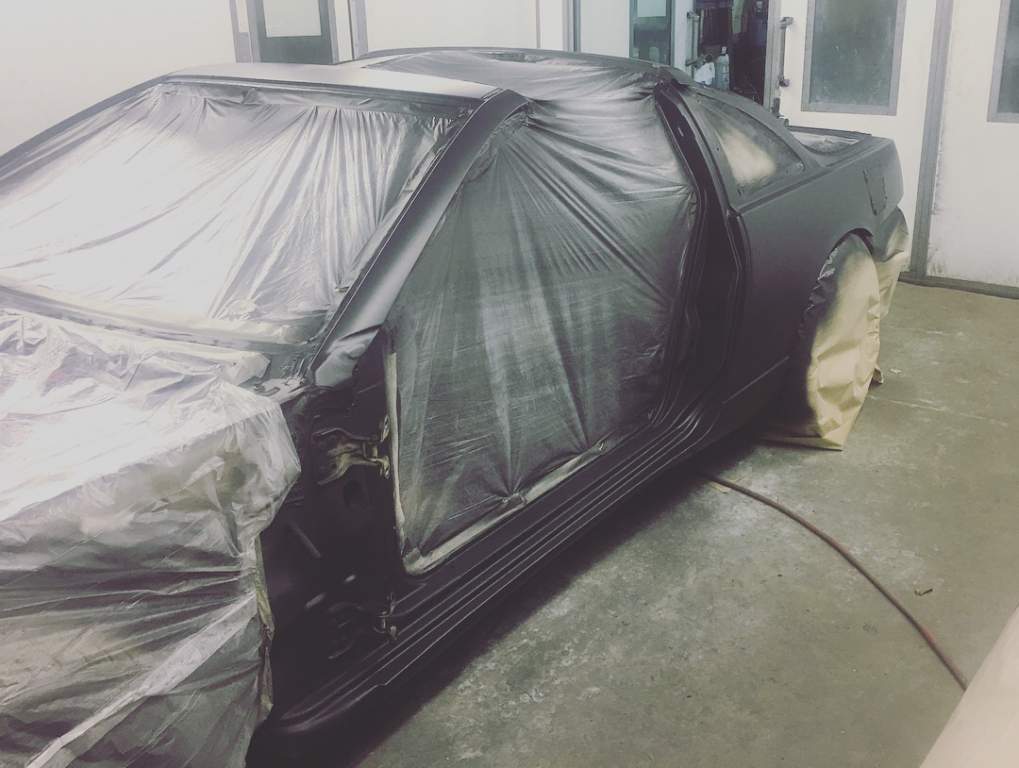
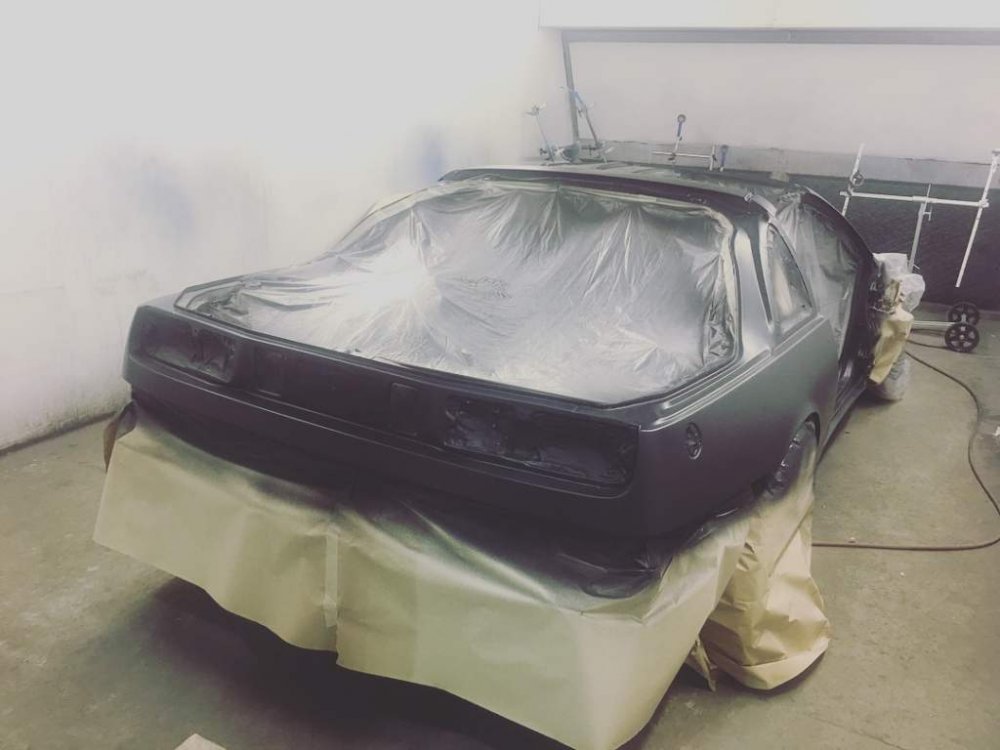
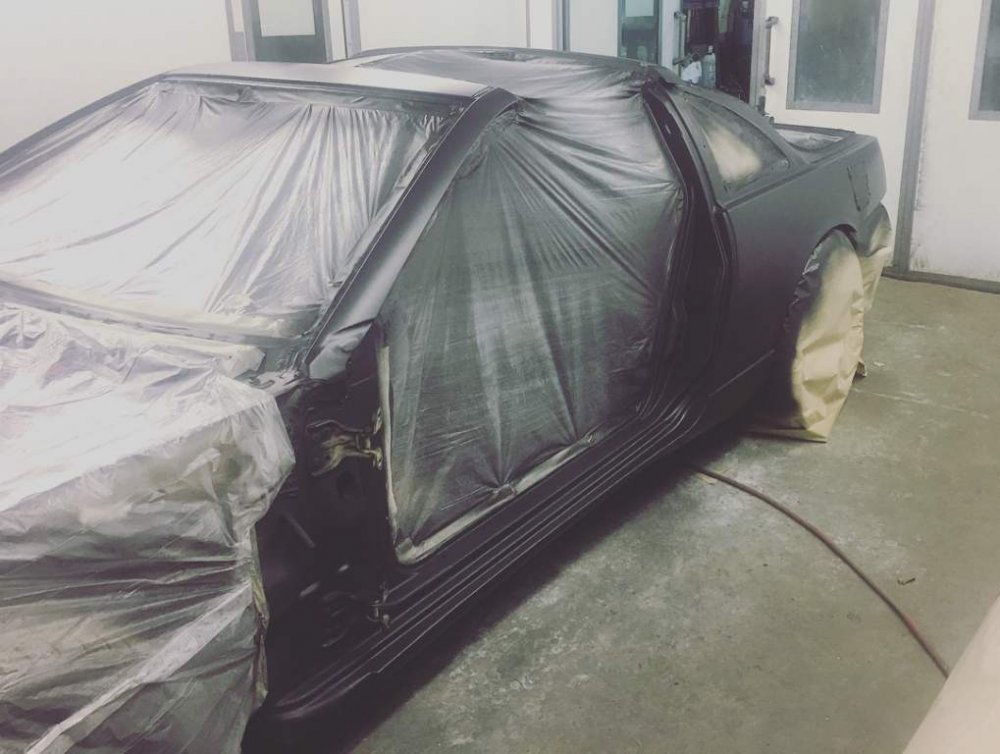
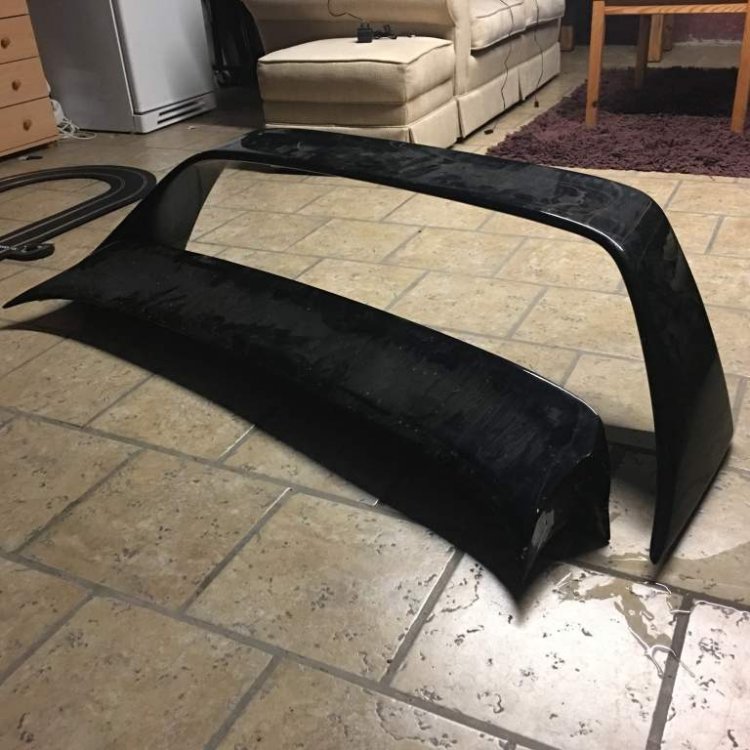
Dropped into the bodyshop this morning.... First coat of primer has identified a couple of defects that weren’t previously noticed. They should be easy to sort out before next coat of primer and final prep for base coat of Super Black KH3 Also lined up the WinFactory spoiler. While it fits perfectly across the top and sides, a significant gap is apparent where the bottom edge of the boot is, where the Perspex strip would have lived Having spoken to Winfactory, this gap is intentional as the spoiler was designed to go over the top of the third brake light panel. A window seal type gasket has been suggested to close that gap, I’m not so sure that’s the best long term option, neither is filling it with filler. Time for a ponder
-
As much as I love black wheels, with the colour of your car I think you almost need a light coloured wheel to compliment the paint. I think with a dark coloured wheel would take away from the paint rather than compliment it. A nice clean and bright silver with a diamond cut lip would be my choice
-
Mate, it’s no worries at all. Like you said, it’s a good thing that the situation finally got me to commit to buying it. Anyway, about that OEM+ membership.....
-
Slippier than a greased weasel..... and a typical engineer. Don’t know why it is that great engineers/designers just suck at the customer service side of business, must be a trait they kinda genetically have
-
Hahah... I see what you did there :lol: Da dum tissssssh I thank you, I thank you
-
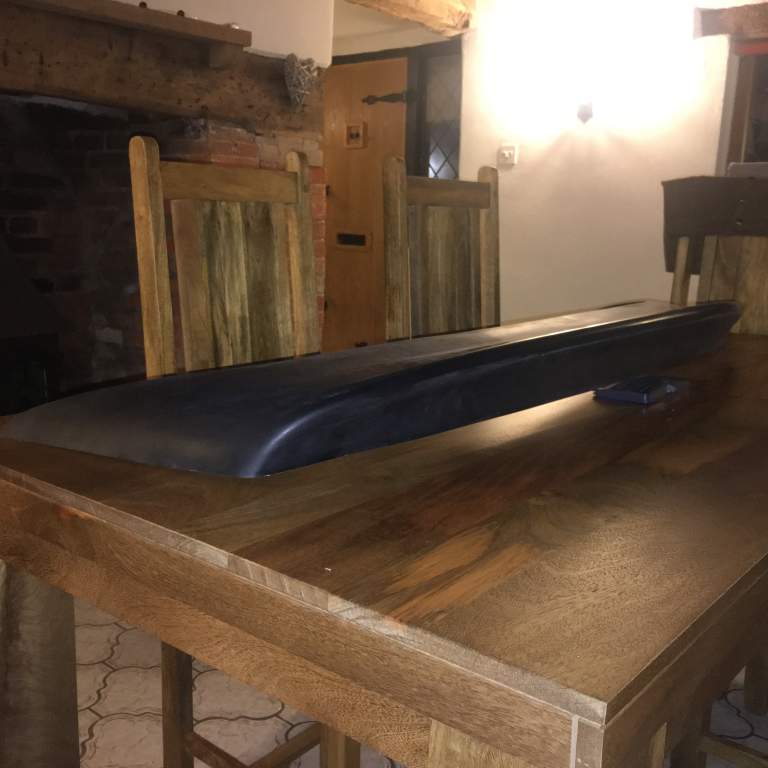
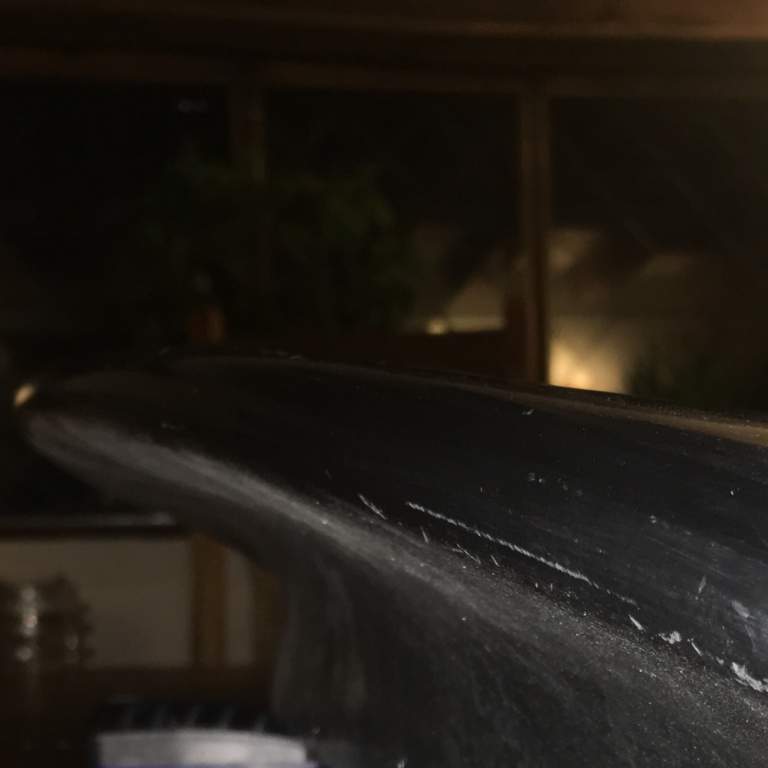
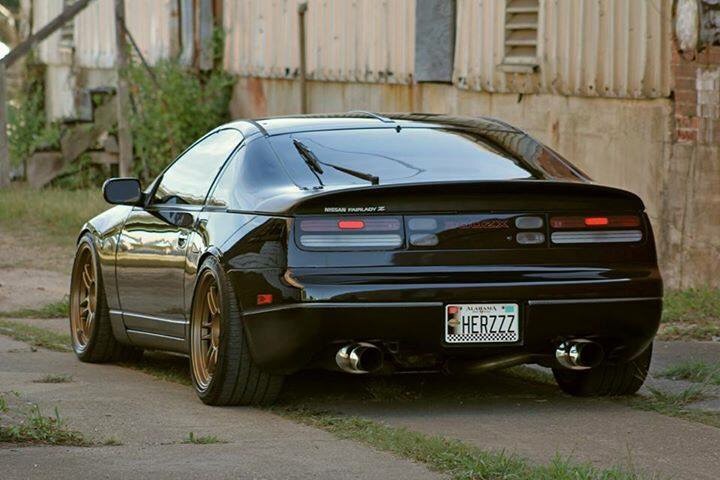
Pfff party pooper........... only because I told you weeks ago :P So after much consideration I decided to buy the spoiler I’ve had my eye on for AAAAAAAAAAAAAAAAAAAGES, the WinFactory CSL-R. Despite my best efforts, I haven’t got a decent picture of the spoiler... But it should look something like this when fitted As previously mentioned, I like the OEM+ look a lot, and over the years my taste have matured a bit. I liked the “JDM”ness of the bomex wing, but it gave the car a bit of a “boy racer” image when taking the Mrs to nice venues. Something more subtle like this not only gives the rear of the car a much needed rounding off, but gives the overall appearance of a sleek sports car that the general public don’t know what it is. Surprisingly, the Mrs took a fair bit of convincing as she always thought that the Bomex made the Z, well, MY zed. But after explaining the above thought process, she came around the the idea of the CSL wing. An opportunity presented itself just before Christmas to save myself a considerable amount on postage from the states, but it was very short notice. I trusted my instincts and man maths’ed the hell out of the situation and went for it. Through no fault of our own, the postage opportunity disappeared, so i had to wait until the Xmas period was over (both FedEx and UPS wanted over EIGHT HUNDRED DOLLARS!!!!!! To post from around the 18th Dec until early jan). I used DHL via a third party agency and managed to get to wing delivered for £160. Best bit of all, (stand by for aforementioned man maths) I managed to sell my old Bomex high and low level spoiler for more than the Winfactory wing cost me..... so all in all this wing has cost me £140. Full of Win (factory)


-
The fact those Memes exist in the first place says all you need to know about Ash’s ability to deliver with any form of consistency
-
Good guess....... But no
-
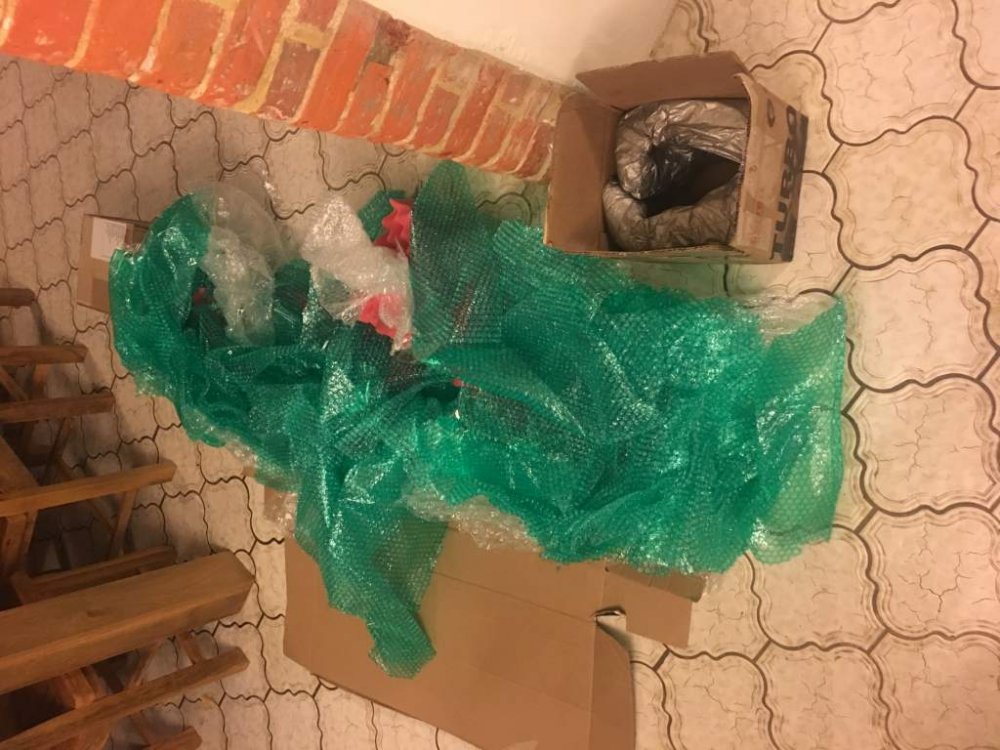
A little clue
-
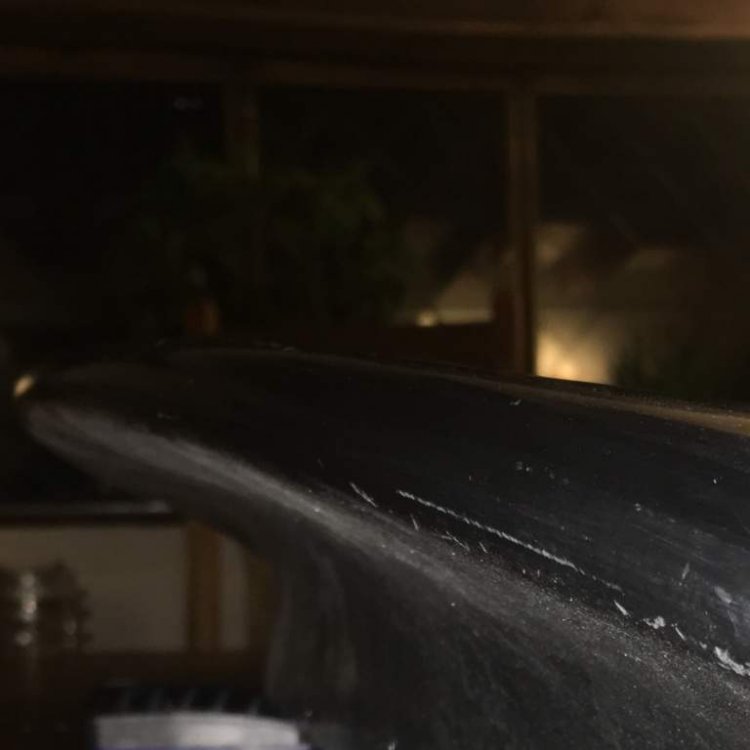
Woohoooo Who wants to take a guess at what was wrapped in this
-
Yes mate.... until Ash sorts out his ability to deliver his good it’ll be a while before I get the Planar (sp) kit, so yes still in stock filter to compressor pipes
-
I don’t actually have a MAF any more (joys of standalone ECU) so I’m just on the Air filter adapter brackets that have a shoulder to slide into a silicon coupler. I tried to find the ad for the one I already have on the car but can’t see to find it. The only ones I’ve found so far are Z32 MAF adapter brackets that are listed at 75mm..... again though, just want to be sure before I buy something
-
They now do a 90 degree 67mm to to 76mm reducer which should do the trick (from memory inlet pipe is 65mm ID and the MAF connection is 75mm), but as I’ve just proved, my minds a bit off this eve, so wanted to double double check - - - Updated - - - If you could mate that would be grand
-
Infact ignore more. I’m being dumb.... If I just measure the two points on the stock T I’ll get the answer I’m after... Having one of those days..... as you were peeps
-
For those of you who are running dual intake Would someone be willing to measure the internal diameter of both ends of the elbows please? Thanks Nick
-
All will be revealed next week :P
-
Well, I finally committed to it, the BGW is no longer part of the look of my Z All being well, my new spoiler will be despatched from the US today and arrive mid next week
-
I’d love to commit, but will wait until the Z is ACTUALLY on the road before I do so. Fingers crossed 6 weeks or so I will know