Everything posted by nickz32
-
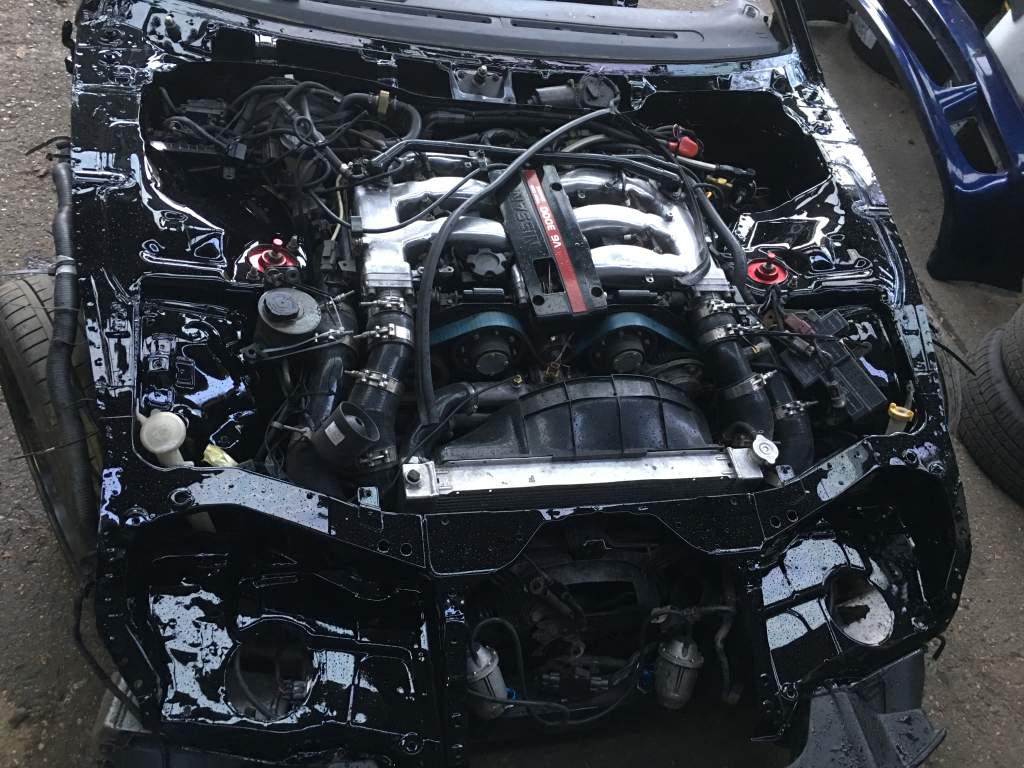
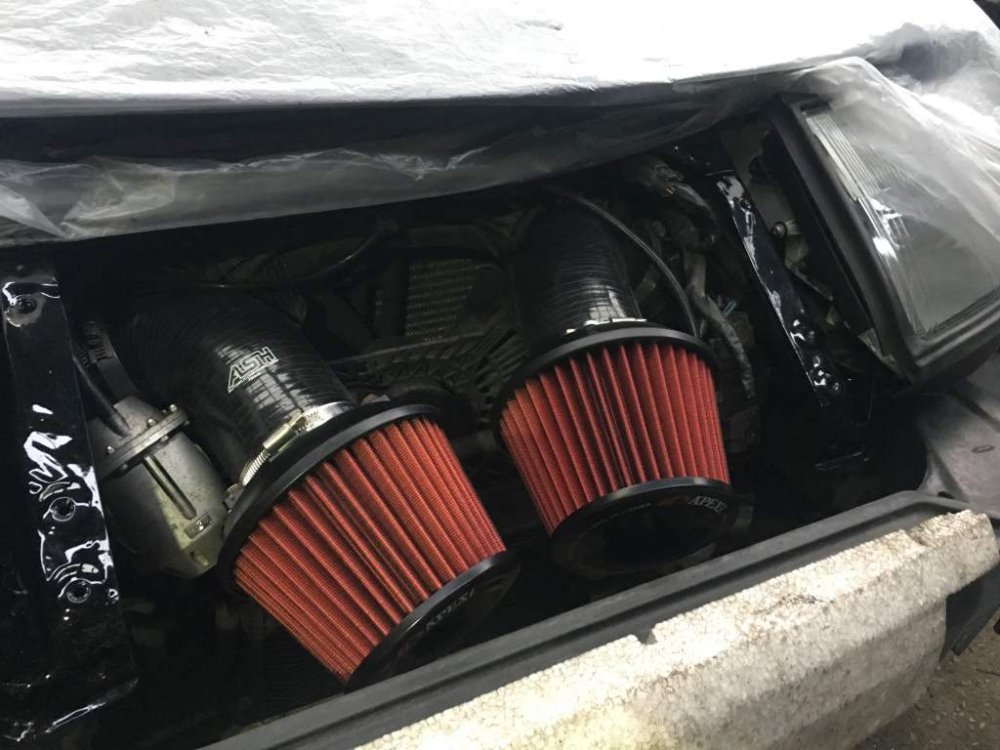
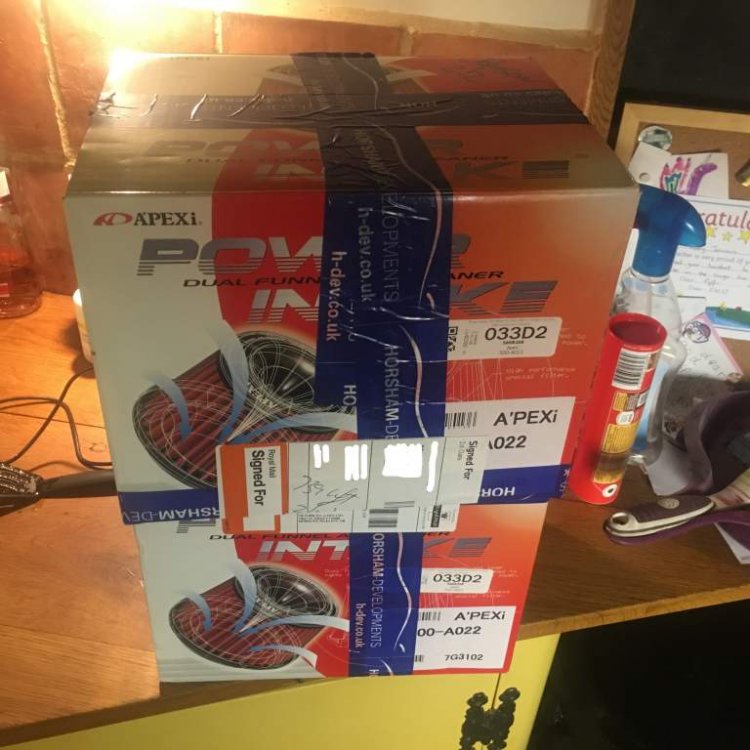
I think that’s looking like a viable option. Having spoken to him again today, he has strongly advised trying to remove it. It’s looking more viable to try and reshape that bottom part of the lip by cutting, flaring and re fibregalssing that area into the shape we want. On a plus side, I fitting my dual intake today. A pair of 90 degree bends from ASH and a couple of Z32 MAF adapter plates, a pair of Apexi filters and bingo...
-
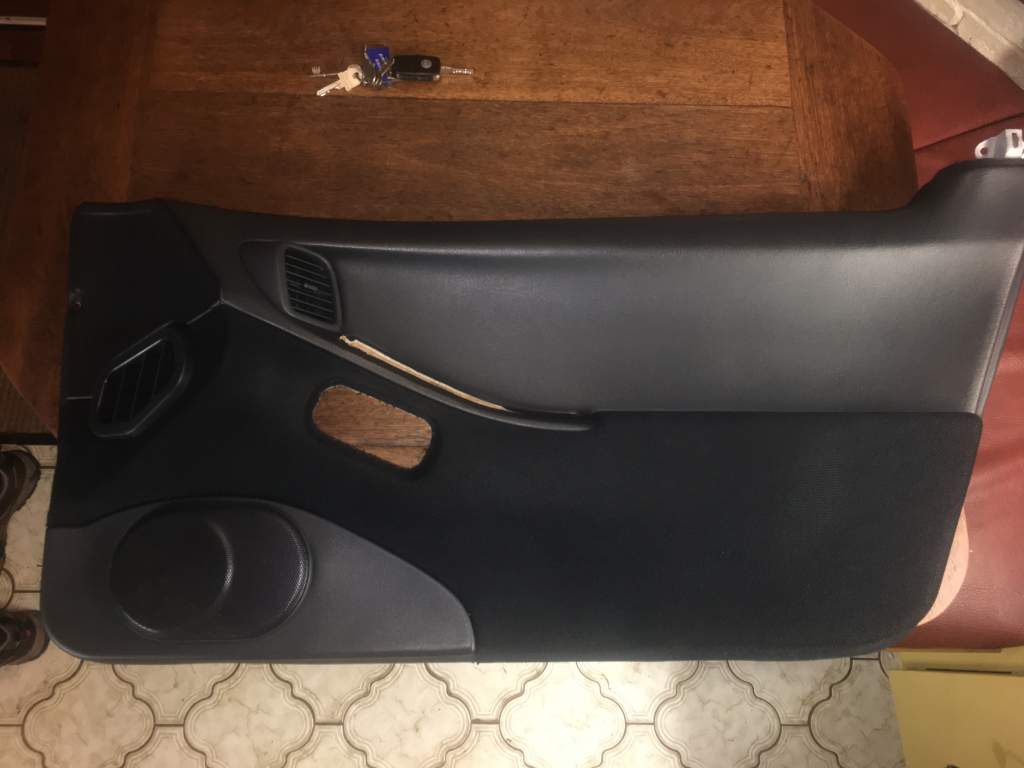
I’m after a pair of bare doors for a 2+2. No glass, mechanisms etc needed MUST BE COMPLETELY FREE OF RUST Thanks Nick
-
I was thinking along the same lines. I’m not sure how much bonding agent has been used, hopefully it’s just a bead around the edges, but I got the impression from the bodyshop that they’ve bonded it in a manner that it shouldn’t ever come off
-
Cheers Rich. At the moment I think completely binning off the spoiler is the absolute last option. Going to speak to the bodyshop tomorrow and see if we can remove it safely and reassess if it can be fitted in a manner that I’ll be happy with. Quite how we can remove it without damaging it is an unknown at the moment, but I can’t keeo it as it is.
-
About what it should be

-
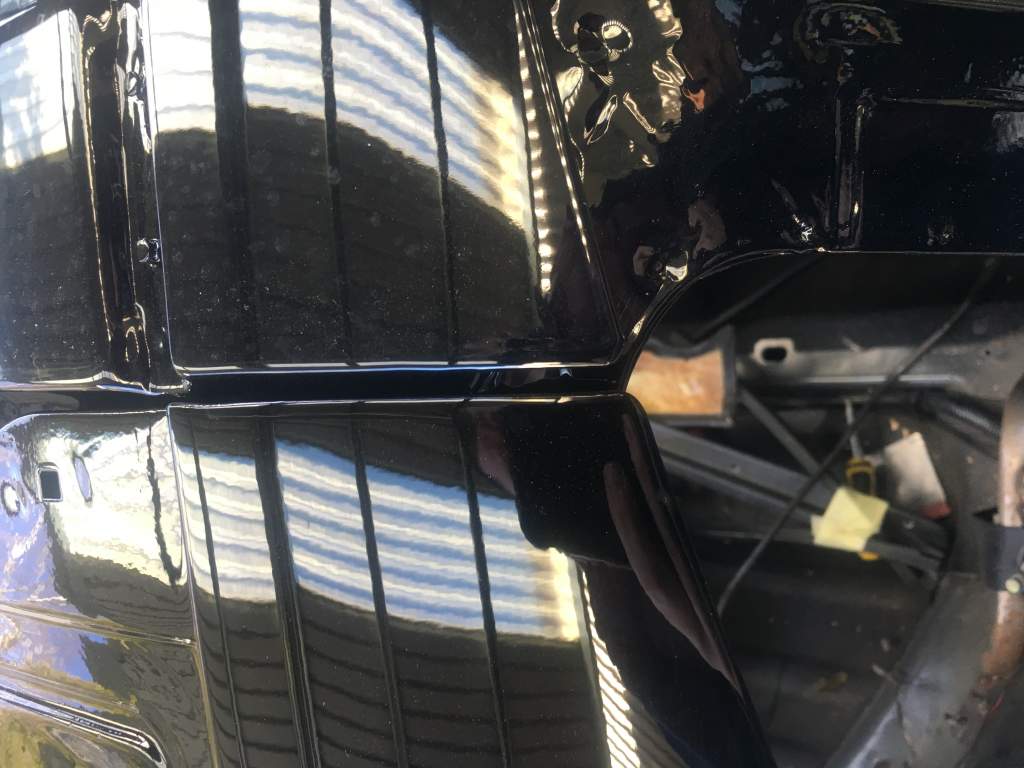
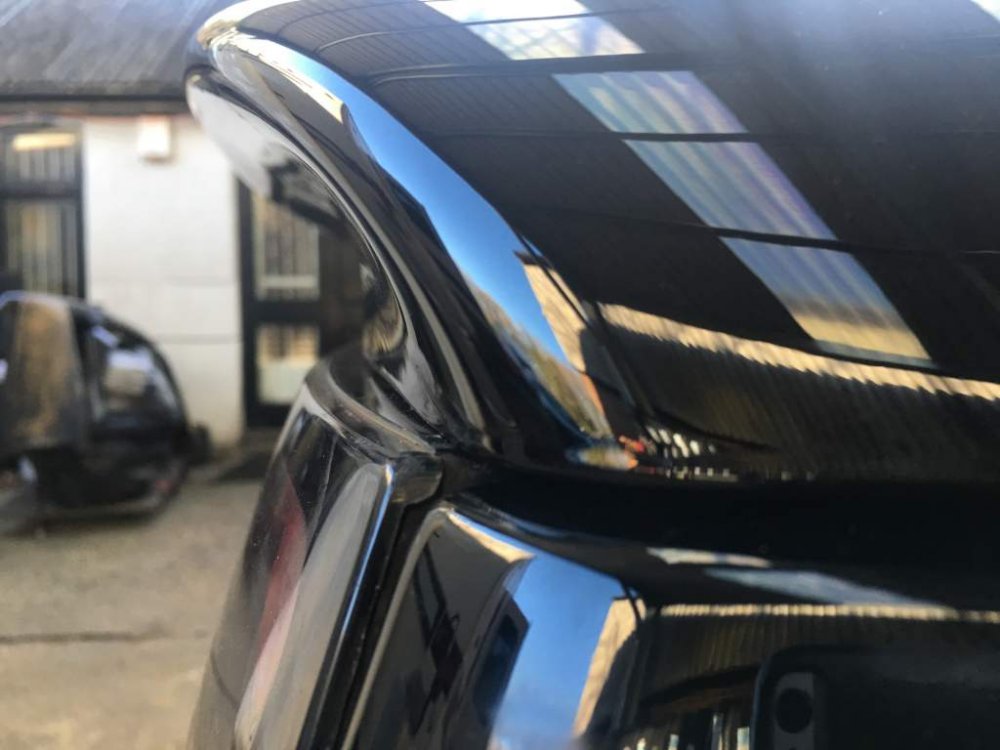
Yeah, it’s pretty noticeable. It’s a tough one to photograph as the things so dam shiney! Without the hatch sitting on the boot seal, it exacerbates the problem by another 5mm or so, but this shows the level of gap I’m talking about Hoping to sort a solution in the next couple of days
-
More disappointment. I think you gear yourself up for your car to be perfect for the first time in a looooong time and, through no fault of your own, you have to accept that isn’t going to happen
-
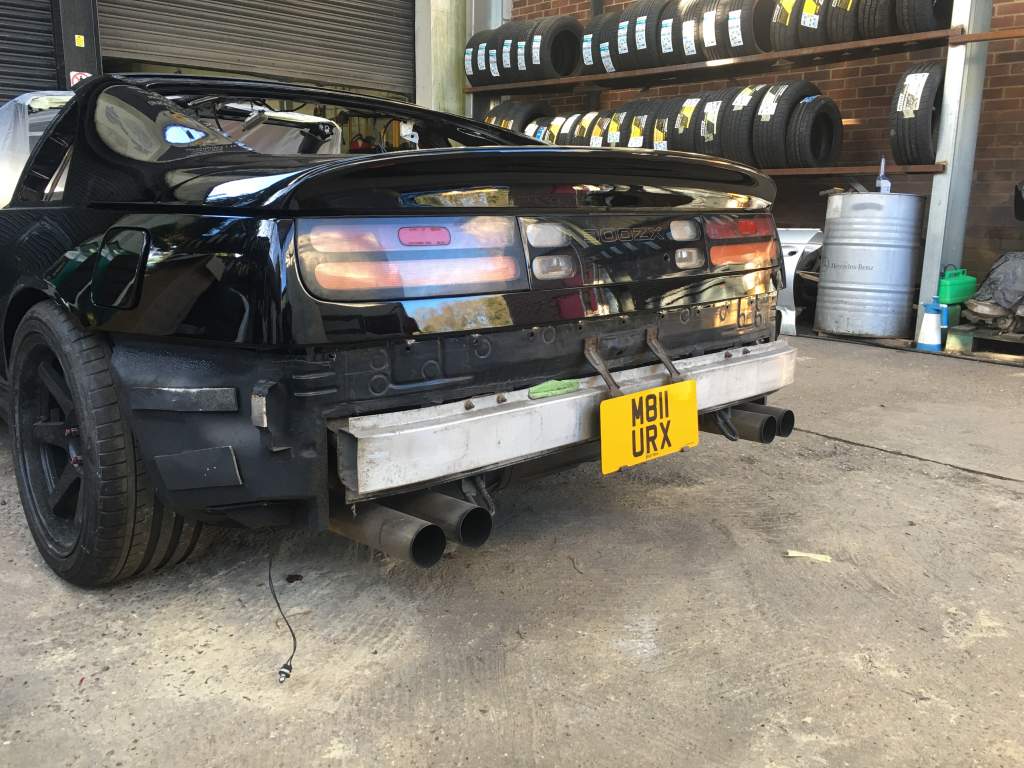
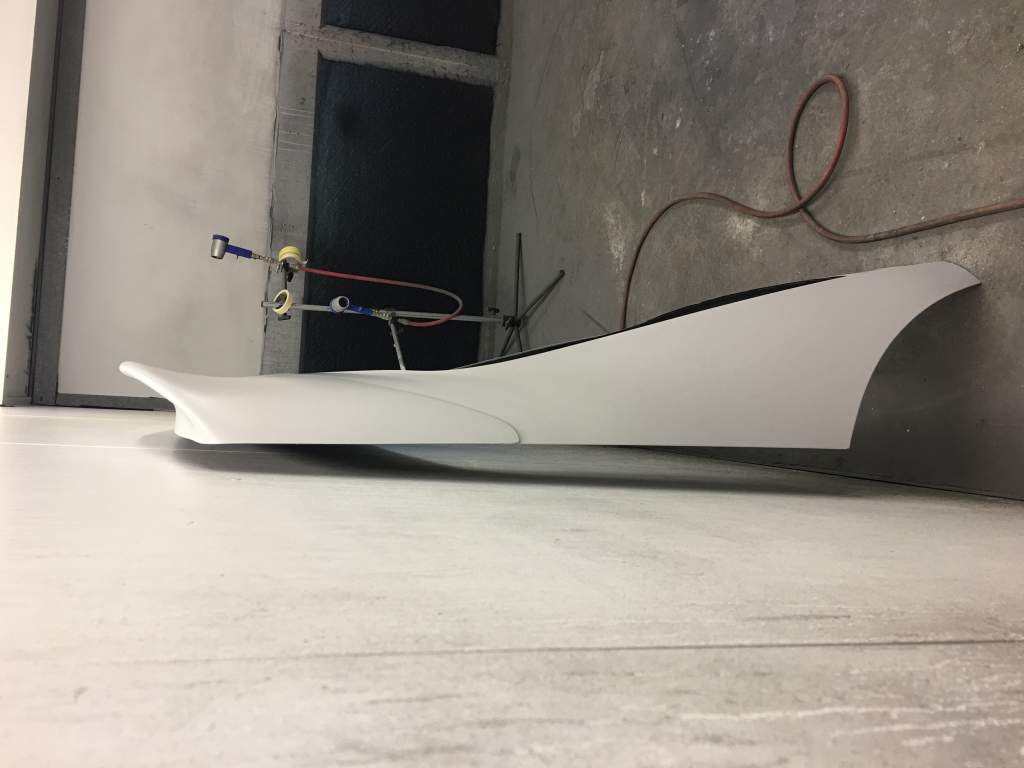
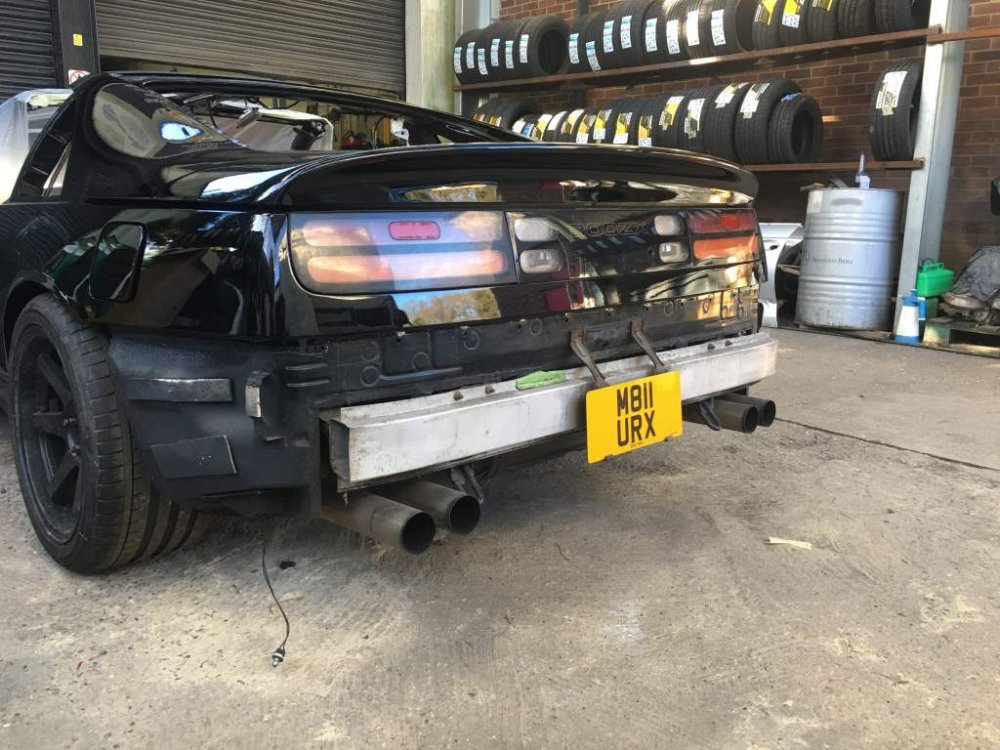
Well the WinFactory CSL-R is on! Unfortunately, as with most after market fibreglass parts, there is a fitment issue. As you can just about see, the bottom edge of the spoiler doesn’t follow the curve of the top of the rear lights. Having spoken to WinFactroy, it appears to be a issue when fitting to 2+2 hatches that they haven’t publicised. Quite how I’m going to rectify this problem I’m not too sure, all I know is today turned into quite an anti-climax

-
Apparently I’ve been declined by the OEM chairman, his Royal Fungalness of The Kingdom of OEM+, for being too dam shiney
-
I’m like a kid that’s had too much ice cream!

-
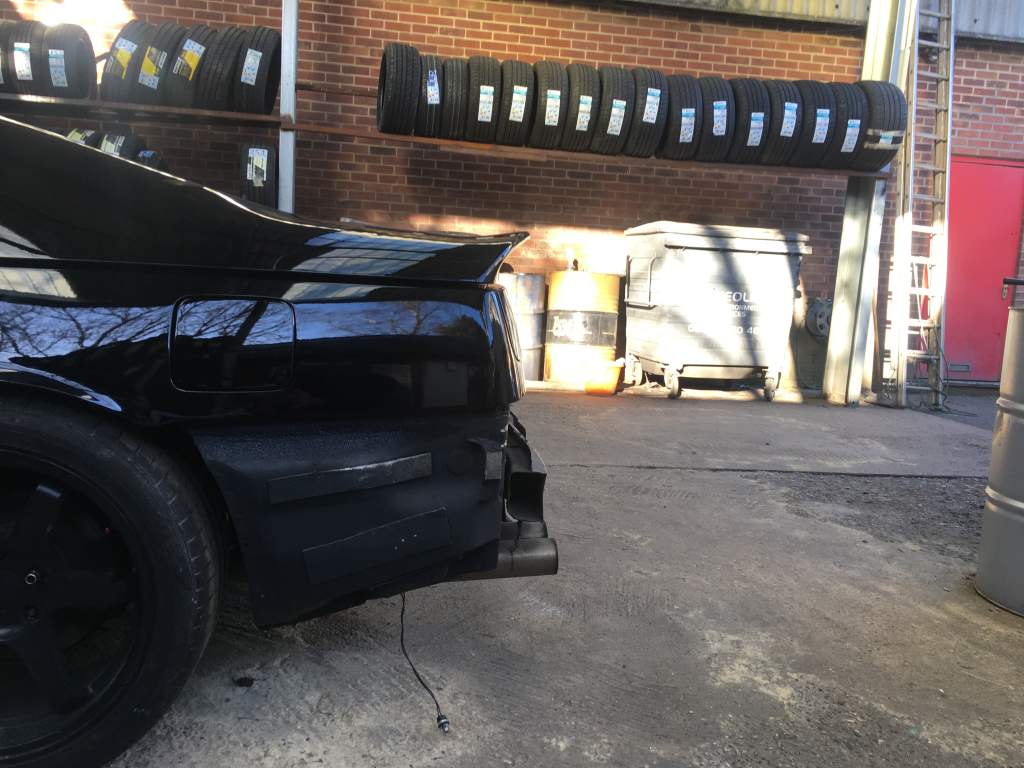
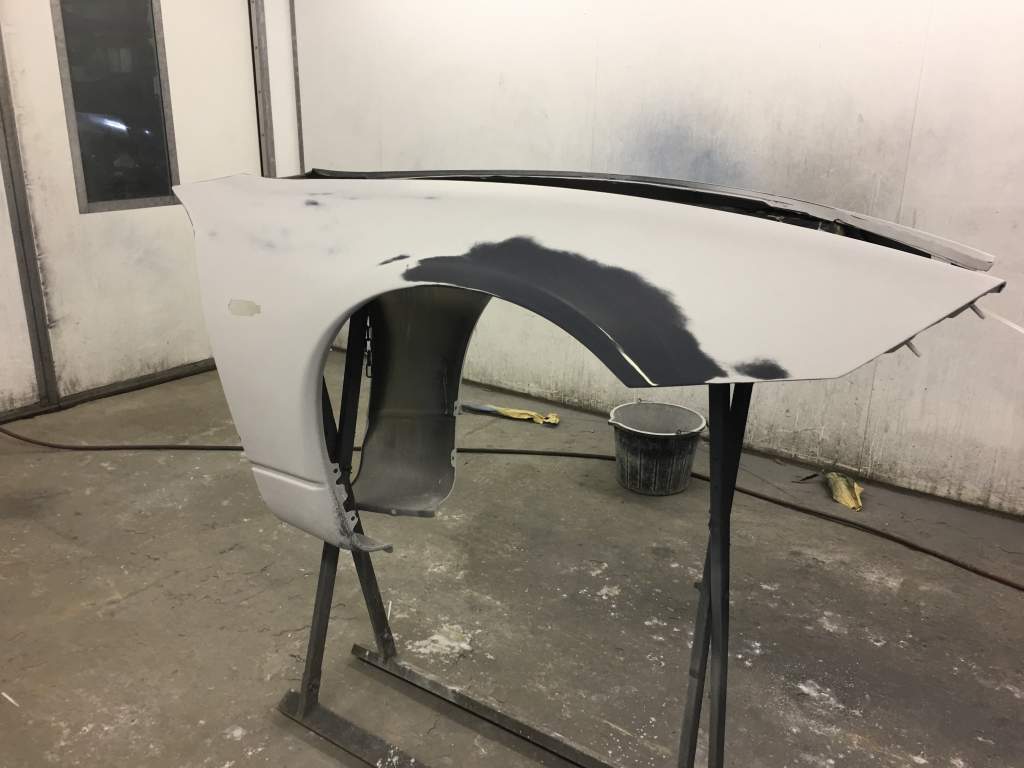
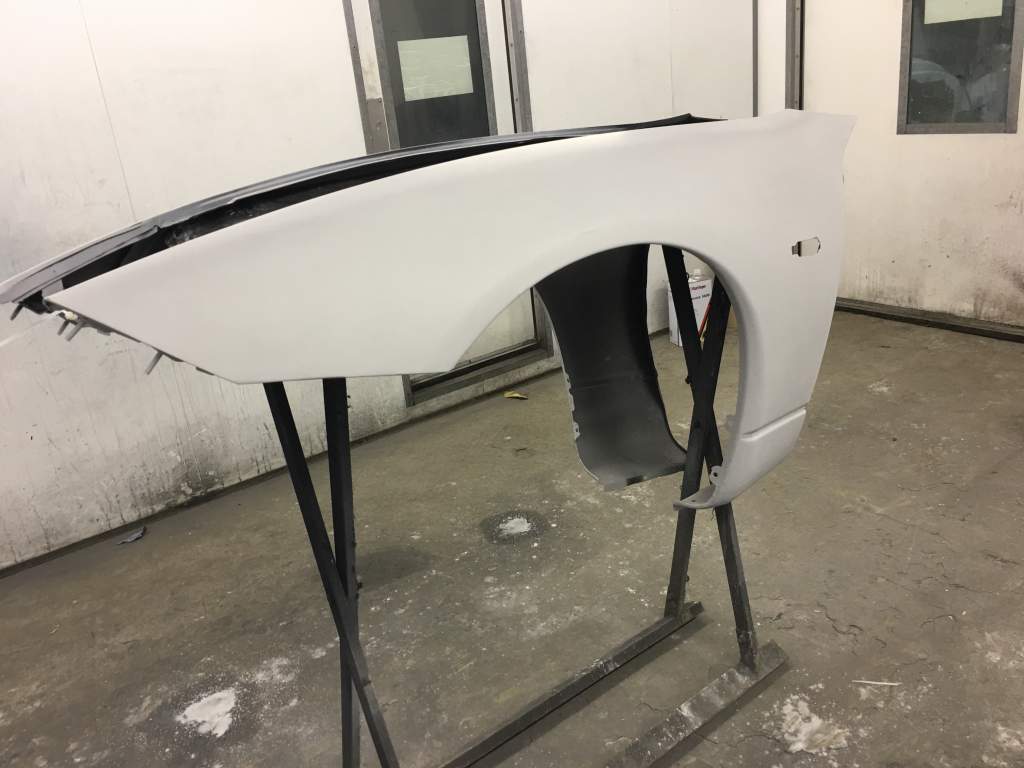
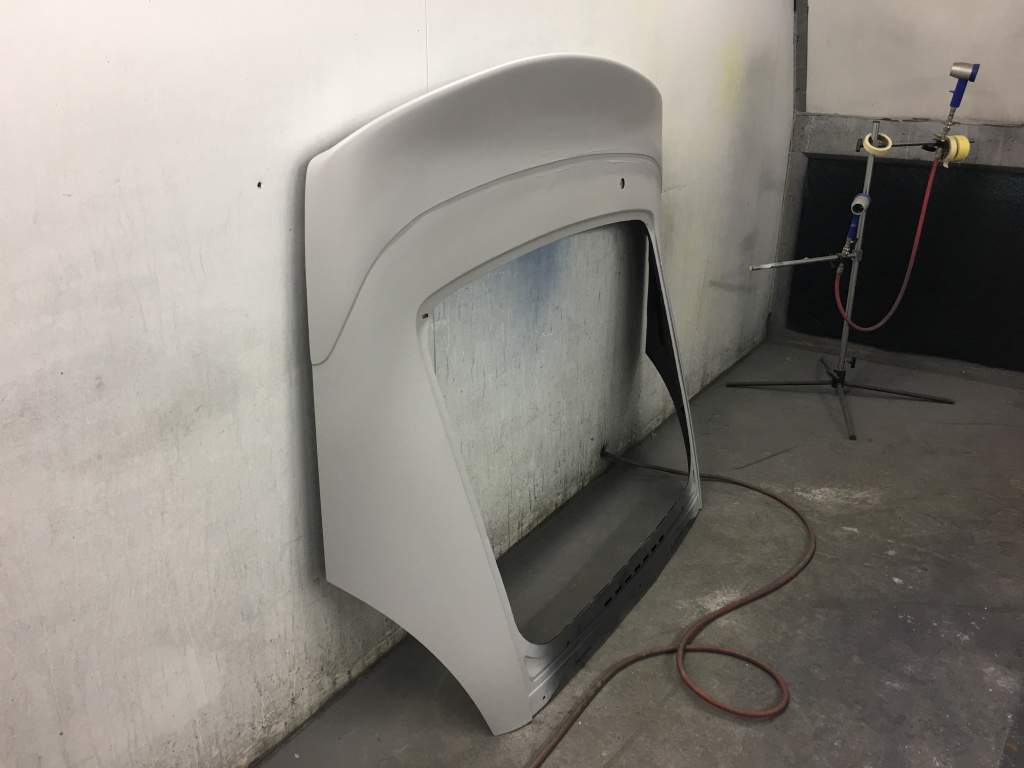
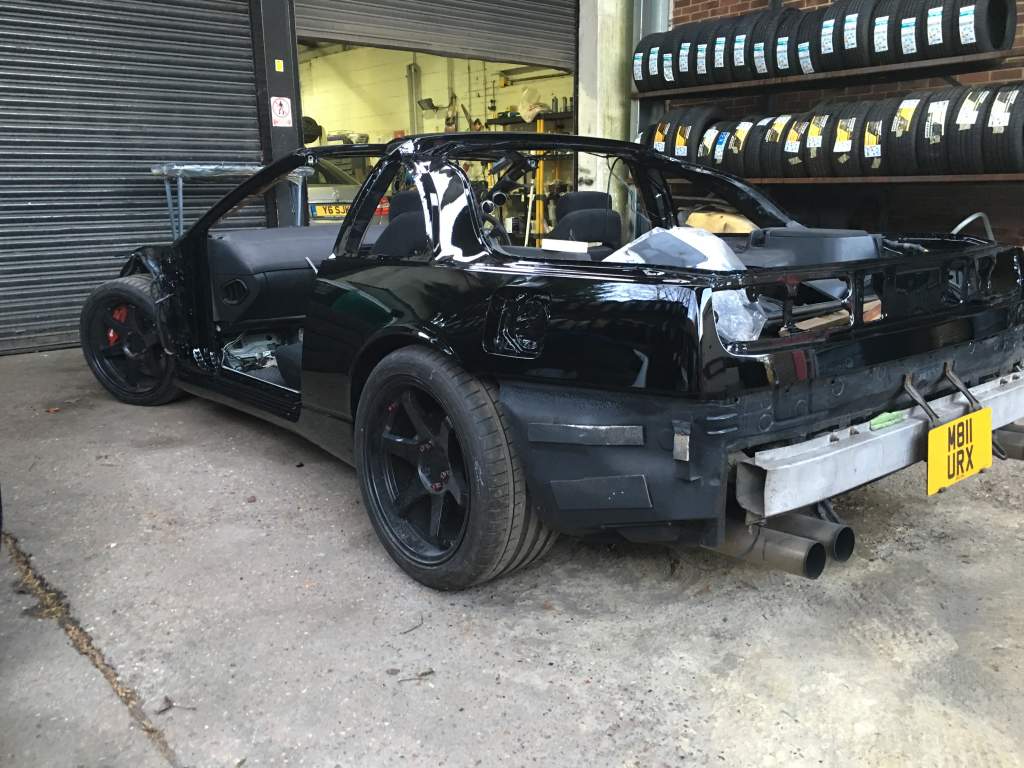
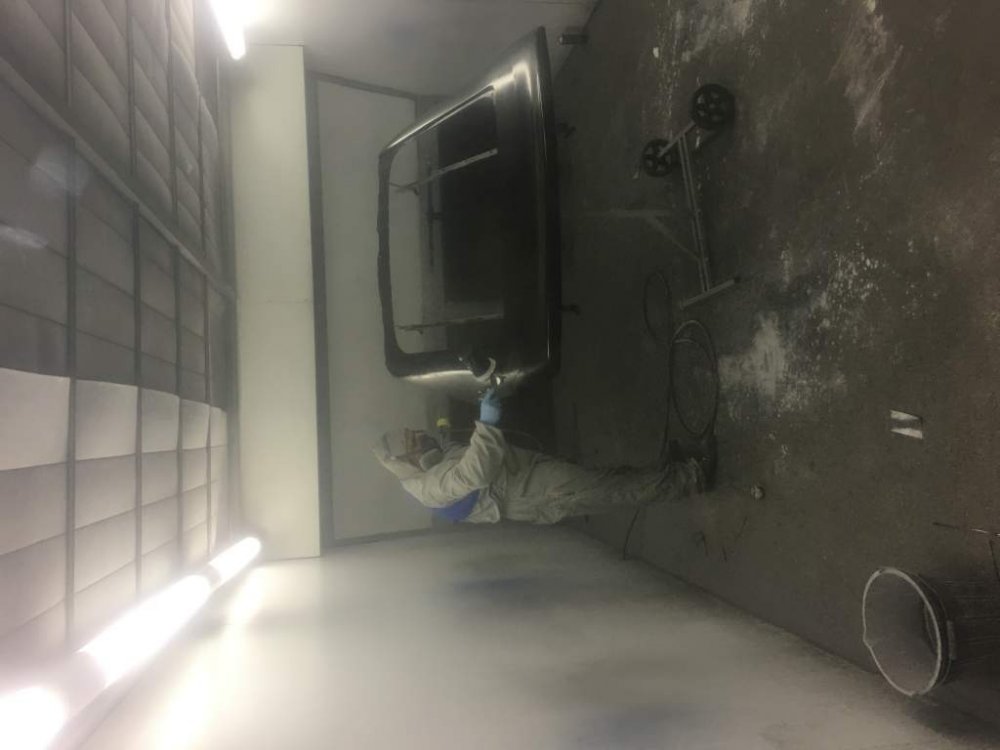
A little bit of progress... Wings, bonnet and boot lid got their first coat of primer. A few little defects became apparent that needed sorting, but they should be in colour this weekend. Winfactory spoiler fitted beautifully. Once the sealant has fully cured on the leading edge, that’ll be flatted back. I didn’t want the spoiler moulded into the boot as I like the definition of spoiler on the boot lid. First bits of my dual intake arrived this week. Just waiting on the silicon elbows and I’ll be able to test fit everything before the bumper goes back on Also made a start on cleaning some of the interior parts ready to go back in the car. The later style cloth can be a royal pain for holding onto grime deep in the material. Nothing a bit of APC, microfibres and patience cant solve


-
Despite my best efforts with the heat gun, it pulled a fair few of the elements off with it. I painstakingly repainted the lines with the repair paint, but I’m yet to test if it’s worked
-
Another one for fine grade wire wool. Used it to remove the glue from the glass after I removed my window tints. Just let the wool do the work, no real pressure is needed. It’s tempered glass so it won’t scratch unless you really lean on it
-
Yep, it’s a manual TT which already has a 555cc chip in it (for Deatschwerk 555cc injectors) You won’t be able to PM until your a subbed member I’m afriad buddy.
-
I’ve got a socketed ecu for sale mate.
-
Think he originally planned on a NA-TT build, but he ended up selling it for fund towards a house I think.
-
Nah, he got a black TRD kitted NA Mk 4 Supra after the Z
-
God I remember that day at JapFest, Murt stuck it into the infield after aquaplaning. Seem to remember the silverstreak shearing a calipers bolt or something during the dry session later in the day
-
Speaking of old Members, I still see Chunk on a regular basis, he says Hi to all the old crew that would remember him. Andy Isherwood’s Car was always one of my favs. Wasn’t personally a fan of the rear light conversion, but as with most things with Andy’s car, it was very well done. Spoke to him this evening as it happens, he’s umming and aaaahing about getting another Z.
-
I still speak to Marco and may well be helping him rebuild his N/A engine with some fancy bits
-
Last MOT was in 2011 aswell
-
All your doing by advancing just the intake cam is adjusting the valve overlap. Advancing the intake valve opening will increase the valve overlap which in turn make idle worse, not better. Find yourself a new tuner, he’s talking pish
-
Yeah, it’s a bit messy up there at the moment, but that’s where the MAP sensor and Boost solenoid now live. A bit of sensible re routing and it’ll be presentable I assure you
-
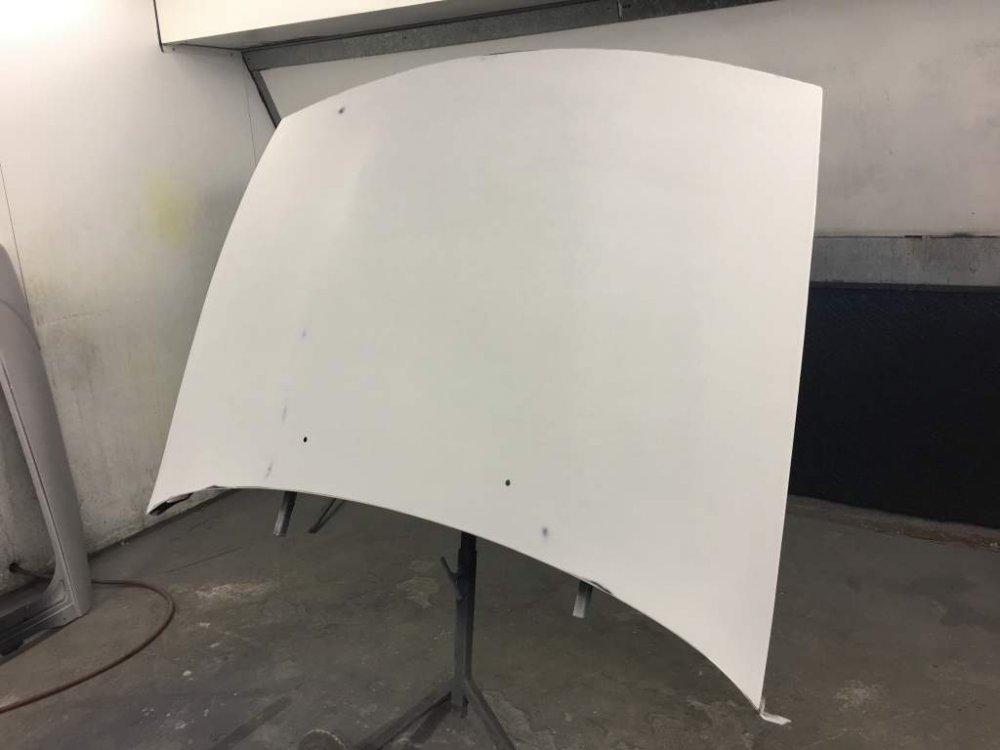
Ok, so I’m getting a little excited now Not too shabby straight from the gun!


-
It’s tuesday until 6am as far as I’m concerned