Everything posted by wchestnutt
-
So after a trip to euro car parts and halfords I armed myself with plusgas and freeze shift (or something or other) from halfords which had good comments on pistonheads. I also bought an impact socket set to use with my 1/2" wrench. Just taken a recess from the rain and have the first bolt almost off!!! Amazed. Took it realy slow and kept stopping to add more of the plusgas and tightening and loosening to give it time to work in. So cool! Thanks for the feedback. Although there are still 5 bolts to go..... sheesh - - - Updated - - - Whether they will go back on is another matter....
-
Yeah I am working on the elbow flange too. I am armed with a variety of products to try and release these nuts now. So if I snap these off, why couldnt I just drill all the way through and then use a bolt instead of the studs? Any reason?
-
Ohh I see so you didn't actually use and impact wrench! fair enough. I have a the ratchet wrench so will just pick up some decent 6 sided impact sockets
-
Now, what happens if the studs are too rusted up and don't have any thread left?... Is it likely that undoing them will put enough thread back on it to then put new bolts on? Or to I need to look at gettign new studs? Is that even possible?
-
Right you are. I will give it a shot with some unlocking fluis from halfords soaked overnight, and then a torque wrench... Never bought one before, is this the ticket http://www.screwfix.com/p/erbauer-eri6041pd-18v-2-0ah-li-ion-cordless-impact-driver/7485f
-
Hello! So today I am investigating my decat install and wondering how on earth this works... I have the car lifted on stands and have been checking out teh bolts. I have a japspeed style decat pipe to try out. It is stupidly tight in there so I am probably going to fail at this, but will giev it a shot... My bolts all look pretty rusted, but I will try and save them with some WD-40 and a wire brush. These bolts appear to be fixed into the elbow pipe, in that there isn't a bolt head that I can feel, is that right? So it is just a case of releasing and working on the nut and thread?
-
Today I intend to battle the rain to fit my new decat... after getting quotes of 150 quid to fit it I thought I would just buy a bigger trolley jack and try it myself. Have a drill and a dremel for cutting out old bolts so hopefully wont be too hard.....
-
Wow good luck! There is a cool build on instagram called le_wild_z He has fully rebuild his zed and engine and has had to do a LOT of fab work to get the turbos and manifold to fit etc. Finally almost finished though after a LONG build! Woirth checking out if you have instagram.
-
I am having a quote from Sam at Passfield panel and paint. really nice guy and have seen some great work from him! Very good price too! Welcome to the forums :)
-
I thought that was relatively entertaining to be fair.
-
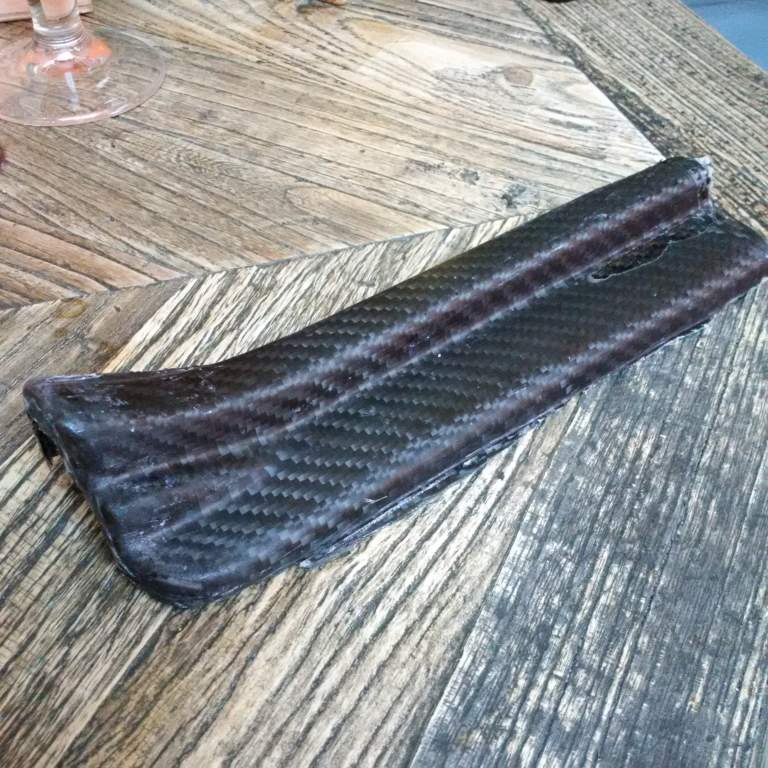
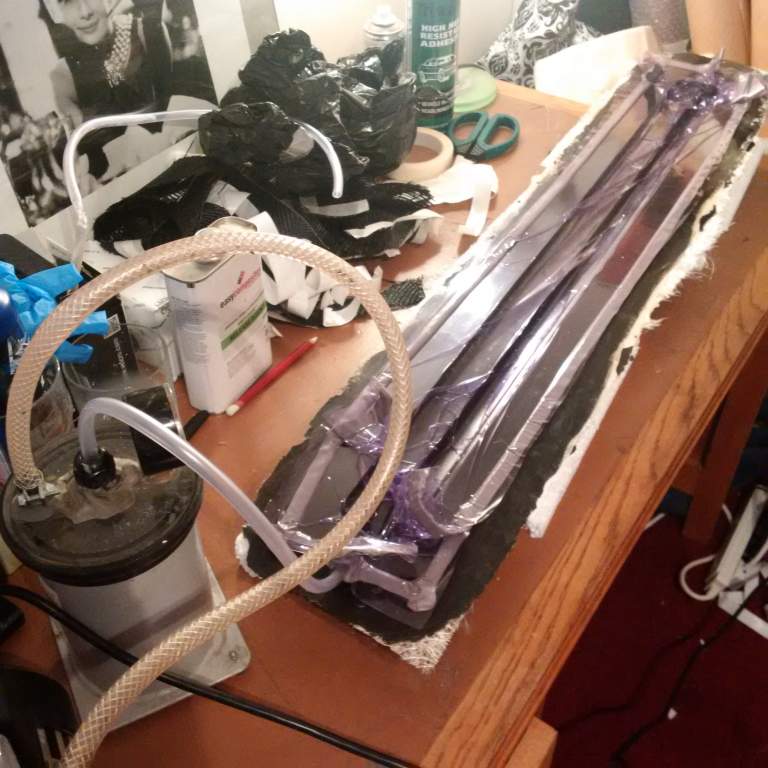
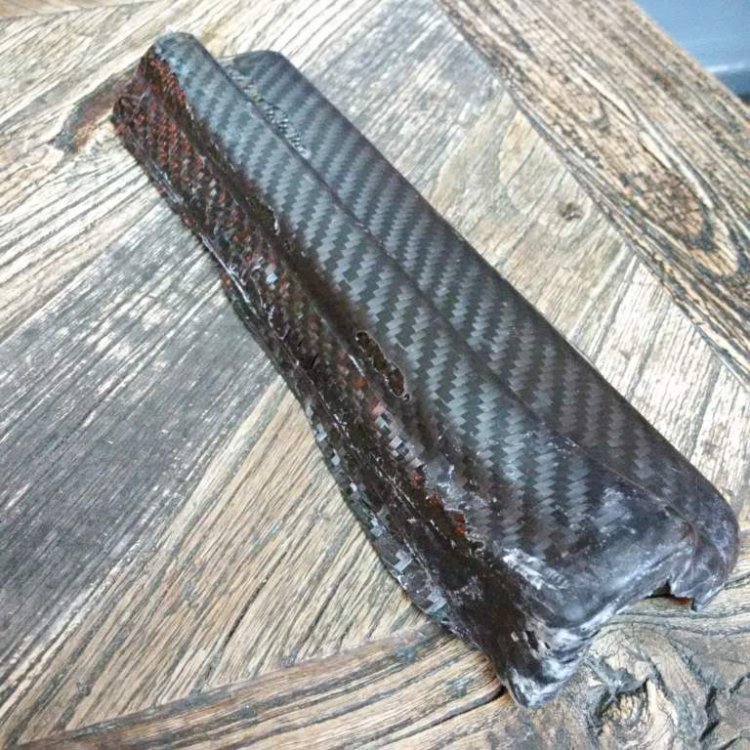
De moulded my test piece today. Considering that it lost vacuum after an hour this has given me some confidence back - if I can fix the leak or keep the vacuum on without starving the part of resin then it may still work. The parts which stayed under vacuum are really smooth and could be polished up. Just one side I a mess haha
-
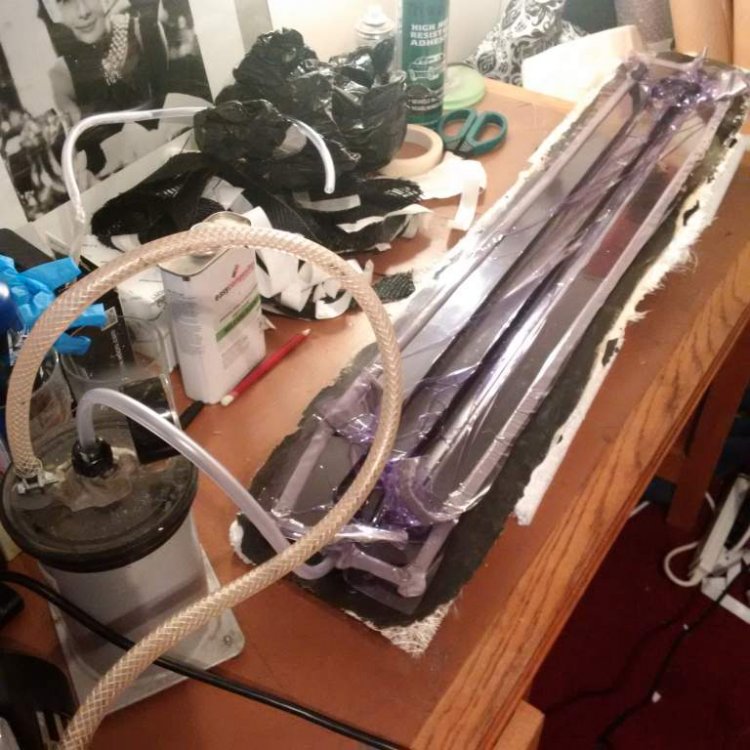
I have a peel ply, then infusion membrane/mesh then the bag.
-
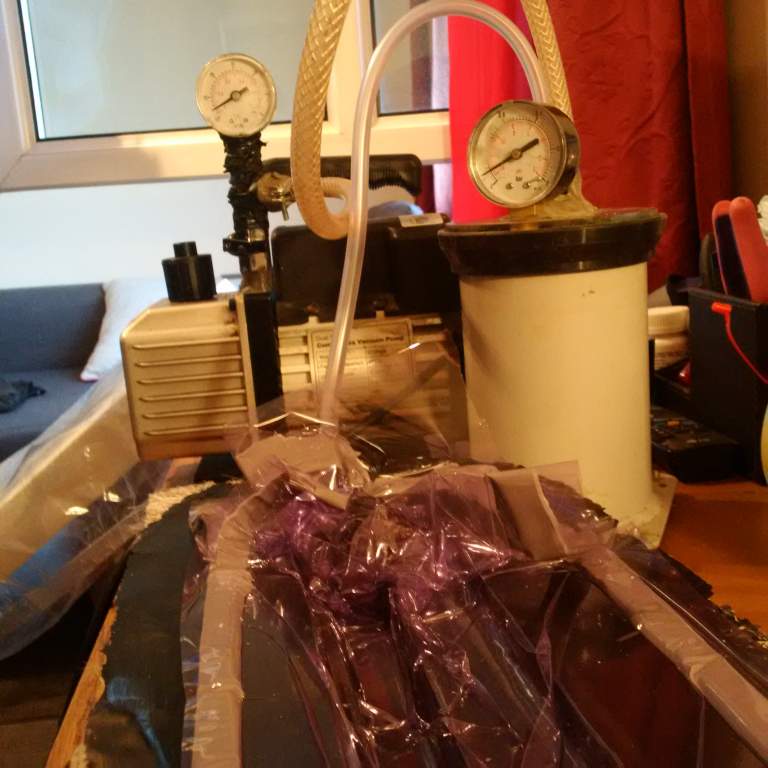
Hi Joely, yeah I have been shutting the vaccum off to prevent the resin being sucked out of the part, but I will have a play with doing it as you suggested - I have a couple of guages monitoring pressure but nothing which could automate the pumping. Will be removing the test part later to see what happened!
-
So it turns out that the mould is not air tight... Must have a micro leak somewhere as over the course of an hour the vacuum looses pressure. So I am probably going to put the sill cover to the side for now as it has been an absolute mission getting this far and is just so hard to get to work. I have an infusion test in the mould at the moment but it isn't going to work annoyingly. Will move on to a small part as I didn't quite appreciate the time this would take - Far more consuming than upholstery! And teh added annoyance of the resins and agents you have to use it is quite messy work. This time it will be some seat belt rings for the bride seats as mine have snapped. They are quite small so hopefully mistakes wont' be so time costly.
-
Hi Guys, As title. Looking for a few bits. please post/PM prices inc postage to London.. Drivers side window motor as mine has slowly packed up. Must be working condition. Drivers side door lock barrel clip thing as mine has snapped so no longer locks. Windscreen wipers in good condition as mine are peeling and gross. Rear aerial as mine has snapped. My motor works but I have unplugged it for now as the metal snapped after some yobs got to it. Thanks!
-
Hello guys. I have the rear perspex strip for sale. This is the red colour pre 99spec. I have the box that the new one was sent in so can post for £20. Bit faded and will need new clips. Includes bulbs. regards, William.

-
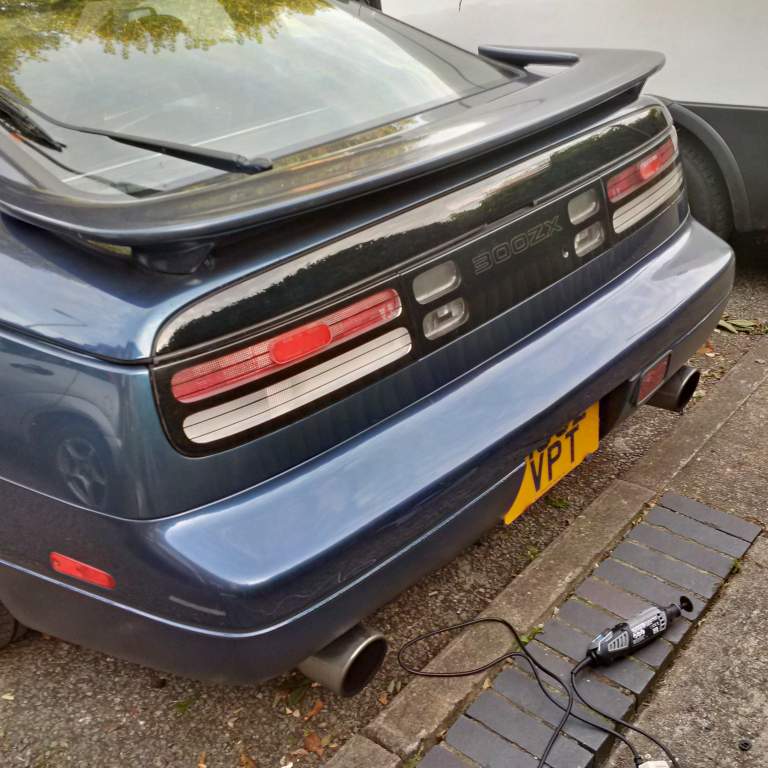
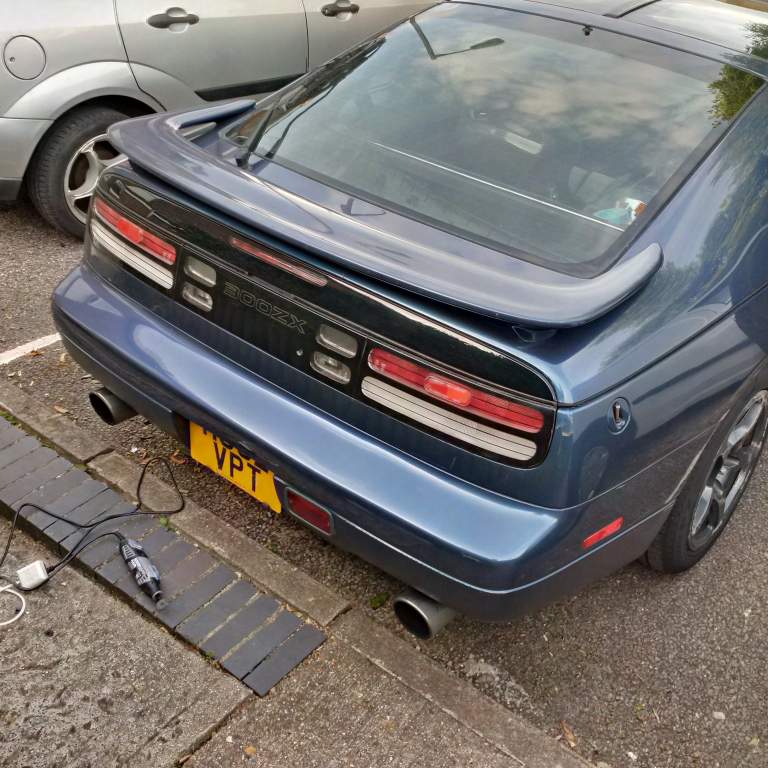
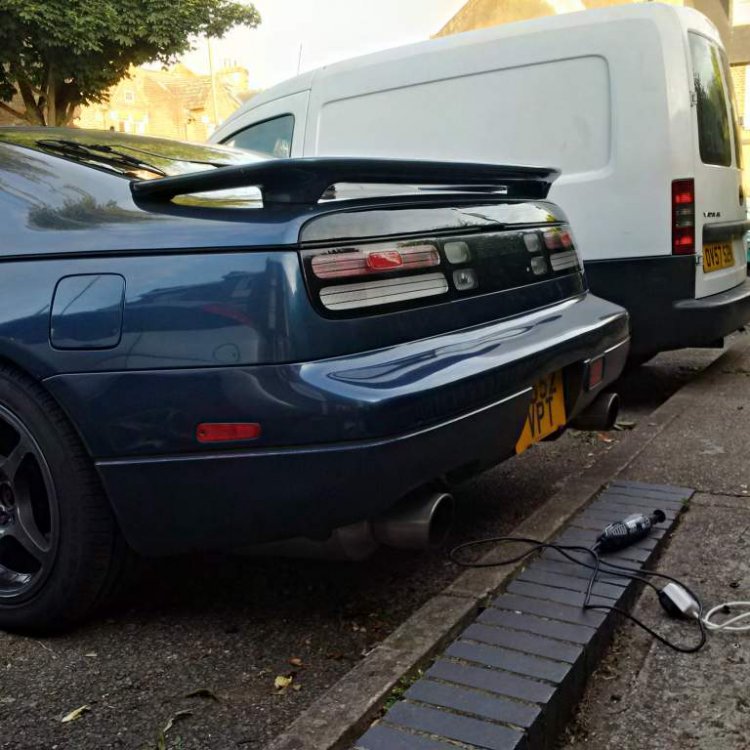
finally fitted my new rear light panel from Evaansss. Thanks so much man, great help with the delivery and all! Top man. Look perfect with the phutumsch lights! going to look at the respray and fitting of the 99spec spoiler and front bumper next.


-
Didnt get time to do an infusion last weekend but just completed a successful vacuum test on the new mould...

-
Went and visited Sam today at panel and paint. Very nice guy and obviously very skilled. He is pricing up the job but we uncovered some interesting history about the car!... So by the looks of it under close inspection it appears to already have had a respray, probably when It was in japan as I knew the original uk owner and he didnt respray it. Some of the issues now are from where the old repairs on panels have started to suffer due to moisture ingress, or lacquer peel. So we are pricing up front 99spec bumper, 99 spec wing (including welding up old holes), full strip and paint of wheels, and basically a full respray on both sides and front to fix the issues that are starting to creep up. Looking forward to his quote, seems like a really decent bloke though.
-
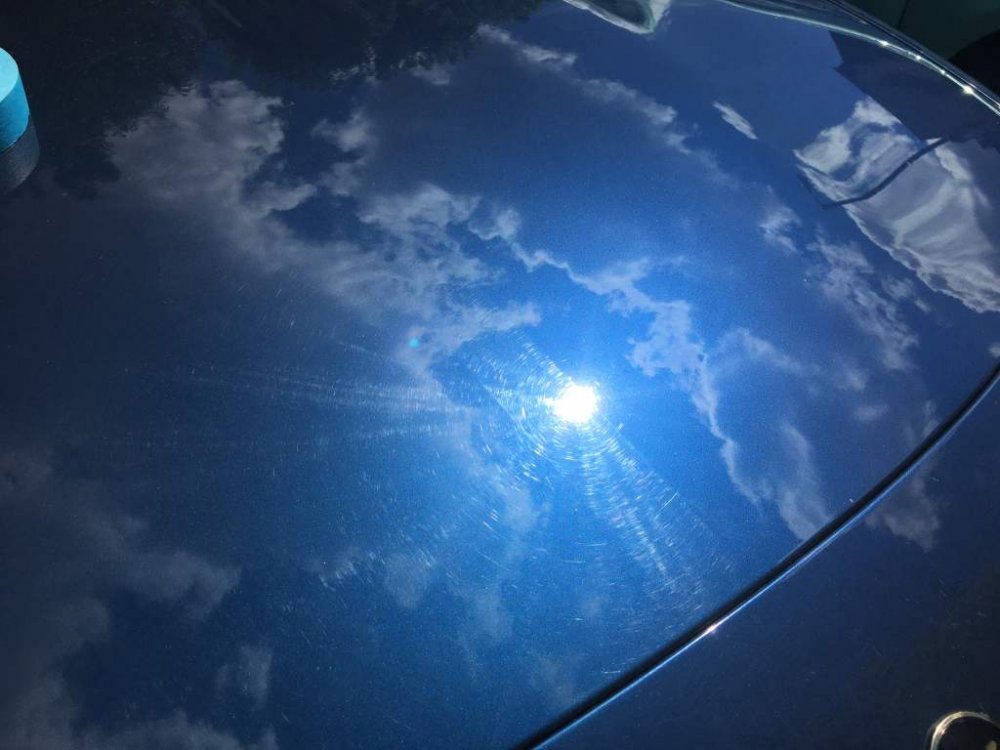
Tested out the new dual action polisher and maguiares compound and wax and also a clay bar on the front of the car as I am having a pricing for the respect work done tomorrow. Amazing results I think for an old girl, well impressed...


-
Ah yeah bodymechs is too far for me though. Gonna see sam on monday to have a look over the car so all good
-
Im lost... who is Boldy?
-
Hi matey, off to see sam on monday to discuss the job. He is a bit hard to get hold of though! Do you have any before/after photos of the work he has done?
-
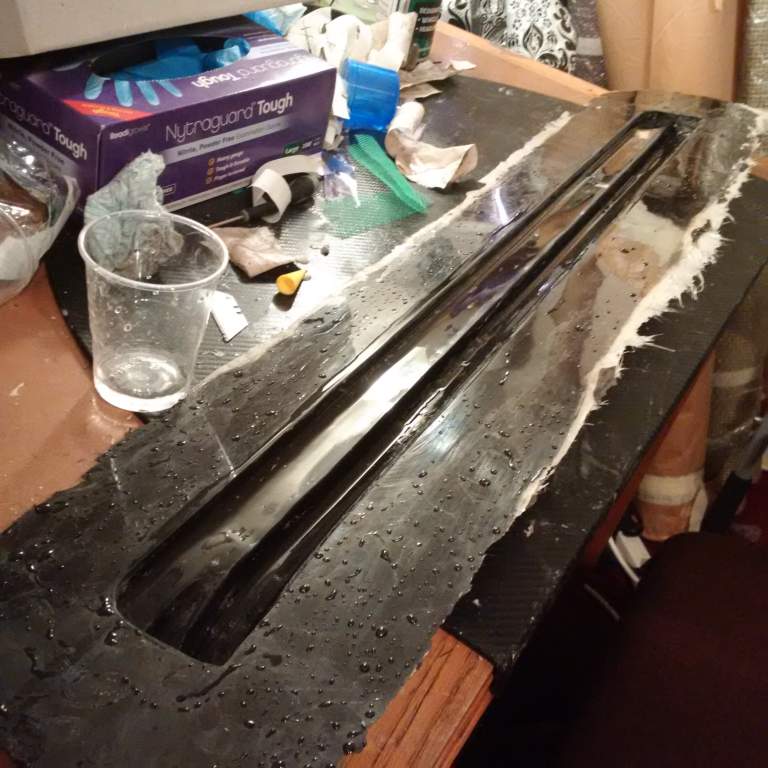
So this weekend I will do the first infusion on a final mould - the drivers side door sill cover. Very almost gave up when I realised how tricky the sill covers were with their tight little curves, but I think I got it!
-
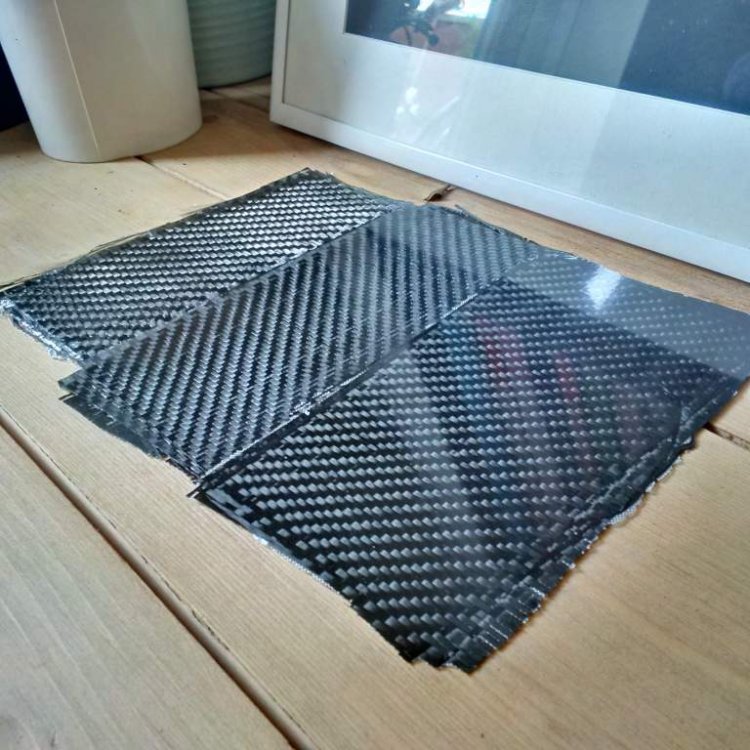
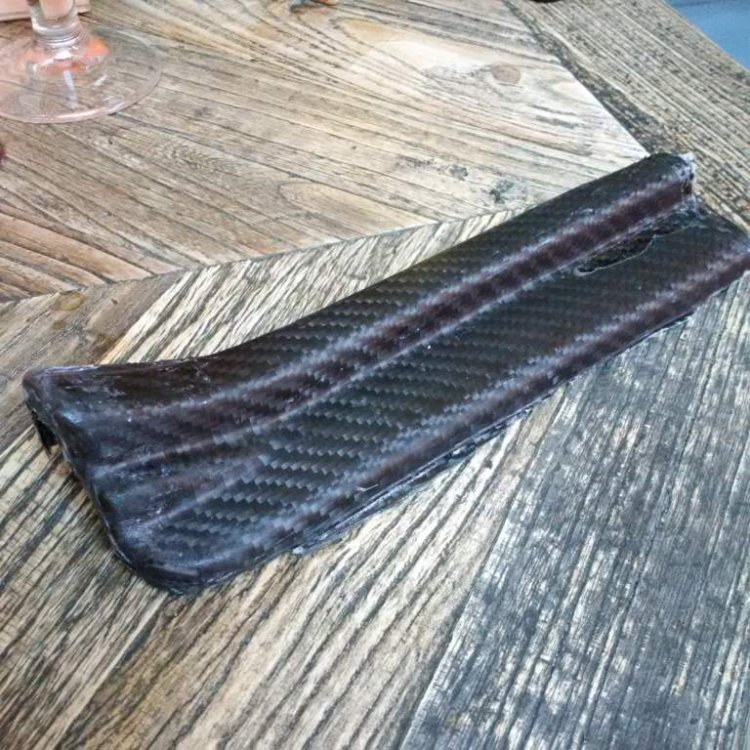
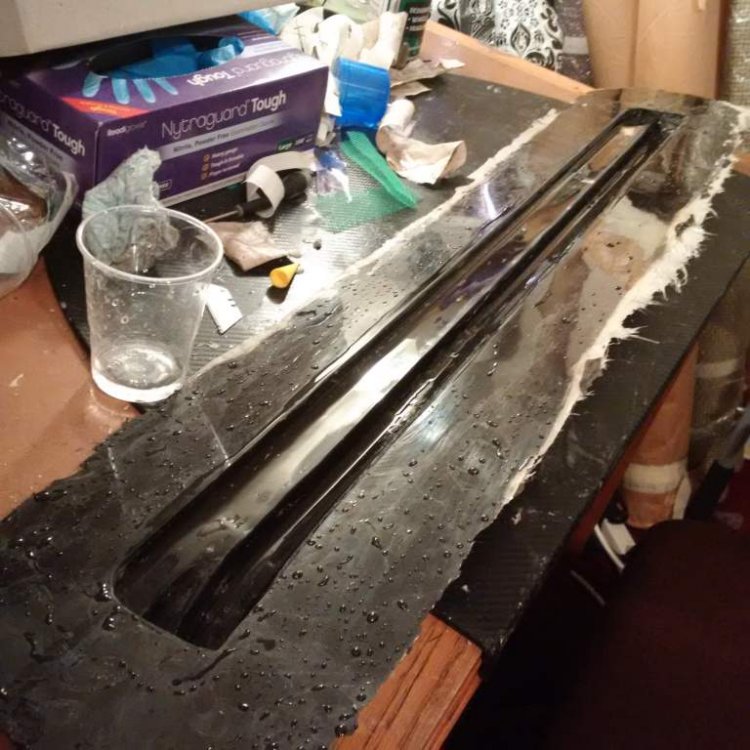
First second and third test of resin infusion. Initial two tests suffered from resin starvation, but I have the process and materials sorted now and the latest one is mirror smooth. This was 4 layers of 200g carbon twill weave. I am just doing the final few layers of fibreglass on the mould for the sills and then I will run a test infusion for that. It is a shame that with limited time in the evenings this process takes ages as each time you leave the part to cure you have to wait 24 - 48 hrs!