
Everything posted by wchestnutt
-
Ah yeah I've seen a 300 Swb but I think it went for a grant at auction! Nice plate though
-
ahh okay thanks for info. I wasn't sure if the 6 letter/number format would still count as the same reg as a 7 number/letter reg. I know they are a bit marmite, but once the car is finished I think I would like a "300" number plate in the same way the NSX all were issued "NSX" plates, just a finish touch down the road.
-
ahh shame, even with it being a different format??
-
Hi all, I would like to get a personalised "300" number plate for the zed. I know you can't go newer when you change them, but what if it is changin to a different format? ] ie. currently it is M652 VPT, can it change to: W300 XX Regards,
-
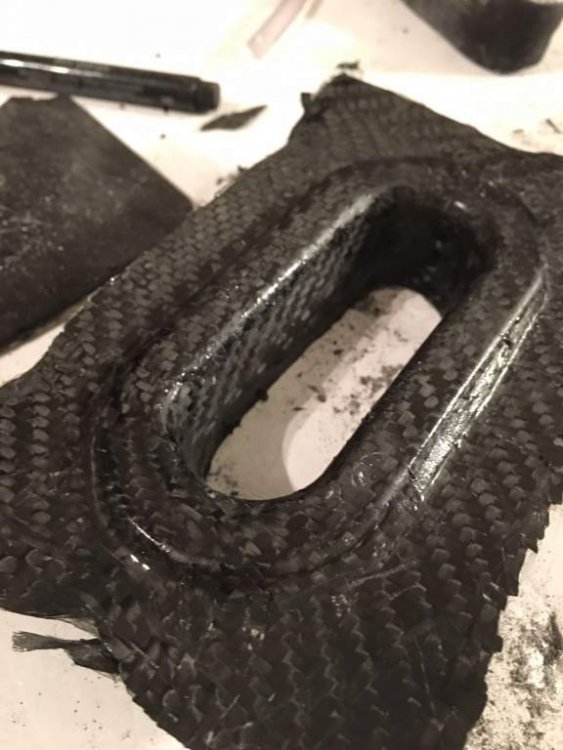
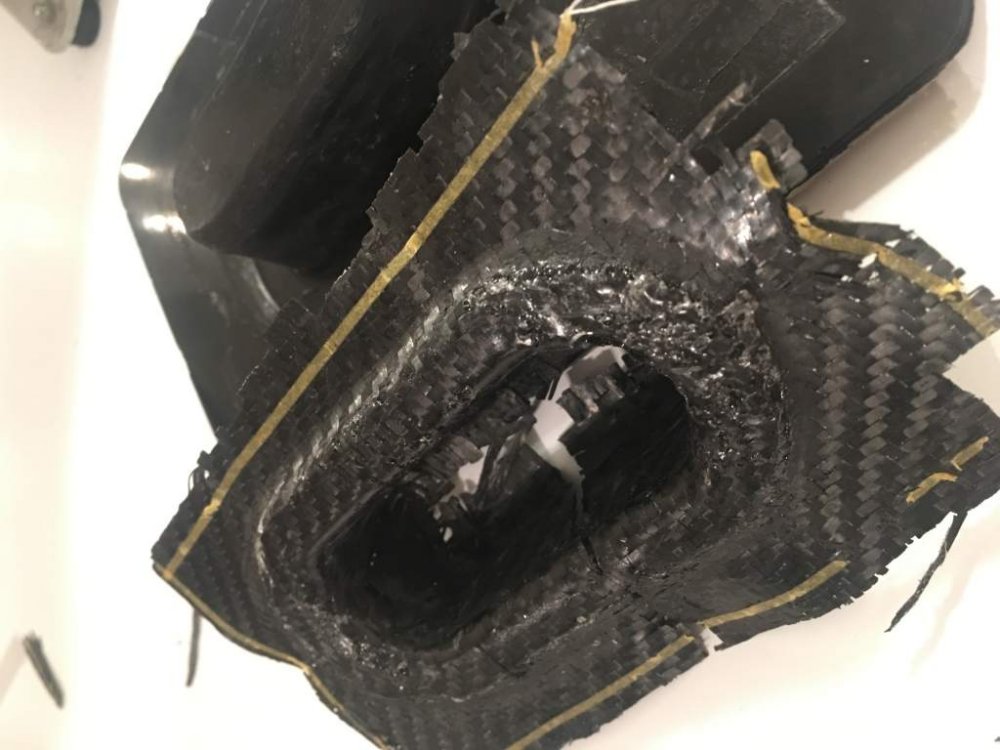
more lessons: the infusion worked a treat now it didn't have an air leak. the part is strong as anything. unfortunately i had a mechanical lock which means i couldn't remove the part without killing my mould. so I will now finish one part including polish and clearcoat, and see if it works. if it does then i will build a new mould with a better design which allows the part to be knocked out from the bottom.


-
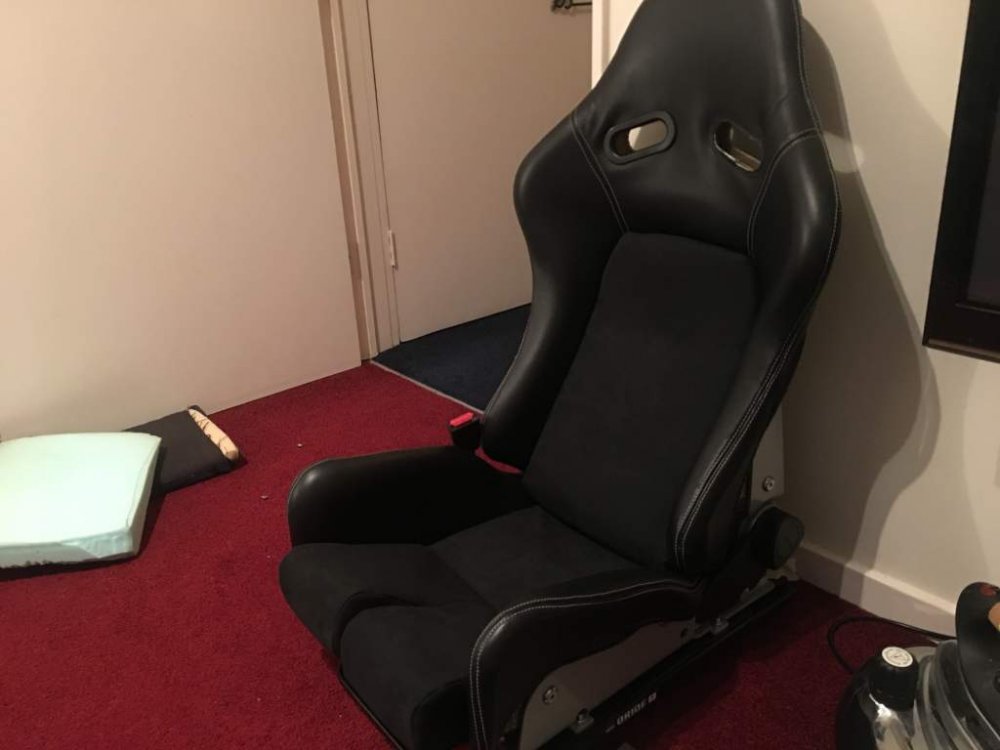
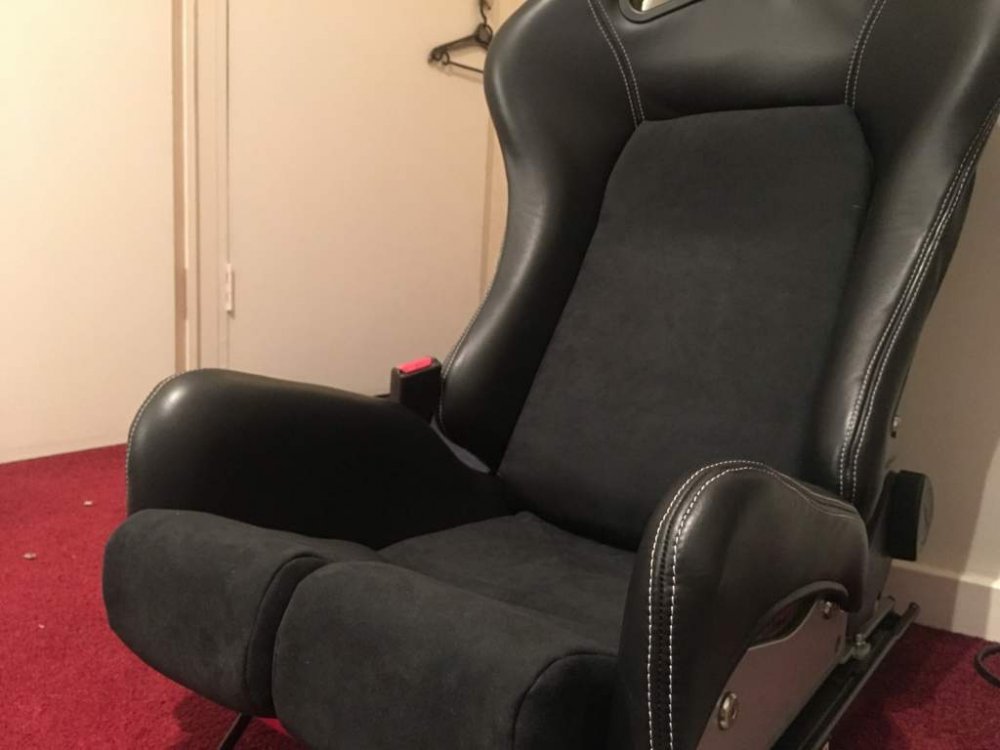
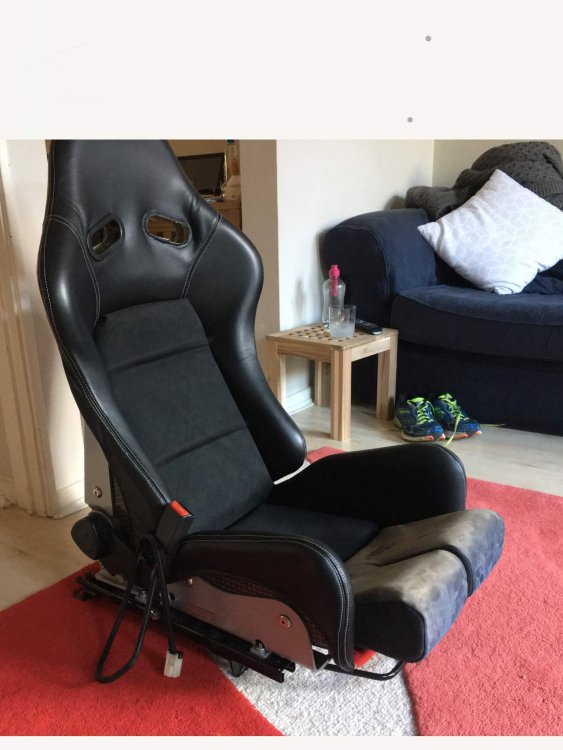
Thanks Ali. That is the seat belt light. not sure if it is a series 4 thing, but when you have the belt unclipped it will put a light on the dash
-
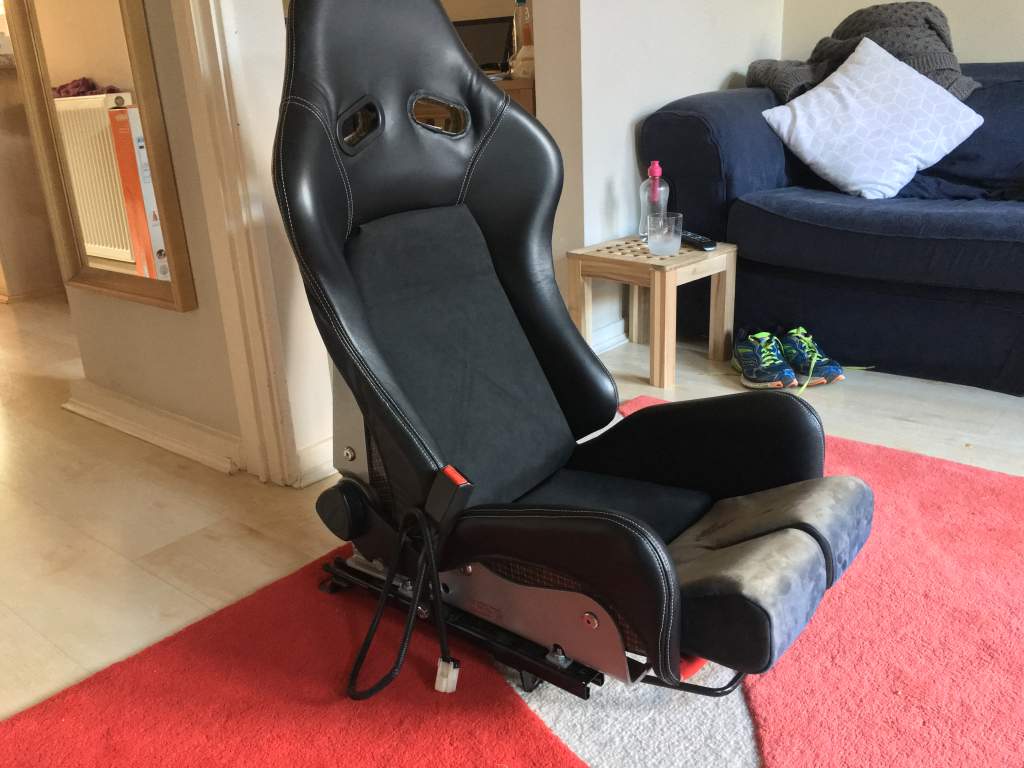
Spent a bit of time finish one of the seats today. Built new cushions which give me he perfect driving position and a lot conifer than the stock bride cushions. Added more lumbar support. Now just wondering whether to add some sections to the backrest like this:
-
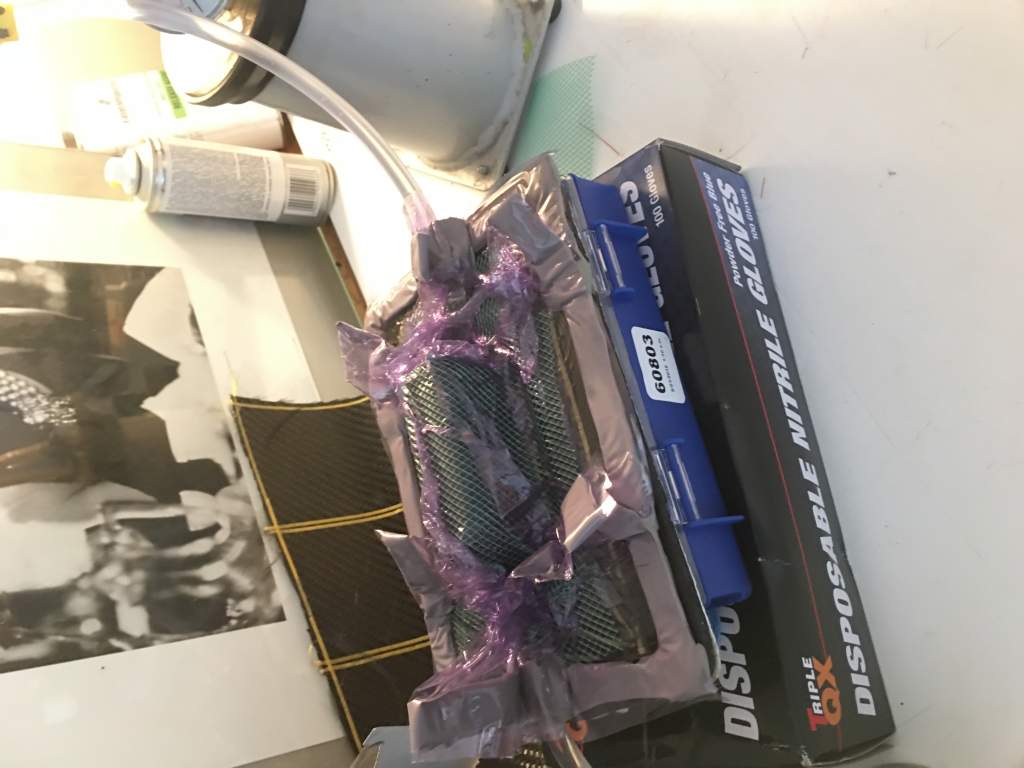
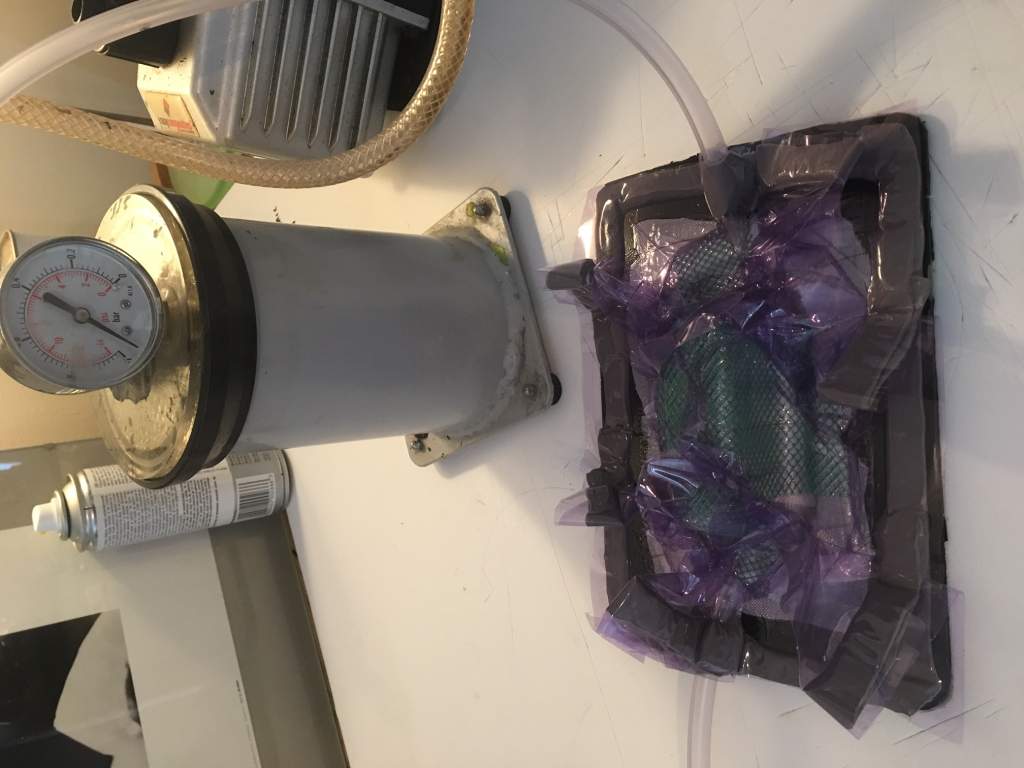
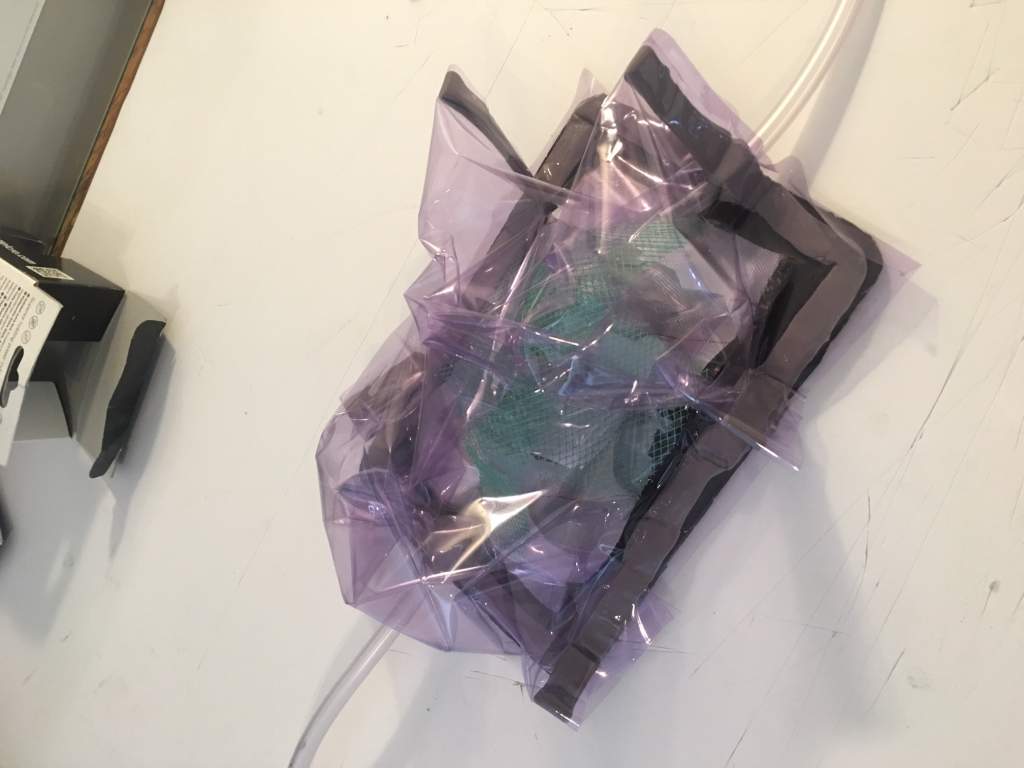
Attempt two... 25g more resin but I think it may even be a little too much this time. I purposefully clamped the pump line first and let a bit more resin flow into the part, trouble is if you let too much resin into the infusion you will lose vacuum pressure. Update: 2 hours in and no air leaks

-
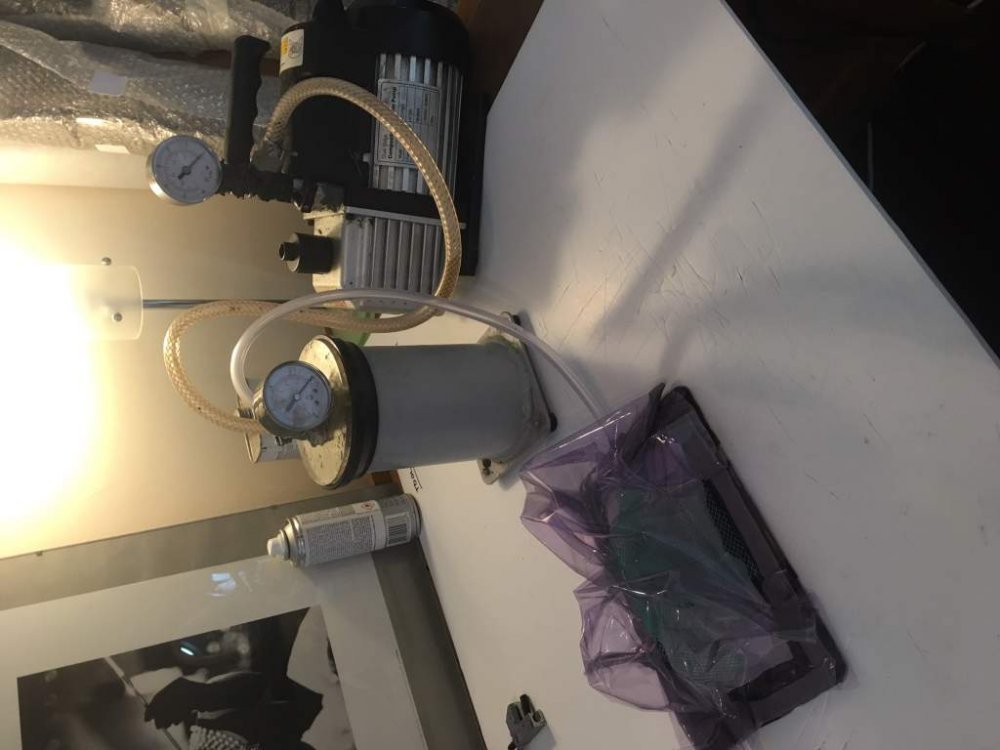
Cool good luck with it, and show pics as you progress always helpful to share advice. Let me know if you need help with anything. The stuff I use is all from easy composites which is he same company :D. Their tutorials are a great starting point but boy is there a long way to go when you actually do it for real. I have a few of their starter kits and some things like a degassing chamber and bigger pump to remove air from the resin before infusion. Also I never had a good finish using their plastic release film with the holes in it. Never let through enough resin to the part. I picked up some fabric peel ply instead and it made a work of difference. - - - Updated - - - Yeah it should effectively have a complete covering in resin which you then buff and then spray a clear coat over to gloss it up. The trouble is when I got back from yours yesterday it has been not under vacuum for quite a while so lots of air had got in at which point you can't get a good finish as there will alway be pockets of air. And then when you reintroduce the vacuum you end up sucking out some of the resin and end up starving it, so lose lose situation!
-
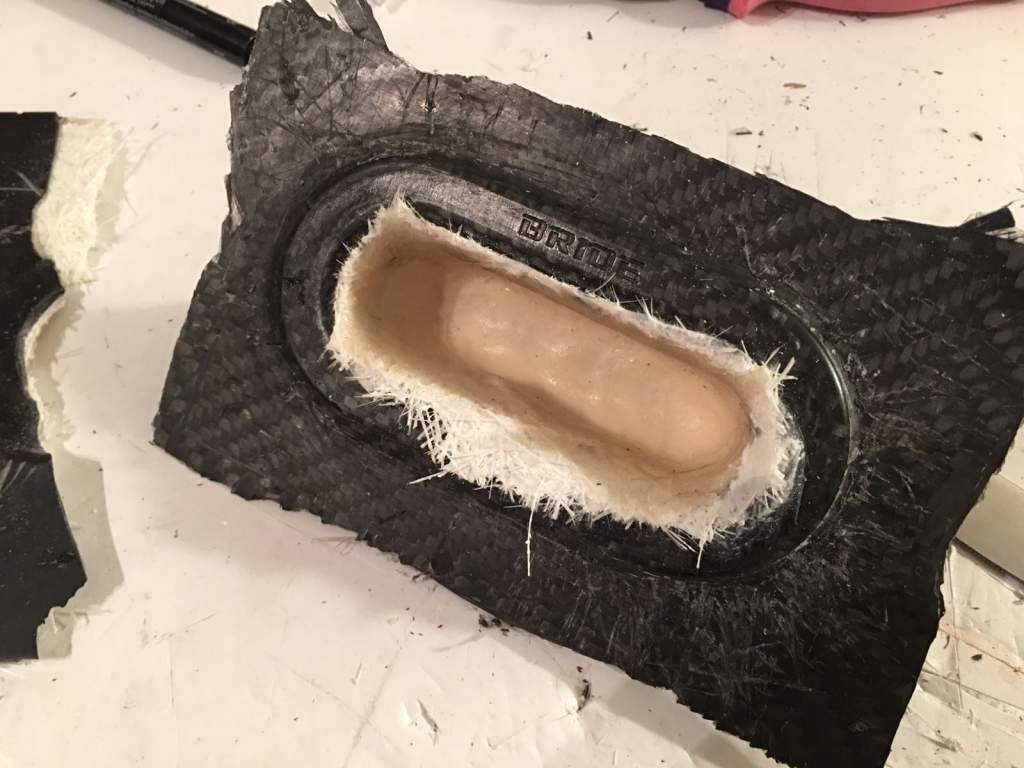
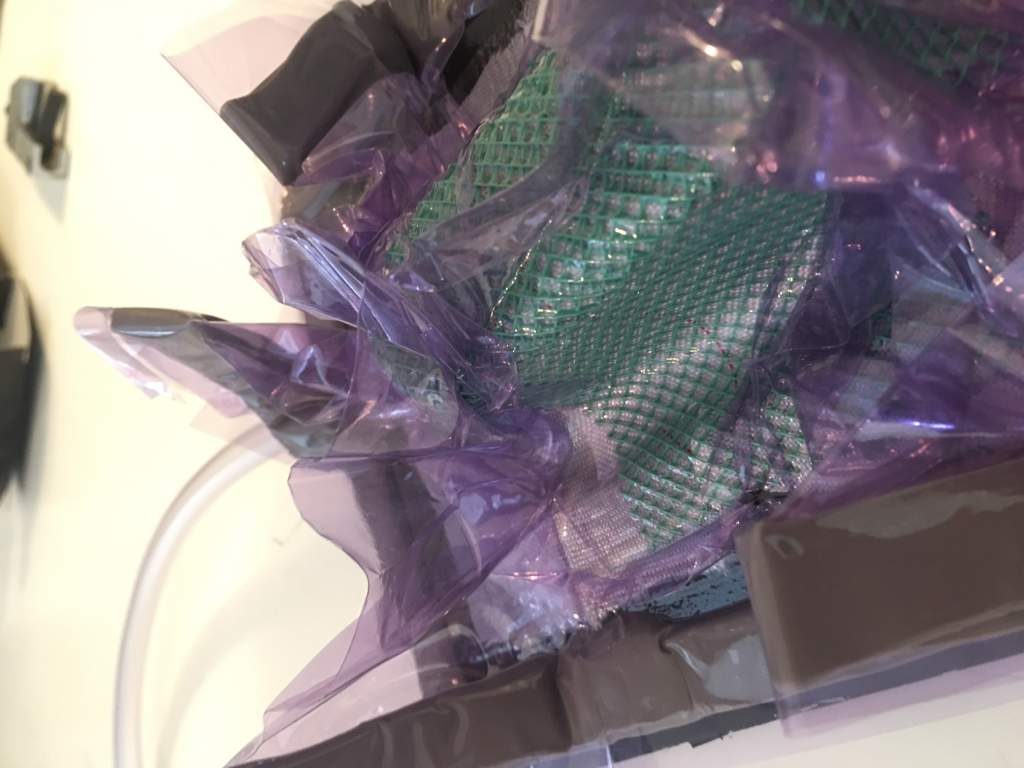
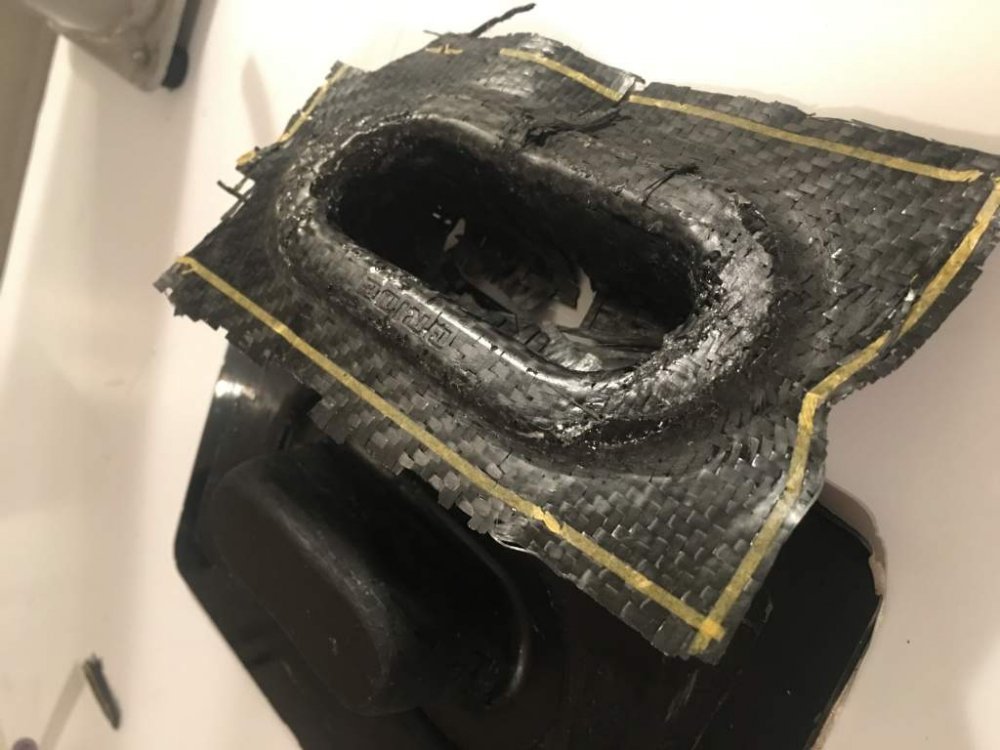
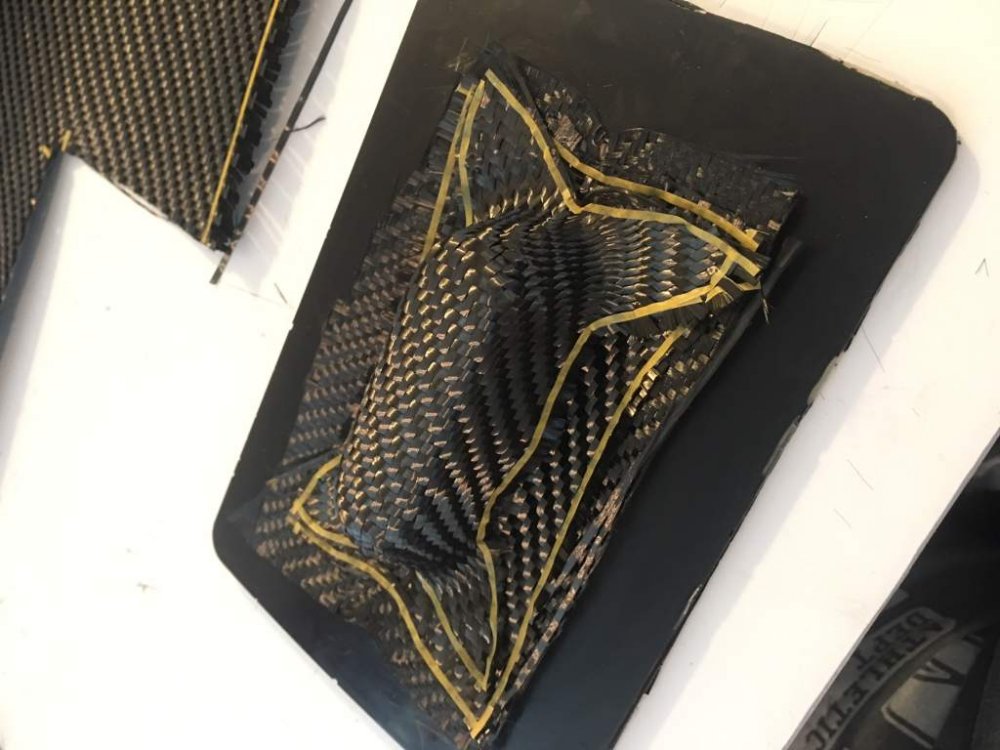
So unfortunately after an hour of being under vacuum the part sprung an air leak... I fixed it and left it to cure overnight but any air will ruin the party... so I removed it tonight and will have to go for round two. I also need to fix a slight mechanical lock on the tool as t didn't want to release easily Also need to get a bit more resin into the part I think At least the bride letters look like hey will emboss okay. You can see where I got a small leak on the short side
-
and the vacuum test. you can see the vacuum bag pushes into all the small areas so hopefully the final part will have a good shape and the BRIDE letters embossed.


-
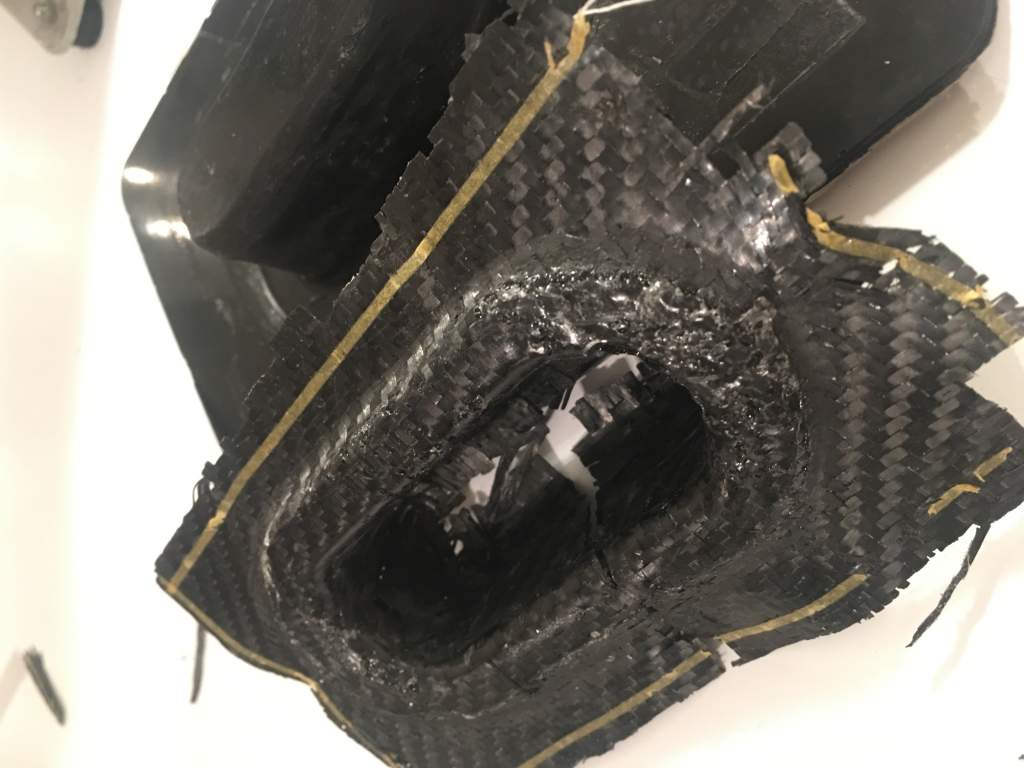
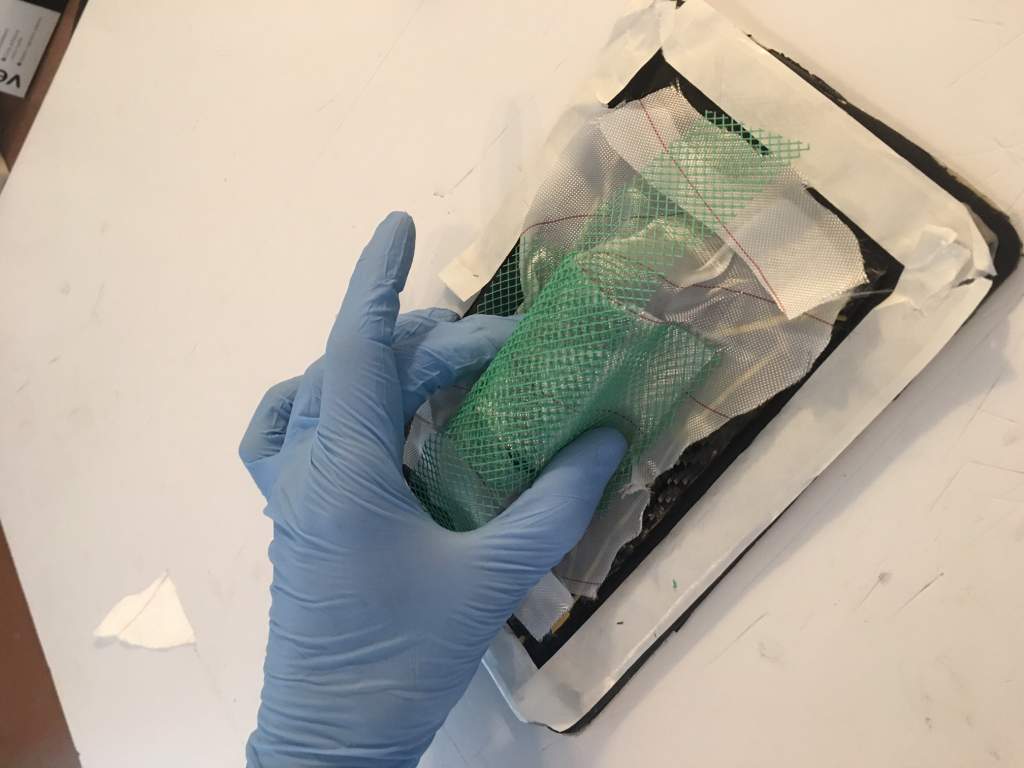
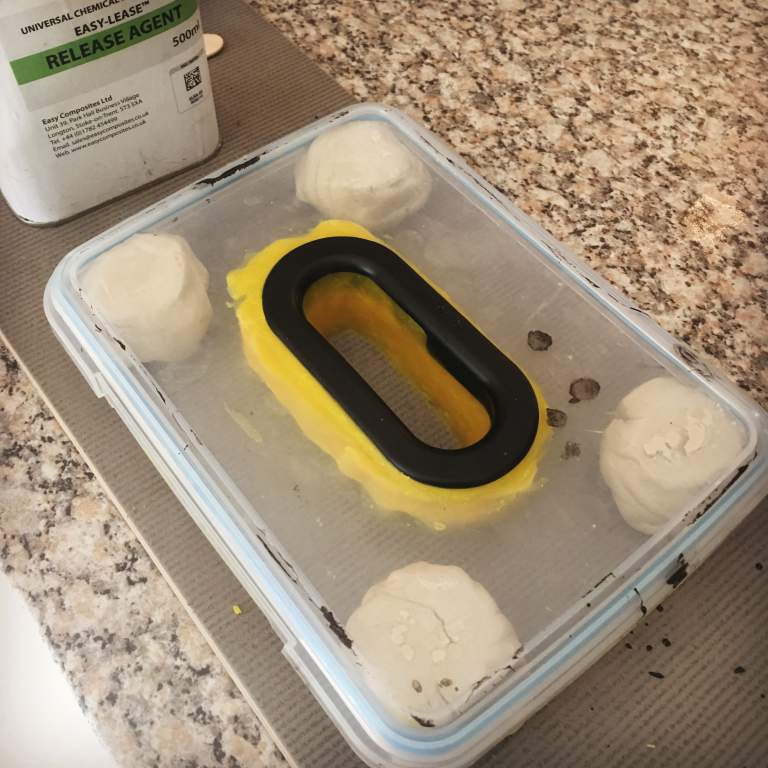
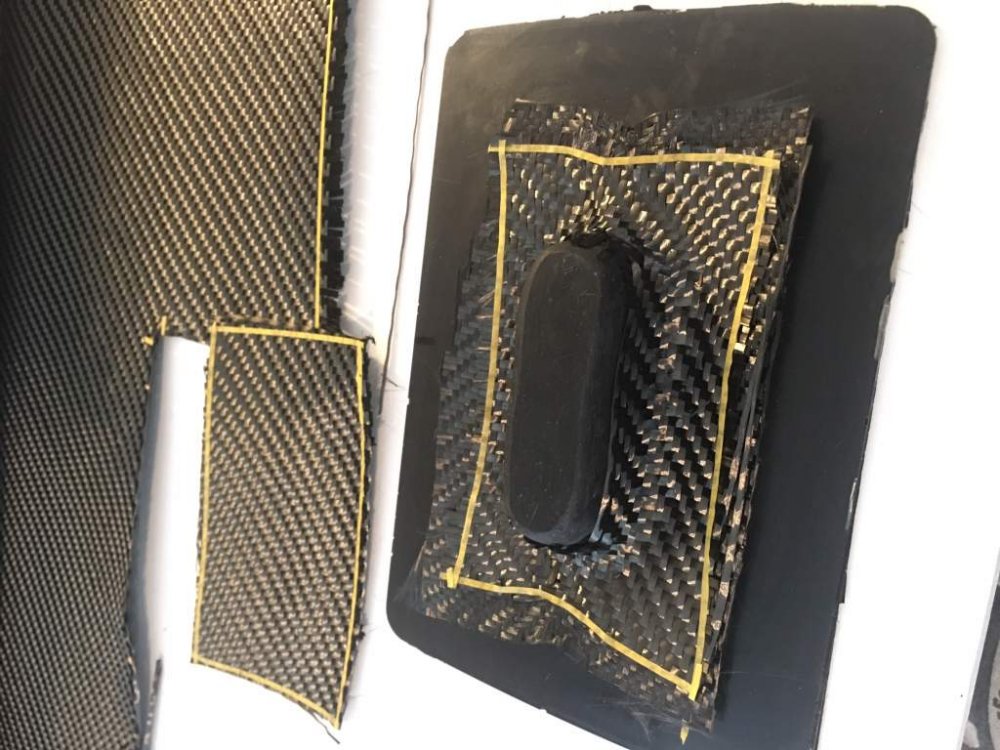
Thanks Ian, that will be a way off haha... Lets see how these come out tomorrow :p Lay up: Release agent applied and then a layer of pro carbon which has a light glue layer on the back to hold it together. This will be the most visible but of the final part. heavier weight carbon added for reinforcement and then the top layer. Has a nice amount of stretch in it to cover those awkward shapes. Peel ply layer added which helps evenly infuse the resin and wont bond to the carbon part. Then a layer of green infusion mesh which helps the resin move through the whole part. Finally a vacuum bagging layer on the top sealed with a gum.


-
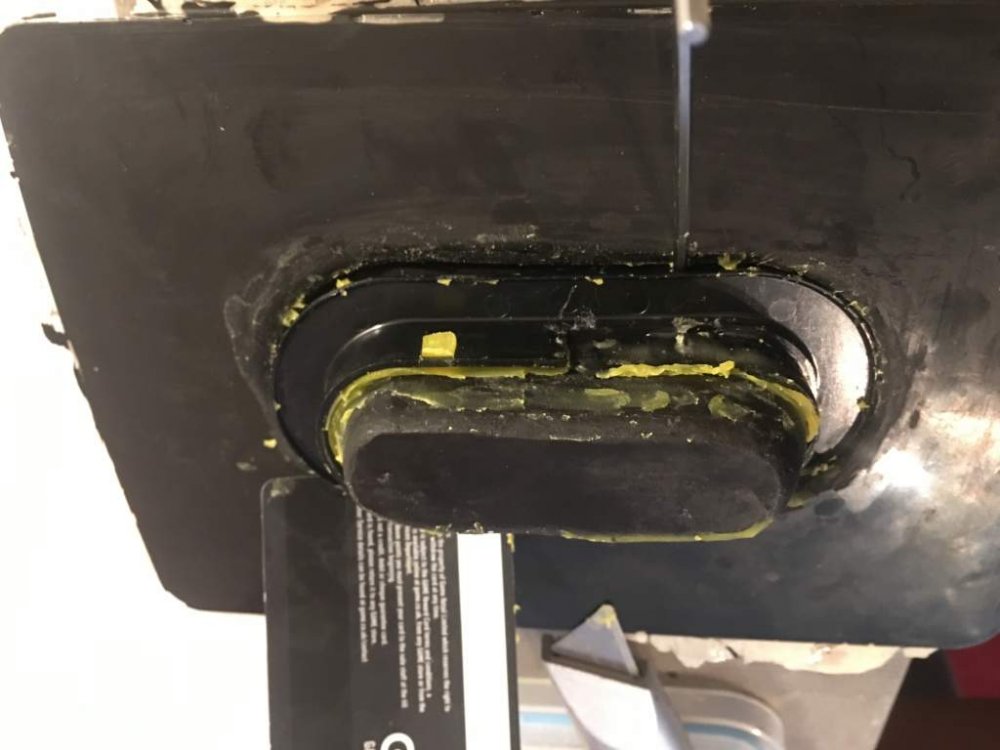
Removed the tool his morning! Now just polish it and then carbon fiber it later! Remove the wax which made up the mould Only the original clif left to remove now. Using a knife to make sure there isn't any mechanical lock keeping the part from being removed from the tool. Slowly slowly slowly does it... it will eventually prize off the tool, but takes time. The part was covered in a release agent before I painted on the he'll coat, this does some magic to stop it bonding to the part. Bride words imprinted perfectly! Hoping these transfer to the carbon as well. Have to ensure that when painting on the black gellcoat you get an even layer without air trapped underneath as this will destroy the finish. Finally ready for a quick sand and then carbon

-
Haha Firefox is always another option. You will probably find the anniversary update recently has broken it as it made a few big changes.? I always find that chrome and Adblock plus is a solid combo.
-
Thanks guys, Ali might pop over tomorrow if you are around!?
-
Hi steve, Absolutely forget about using edge, won't work with all sites. Download google chrome! Regards
-
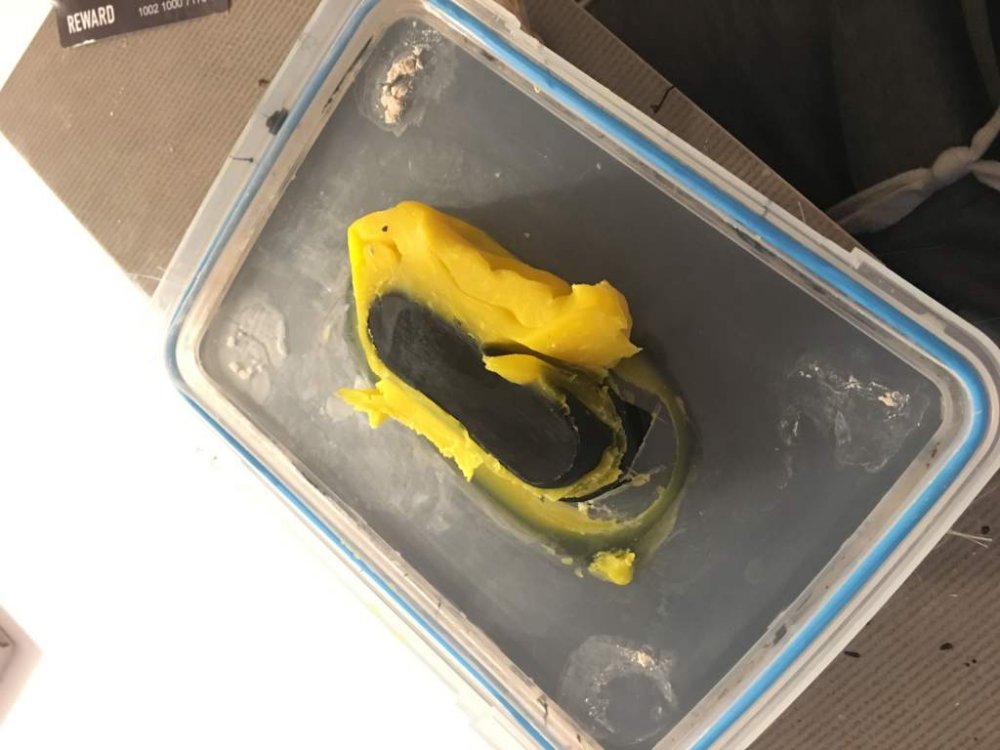
After a busy few months I am trying to finish off my seats so have had to make sume new belt loops as the clips have all broken on the back. The aim is to make some new carbon parts so here are the snaps so far of making the tool from the original part and some wax. This is now fibreglassed and curing ready to use for vacuum infusion


-
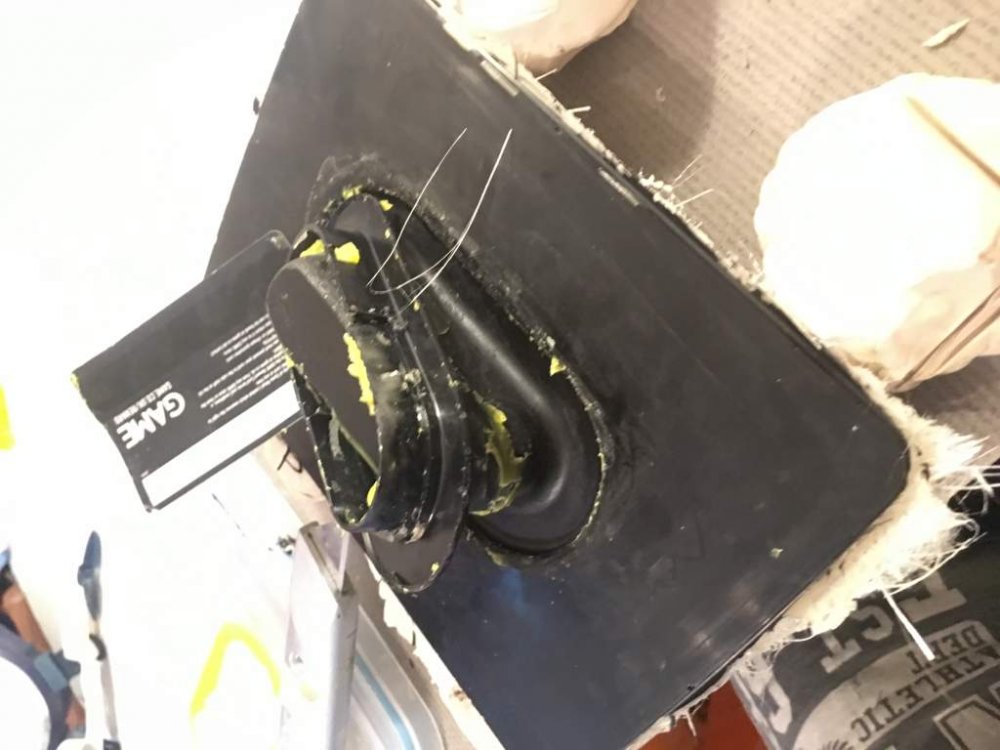
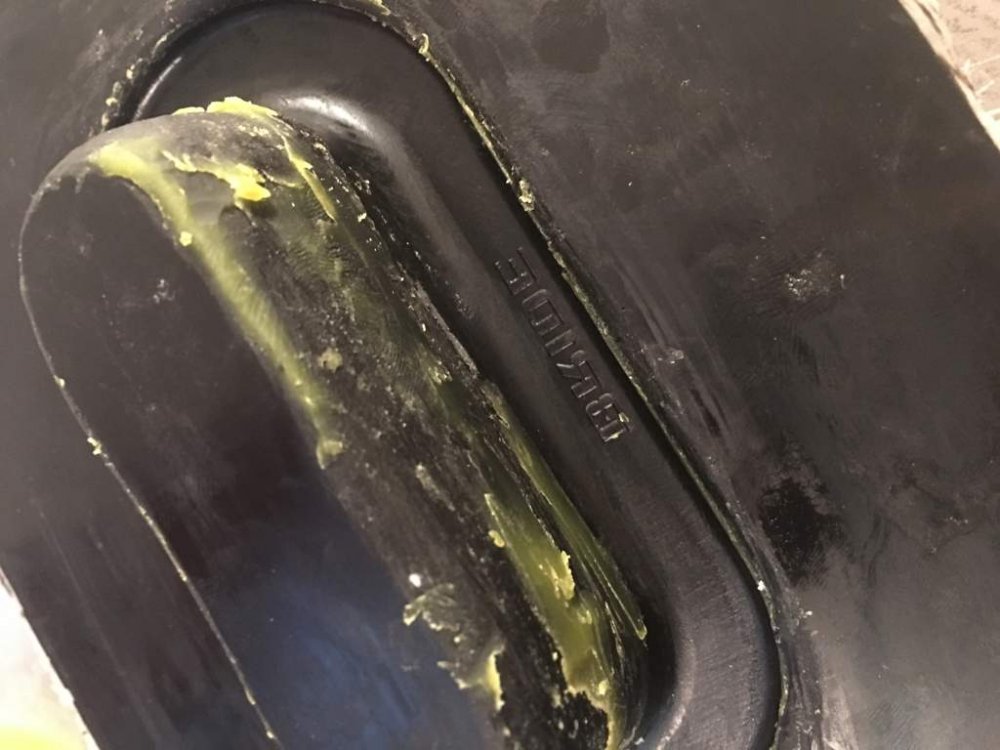
After taking off the door handle last week the levers that control the lock doesn't take much pressure to move.. I wonder whether you can either get a coat hanger down next to the window and seal, or worst case brute force/dremel the door handle to let you in that way.
-
Fair enough thanks !
-
Haha yeah I known but I had to get out of a tight spot as the car was no longer drivable and I needed to travel for weddings. Just wondering if one of them should be returned or whether that was normal...:
-
Hi all, Bought some cheap fucas from eBay and one if the bearings doesn't move at all. An I right in thinking that this is faulty or is it normal?
-
Man that is such a dilemma. I reckon is sounds like you are so close to having something running and I am sure the guys this side of he pond will be happy to help out where possible.
-
Awesome work !! You must be chuffed
-
Worryingly I have the same patch of rust near where the control arms bolts to the car. Going to have to have that sorted asap. Sorry sight to see mate
-
sorry to hear this mate, I would be devastated but could happen to anyone. glad all involved are okay