

Everything posted by phutumsch
-
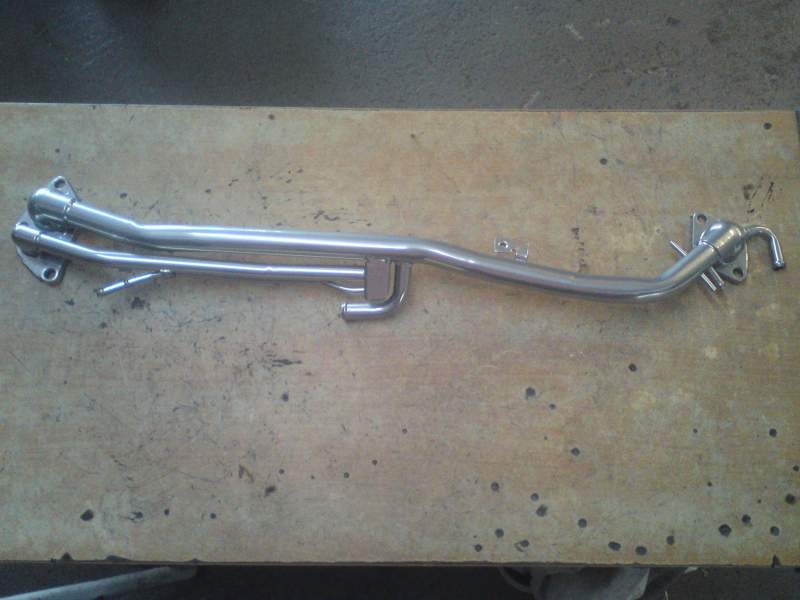
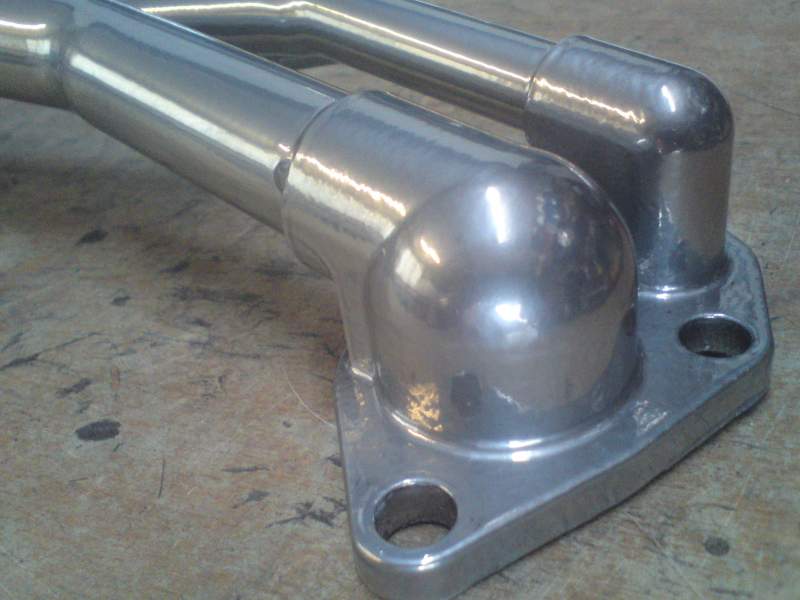
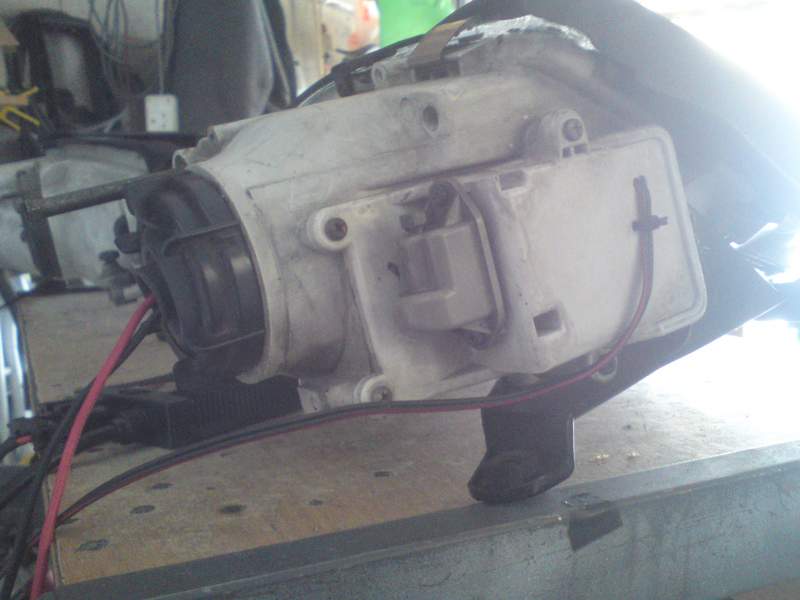
Something for a bit of fun, can anyone see what I have done different here with this little trial fit of the bal tube, might well be totally unique :thumbup1:.
-
It was always my plan to use the bespoke made polished aluminium plinth and mount a TWIN TURBO decal on it, like the ones I have for the rear, so therefore similar to the OEM TT one. However, having bought a pair of these NISMO ones I had a brainwave today and with the bit of red matching my colour scheme the decal just about fit on my homemade plinth, so here it is, applied with heat resistant flexible clear silicone, I must also had that once all is fit my strut brace will in fact hide 75% of this !!!!

-
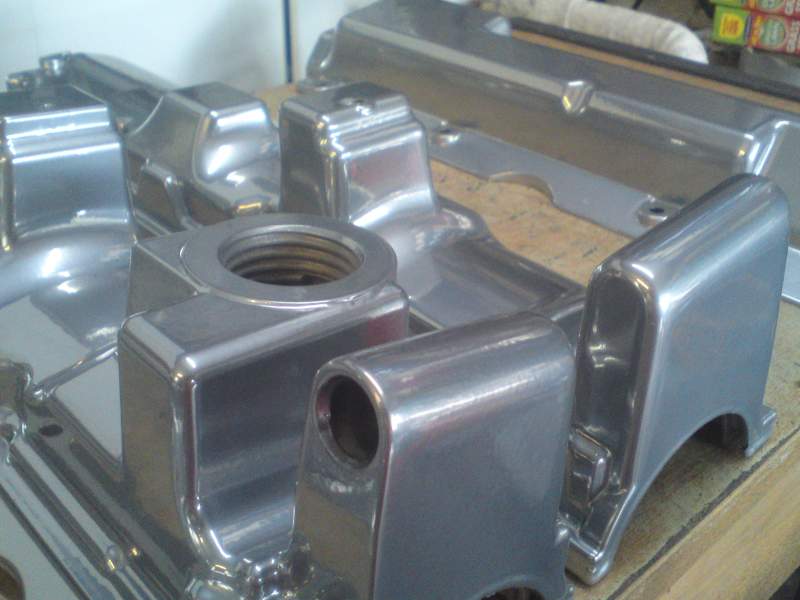
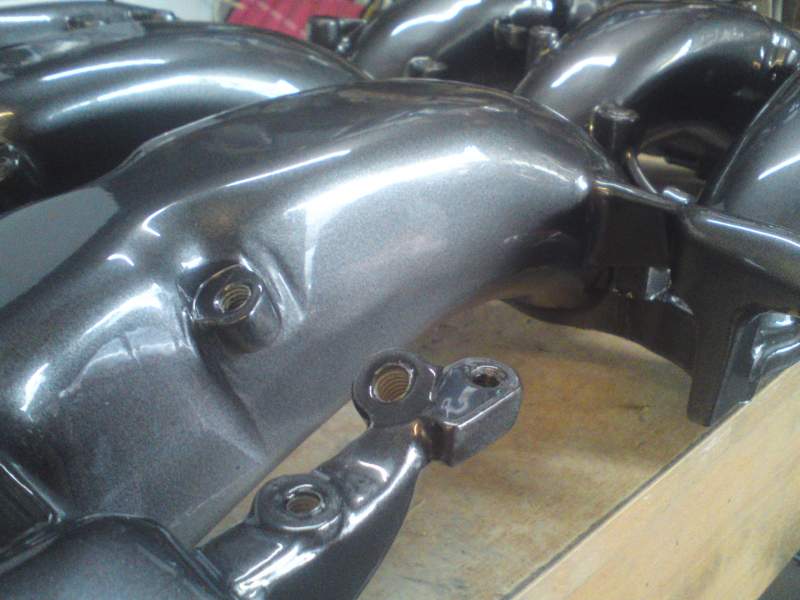
I do have some chrome plated stuff in this thread, I wanted some contrast, don't want everything the same either polished or plated. And as Terry said I do not want the upkeep, some of the cast marks are very noticeable so blasting is not an option, you need to get the file out !! Looking at this chrome powder finish today, I'm not sure why anyone would bother polishing there plenum :sweatdrop:.
-
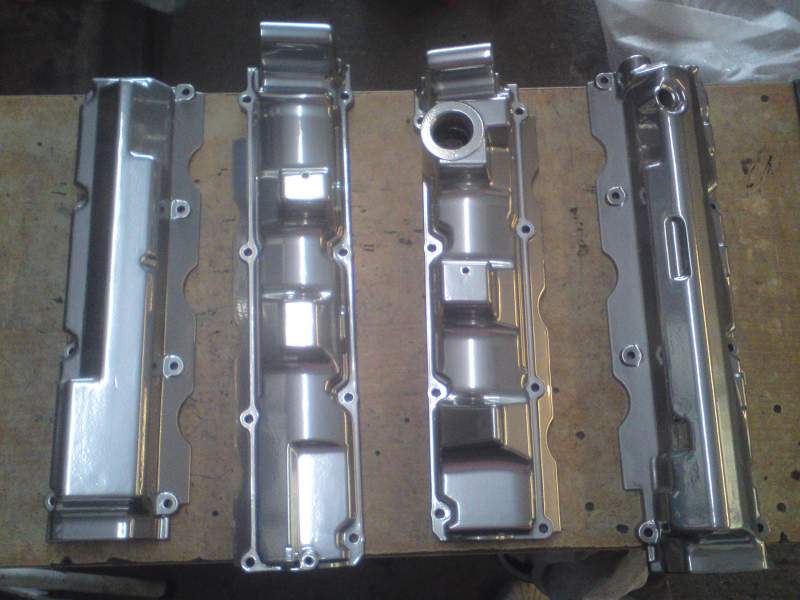
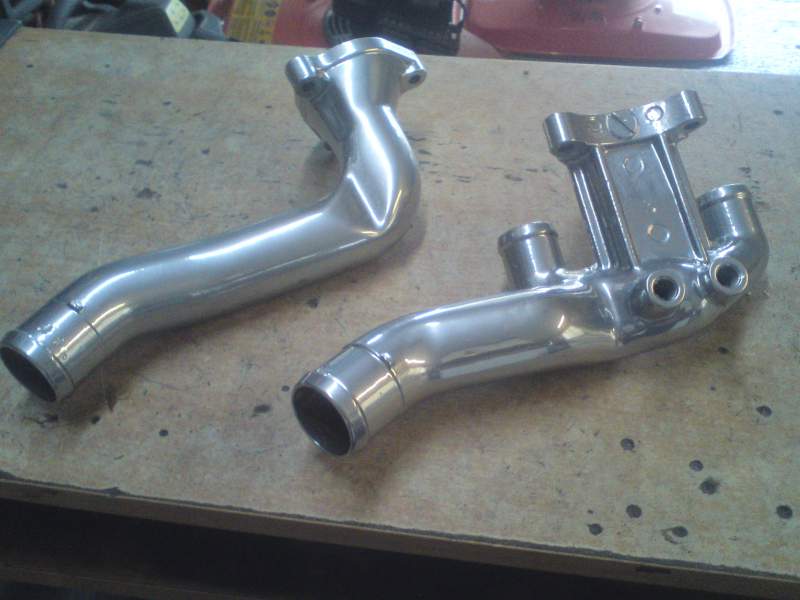
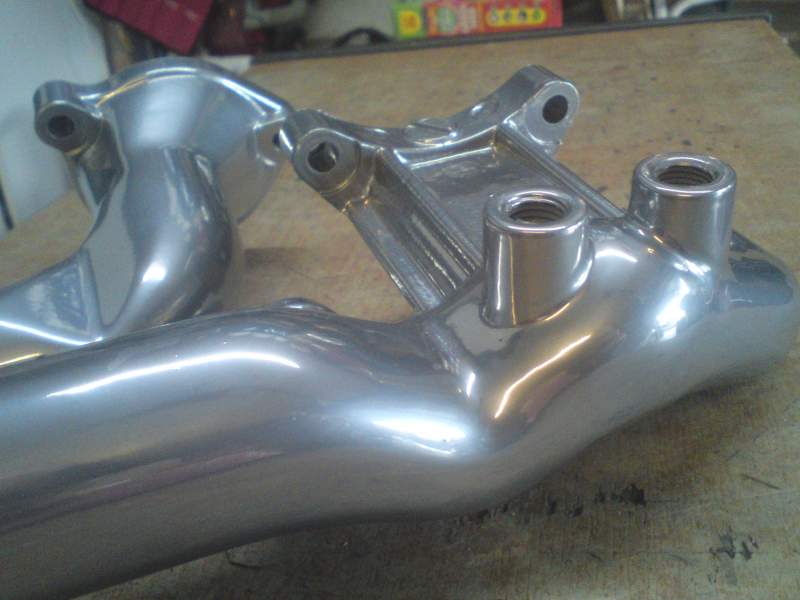
Moving on to the rocker covers Now you will have to picture in your mind the contrast I am going to have with the powder coated chrome, the polished and the chrome plated all against this beautiful gunmetal grey (metallic black) plenum. It seems all my prep work was well worth it !! I have everything now to take all this to Denty's to fit next month.......cannot wait :wink:.
-
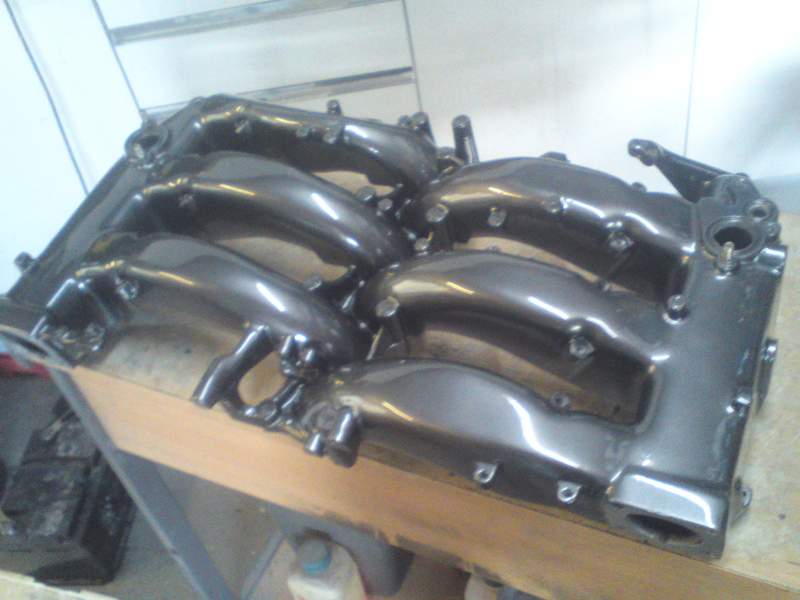
I got news from my powder coating place late on Friday that my goods were ready, I have had the long weekend to wait until today. I picked them up and just basically put them in the car, unwrapped them on arriving home and well.....I am truly delighted, the pics don't do these justice:thumbup1:. First the water pipes Balance bar, same as water pipes, chrome silver is the powder coat colour. I have some stainless dome nuts to use when securing this down :thumbup1:.
-
I prefer that John but looks dusty work !!!
-
What numpties.........read post 31 :stupid:.
-
I did some ccfl invertor ones for dicky and as far as I know they're going strong still, the smd and the boldy ones are both simple 12v connection as you well know, so less to go wrong. Hidden ones do have an attraction but my main concern apart from the hinderence could be heat as they're in very close proximity to the lens, I have seen damage to the chrome projector ring on the very bottom on some headlight units, must only conclude that heat as caused this bubbling, however, if the alignment was so that it was pointing down and not centralized then this could well be the cause of this.
-
Yes I know, you did artztogo's the same way and I was impressed at JAE 2013 :thumbup1:.
-
Not sure you've read post 29 !!!
-
Just make sure again with the cogs that the ones you have are sound as the crack can be a very fine one. Yes it's very common for those front metal clamps to rot, I went through my stock and ended up throwing over 50% of them away, sorry I don't have any spare but when you re fit finger a coating of grease over them after you've blown them over with a bit of paint that is.
-
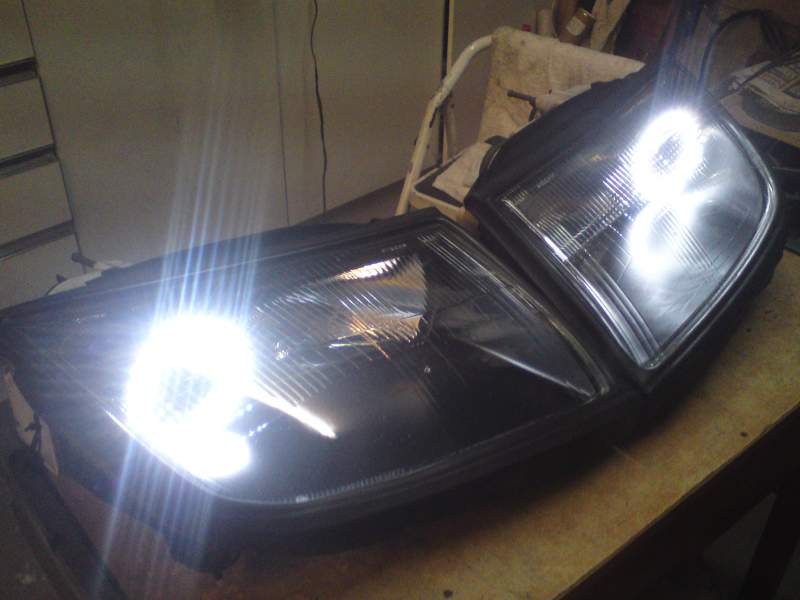
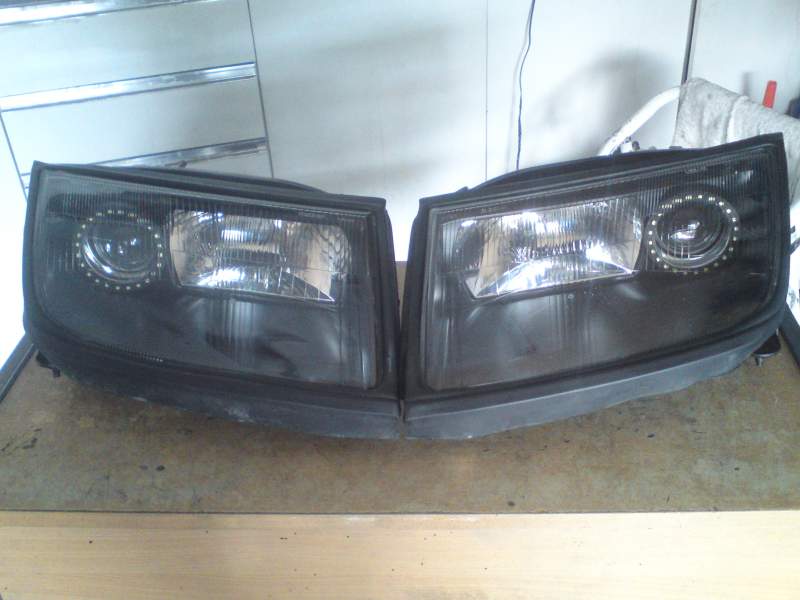
Having done a few of these but not for a while, the word got round it seems as I was asked to do another pair by..............well if he cares to divulge that's up to him !! It involves putting a smd halo ring around the projector housing, doesn't really show up on a pic but in real life the lights emitted are all individual. I completely re furbish and clean, I have sprayed black the insert as per customer request, the top and bottom rubber brackets have been rubbed back and black sprayed also, the bottom one is not visible but the top one is, so it's important this one especially is perfect. All the adjusters are now working and well greased for what is hoped longevity, 4 silica gel sachets are inside each unit to absorb any moisture. This is a pic of course when not on. I have fit some blue tipped H1 bulbs in the main beam for free, when daylight hits these they give off a subtle blue look. It takes me several days to do this work, leaving things to dry or go off overnight. This next pic is showing the halo and the hid light on, the halo smd is still visible even with the dipped beam hid on. The hid kit I have fit is H3, 55w and the colour is 5000k. This final pic shows the exit point of the two wires that run the halo, these just need connecting to the side light circuit, the hid ballast is visible also in this pic.

-
Hope you've got plenty of coin :sweatdrop:.
-
He's a good egg :cool3:.
-
The plastic ones are fine, the problem lies with a lack of lube, I am just in the process of putting some headlights together (pics later !!) and as in your pic it's always that part that breaks or is broken in 90% of units, and look at the rust on that shaft for evidence !! The gear on the headlight itself is usually without damage. I am now without plastic cogs altogether and I must have 4 or more pairs of headlights here, if you want to botch/cannot wait, I have a set of headlights here with a nut on the adjuster shaft and this will do away with the part you pictured for adjustment ? I do find fitting the tamiya or plastic gears a simple job, I gently squeeze the shaft and I know that does sound painful into the hole - c'mon enough of that !! I also think the tamiya gears work and marry up very well, you cannot marry a plastic with a metal one. You will require 4 of the gears per headlight, you get two per tamiya kit. One of the main beam adjusters never break, these are a different type, but still grease up inside. I do not have spare low beam rubbers or the screw on part, I have plenty of main beam rubber seals however.
-
I agree but if you look on the other side there's an R8 you've forgot to mention :detective:.
-
So it does this even before the key is turned ?
-
The suspense is killing us all........................are you having these pictures developed :tt2:.
-
I'd have a look at the engagement and dis engagement of the hazard switch as often the mountings are broken, put your left winkers on and hit the hazard switch off and on and see if the indicators come back. The downpour as you say could just be coincidence.
-
C'mon I've waited 15 mins where are they, haha !!
-
How do you know !!!! Your correct though never had a problem with mine, must ask is it the stage 3 ?
-
Glad you're happy and got it safely Si. I always run them from my booster Graham on the bench which can vary in voltage of course, wouldn't of thought 11v, 12v or 13v would cause it a problem. After it was squeeezed back together the 300ZX was tested but come to think of it I tested both yours and Simons with the same inverter from the same supply which he has got :huh:. So in fact although your invertor was new and out of the same bag it could possibly be a faulty now blown one !! Let me know.
-
Cheeky edit :tt2:.
-
Haha, courier not got them yet..................do not worry Danny yours are safe, all bubble wrapped in their box ready for collection on Thursday :cool3:.
-
About your lights......................................:oops:.