
Everything posted by veilside01702
-
Currently undergoing surgery with a few amputations and some cosmetic surgery..... the Z, Not the wife....:innocent:
-
https://imgur.com/gallery/wq6OYzD more like..... http://files.umwblogs.org/peyton.umwblogs.org/files/2015/11/09064433/Assignment-6-GIF-NUMBER1.gif :lol:
-
So far I haven’t put any heat near the carpet or any flammable parts. So no need to move anything until I do the chassis rail. I did remove rear panel so I could see any smoke or flames.... plus I use my compressor and compressed air to cool down the welds quickly... I have been using a fire retardant blanket just in case and have a fire extinguisher on hand... I’m nervous about the chassis rail though as the fuel lines are literally fixed to the side of it.... Need to move them.... I will also be careful when grinding all the welds back with the sparks....
-
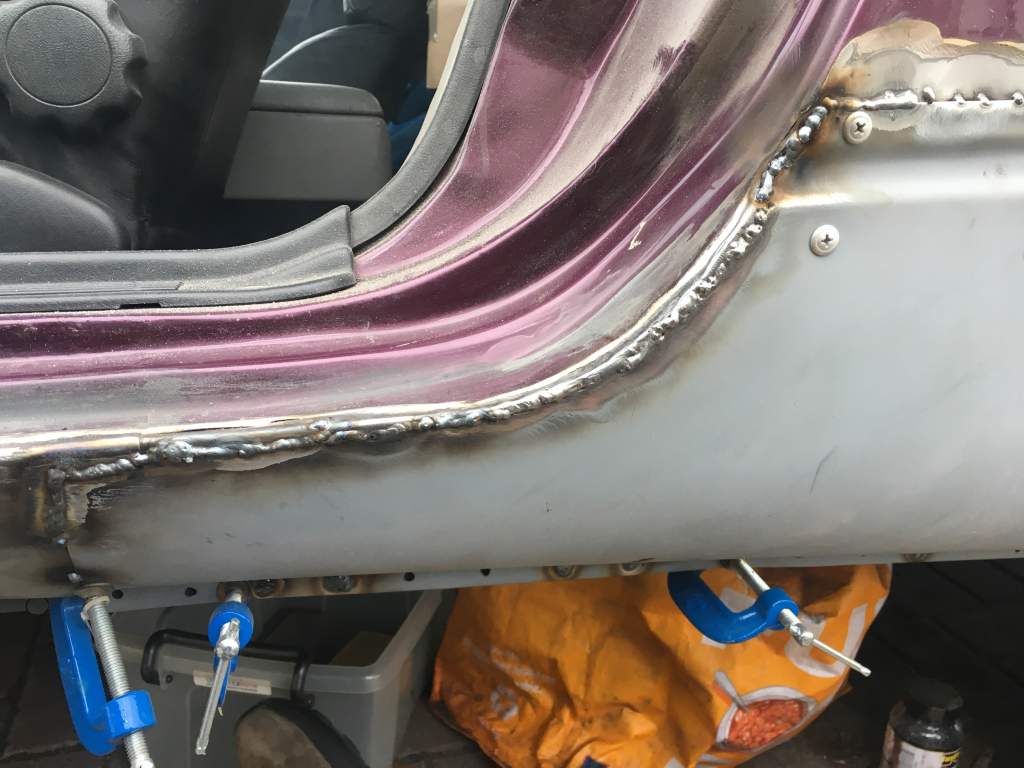
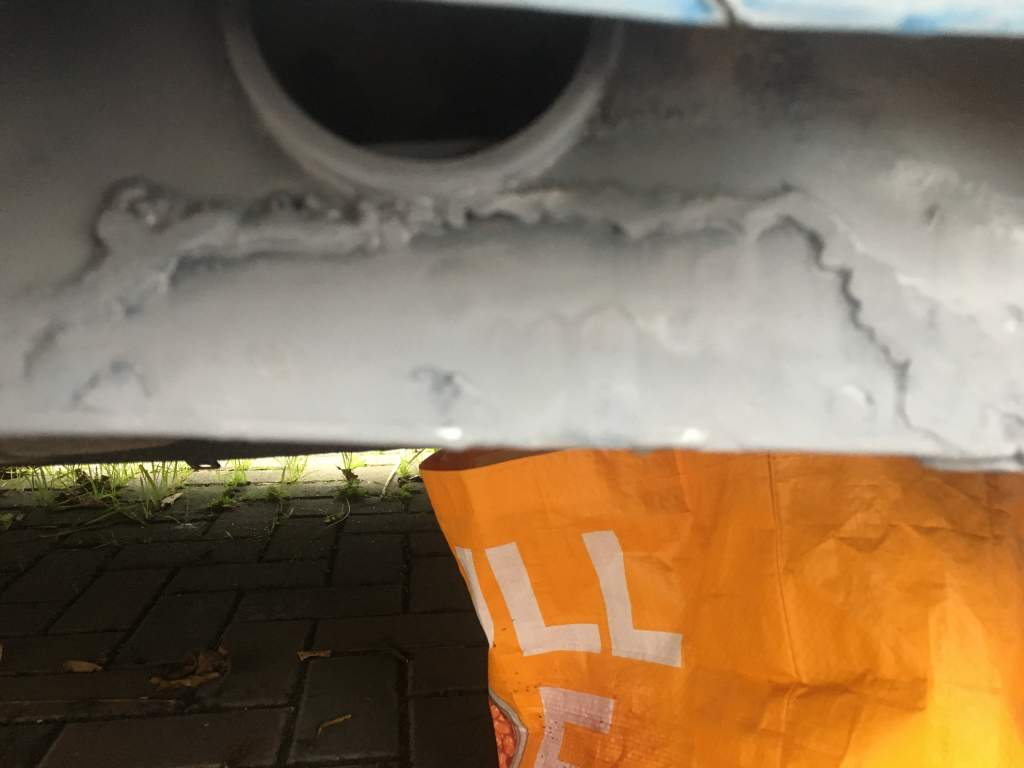
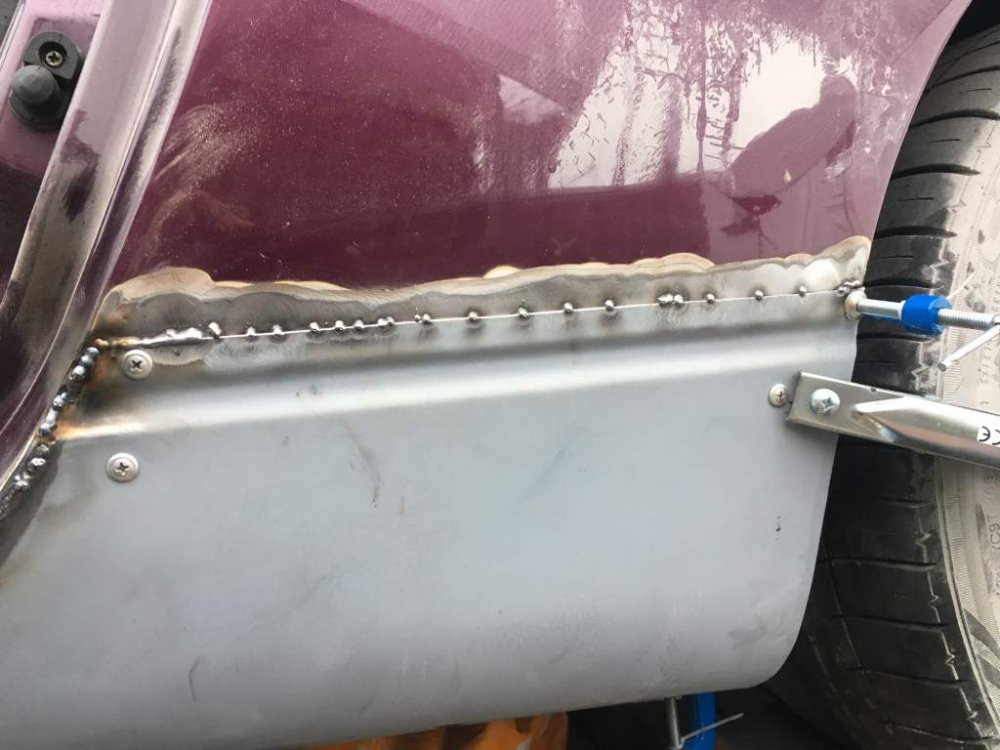
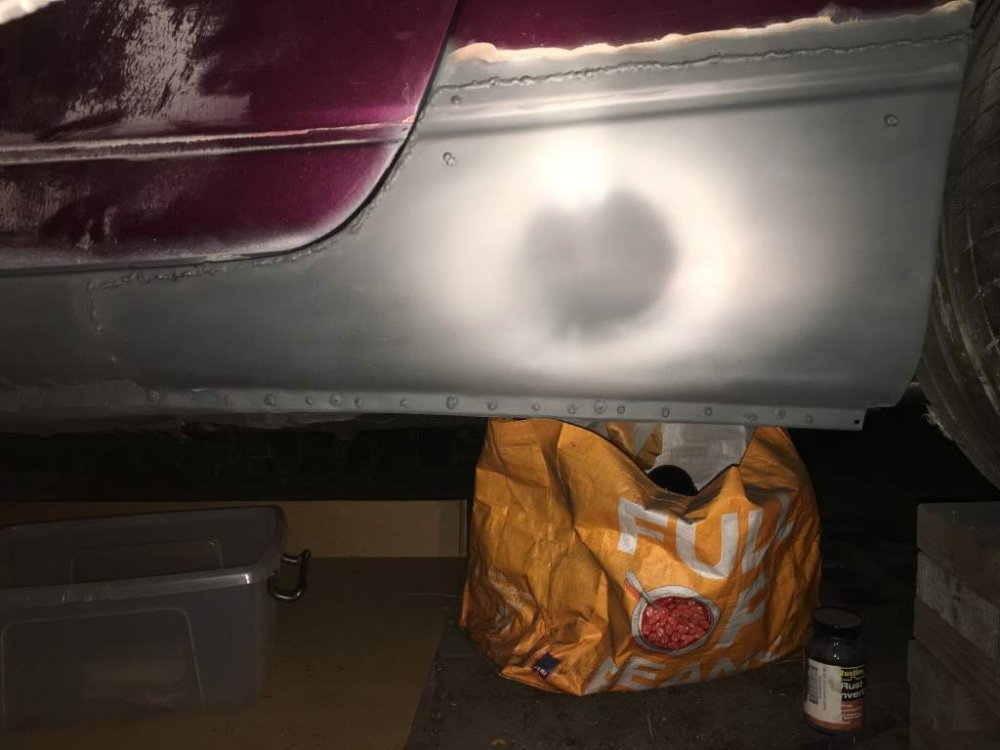
Saturday gave me 2 hours to get some welding done.... so I welded the outer rear sill panel in place... I played join the dots to keep the heat out of any one area to minimise distortion as much as possible. I ran out of time to grind the welds back, so I sealed it all with some 99% zinc cold galvanising spray to protect it all, till I can get to grind it back another day. It will need some bodywork done to sort out the dents hidden with thick filler that I have uncovered doing this. Going to lead load it rather than filler it. We will see how this plan goes.... I now need to fabricate a small section in front of the new section to close it up fully. I also need to remove passenger seat and carpet to repair the chassis rail section.... all fabricated, but need to move fuel lines and all other flammable items first.... Getting there now....

-
Bloody emigrants commenting on our weather..... sod off and drink your sangria Jeff..... :tt2: I have just emailed Theresa May and suggested they Require ex-pats to hand over their British passports after Brexit..... due to their rubbing it in how cold it is..... lol
-
Well I have now purchased a Lead loading setup to try and make the repair look right without a load of filler.... Old School.... lol I am hoping that it will come out well and allow me to get the finish I am after. I am hoping years of soldering may give me a chance of actually getting it right..... lol Tomorrow I will be tackeling the closer panel in place and fabricating the small section in front of it..... Few more weeks till it is fully welded in place..... No rushing, just getting it right and learning more as I go.... If I mess up, learn from it and start again....
-
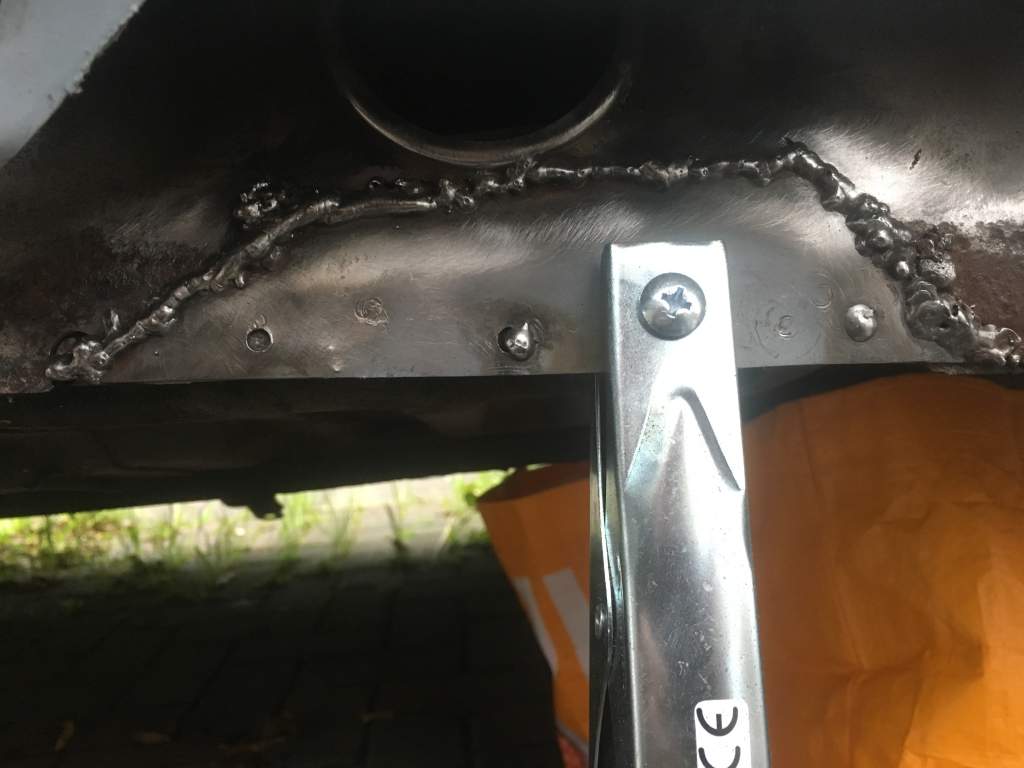
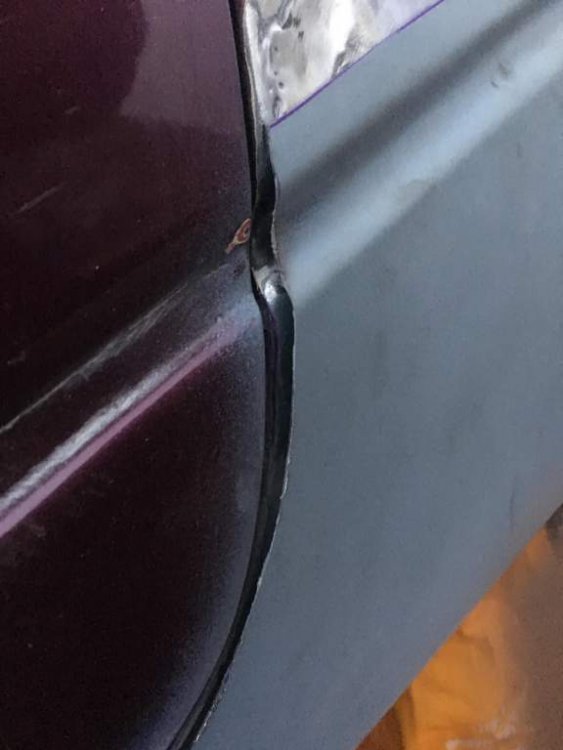
Ooopppsss.... trimmed it up yesterday.... lol I had to reshape the wheel arch curve as it was miles out and left a 1cm gap at the bottom.... and the curve for the door shut was the wrong curve so i had to reshape by making and trimming the panel with a dremmel.... This was after I reshaped the from edge and took off 5-8mm at the top of the curve and faded out about half way round... It originally stuck out enough to stop the door opening when clamped in place I stripped all the paint off the top panel last night after this picture was taken and fiddled with curves and bending by eye, it fits nicely now with a bit of fettling.... lol
-
Her name isn't Rosemary?....:innocent: The problem they will have is tracing every single person that could have gone into the room and then running a DNA test on every single one.... How do you explain that to her family?
-
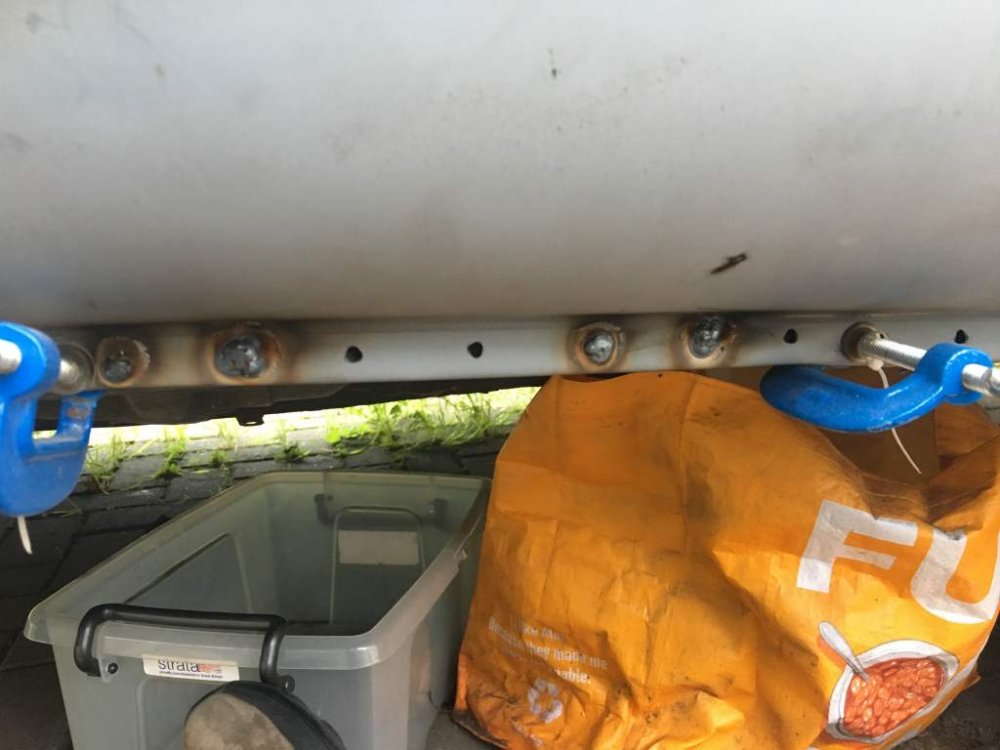
Well I went to test fit the outer sill repair panel I bought and it doesn't fit? When i match it to the swage line the arch section has a 1cm gap at the bottom and touching at the top? The bottom has a gap at the forward end and doesn't come close to touching the bottom seam where all the inner and outer panels meet, again about a 1cm gap at the front and touching at the rear...? If i get the bottom seam to fit the swage line is 1cm lower at the front than the OE panel and the door swage line? Also the door opening curve is wrong and it looks like I need to reshape it to match the cars door shape.....? Am I missing something? Has anyone else had an issue with one of these panels not being right?
-
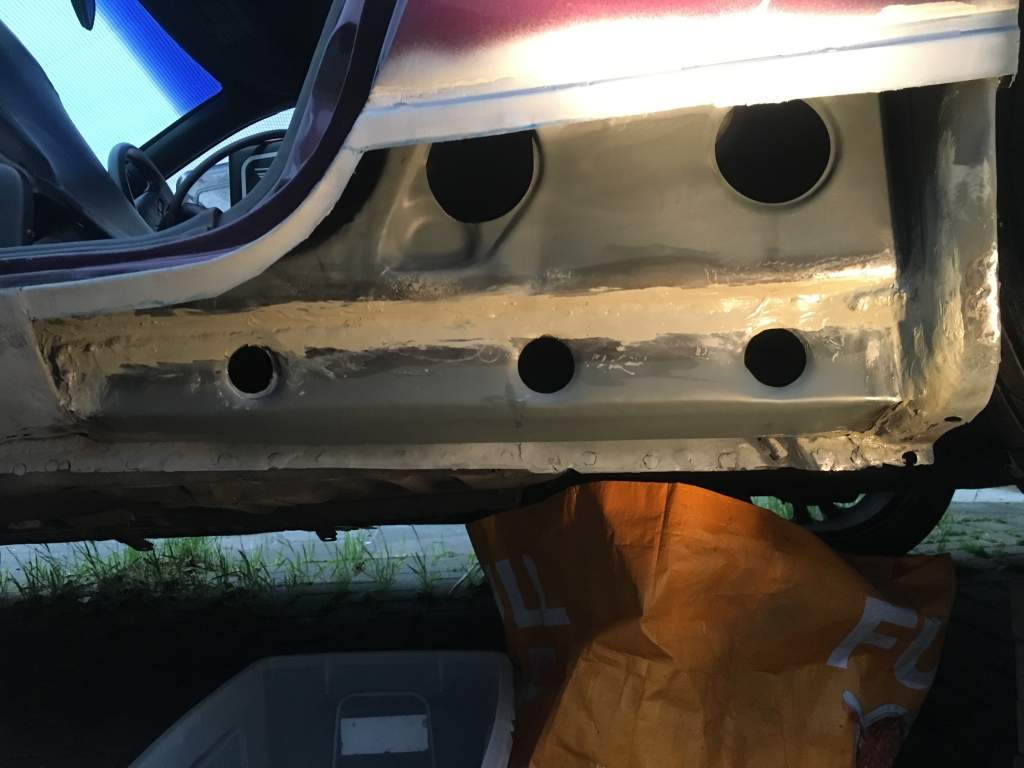
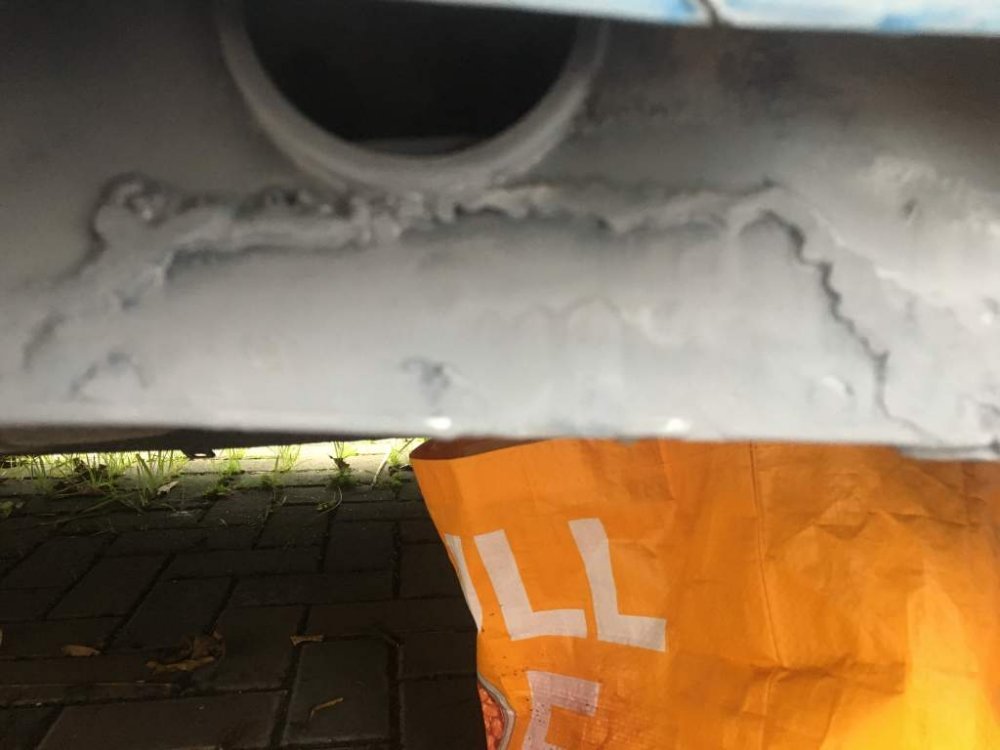
All I managed to do tonight was spray the cold galvanising on all the inner sill panels....

-
I bought this from Dan GibsterTT years ago and forgot I had them till today.... On Z1 Motorsport site:- https://www.z1motorsports.com/z1-products/z1-motorsports/z1-oil-return-line-kit-for-garrett-ball-bearing-turbos-p-3054.html These oil lines fit Garrett GT Ball Bearing turbos and the following aftermarket upgrades. Z1 GT535R, GT600R, GT675RS, GT725R, GT800R JWT Sport 530, Sport 700 HKS 2530 Garrett GT25554R, GT2560R, GT2860RS, GT2871, and more
-
No longer for sale.......
-
I am not having a good day!!!! New bottle of argon / co2 gas from Machine Mart started, ran out after 5 spot welds...... Machine Mart is shut today to take it back...... Grrrrr Went to Halfrauds and grabbed the last one...... Get home, start again and the bloody wire ran out........ AAARRRRGGGGHHHHHHHH!!!!!!!!!!!!!! Now off to Toolstation who is open!!!!! Wire was cheap enough and works..... Well now another bottle of gas empty and it appears either my valve is leaking or i am eating through gas faster than i ever have before..... only lasting about 20 minutes for 60 litre bottle??? Luckily I got the section finished, welds ground back and seam sealer applied. Tomorrow morning will be time to spray everything with some cold galvanising spray when the seam sealer cures fully. I must say the Toolstation one goes on beautifully and is 99% zinc content. Shook it up, sat it in a bowl of warm water for 10 minutes, shook again and it gave lovely coverage.... This is what it looks like tonight.....So far today I have cold galvanise sprayed the inner panels and this piece. Now for welding it in place!
 I started actually welding the newly fabricated sill repair panels into my Z......... and I can't wait to get back on it tomorrow!!! This is how it stands tonight! Roll on 2019!!!!!!!!!
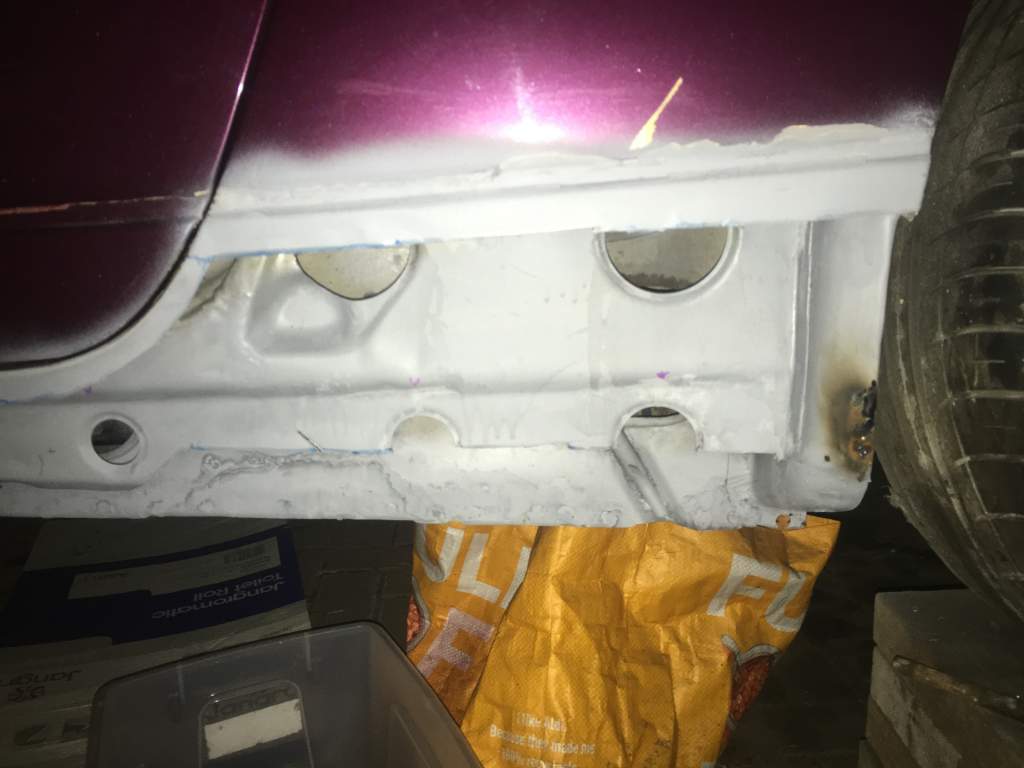
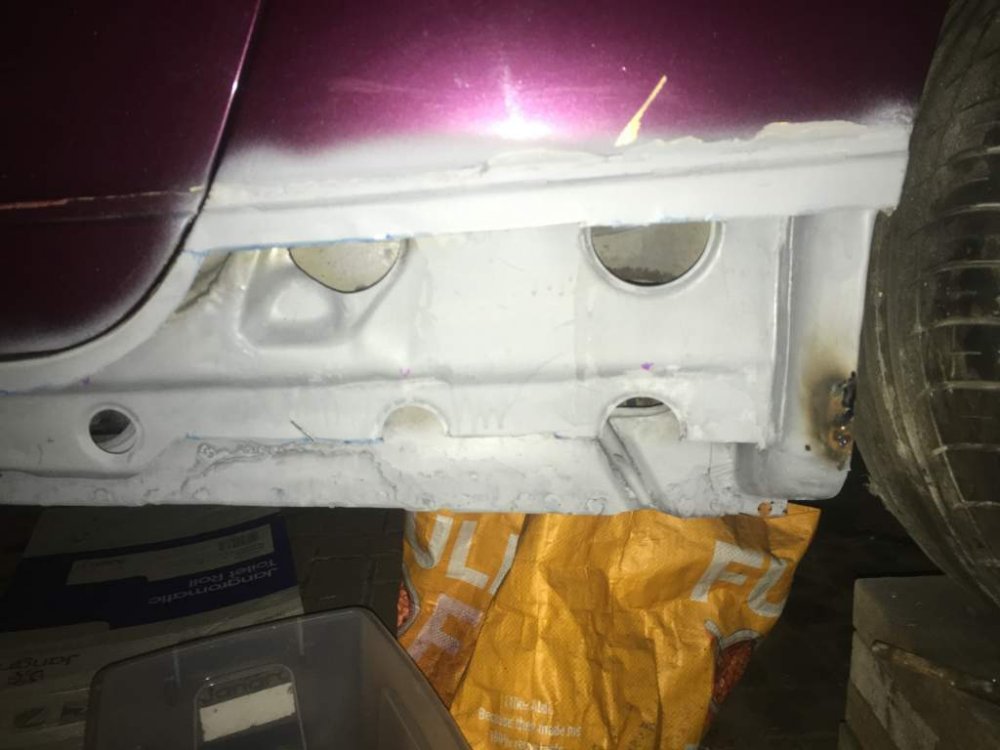 Happy New year!!!!!!................. you mad Z loving reprobates.......... Here's to a great 2019!!!!!!!!!!!Can I nominate myself please? My wife is constantly telling me I am the most annoying person she knows...... lolWell today I had an hour to get this far.... 1) Tacked in inner repair patch... 2) cleaned up tack welds and stitched it in.... 3) ground lower welds and have it all a coat of weld through primer.... Tomorrow is coat inner section with cold galvanised paint. Then weld in next panel on list. Keep going till I run out of time, gas or daylight... I have tomorrow to get as much done as possible before I am back to work on 2nd...

 That is lovely Steve..... Have quite a few people close to me struggling, so thank you....Happy Birthday:happybday:Theres some on ebay.... https://www.ebay.co.uk/itm/NISSAN-300ZX-89-96-CLEAR-SIDE-LIGHT-REPEATER-INDICATORS/372482276357?epid=15017018646&hash=item56b9ac7c05:g:PEkAAOSwl95b0zlz:rk:1:pf:0Just pass on help to another member if you can sometime........ Class it as a Christmas present Steve..... :santa:Hi Steve, just posted to you today, but missed the collection today. Will be on the way Monday...Just postage cost STEVE.....