Everything posted by veilside01702
-
Picture of my test fitting.....

-
Thanks Dave, it’s down to you that I am even attempting this Repair.... lol Your mig welding thread has been invaluable with the pictures and info....
-
Well I have now test fitted and finished all the panels. All painted in weld through primer and ready to tack in place. First is the chassis repair section, but need to remove the passenger seat and lift carpet out of the way first. Next is the inner sill closer patch. Top small patch in the photo below. Then the inner section patch with flanged holes, below. Next is the outer section I got from Luke at the Z centre. The final piece will have to be fabricated when I weld the outer section on to cover the last section of the sill...

-
Hi, I don't suppose anyone has a drivers door rubber ( long one that goes down the side of the window glass and to mirror ) As long as the window glass section is okay, as mine has split and come off.... SWB or LWB.... would be fine.... Thanks
-
Hi STEVE, is this it?

-
I will go and have a look through the man cave for you steve61..... be right back....
-
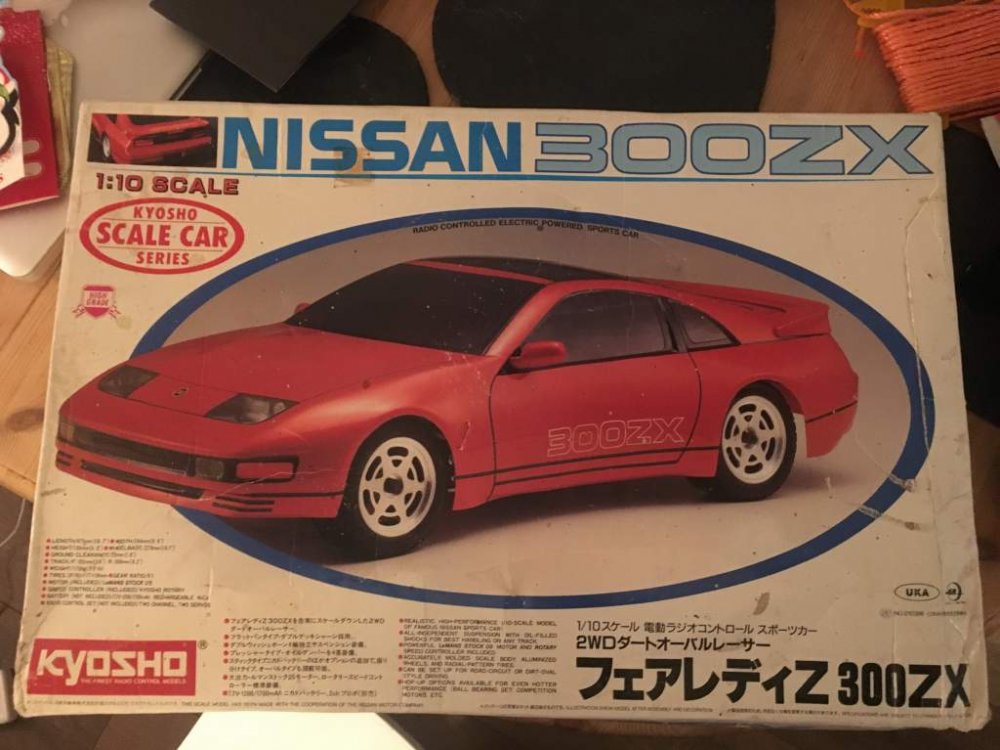
Only damage on it is where a lot of genuine Z's suffer.... bottom of front bumper has small splits either side from grounding out.... Looks like it will be a 'shoe goo' repair and a bit of reinforcement.... and a respray to match my Z.... anyone good at modelling so I can add a veilside kit? :wink:
-
Hi TonyB, No they won't....... guess who supplies Halfrauds.............. lol I worked at ECP for a few months in sales and it is usually due to human error of putting the wrong part on the wrong shelf or someone reading the part number wrong when picking the item... Instead of say 10 810 105 they pick 10 180 105, then you have a pissed off mechanic waiting for it to be sorted out or told there is no stock after all..... Their customer then hears ECP messed up and they tell their friends, mechanic tells other mechanics, etc...... then ECP has a bad reputation. All because they hired people who can't pick the correct part number or put the wrong part on the wrong shelf when restocking! Problem is most pickers and restocking staff wouldn't know a gasket from an alternator...... cheap labour.... we had loads of polish staff doing the job or college students..... Not being rude to polish staff, but there was a language barrier issue that wasn't their fault....
-
Today I cut out and fabricated another repair panel with flanged holes.... It fitted a treat first time.... luck at last... Tomorrow I will be painting it with weld through primer ready to tack in place Once I have welded the inner repair patch in place....

-
Only £70 delivered..... bargain.... lol
-
Why thank you Joel.......:sailor:
-
Could I please put forward NemesizX (Paul) for helping members out without asking for anything in return..... ( without Paul I wouldn't have the floorpan section to mend my Z ) and he wanted nothing for his generosity..... Also Dave (redwine300)..... for his continuing support in my welding / fabricating endeavours...... I also agree with Joel, Jeff, AndrewG, Simon, Jimmer and Mondo..... All of these guys are part of the reason I am a member...... So many members on here that help us all out so much.........
-
Gotta love eBay!!!!!
-
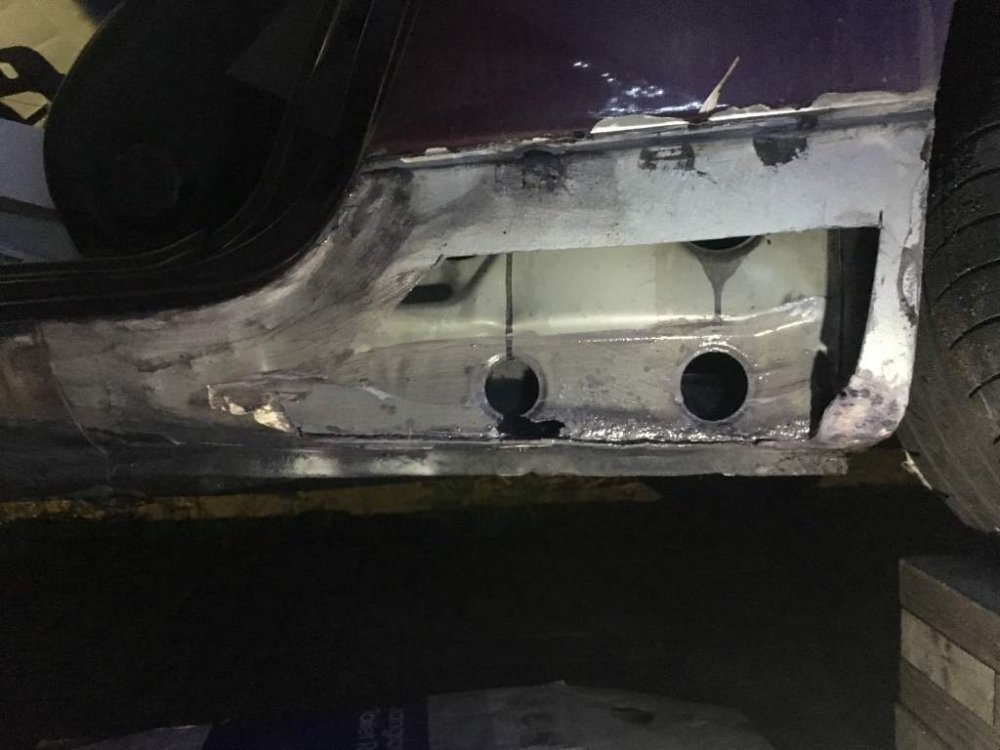
A few pics of the cutting out progress today... I need to start fabricating the inner sill sections next.... So tomorrow is template making time... I will update when I have something done... I will be elongating the targa drain to clear the sill and try to avoid this happening again.... I also found there has been a leak from the clip hole for the plastic kick panel trim... so will need to seal that before I refit it....


-
Well today I was remembering the great help given to me when I welded up the other side of the Z a few years ago. Dave (redwine300) and Ross (Ruishy1) gave me so much help and advice on how to weld better than the spattery mess I was managing to do.... We lost Ross shortly after, but as some of you know we still have Dave and his diary of how welding and fabricating can be done at home with a lot of patience and adaptation. In case you haven't seen this superb guide to welding, repair and fabrication of Z panels...... https://www.mig-welding.co.uk/forum/threads/thanks-everyone.15465/ It is helping me no end to see what I haven't cut off yet and what hides beneath the sill panel outer cover..... It helps to see how they are put back together to work out how to tackle cutting it away without cocking it up.... lol Hope this helps other forum members see what Dave managed to achieve with patience and hard work! Cheers Dave for the pictures and write up.....
-
Well I am now going to cut more out after finding more rust hiding in the inner sections.... Might as well cut it all out and replace all sill sections while i'm at it.... Going to pop down to machine mart tomorrow morning to get a spot weld cutter! Weather permitting tomorrow is the plan..... after first taking loads of pictures, measurements and cardboard templates of everything I am about to cut off...... I was going to start today, but it is precipitating a lot today with a very strong wind, as well as cold enough to give me hyperthermia..... lol
-
I want Sir Alan Sugar as PM........ He would at least tell it how it is and possibly fire some muppets!!!!!!! Or even Harry Rednapp........ lol
-
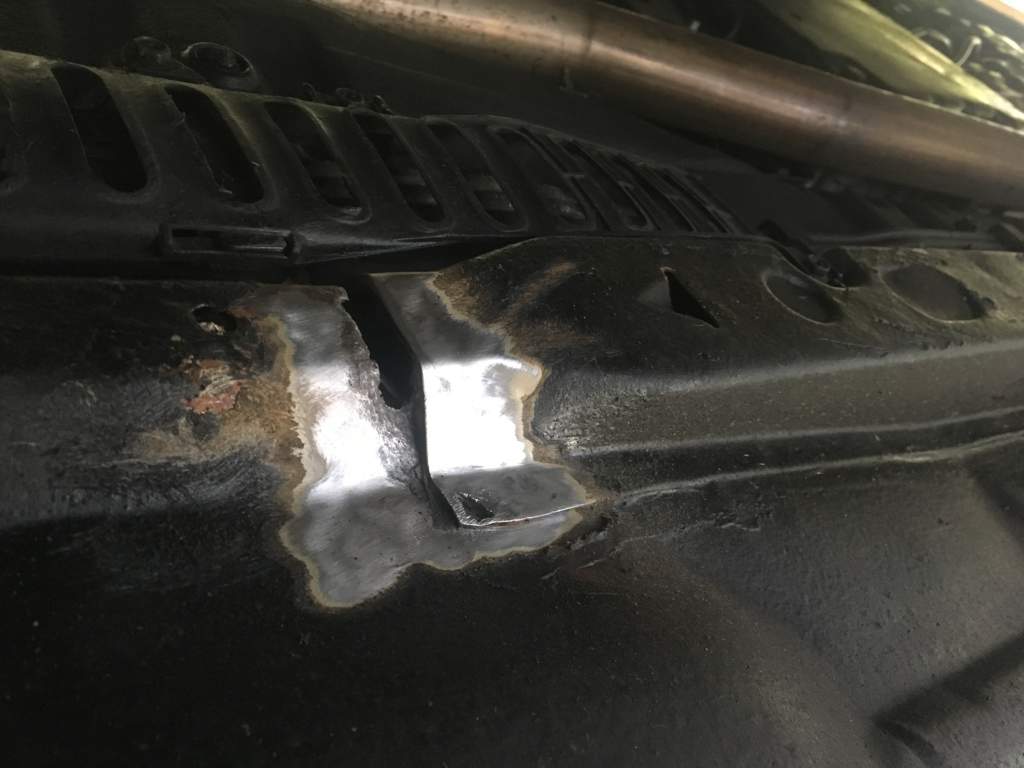
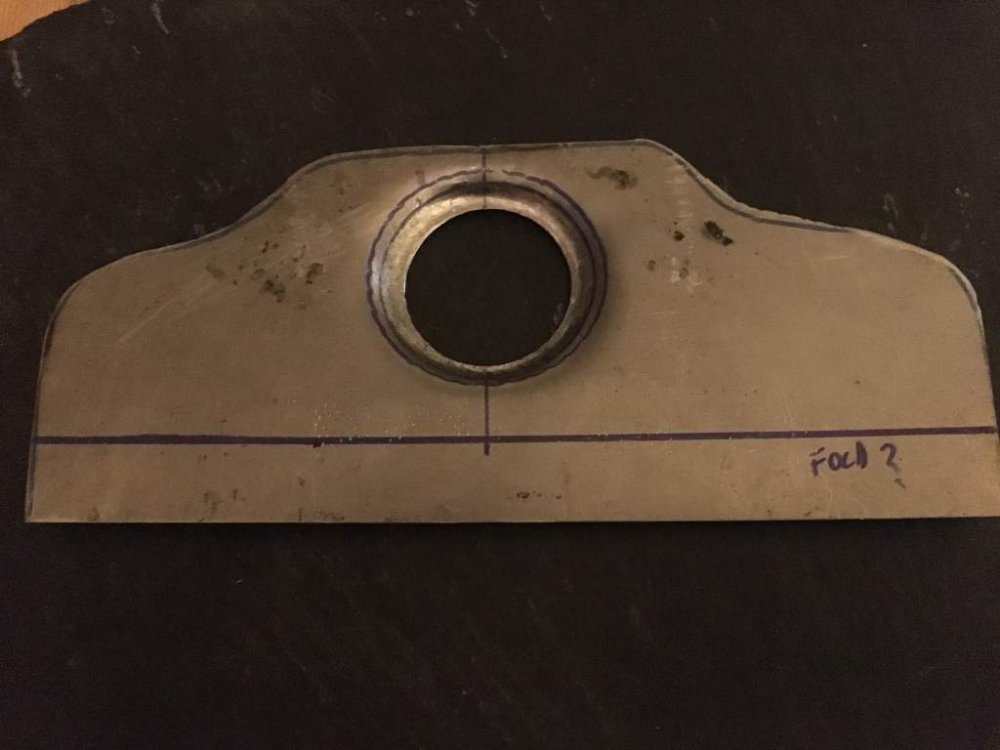
Well I managed to get the hole cut out and the flange put in today. Next step is to clean the piece up and then paint it with etch weld primer.... I also cleaned up the front sill back to bare metal and found it was a Frankenstein job done before I bought the car. It has 3 patches welded in and is covered in dents that have been filtered over.... I am now contemplating replacing the entire sill all in one go....... or making a full length section to replace the damaged front piece and the 3 patches.... I will see how the weather and work goes over Christmas.... lol
-
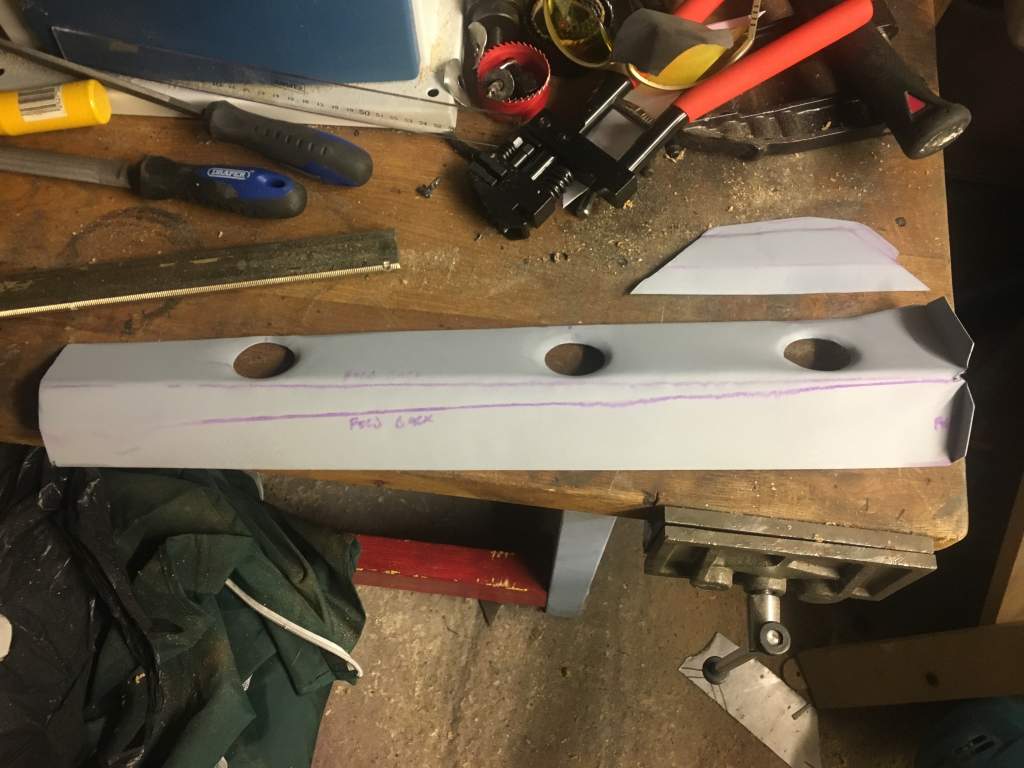
This is the inner sill patch rough cut before I punch the hole and flange it to match the OE piece that is missing... Even though you could just patch it and nobody would see it... I would know it didn’t look right and wasn’t right..... OCD!!!... I will post up when I have finished the piece later and the chassis rail patch...

-
Thanks everyone for the support...... I’ve ordered the Panel from Luke and I’m making the repair panel for the chassis rail by hand.... Just made a template tonight and will cut out the sheet and shape tomorrow...... Just need to find my joggler tool now....
-
I was a bit peed off so got cutting..... lol
-
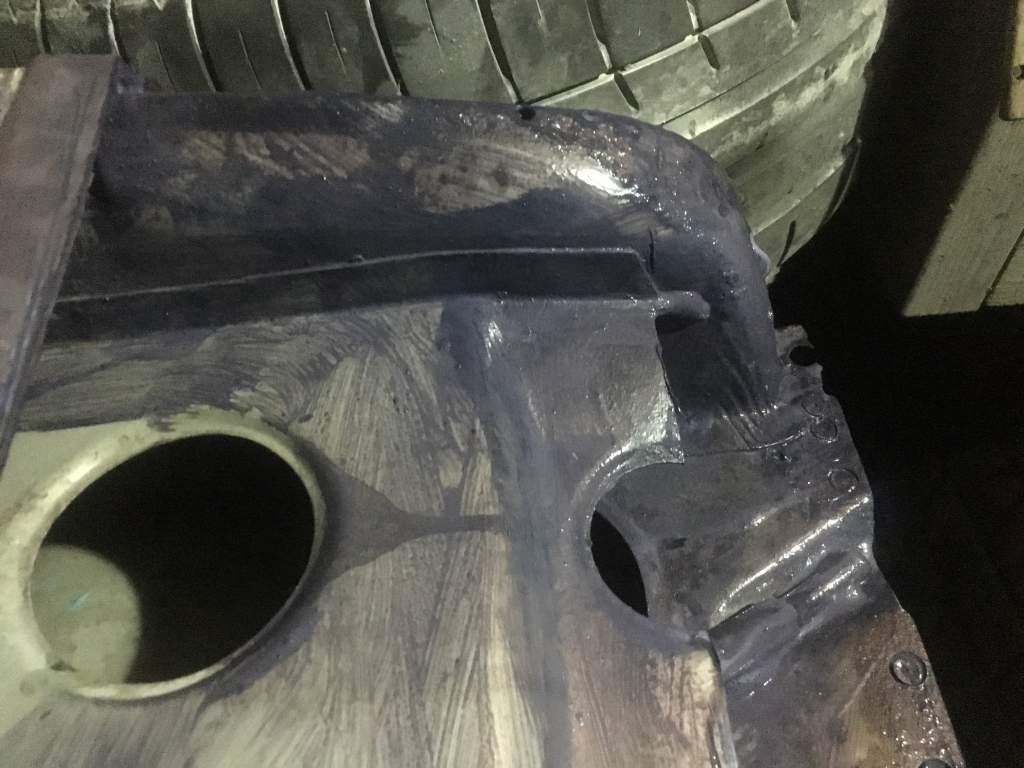
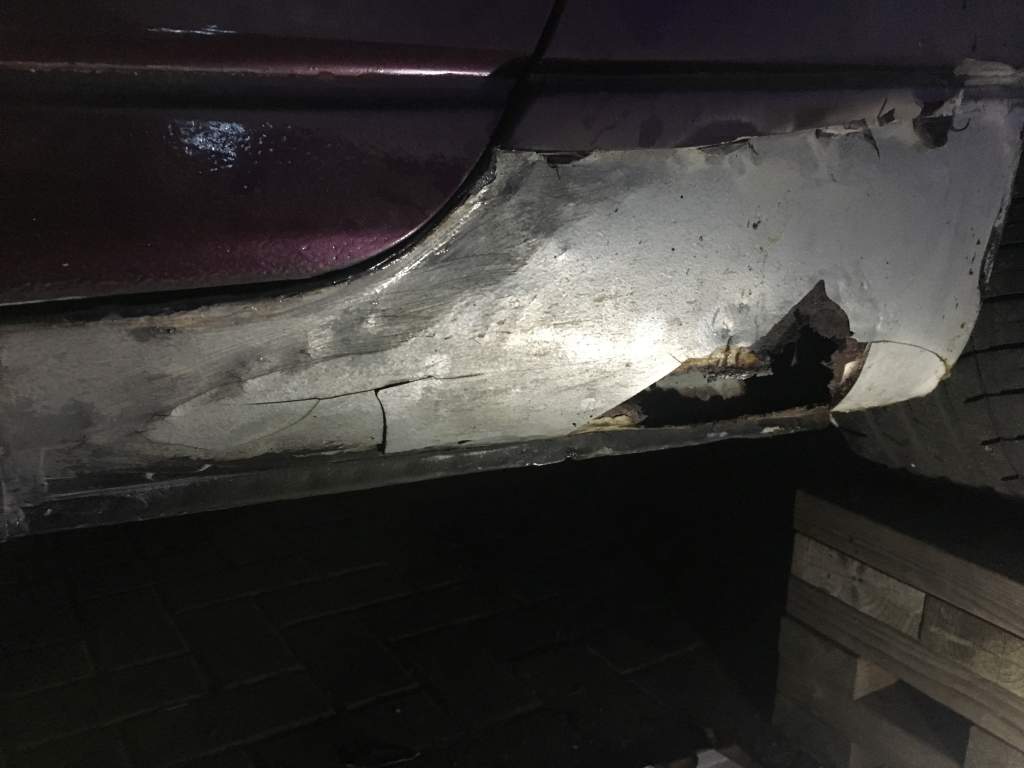
Well NO MOT for a while................. First of all after turning her around and starting on the other side for resealing the floorpan, I found this rotted through chassis rail...... Then I found this hiding behind the veilside side skirt on the opposite side to the one I repaired a few years ago..... [ATTACH=CONFIG]115521[/ATTACH] The filler is about 10-15mm thick in parts...... bodged up before i got her by the look of it....... [ATTACH=CONFIG]115522[/ATTACH] Anyone know if Luke at the Z centre is the best place to buy the repair panel???

-
I found this hiding behind the veilside side skirt on the opposite side to the one I repaired a few years ago............aaaaaarrrrrgggggggghhhhhhhhh!!!!!!!!!!!!!!!!! It now looks like this.......


-
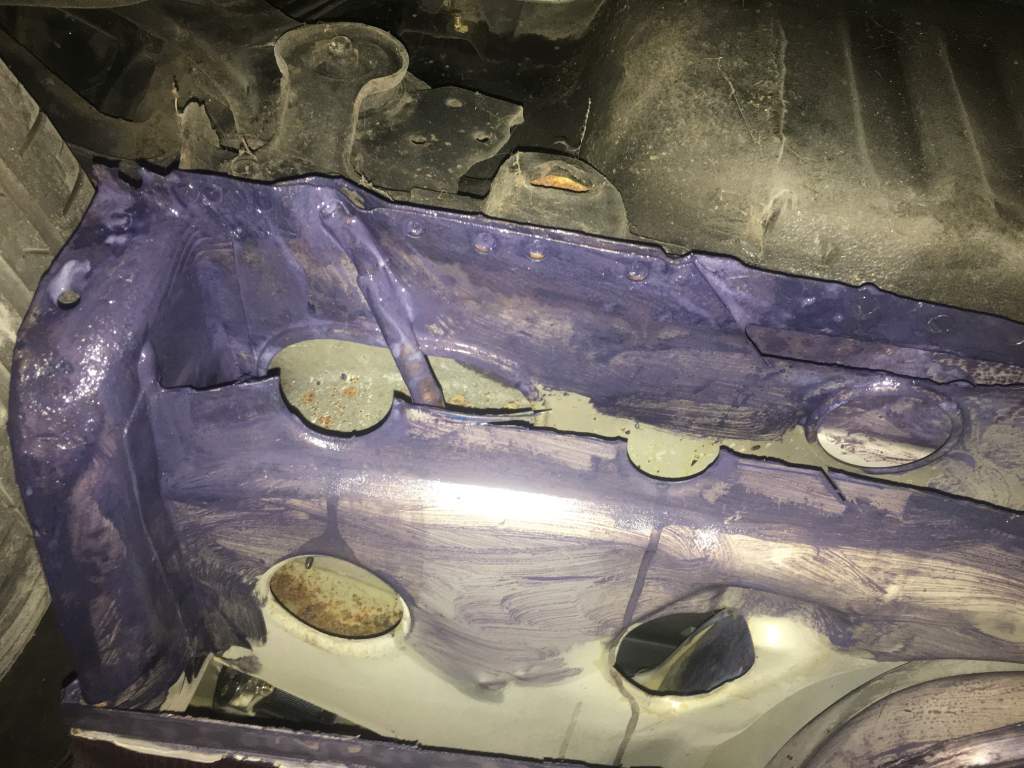
Well I looked at last nights work and have decided it is acceptable to me for the minute.... So this afternoon I gave her a coat of tetra schutz and am now waiting till tomorrow to check how it looks and see if it needs a second coat... I have decided to do the other side while I am at it, as I noticed the sill looks like it has surface rust.... so its strip the other half of the floor pan day tomorrow with the wire brush. Then the same treatment as the other side, hopefully without the welding..... lol
-
Glad your okay..... sorry to see your pride and joy like that...... Make sure you get print outs of all the properly priced 300's for sale on ebay and other sites so you can show what money they are commanding in todays current climate.... At least if you can show the market price is higher then you can push for a better price.....