
Everything posted by veilside01702
-
 @z32bolt @z32bolt@z32bolt@z32bolt@z32bolt@z32bolt@z32bolt@z32bolt@z32bolt@z32bolt@z32bolt@z32bolt@z32bolt@z32bolt@z32bolt@z32bolt:innocent::innocent::innocent:
 -
I like Silverstone...... used to go to Trax with my Z...... camped out there till they built over the camping ground..... It would be a great location to hold an anniversary meet.......?? Pretty central in the UK...... Is Nissan UK doing anything for the Anniversary?
-
Just hope the buyer pulls out and they offer it to you at your bid.......:wink:
-
Can't you just buy replacement bulbs from them?
-
Snap..... Got mine off ebay about a year ago..... paid about £120 I think....
-
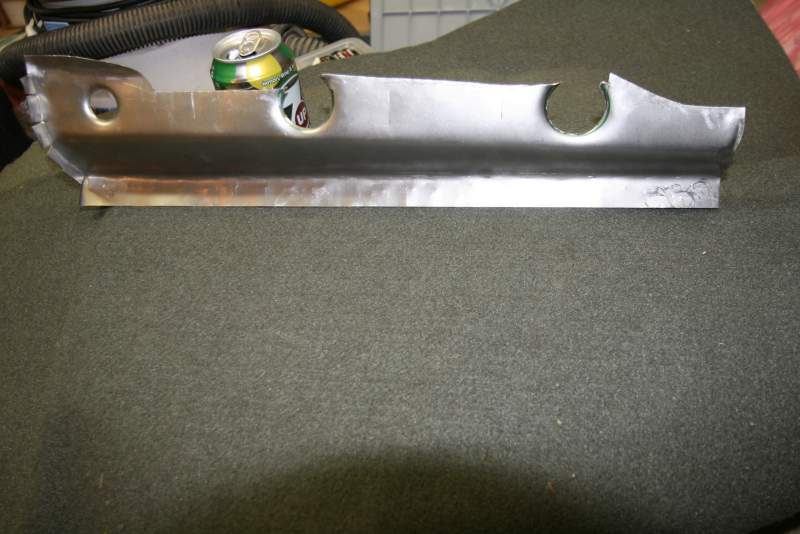
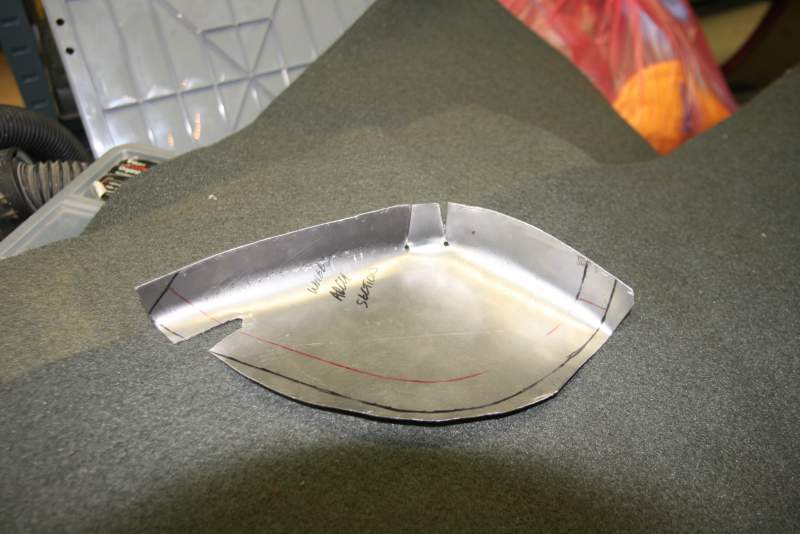
Well today I got some help and we fabricated the middle section of the sill and the lower wheel arch piece.... I still need to cut out the holes in the panel properly and put the flanges into the panel, but main part is done..... Tonight is finishing the fabrication then to clean the parts with some degreaser and weld through paint...... I will post up pictures when I have finished fabricating the panels and they look presentable......lol Oh and I cut out the entire bottom of the wheel arch..... was a big worry of mine till I did it and offered up the new panels and realised they would actually fit.....lol [ Update:- Well holes cut and flanges fabricated...... completely cleaned and degreased......Painted with weld 2 primer...... and welded up the slots in the wheel arch piece in my workshop.... finished welding in my workshop at 23.15..... can't grind the welds on that one as my neighbours would lynch me.....lol ATTACH=CONFIG]72706[/ATTACH] I will clean up and paint tomorrow..... I will post pics of this bit then.....

-
I would buy parts from Jody anytime, as he's got a good reputation with the members for being a decent bloke........... But I am skint and can't afford bugger all.......lol
-
I would go S4.... the wife has an S2 and it is superb..... If I was to upgrade I would go S4.....
-
This is the ebay address for the coil connectors.... over 10 left it say's.... I bet he changes the postage price of £7.72 and combines postage.....lol http://www.ebay.co.uk/itm/330774862590?ssPageName=STRK:MEWAX:IT&_trksid=p3984.m1423.l2649
-
Hi Dave, just bought a set of both the injector and the coil pack connectors from that guy on ebay... say's he will combine postage.... worked out about £53 for both sets.... Hopefully I can re wire my loom in the next month or so then..... Have you tried flexing the loom to see if you can replicate the problem? And get some switch cleaner spray from maplins or electronic suppliers and a fibreglass pen and clean up the connectors just to be sure they are okay....
-
Gary....:bow::bow::bow:
-
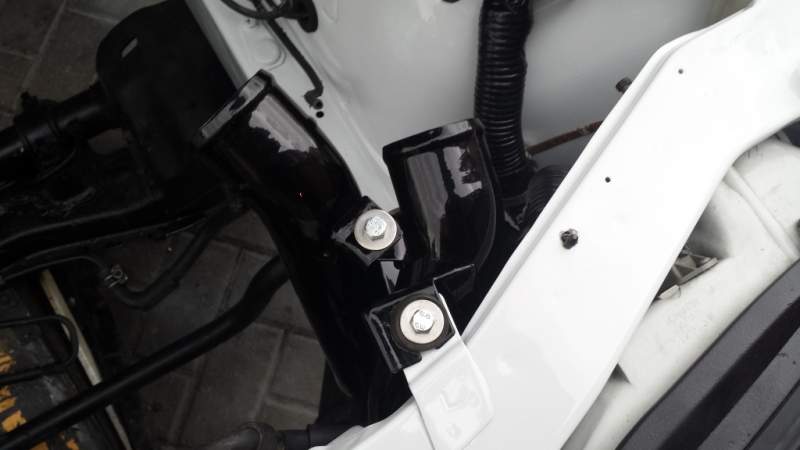
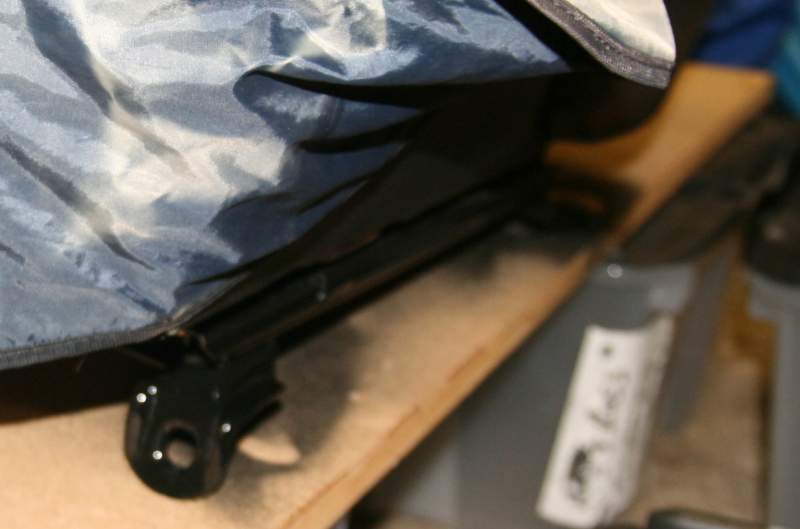
Have you got a picture of the problem bolt??
-
Shock or weak spring on N/S ??????
-
That's because they are irish and travel as the crow flies......literally...... I know a Ryan air pilot 'Shamus Crashbadly'....... lol Sorry to the irish members before I get lynched.......lol
-
I have had and fitted Toad and Clifford, Serpi star and various others...... The Clifford can be a bit problematic to say the least..... I had a toad Cat 1 that did exactly what it was supposed to do with No hiccups for the 5 years after I installed it.... Make sure the company solder everything in, heat shrink all joints, cable tie every wire every inch or so into the wiring loom, fit the main unit behind at least 2 panels ( makes it harder and time consuming to get to for a thief ).... There are certain criteria that have to be followed when fitting a Cat 1 alarm to actually make it a Cat 1 alarm install.... Anyone can fit a Cat 1, but it wouldn't be to Thatcham insurance approval standards without it being installed to their criteria.... I have seen so called installers use scotch locks and even just bare a wire, twist the alarm wire round it and tape it..... Fire risk..... As everyone has said, look for recommended installers who have been in business for a while and come with proven track record.... You could even ring Toad and ask them for their approved installer near you? Hope this helps.... If you want to ask anything just PM me.... I retired as an installer about 10 years ago.... Russ
-
I just saw a big white and orange thing come over....... bloody easy jet.......
-
Hi Terry, I'm in Leigh on sea..... just off the A127..... Thanks for the offer that would be great.... I could do with an experienced eye.... been avoiding doing the work on the engine.....I'm getting nervous that I may have missed something and need to pull timing belt covers and plenum to do deletes and check belt and tensioners again..........lol Still have so much to do, no money left and running out of time.....lol
-
Cheers Dave and Gary...... I am busy with kids tomorrow so needed to get the car ready to be put back on the road....lol I will be getting my 5 year old to help me clean the interior tomorrow though as he loves....'HIS' car......lol Thursday I will be getting fabricating help, so going to be pulling drivers carpet and treating entire floorpan as I did on the N/S one.... Should have most of bodywork done in a week or so.... then it is strip engine again after reading Jeff's thread about belt fitting I am going to fit a genuine belt and check the adjuster is done right......lol
-
Hi Terry, I am doing a N/A to TT conversion and am trying to see how you got this pipe through the gap and out to the intercooler without damaging the fresh paint on it?
-
Frame painted and will be dry tomorrow.....
-
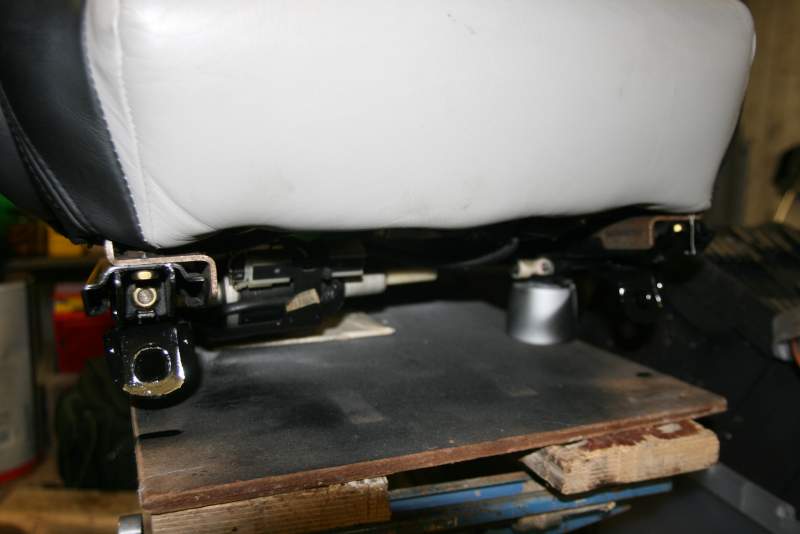
Right today's work was..... 1) Fitted floor bung and seam sealed into floorpan 2) hoovered N/S floorpan and fitted Dynamat sound deadening from front bulkhead to rear seats... 3) Cleared out the boot and put all my parts into the garage ready to fit.... 4) Pulled the N/A fuel pump and fitted a warlbro 255 fuel pump.... well I hope it was a 255 pump, seems smaller than the std one? 5) Cleaned every single speck of surface rust I could find in boot with wire brush.... 6) Treated all rust in boot with Kurust.... 7) Seam sealed entire boot...... 8) Kurust painted into lower boot floor / rear qtr lower bits only accessible through either side in boot.... Below where the aerial is..... there was rust starting there, so treated it all.....lol 9) Painted boot with silver hammerite. 10) Removed drivers seat and got it ready to repaint the mounting frame / sliders..... 11) vacuumed carpet......... Looks almost new......:biggrin: 12) Injected passenger sill with dinitrol using the wand thing..... That stuff smells very strong.... I was a tad high.....lol 13) Sealed the inner inspection holes on sill with New sticky pad things...... 14) Refitted ECU's and wooden cover, trim, etc in N/S floor area..... And now I am going to garage to paint the drivers seat mounting frame.......
-
Hi dave, found these on fleabay and thought you maybe able to make use of them? http://www.ebay.co.uk/itm/330839860978?ssPageName=STRK:MEWAX:IT&_trksid=p3984.m1423.l2649 I am going to order a set of these and a set of the coil pack plugs from this seller.... when I get some money....lol Russ
-
Hi and welcome to the madhouse........lol
-
That is great work..... I need to do this over winter now....... lol Dedication and loads of hard work.... can't wait to see this on the road...... Mod's........ Can we add this as a sticky for how to restore the underside of your Z....?
-
Now I am jealous.......lol Nice find..... hope it is all good and you get a good deal on this...... If you find another and I win the lottery.......lol I would love one of these as they sound and look really nice....... Can't wait to see it on your car.... Russ
