Everything posted by Peage
-
Concept Z Performance are in Phoenix aren't they? I know they have a shop aswell as supplying parts. You should try them.
-
Sounds like I'll be in the minority but I actually prefer the look of the darker shade when in the sun. Both are very nice though and as always you should go for what you love.
-
I've recently deleted my HICAS and only just now put the car back on its wheels and started it to turn it around in my garage. So this is the first time since the delete. I now seem to have no power steering at all. The HICAS light is illuminated but I expected that and I believe there is a wire snip fix for that light, which I was going to do later on? As far as I was aware this wouldn't cause loss of power steering? I have deleted the solenoid completely though and used the common fixing to loop the lines in the engine bay. Are there some additional steps when deleting the solenoid?
-
Great work so far. Are you planning of reverting to the standard tail lights?
-
Thats awesome - Thank you for that... will come in very handy when I get to that.
-
I can thank the hours spent staring with a confused look on my face at far too many manufacturer spec documents for LCD screens. The Z has been the reason behind developing more skills and acquiring more kit than I ever planned to... like that chunky lab power supply. I suppose thats a positive though - not sure ? Do I remember reading in your build thread that you also run a Racelogic? Or did I imagine that? I may have some questions when it comes to the laptop configuration - if you happen to have done any fine tuning of the settings?
-
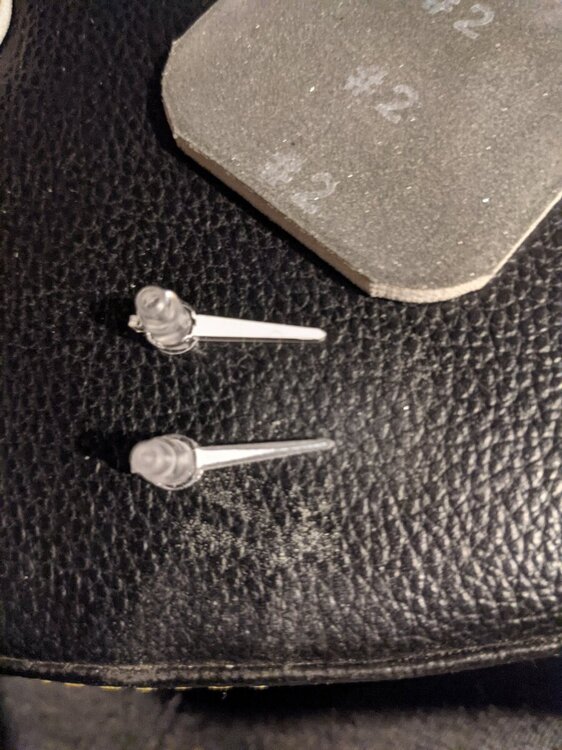
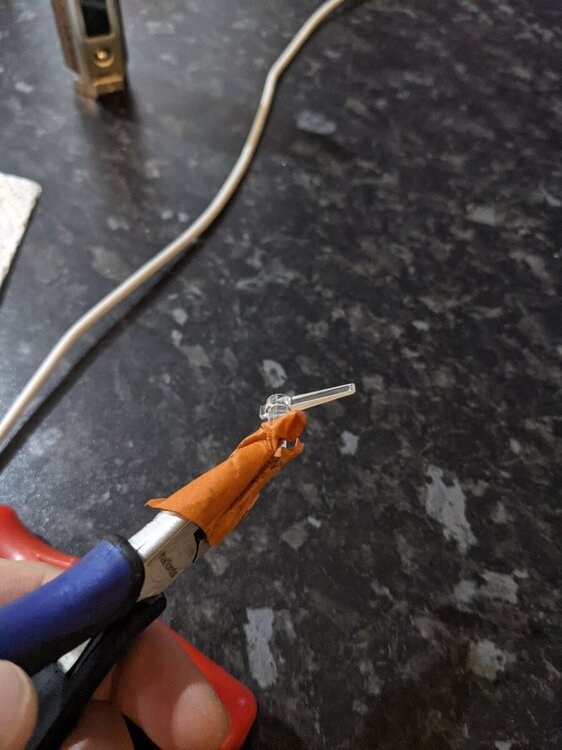
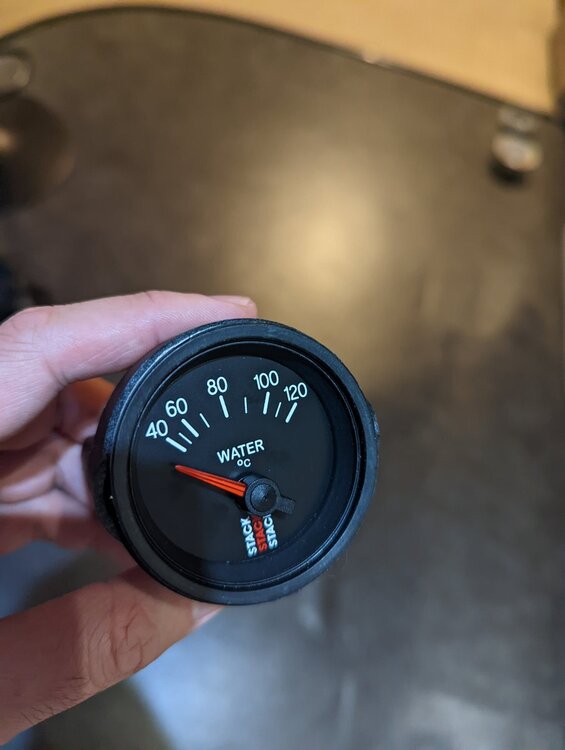
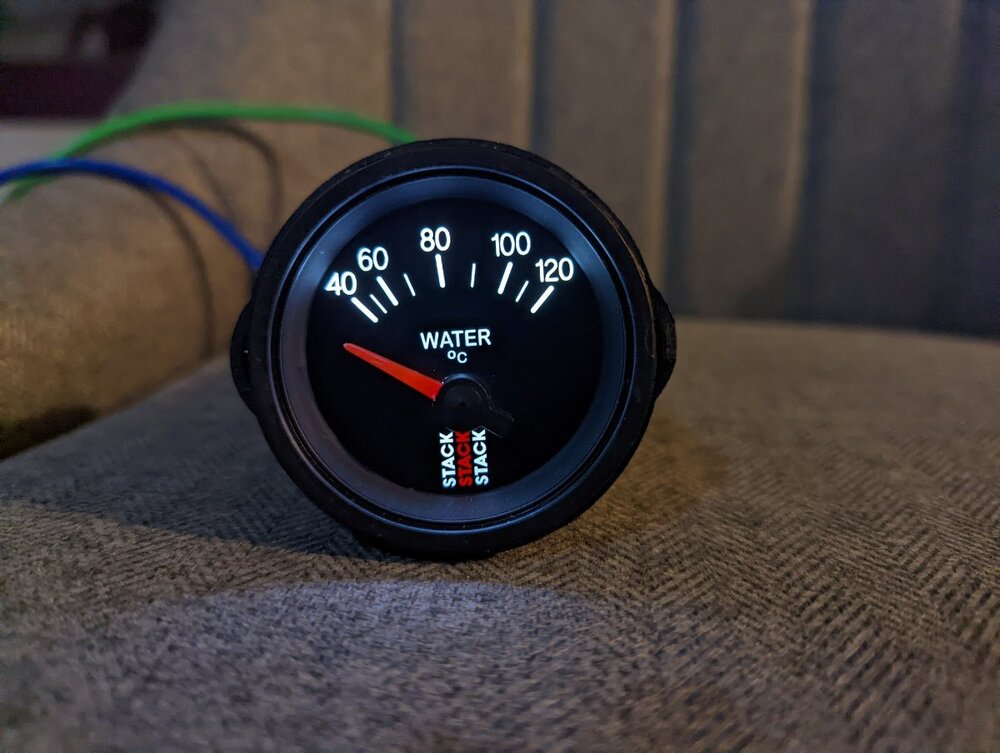
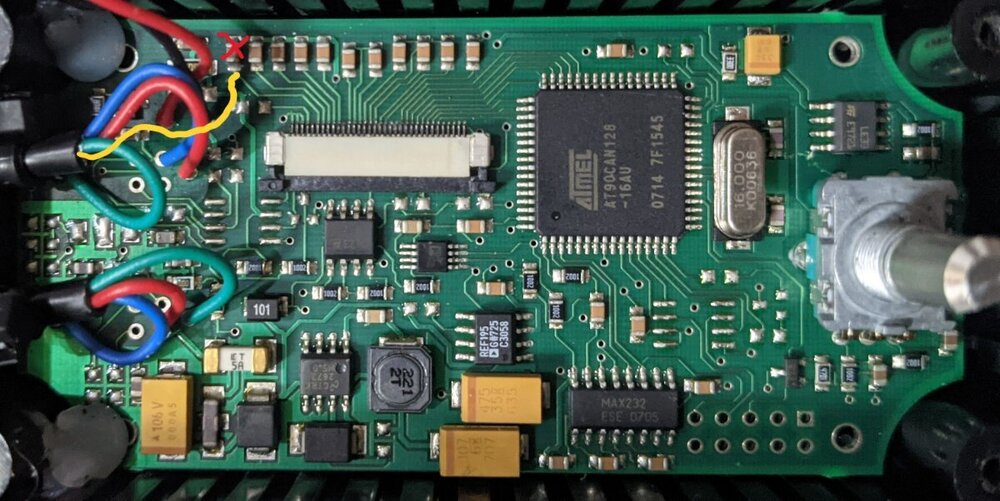
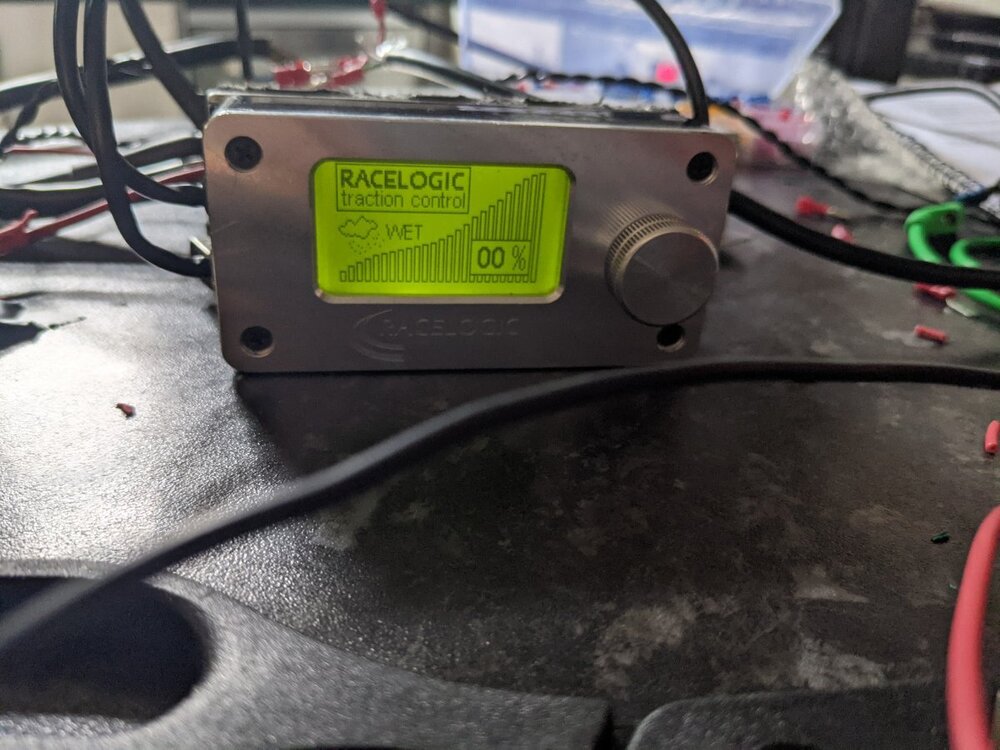
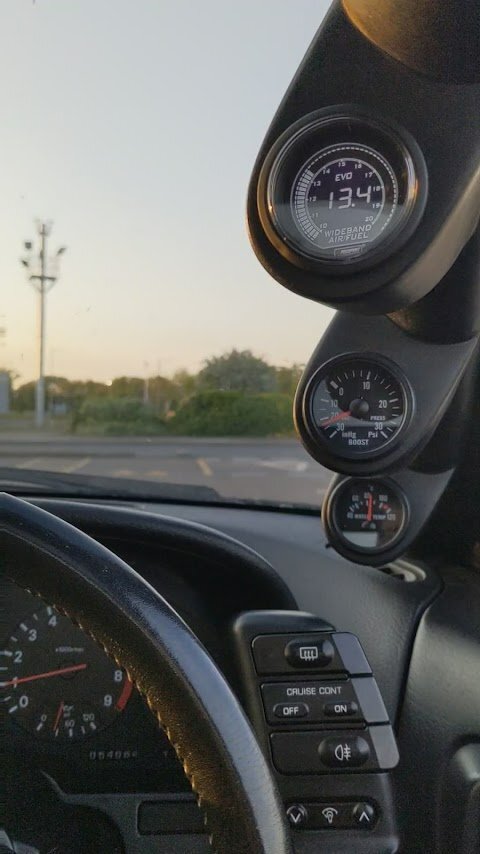
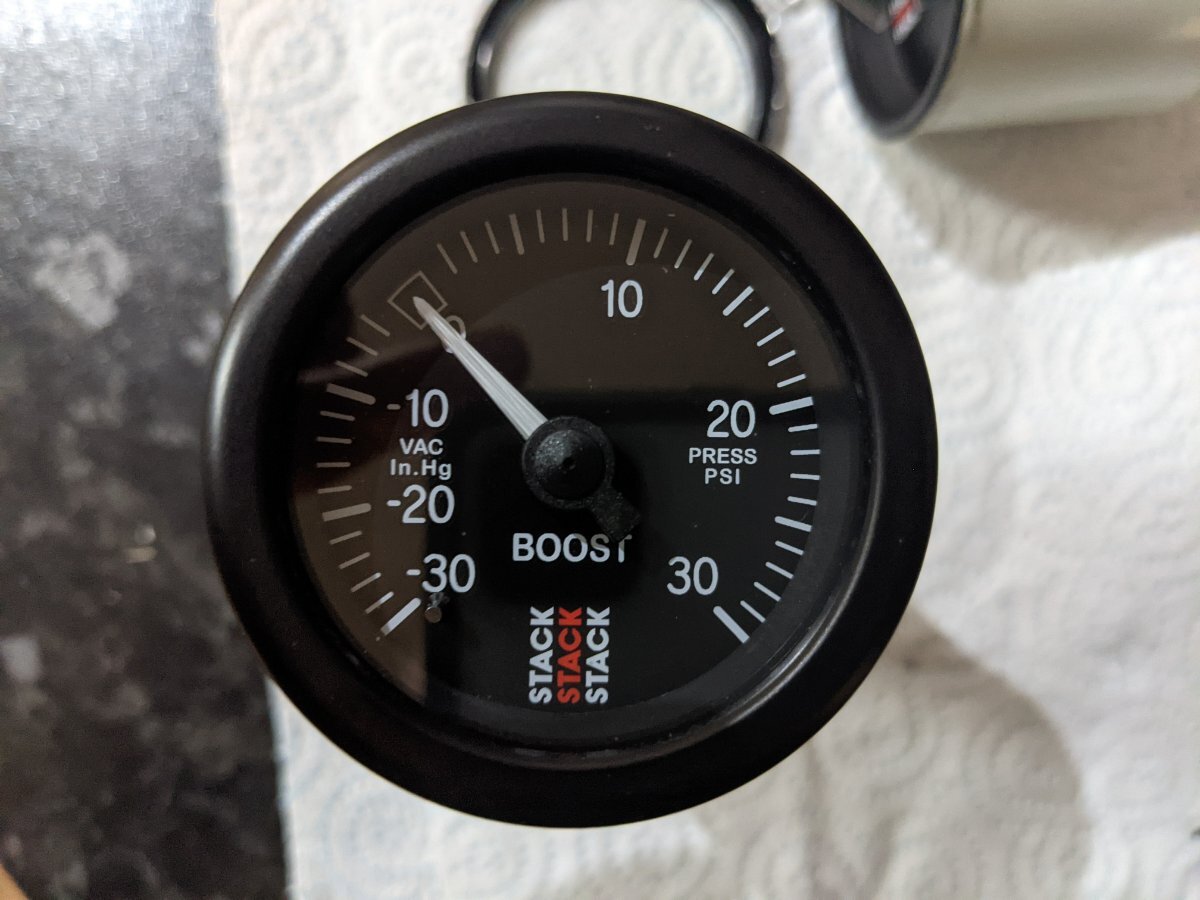
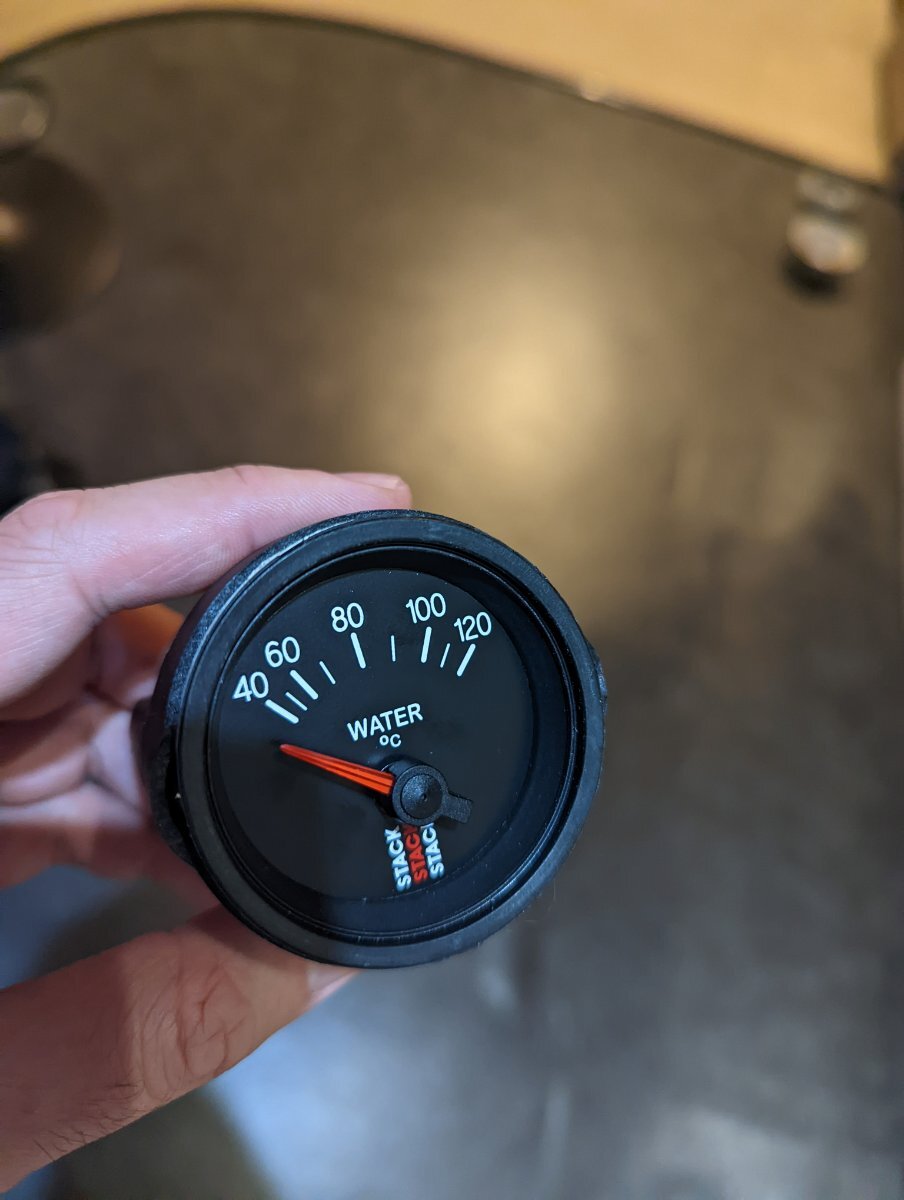
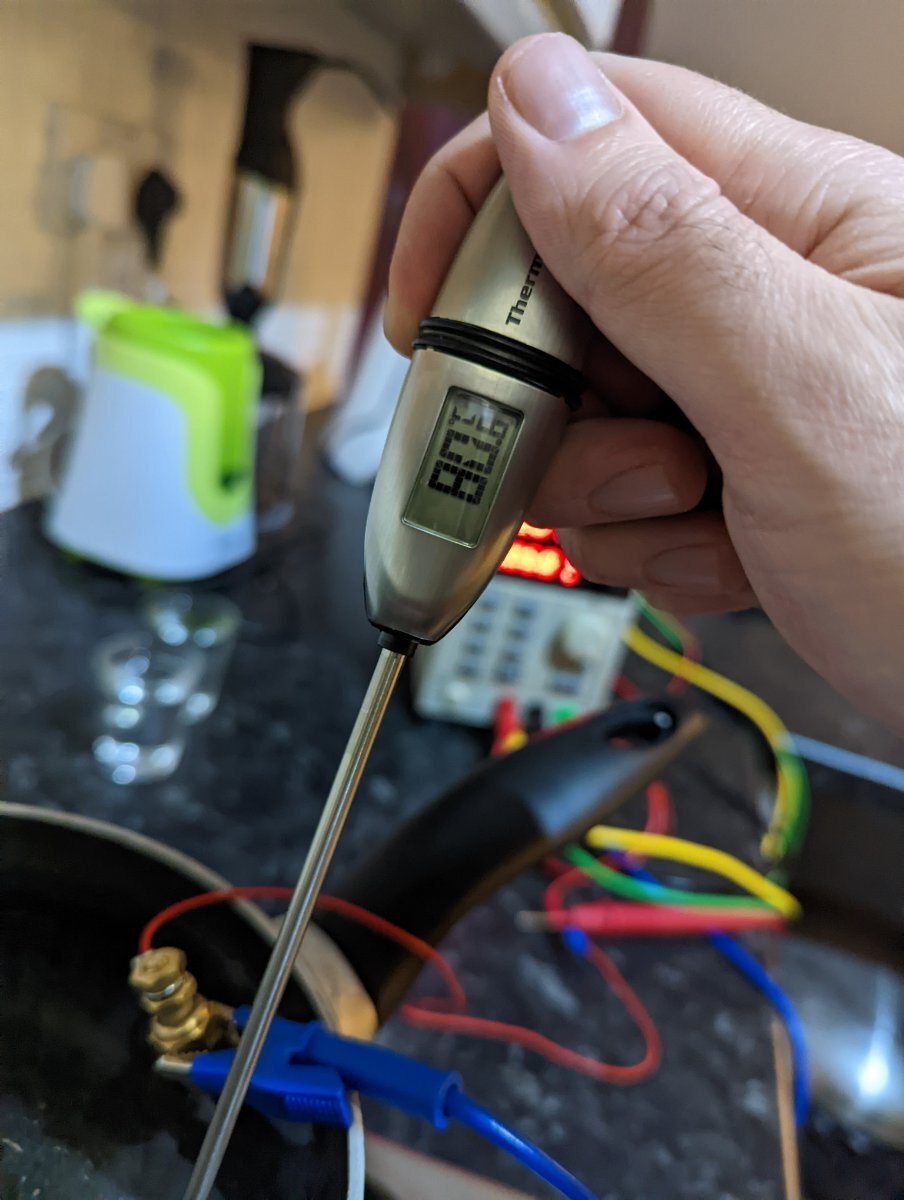
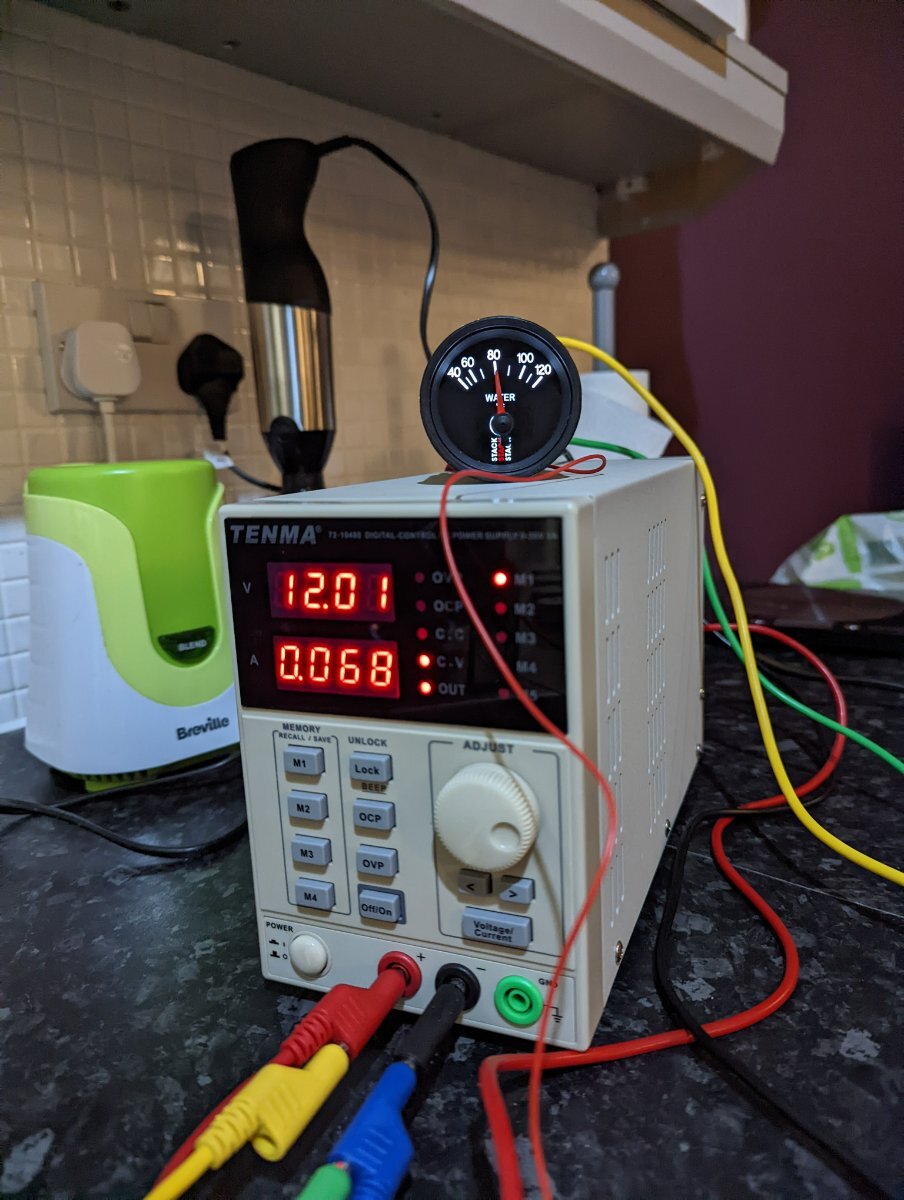
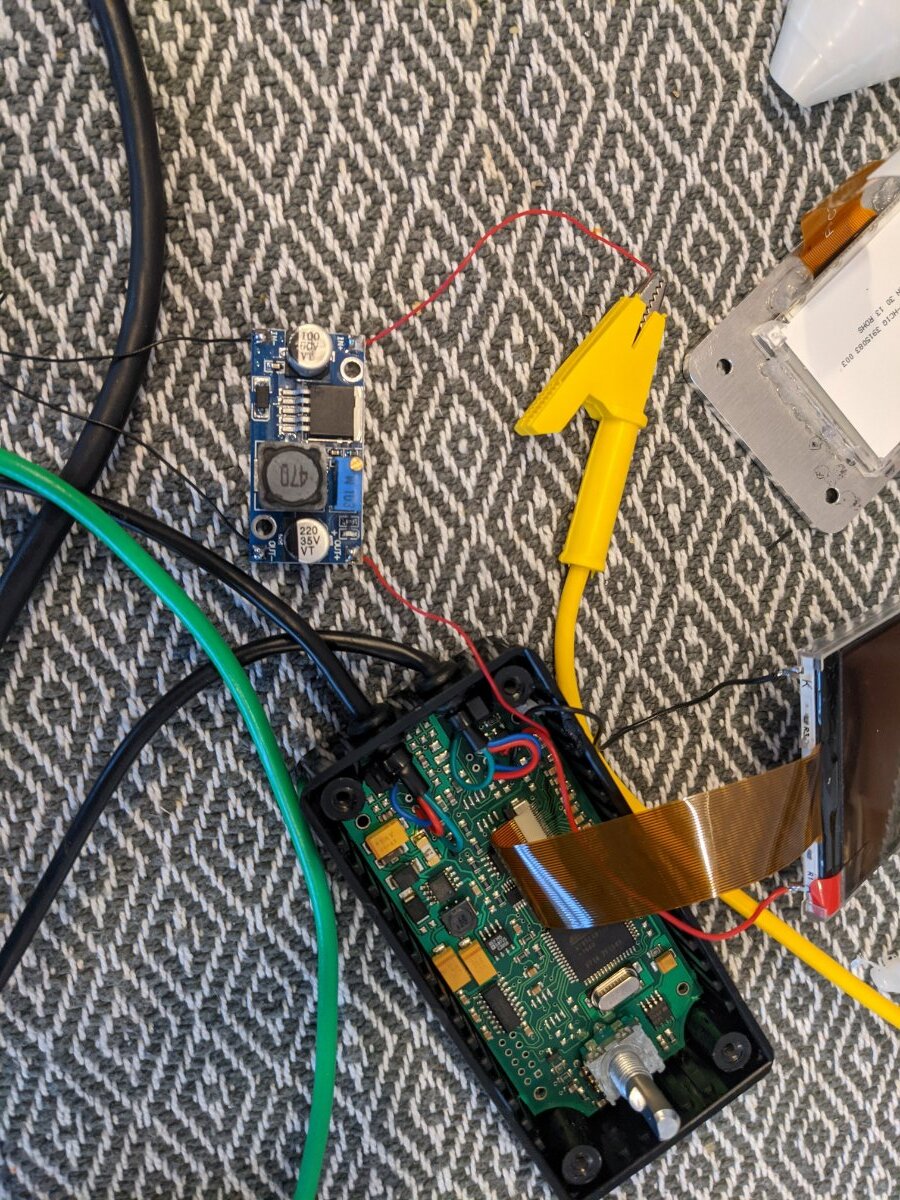
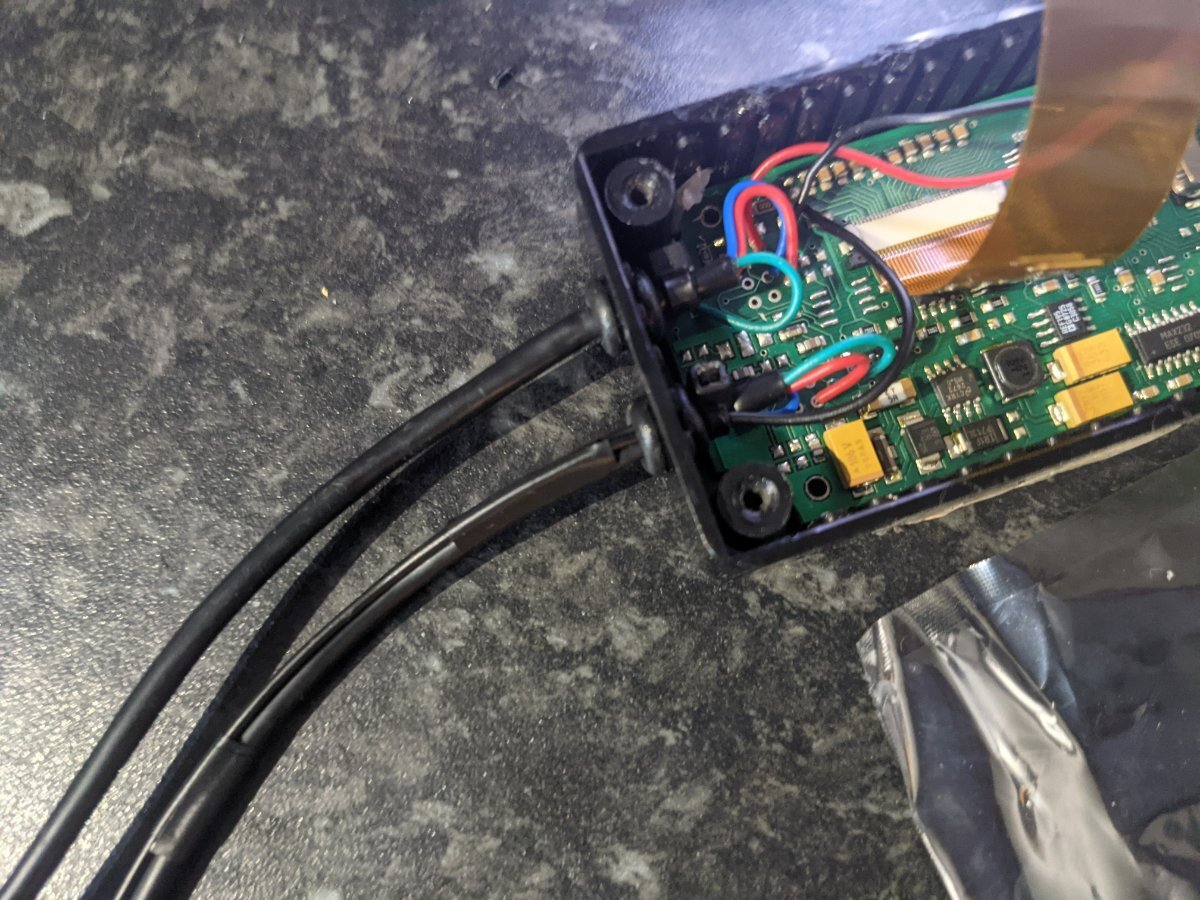
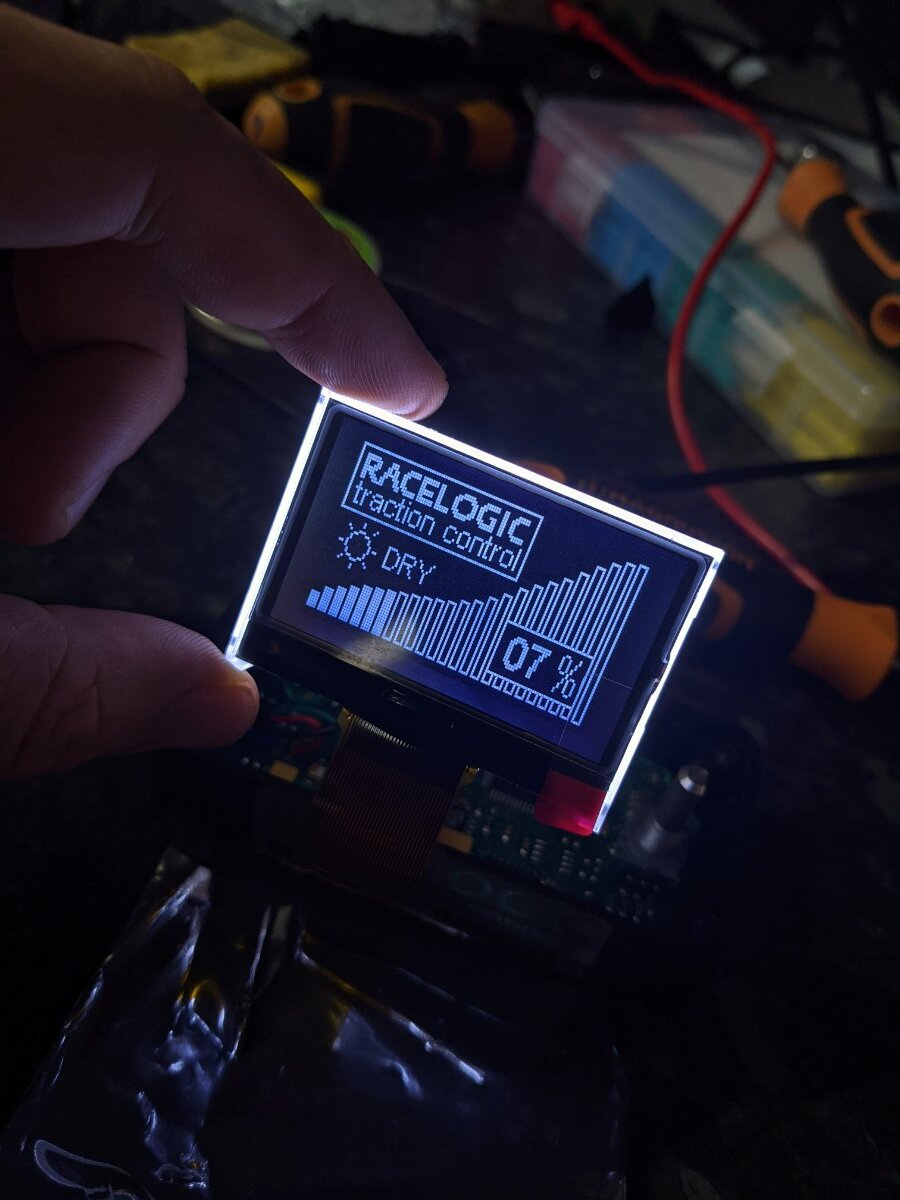
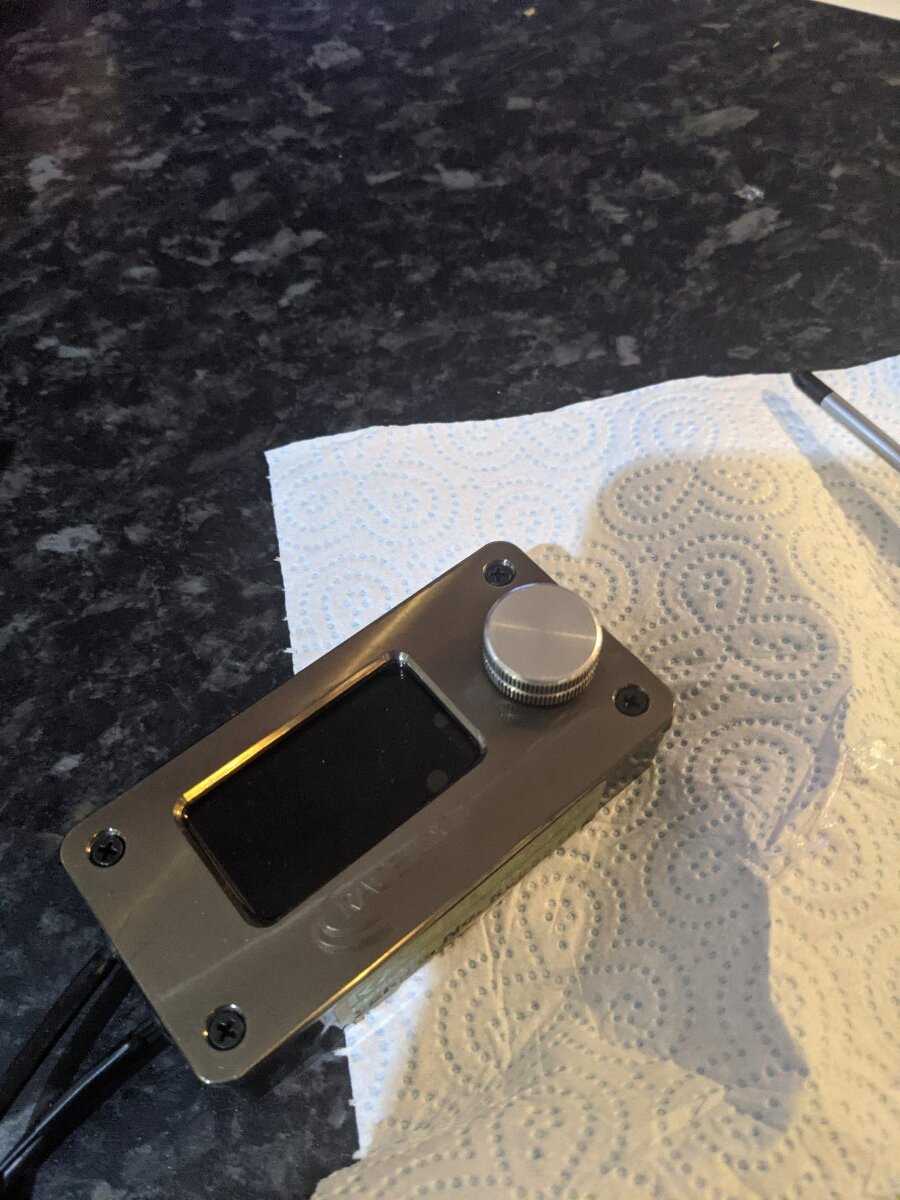
Bit of an interior bits and bobs update here. When the car was on the road before, I fitted some generic boost and temp gauges. I like having a water temp gauge as I like knowing the actual water temp at all times - not the dampened gauge in the stock cluster. I chose these because they best fit the aesthetic of the stock gauges: However, the boost gauge soon became inaccurate so I decided I would switch over to some higher quality gauges while the car is off the road. I liked the look of the Stack gauges but their black gauge face only come with white needles so I purchased with the intent of recolouring them red to better suit the car. The standard look: Modification: New Look, used fluorescent needle paint: After removing the needles, both would need recalibrating - as best as I could manage. Water gauge was set according to a food temperature probe and I set my boost gauge while fitted to the car at the same time as doing a boost leak test. I don't have pictures of this but I set it according to the pressure gauge on the leak test bung. I also acquired from Sayers on this forum a Racelogic TC system, with the digital adjuster. I have not fitted this to the car yet (I need to get the car back on it's wheels and turned around in my cramped garage to get access to the passenger side - once I am done with what I am doing on the drivers side). But I have made some changes to the adjuster - again just to better suit the the car... In my opinion anyway. With all digital screens, I have tried to keep as close to the white LCD style of the factory climate control (and clock - but mine is now gone). My wideband gauge, boost controller (HKS EVC S) and (shown later in this post) Tein controller are all white LCD. So I wasn't too keen on the green old Nokia style LCD on the Racelogic. I am not knowledgeable in electronics so I spent more time than I ever really wanted researching LCD screens aiming for a white on black effect. All white on black screens that I could find were only semi compatible - with the issue being, if I could find screens which matched the pins of the original screen, and were white and black, they differed in voltage spec on one of the pins. This basically results in the screen not being driven properly and being pretty much unreadable. To fix the issue, I removed the component marked with the red X below and introduced a new power feed to that pin from an external little voltage regulator and just adjusted it to the spec of the new screen, as per the yellow line: Testing: Final Solution: And finally, success: I also wanted to dull the bright silver of the adjuster but it seemed a huge shame to just paint it black as it has a nice machined finish. Decided to just wrap it with tint wrap and am happy with the result as it keeps the machined line sheen. Ignore the bubbles on the screen, this was before final fitting so the protector is still applied. Still not sure where to place this - open to suggestions. Also sourced a used Tein EDFC Pro kit a while back which is compatible with my pre-existing Tein coilovers for a great price on eBay. My clock had already died so I decided to cut into the centre console to place the control unit in the clocks place - it just barely fits but seems the most natural place for it.


-
Very cool build mate. It's a unique one. How does that Infinity exhaust sound? Going up to a 3" is on my wishlist but my remit sounds similar to what yours was. I don't want much drone - but I'd also like a nice roar.
-
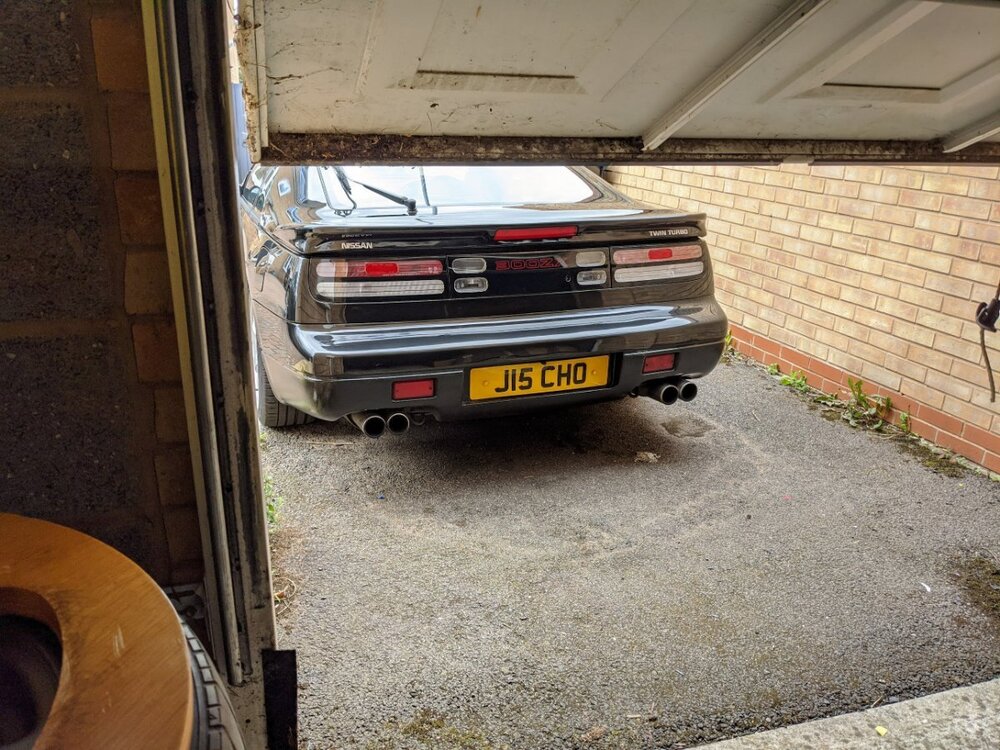
I am biased but do love a black Z. Congrats on the purchase
-
Shame. Seems really weird you can get them to ship big heavy gearboxes in crates but they wont send body items. Hope you get something figured out!
-
Can you not contact TwinZ directly? They list Euro/UK Spec rear diffusers etc so they must have a means of getting their parts over here. Whether thats with a European distributor or direct shipping.
-
Not sure we are talking about the same thing. From my picture in the first post in this thread I am talking about the trims marked in green. Clipping onto the underside of the rear hatch to bridge the gap between the hatch lid and the car body - one trim each side and two trims at the back of the car.
-
It's funny - I also found the front/side trims so just purchased the rears from Banzai in the end. Thanks for checking back in here though
-
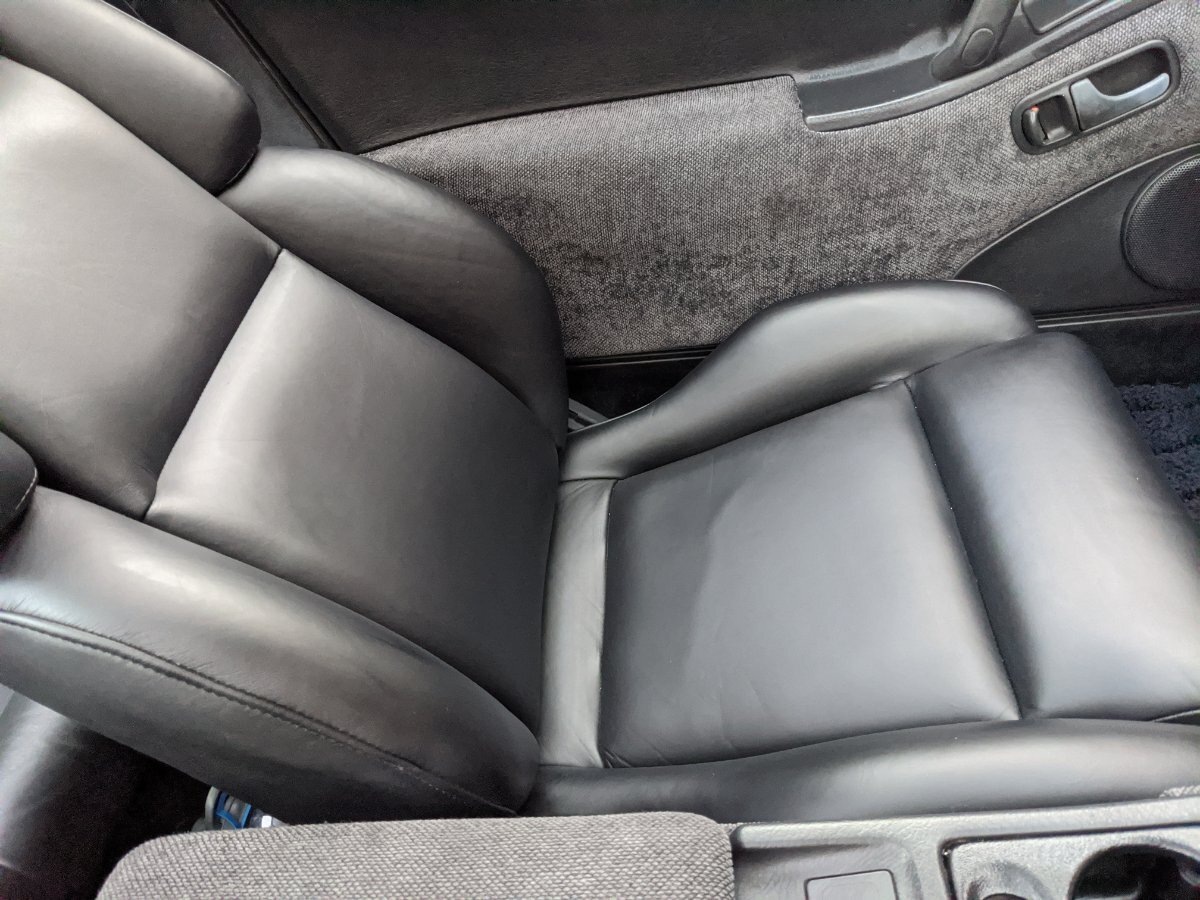
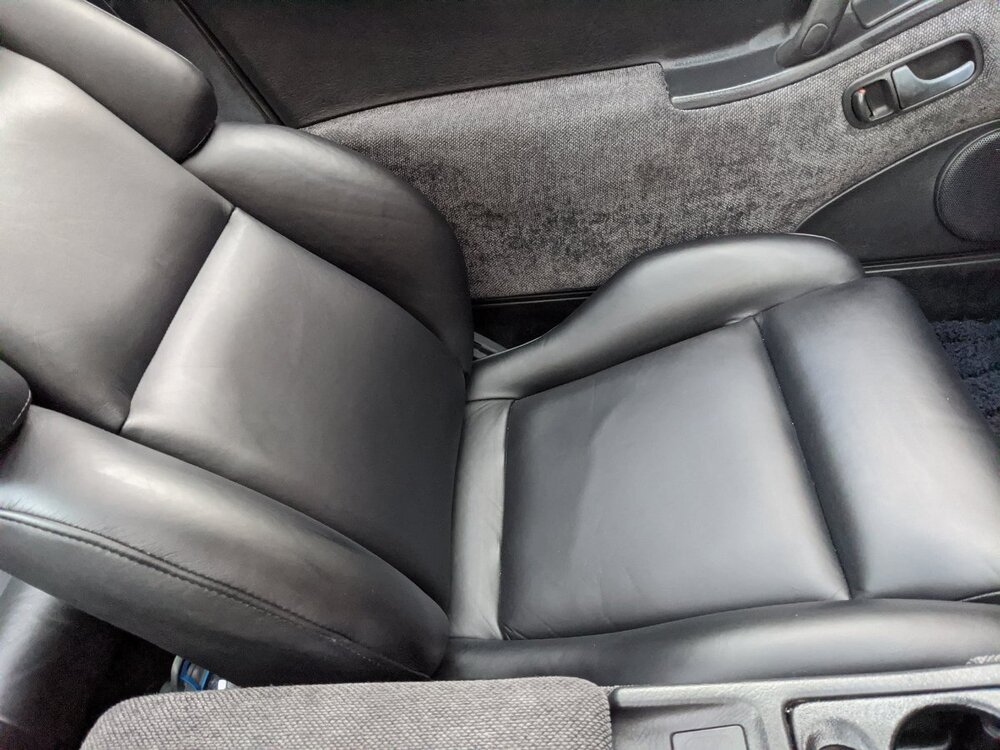
Thanks! Had them treated and redyed by the company here: https://www.interior-revival.co.uk/leather-car-interior-revival
-
Makes sense. I actually uploaded the pics on my laptop but these were downloaded from Google Photos - after being taken on a Google Pixel, so no iOS. Sounds like the same issue though. I guess the metadata or tag for orientation carried through to the upload from my laptop. A rotation plugin would be great if there is one. Thanks
-
Wasn't me, paid for a company to do it. They treat, repair and redye the leather in a similar way to how it's done from new I believe. The company I used is here: https://www.interior-revival.co.uk/leather-car-interior-revival
-
A few photos which I recently uploaded to a thread were flipped 90 degrees - I figured it might be an issue with all portrait photos but some of those went up fine. I also saw some chatter saying this was a issues that happens on phones but I made the post from a computer.
-
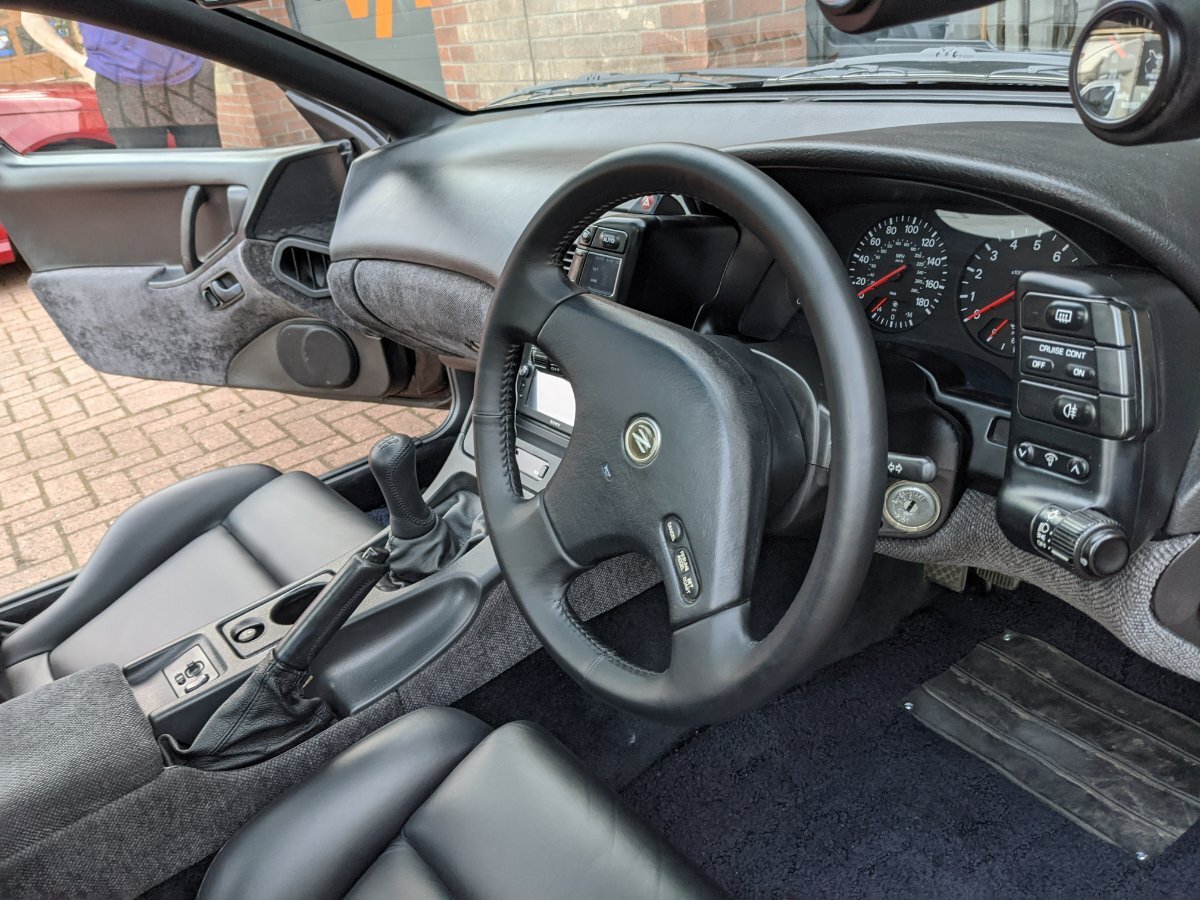
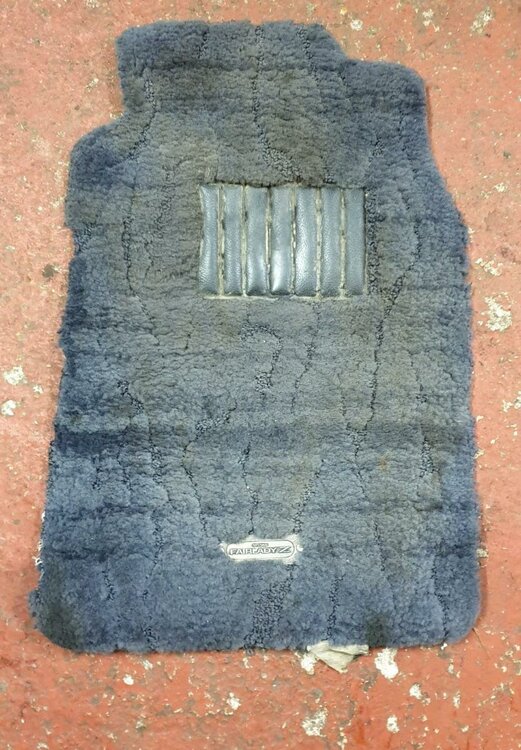
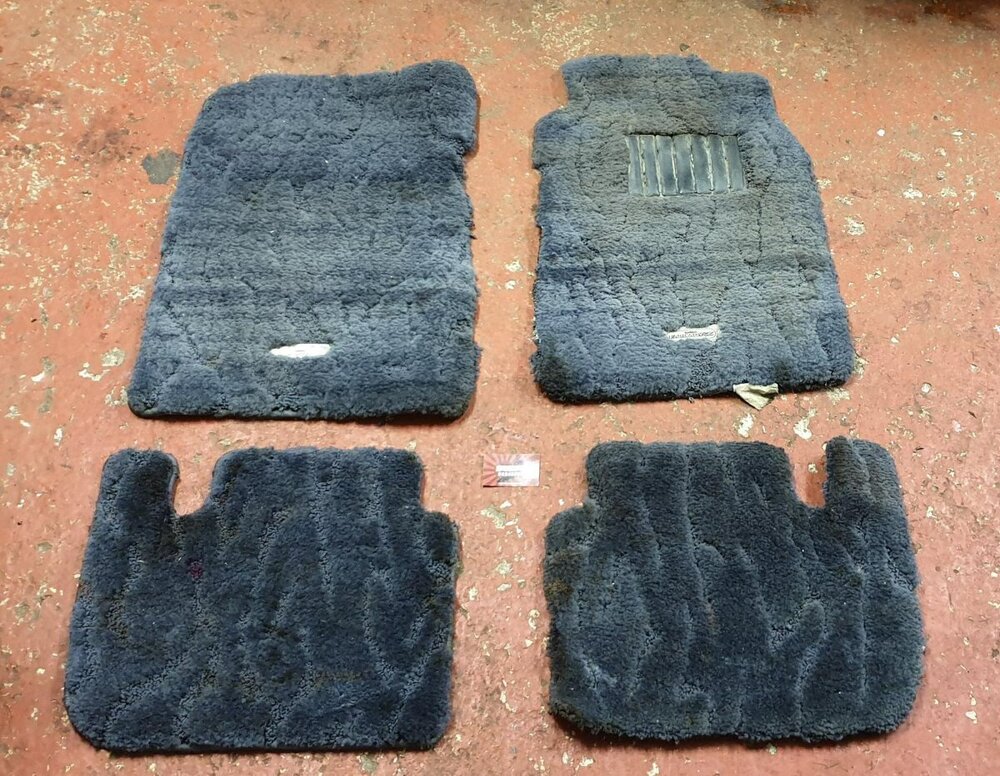
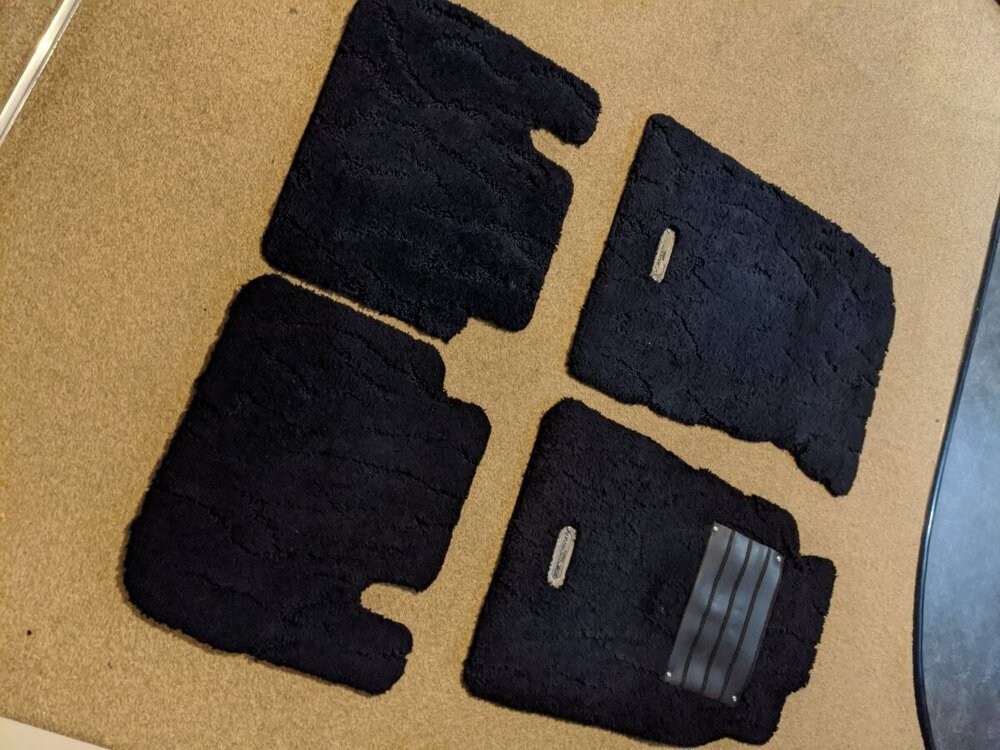
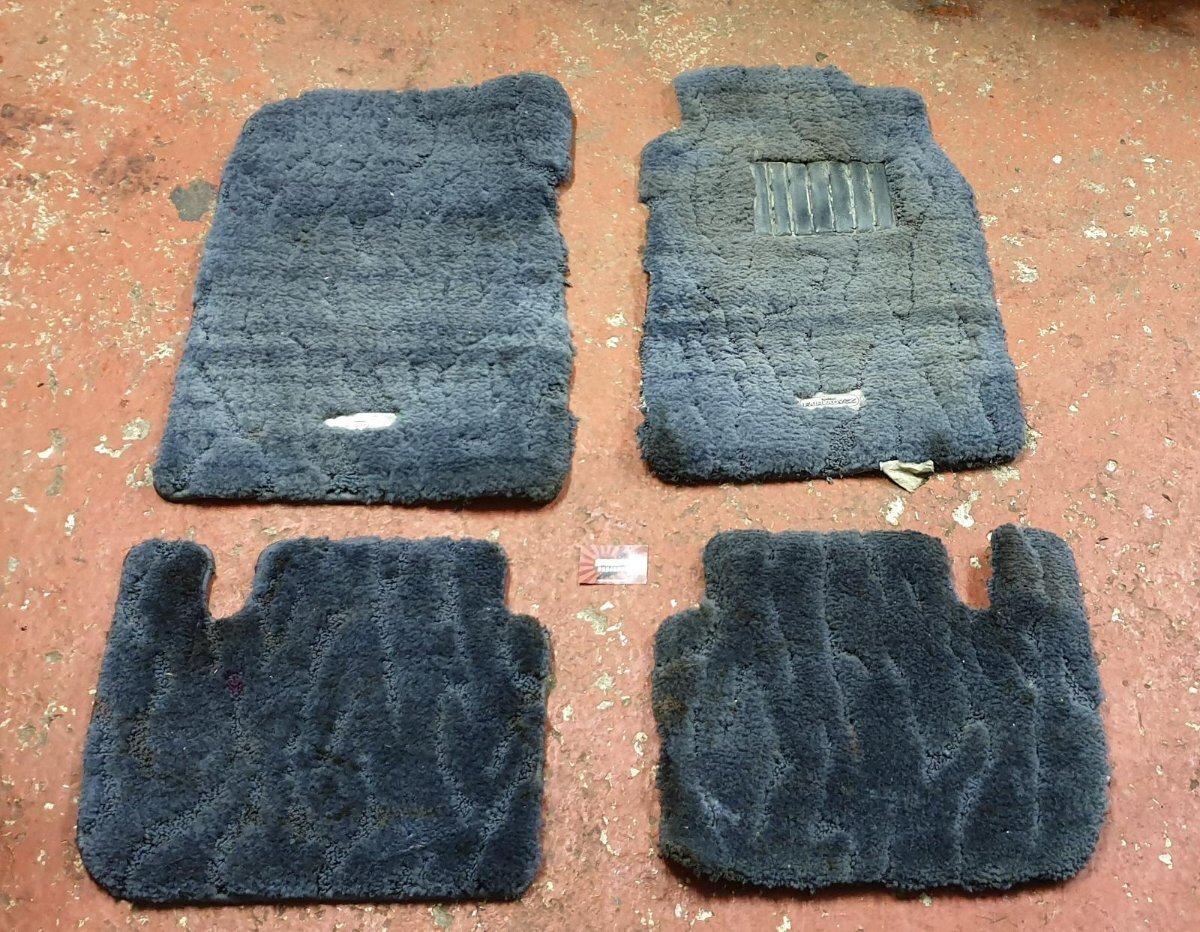
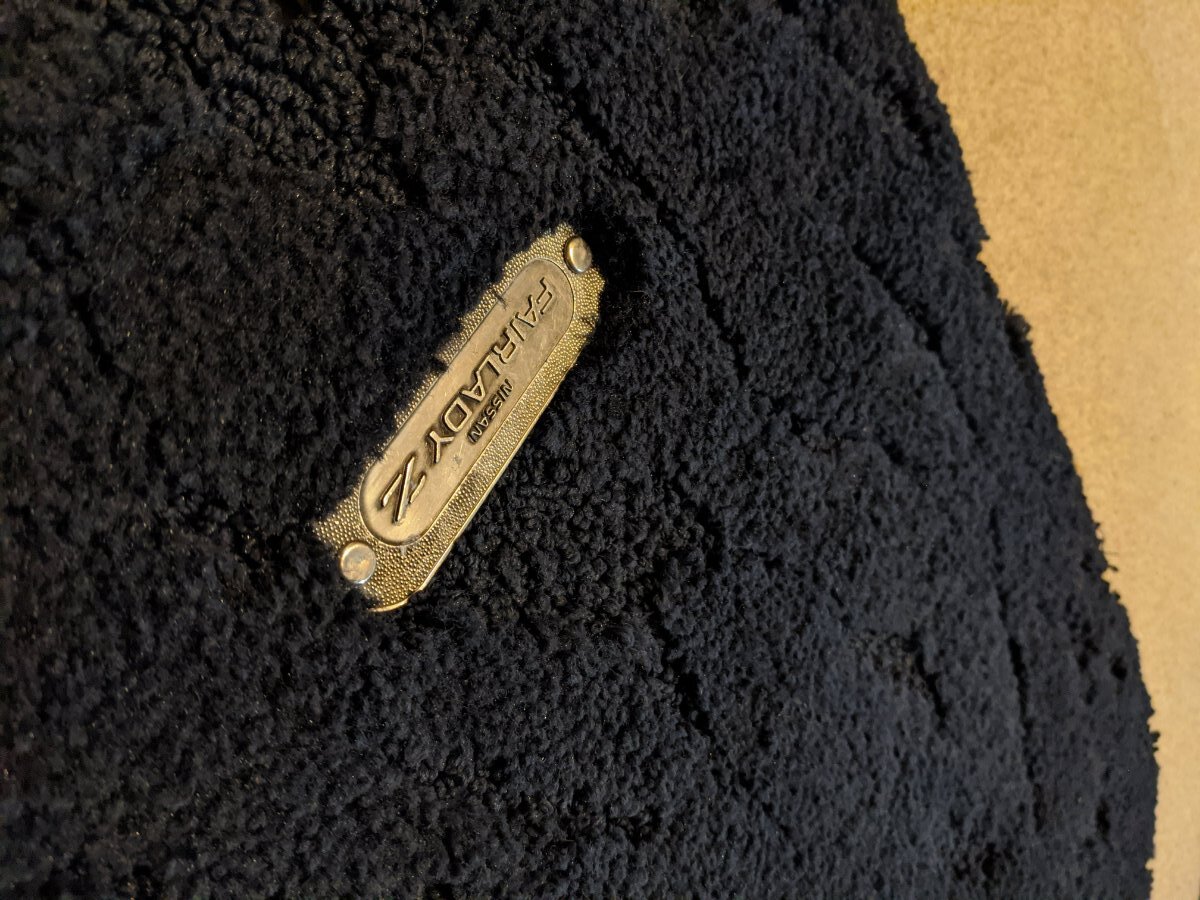
Some interior bits here. I bought some looking mats from Banzai as I always liked the shag pile OEM JDM mats - even though mines a UK. Sadly these all seem to be in various states tattiness these days, if you can find a full set at all. Mine Came like this, even tattier than the average actually: I wanted to neaten them up and change the colour - I went through various different dyes and attempts before ending up with a set that looks much better. I also elected to add a new rubber heel pad while I was at it. (Not sure why the forum is flipping some of these 90 degrees?) I also had some tired looking leather on my seats and over shiny leather on the steering wheel. I had both refurbished - so keeping the original factory leather. Results below:

.thumb.jpg.324cf51c16b64a6ea913b2ecc6aa957d.jpg)


-
Going to be a perfectionist's dream when it's done. When we are you anticipating to have it all done and back on the road?
-
...perhaps I should have said BK, not BBK. Ha. Thought it fit the bill for the "better" part of the question though.
-
Sure... https://conceptzperformance.com/centric-stoptech-new-czp-stoptech-st43-front-caliper-brake-upgrade-kit-nissan-300zx-z32-silvia-240sx-s13-s14-s15-skyline-r32-gts-non-awd-czp-41000-st43k_p_58406.php
-
CZP do a Stoptech kit specifically engineered to go under the standard wheels. Relatively cheap for a new BBK too.
-
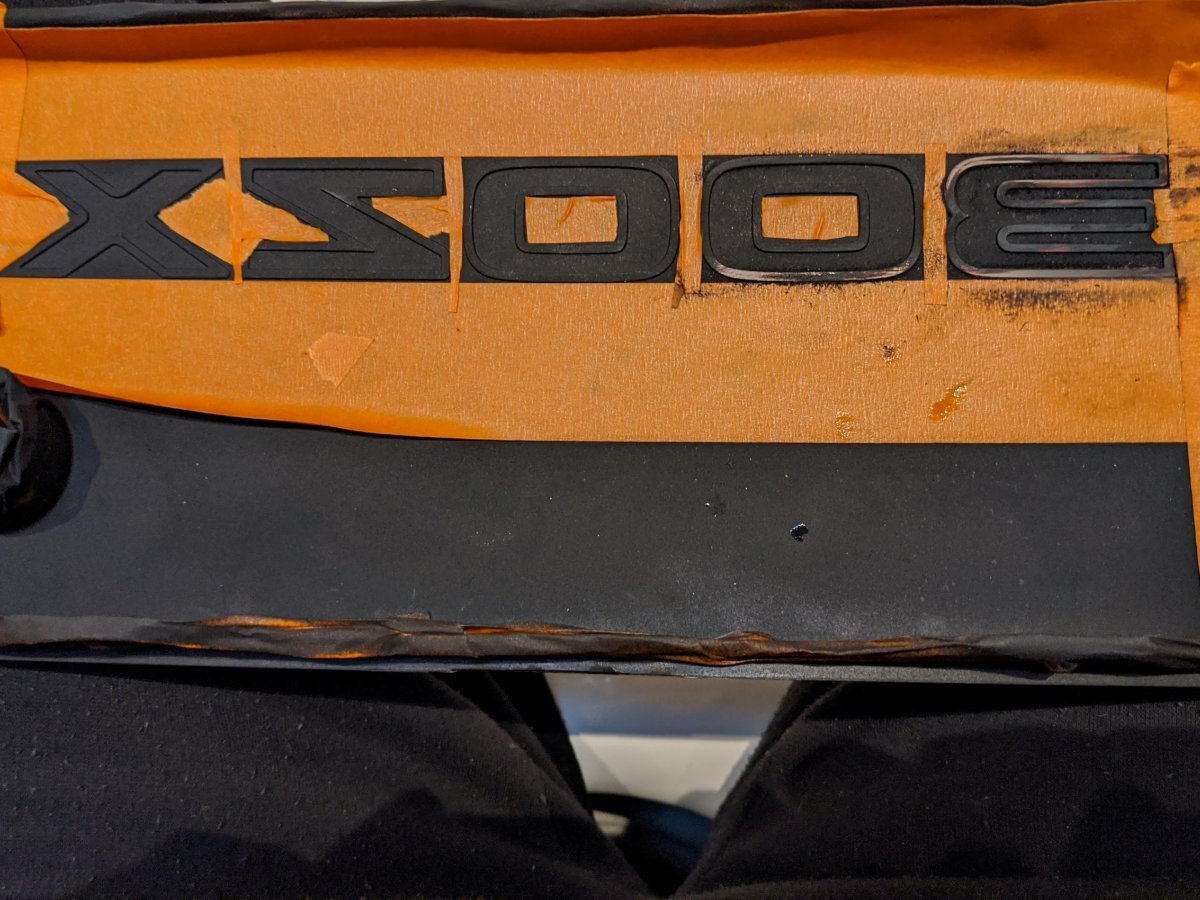
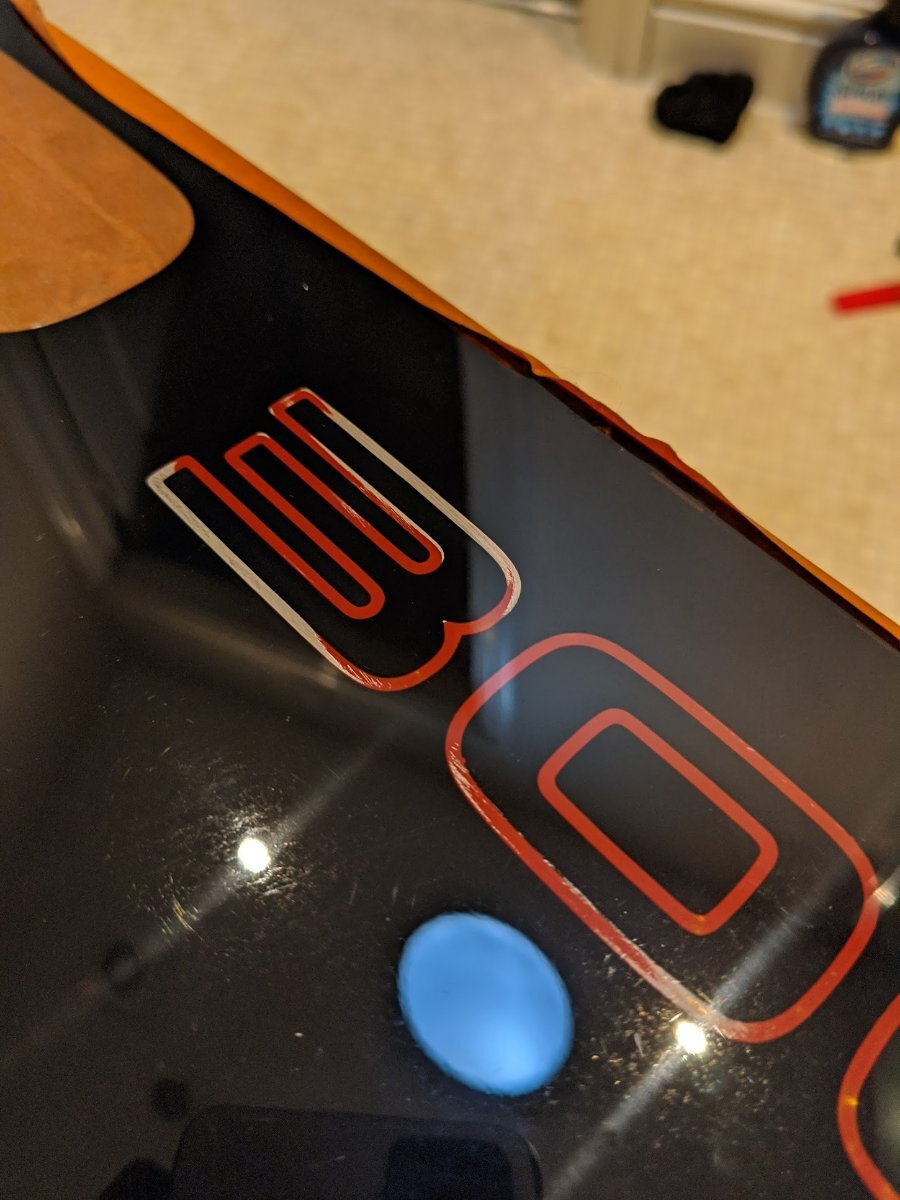
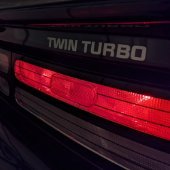
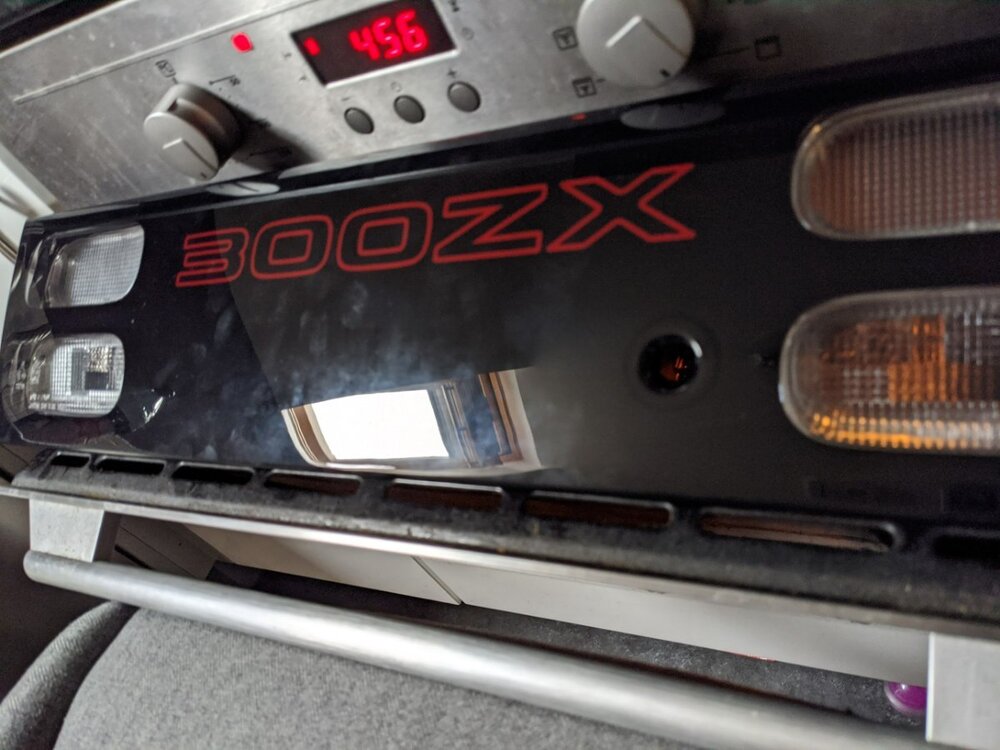
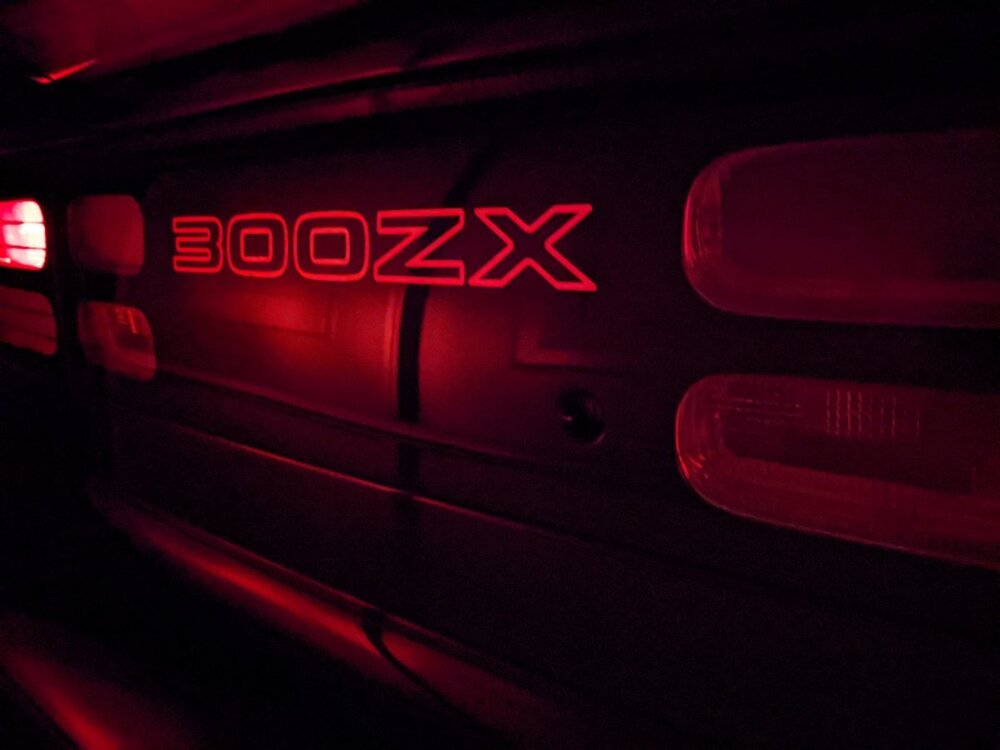
Hi mate! Are you asking if I sprayed a layer of red paint back on before fixing the EL sheet? If so, yes ?
-
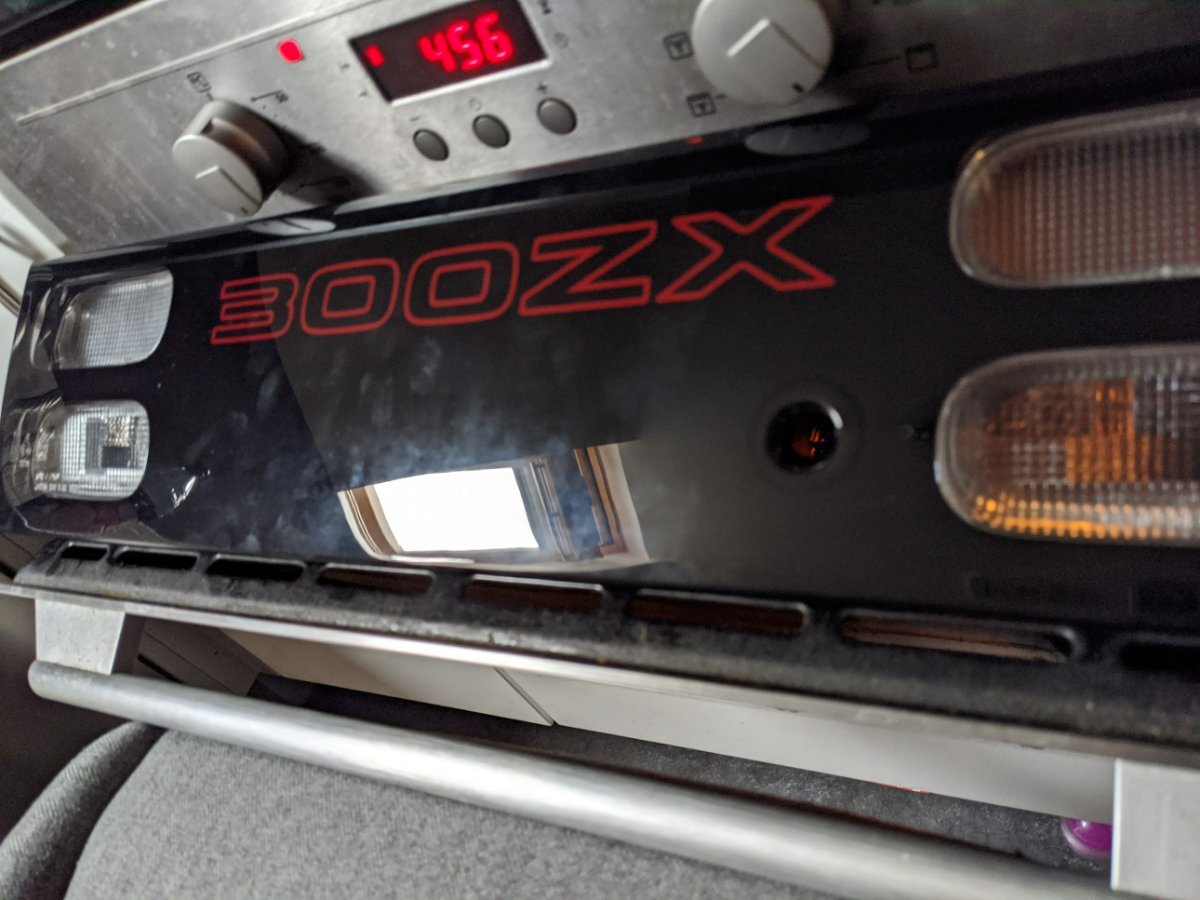
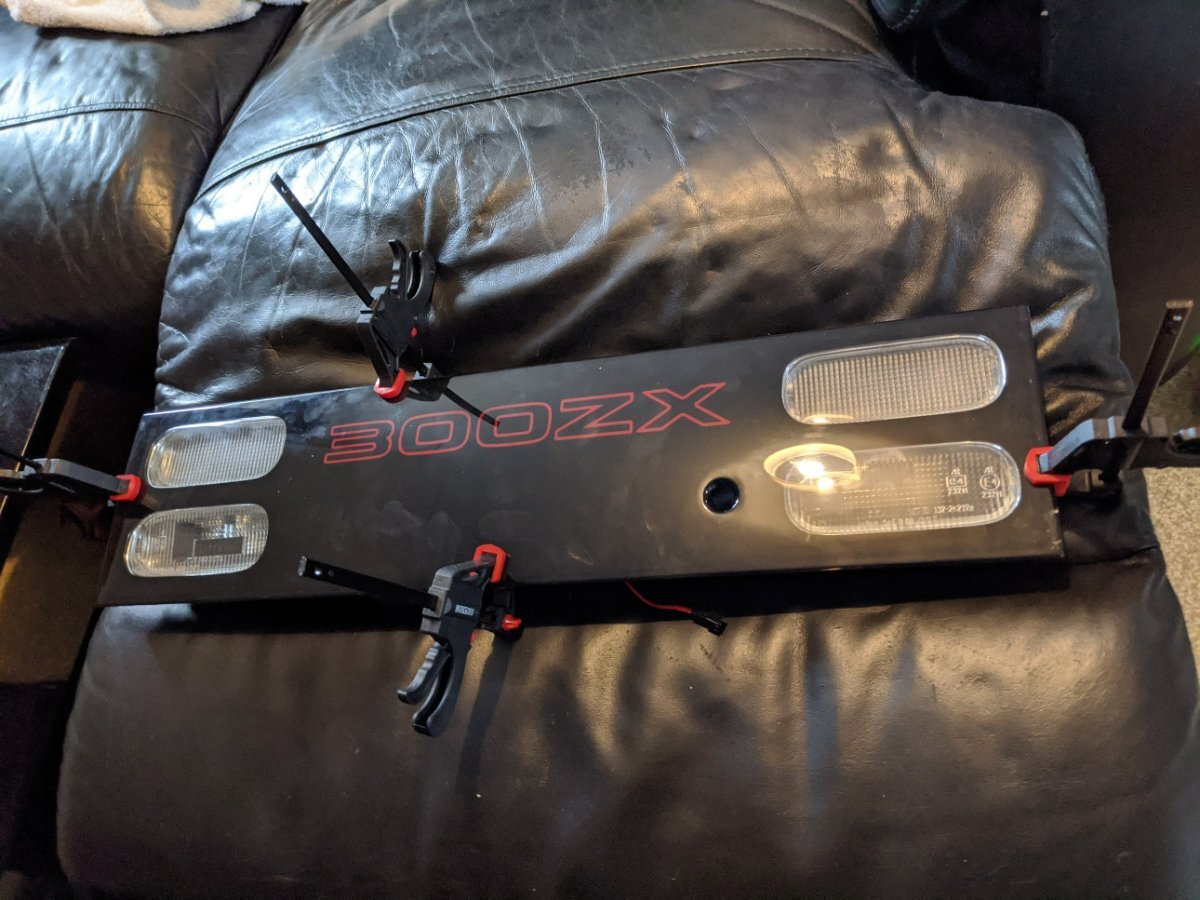
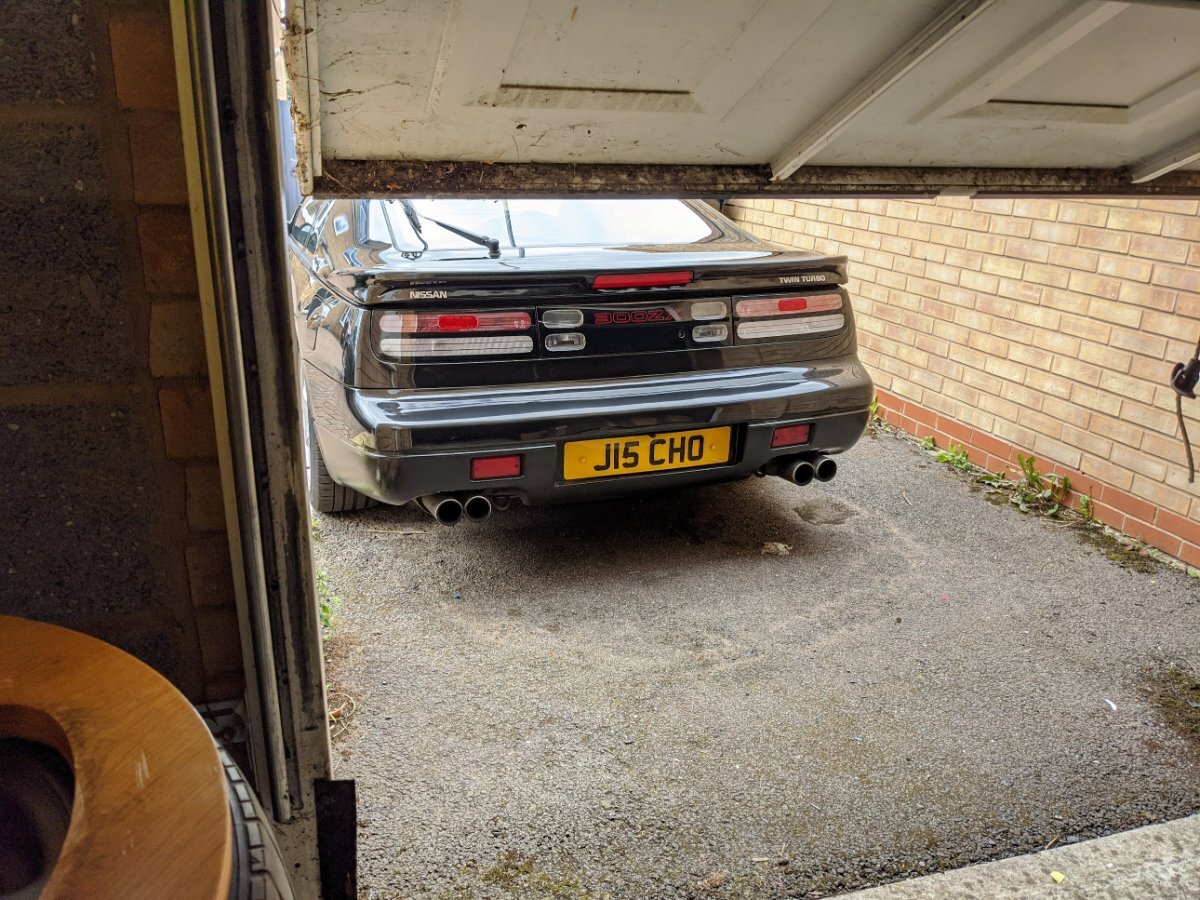
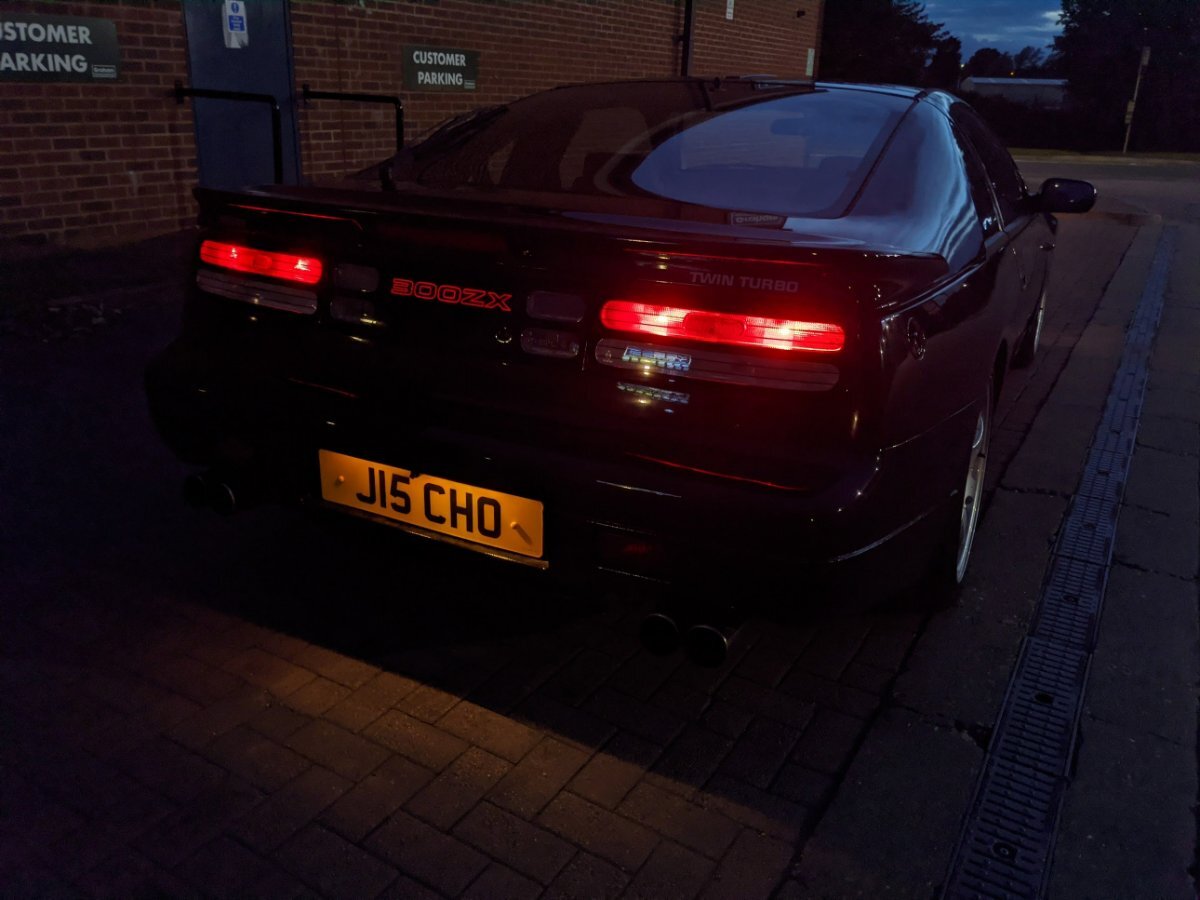
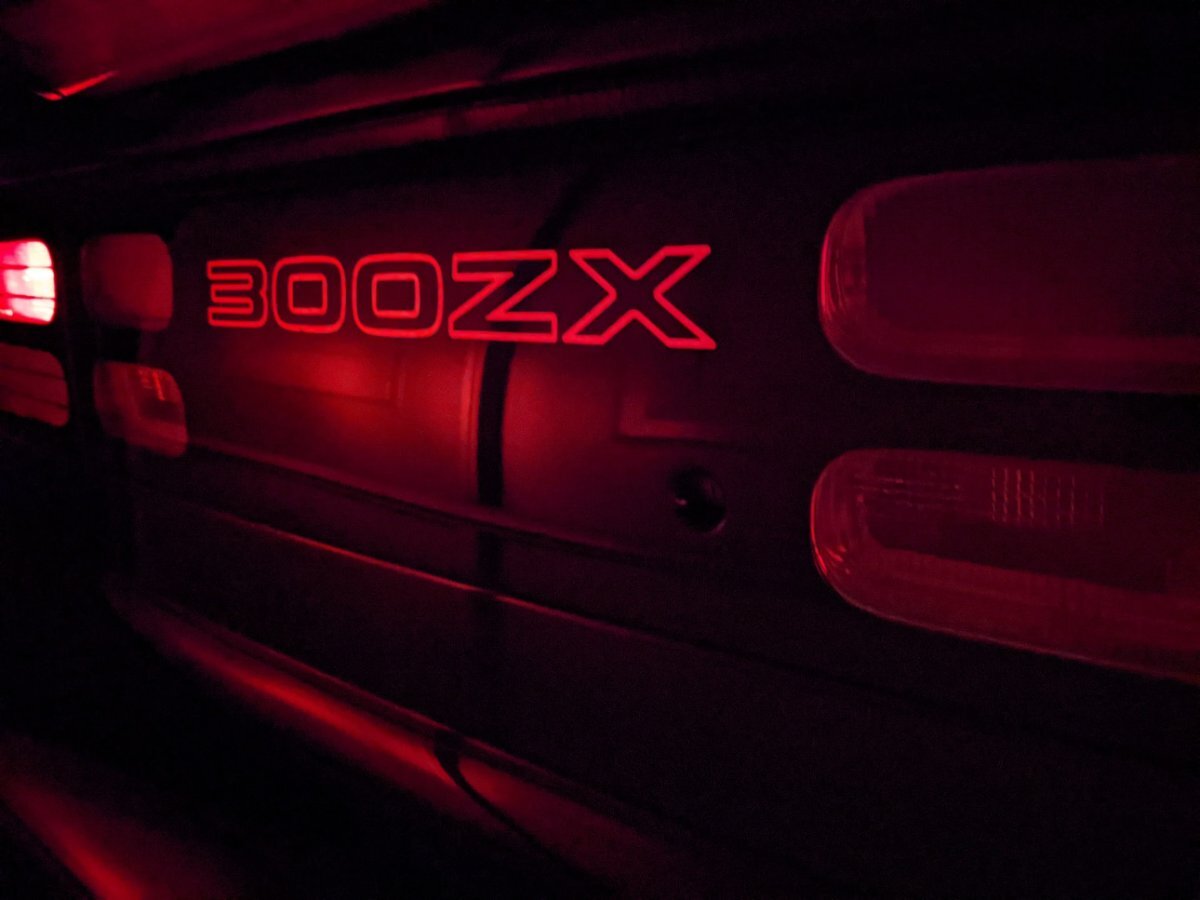
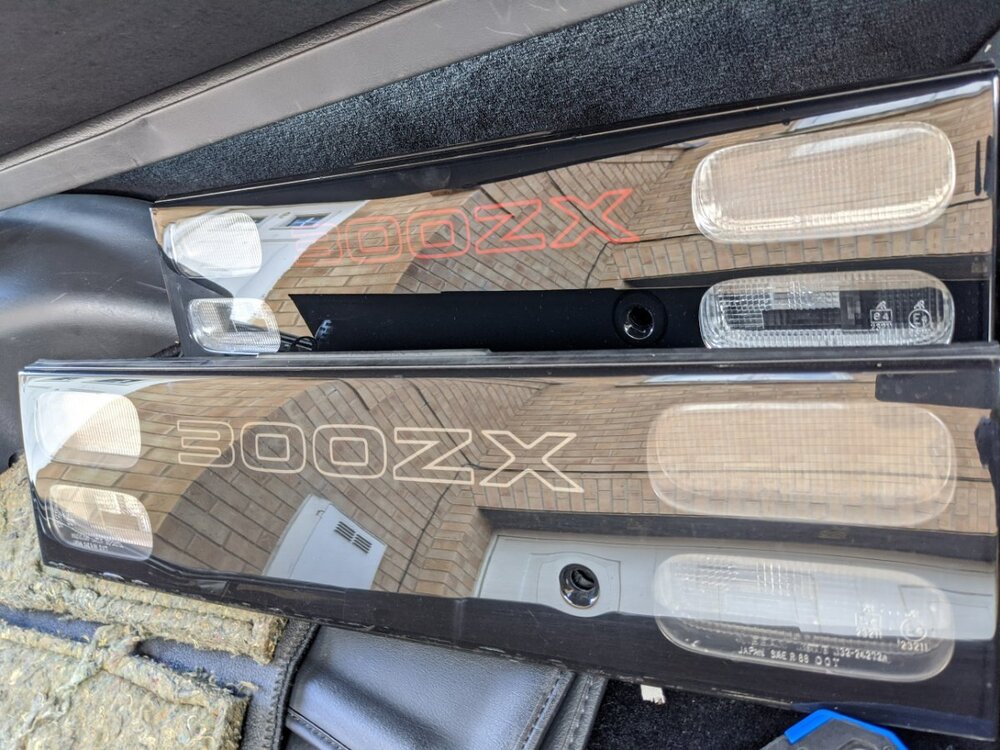
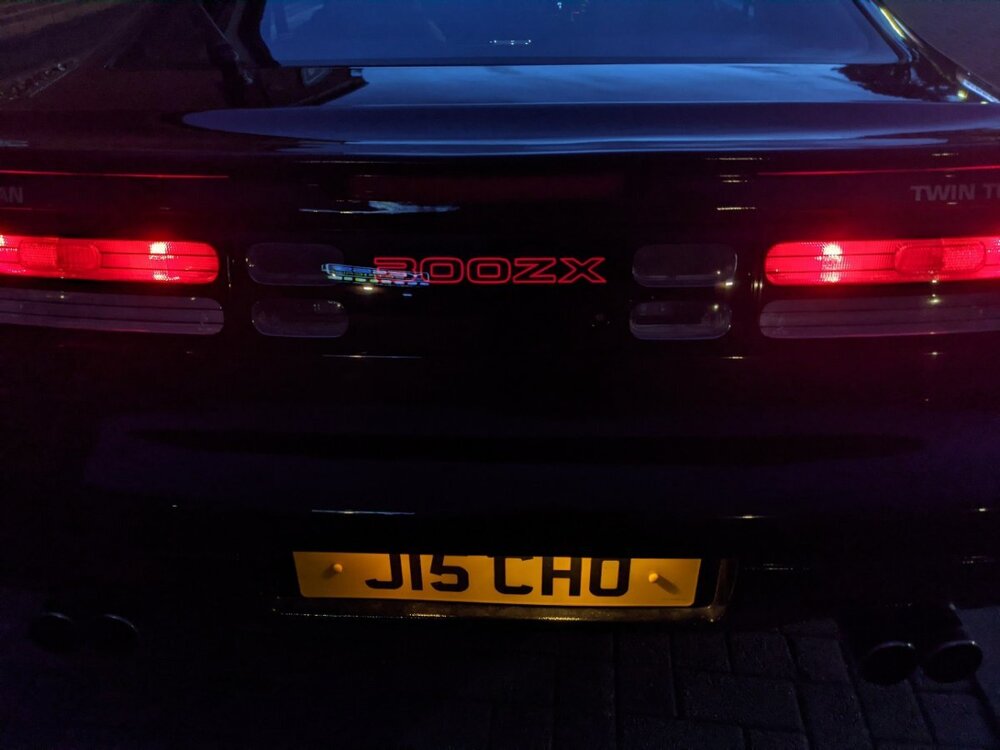
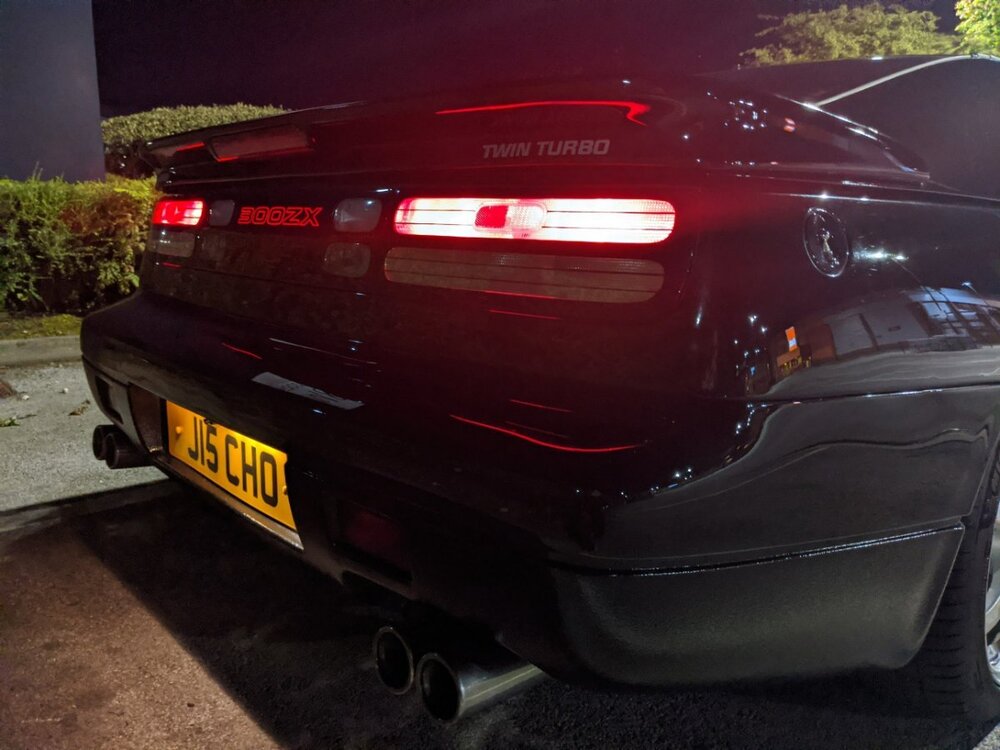
With some some great parts and tips from phutumsch on here, I bought an updated rear centre panel and modified it to illuminate. My old one was tatty with some issues with the black painted areas, if you are wondering why I didnt just modify my original grey lettered unit. Picture dump below.. Sanding away the original red lettering: Resealing with some oven heat and clamps: New & Old: Fitted Pics:


-
I guess I'm in the minority... I like it! Seems well done too.


.jpg.9cde217a79451a70e41f19fb3b21ca5f.jpg)