Everything posted by redwine300
-
Maybe worth checking the auto tensioner. I understand that it can easily be incorrectly set without realising it.
-
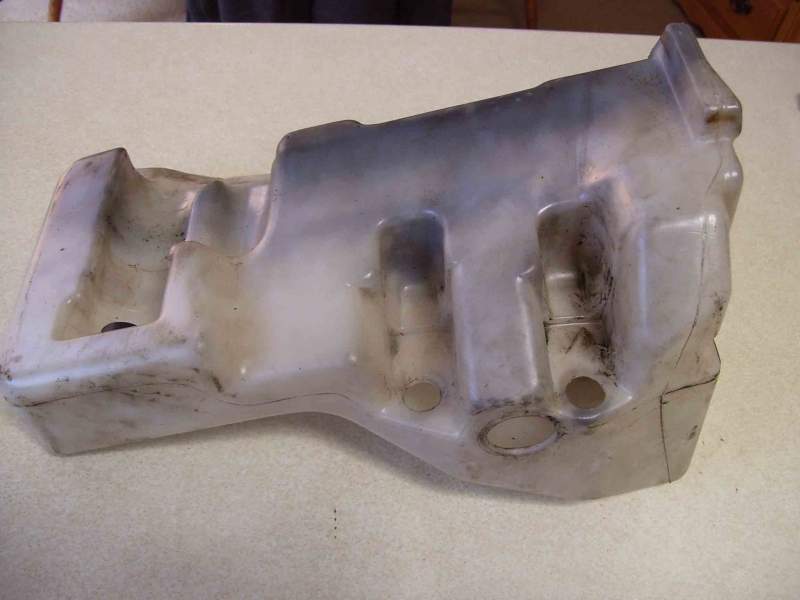
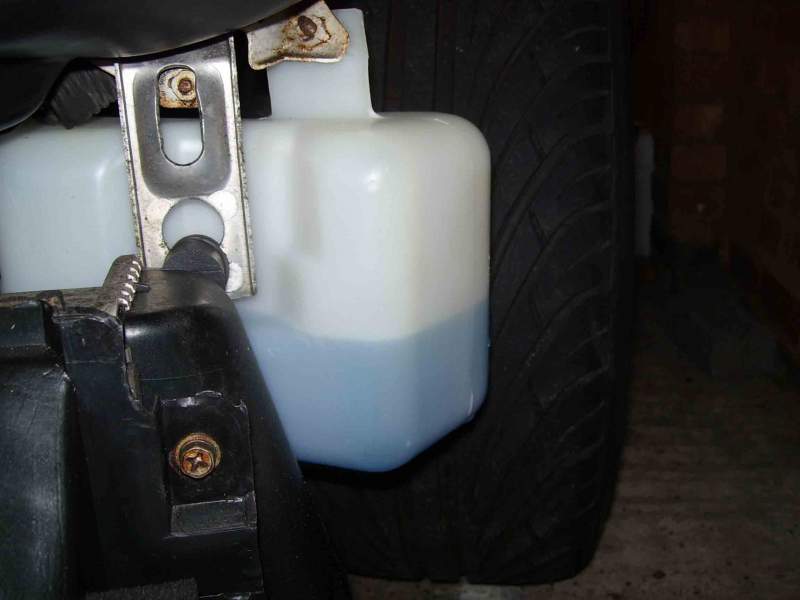
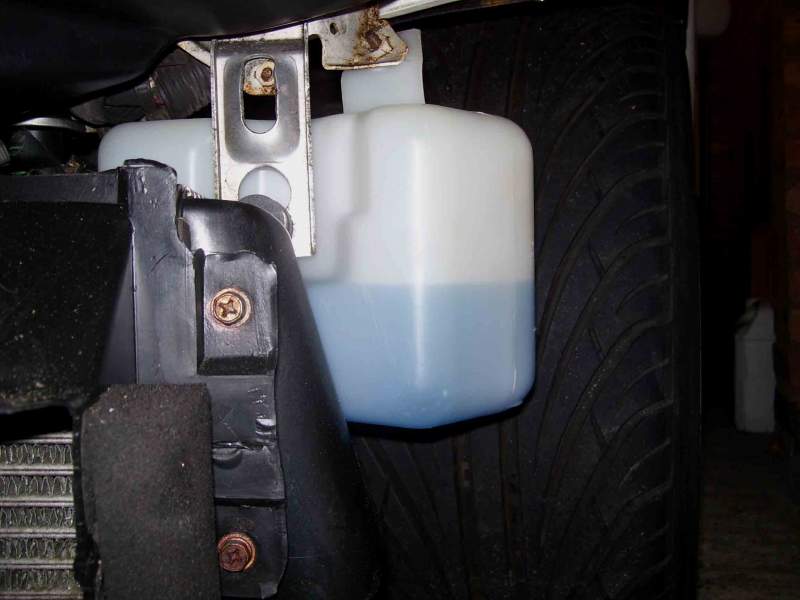
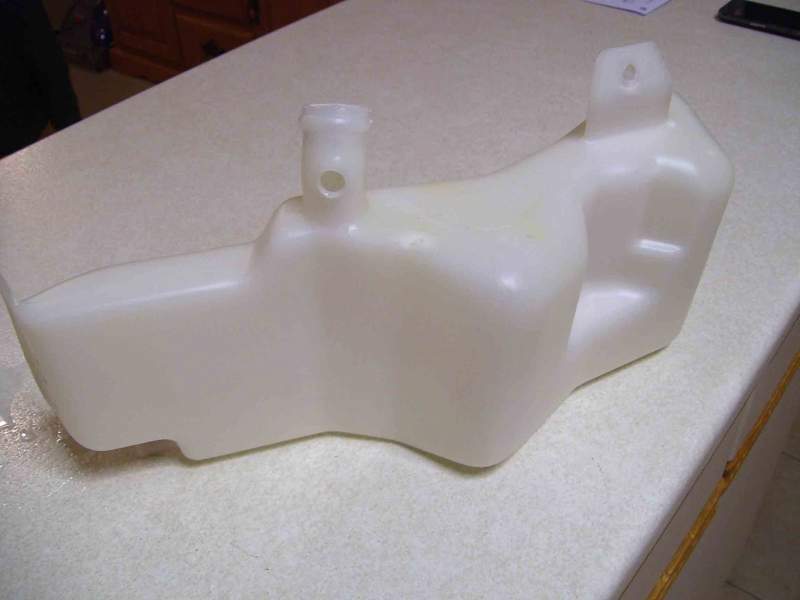
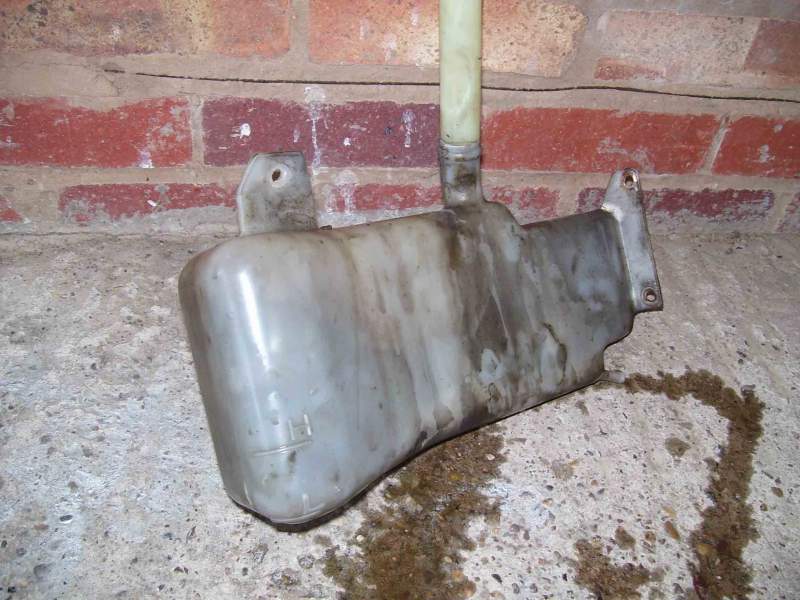
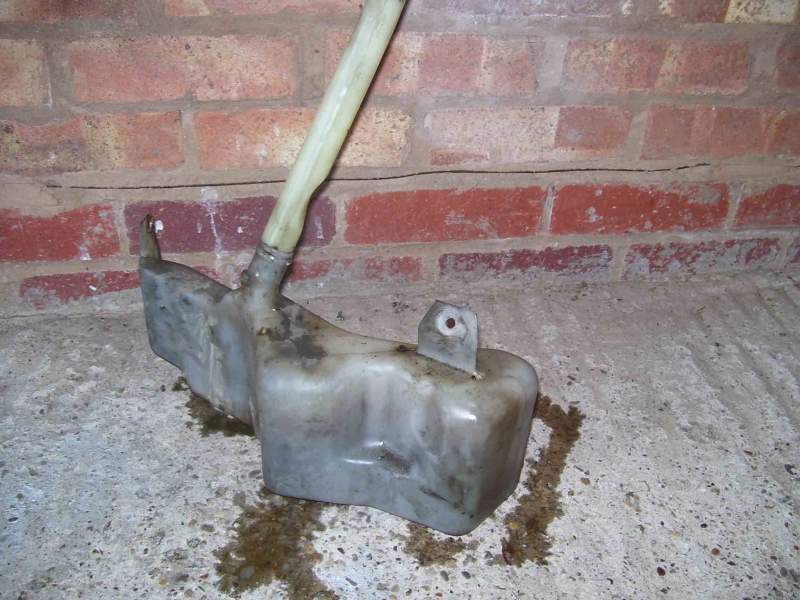
Posted the before pictures a little while back. Filthy or what? Finally got the washer bottle clean inside and out. Ta Dah!
-
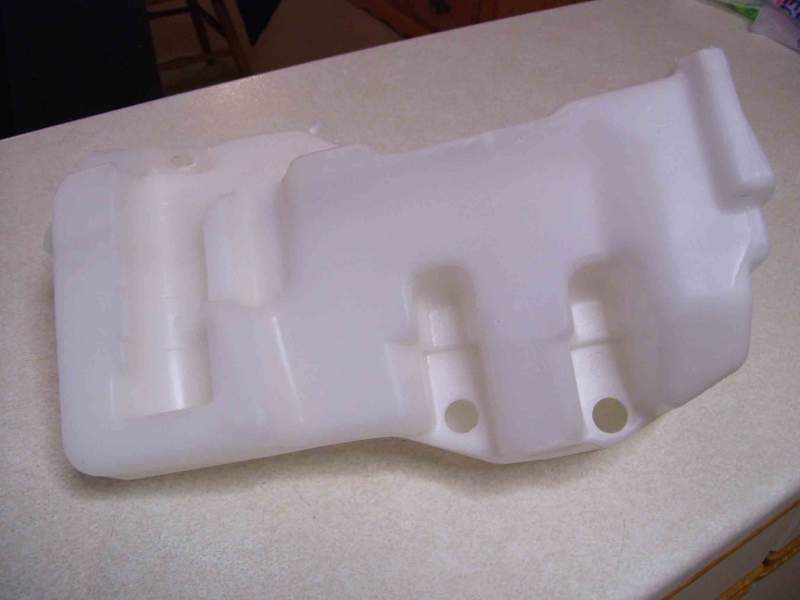
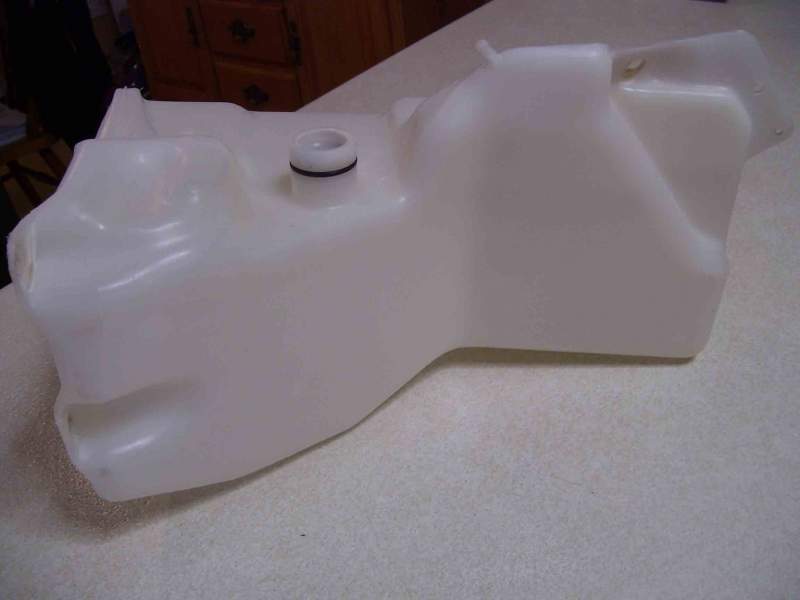
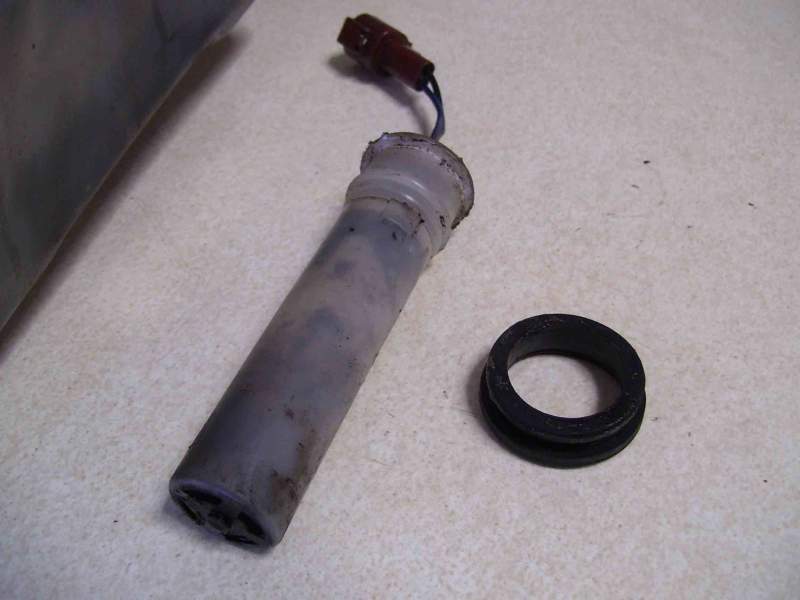
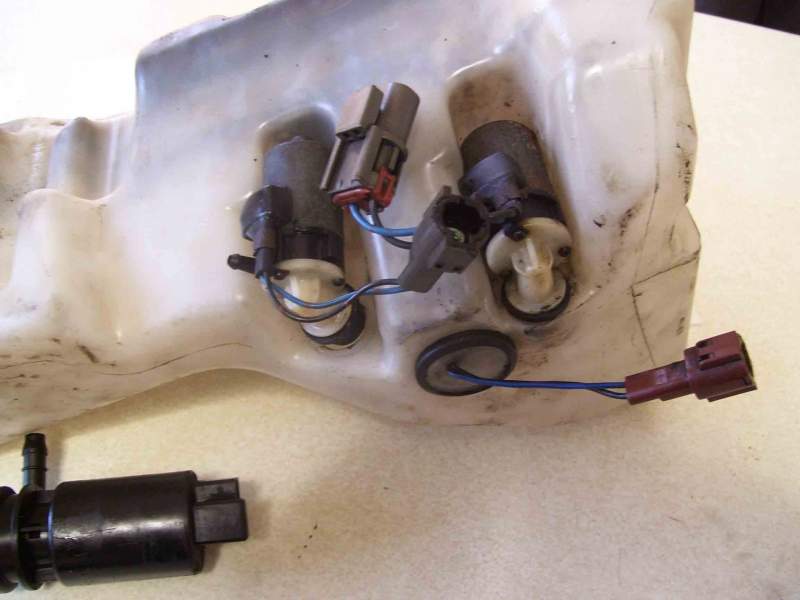
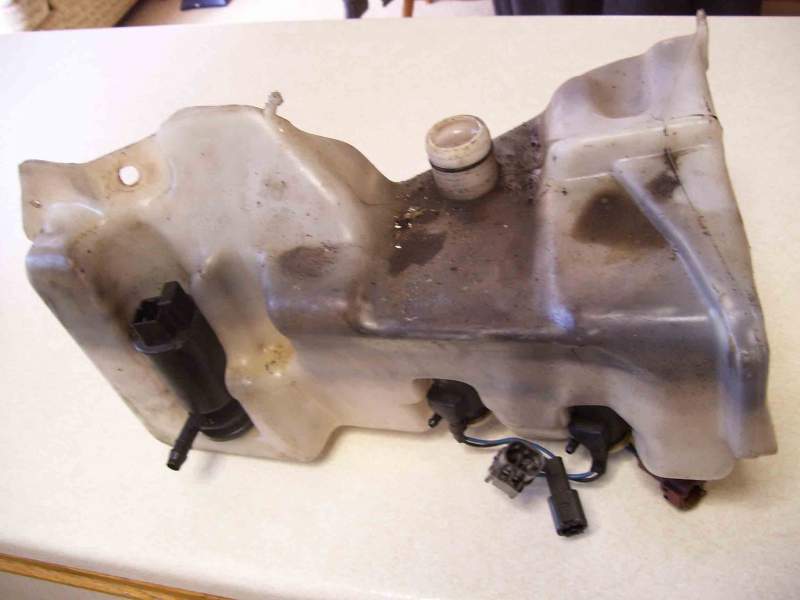
As promised, I dismantled the washer bottle today. Not only was it a pig to remove, it was even more of a pig to dismantle! Still, got there in the end. Let the detailing begin.

-
The only reason I say that is that I once cleaned my filters out, and did not dry them very well. For a while she ran really rough, just as if she was down 1 or 2 cylinders. I managed to limp home though. Turned out to be that the damp filters had affected the MAF. Dried everything off and replaced the filters and the fault disappeared.
-
You say it has been raining a lot. It could be wet filter/filters or maybe a wet MAF itself.
-
Good spot there Baz! ? Watch this space.:detective:
-
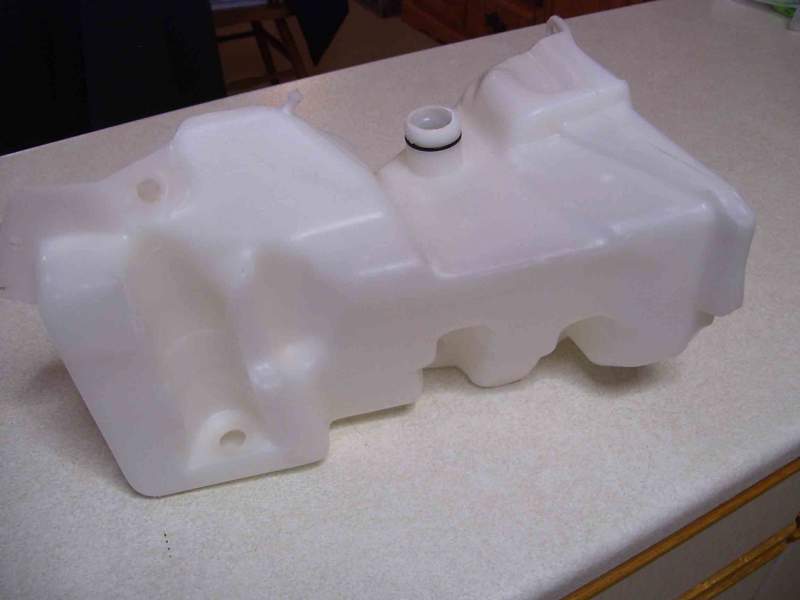
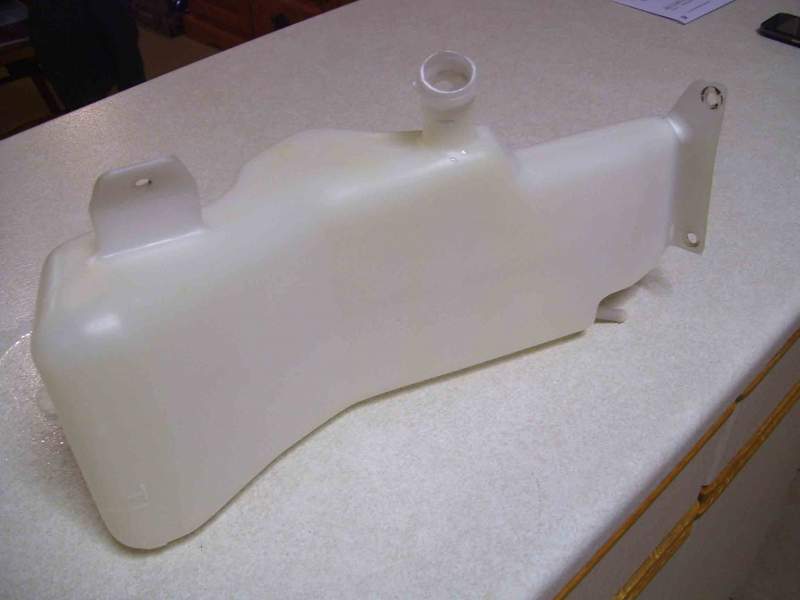
Having successfully cleaned and fitted my expansion tank, I then filled it up with antifreeze mix. Over filled it a tad though, will adjust it after giving her a run out. I have been wanting to get this done for some time. Next the washer bottle.
-
For the outside, I just used a kitchen scouring pad and detergent. (and elbow grease) For the inside, having tried many different combinations, I stumbled across a crushed dishwasher tablet and dishwasher salt combination. Filling the bottle to about a quarter with warm water and then vigorously shaking, the staining etc' just fell away.
-
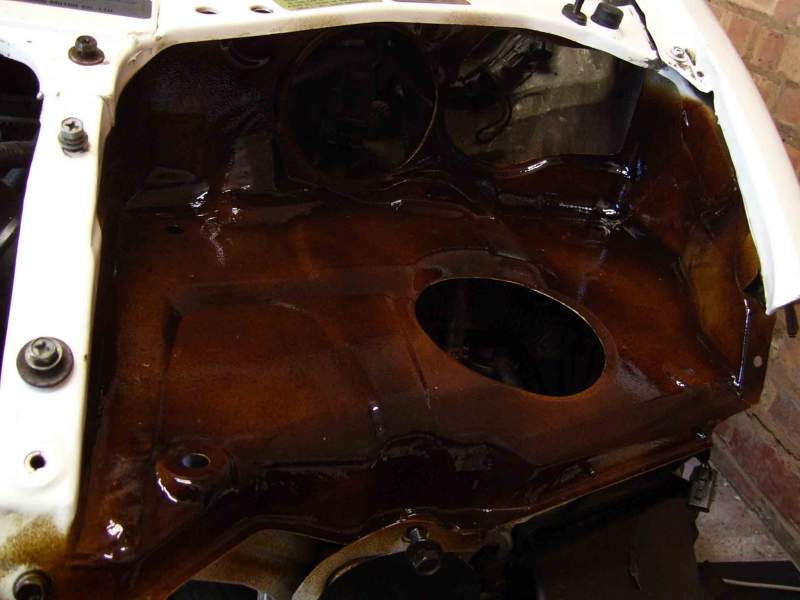
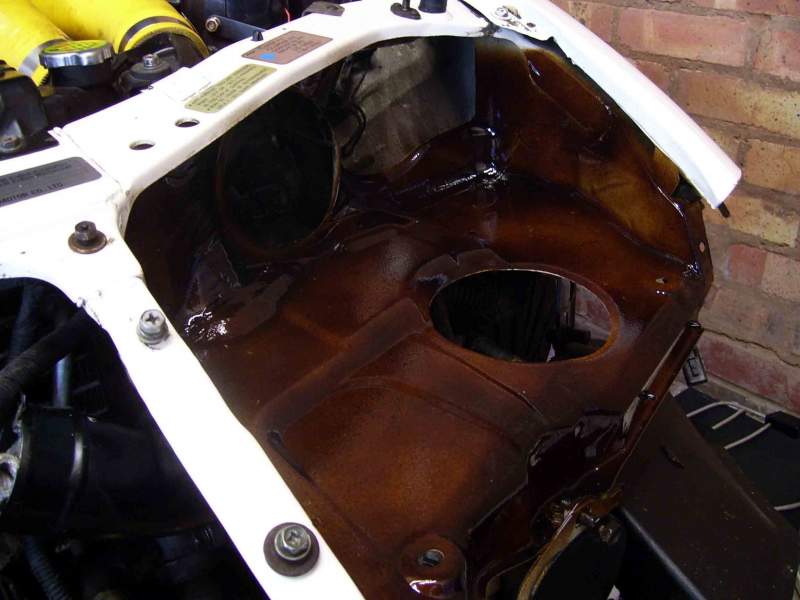
Decided to tackle a job that has been bugging me for a while now. Cleaned the filthy expansion bottle. Will be tackling the washer bottle next.
-
Are we talking about the ball joint fit or the actual press fit on the diameter? I was referring to the torsional resistance of the joint itself, not the drive fit. I think I may have misunderstood Hellraisers point.
-
It should feel quite solid, although it should move by hand but with a bit of effort. If it is loose I would fear that you may have softened the fit with excess heat.
-
Cheers Hellraiser.
-
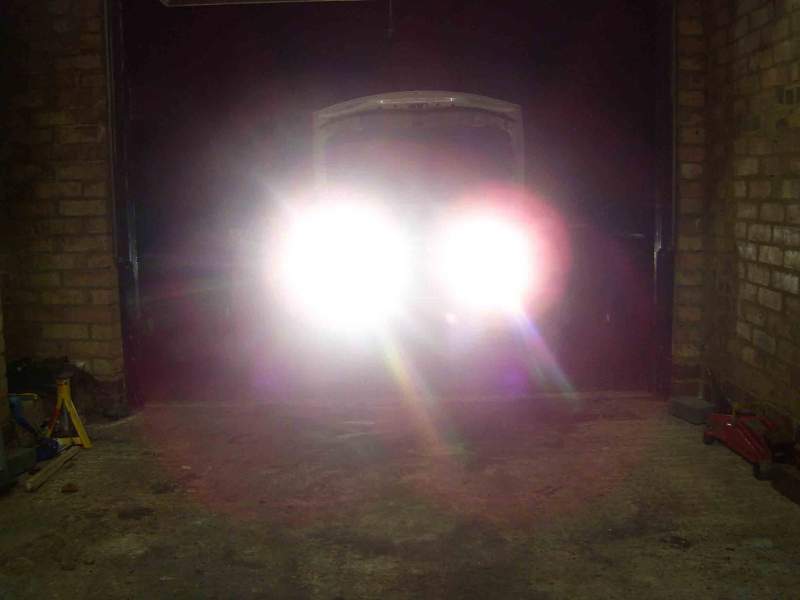
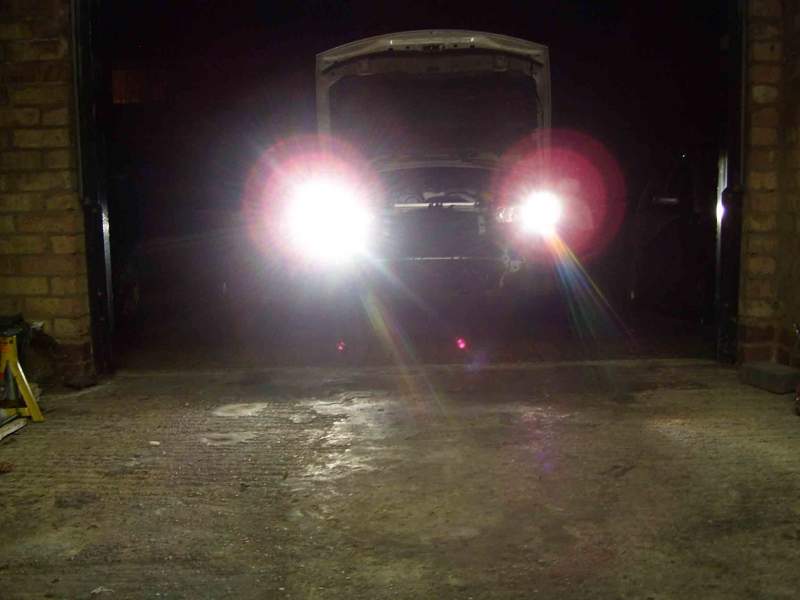
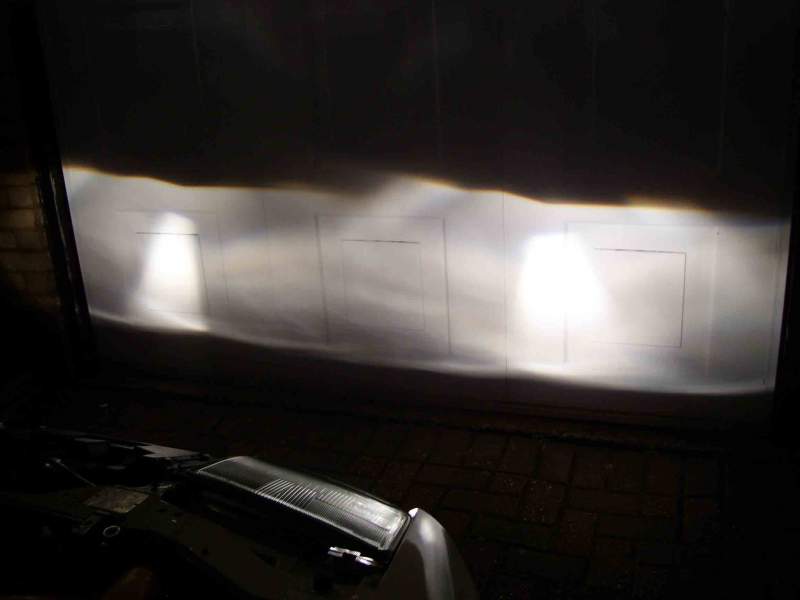
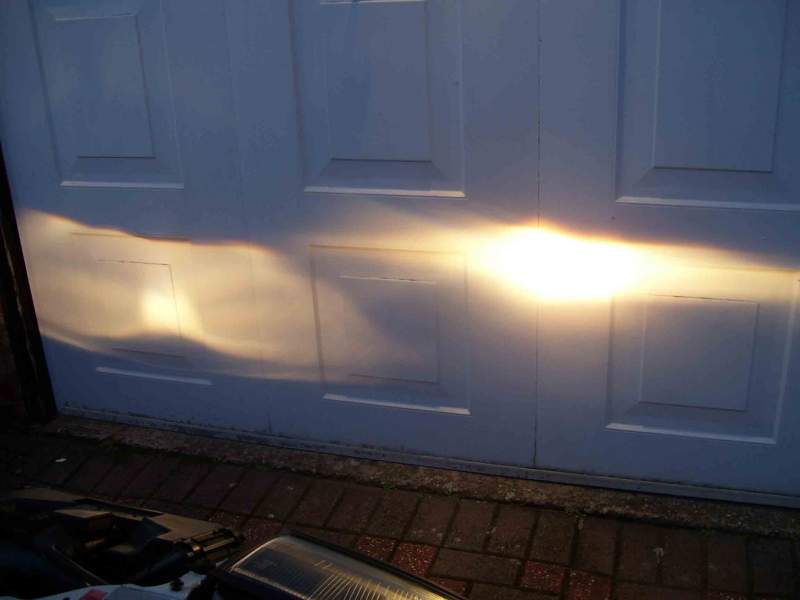
Started to think that myself Phutumsch, so with the lights off and a bright torch I peered inside through the lens. I could see that the cast diffuser was the same way up on both, there is also a tell-tail flat on both at the top that is just visible. (phew) On that note, I decided to persevere with alignment. After some time, I did manage to make some headway. Well at least I managed to get something that manged to look similar to each other. Not sure if it is correct though. Still, after setting both projector lights and main beams, (several times) there still seems to be an imbalance from off side to near side though. Could this be a voltage or earth problem? or something more sinister? I hear that there are diodes of some sort involved. Not sure if this is relavent, but when I switch from projector to main beam, the near side comes on a fraction of a second after the off side.
-
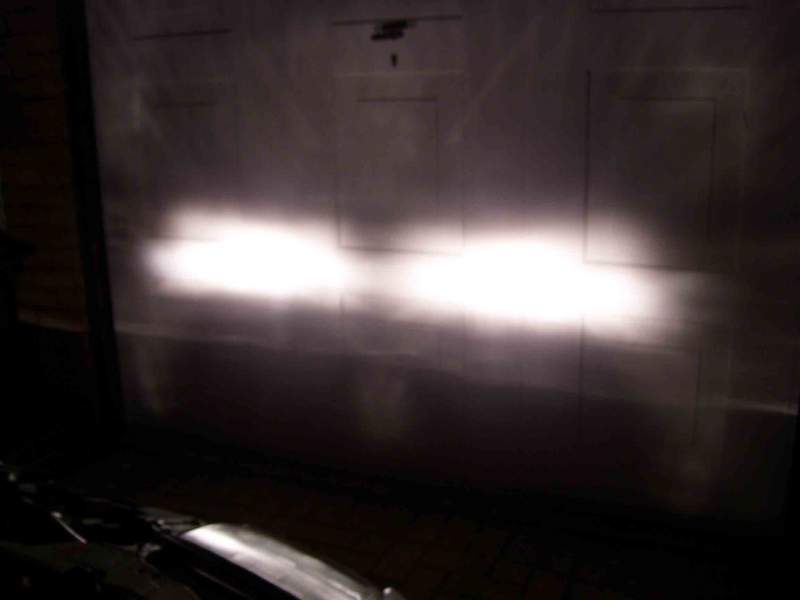
OK, starting to panic a bit if I was honest. I lined everything up by eye and hit the switch. Can't believe the difference in light pattern. Am I missing something or have I dropped a clanger somewhere? Any ideas guys as to what could be causing such a difference?
-
Cheers Medallion Man. Finally managed to get them fitted today. I will wait for the light to fade later and do some alignment against the garage door.
-
Don't you just love those little finishing details.
-
Thanks Mondo.. :thumbup1: At this very moment, I am dismantling the headlamp mounting brackets and the seal retaining brackets so as to treat them in the same way. I think I will also coat the inside of the seal itself just for good measure. From there I will then finally be in a position to re fit them to the car.
-
Before I re fit the headlights, I thought I would spray a protective layer of wax. I use the bilt-hamber brand, very effective. Opie Oils, (Oilman to us) now sells it at a reasonable price. Excellent service as well.
-
I bought my rear sill sections a little while back from the same guy. Very impressed with the quality and fit. Would recommend him.

-
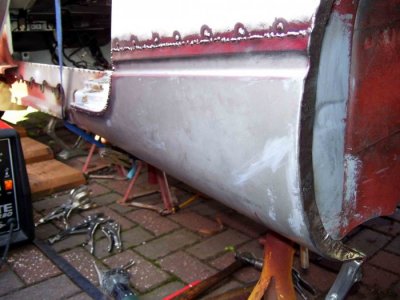
Depending on how confident you feel, It's not that bad a job to take on yourself. Just depends on how you feel about tackling the welding really. I had not picked up a welder before, but managed to get a reasonable result over time. Below is a link to my exploits.. http://www.mig-welding.co.uk/forum/threads/thanks-everyone.15465/page-3
-
Jeff, when re assembling, would you recommend an appropriate grease? Or are they best fitted dry so as to save any shorts travelling through the grease?
-
I would jack the front up and spin the wheels by hand, at least that way you might be able to tell if it is wheel related.
-
Nice work there mate. :thumbup1:
-
Thank you Phutumsch.
-
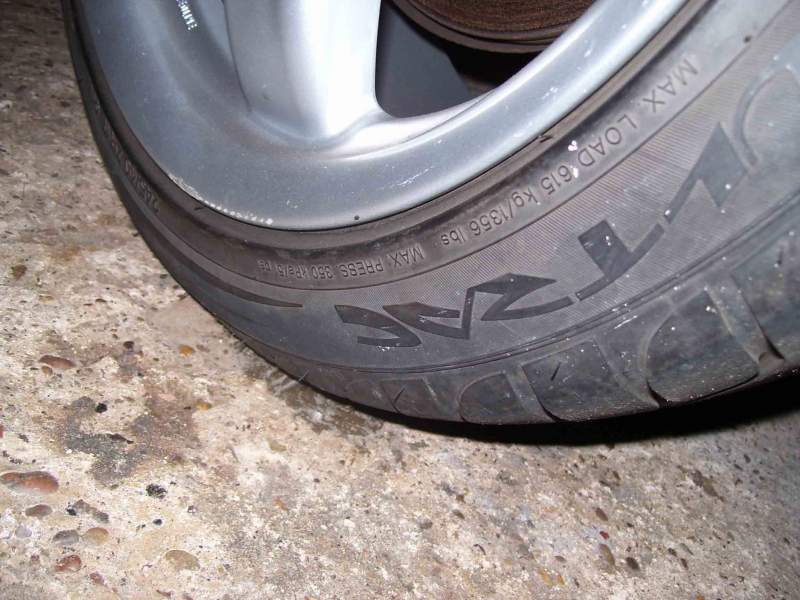
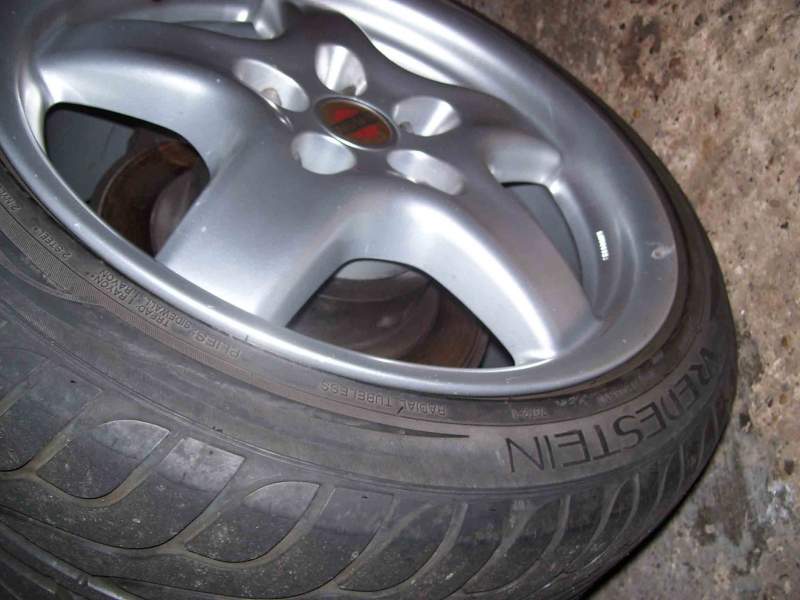
I have these on the rear. Absolutely super for grip, I would highly recommend them.