

Everything posted by redwine300
-
Worth checking the conection to the CAS.
-
Ooops That'll teach me. :nelson:
-
http://www.conceptzperformance.com/Cart/description.php?II=5053&Car_Type=NIS300&UID=201401151103582.27.216.120 http://www.conceptzperformance.com/Cart/description.php?II=5052&Car_Type=NIS300&UID=201401151103582.27.216.120 I have been contemplating changing mine for new, still looking around at the moment and have found the above so far. May be worth while as a group by?
-
Cheers Phutumsch, I think I will probably discard the original tablets and replace them as you say with silica gel. Hopefully I can get some in the next couple of days. Would of thought so.
-
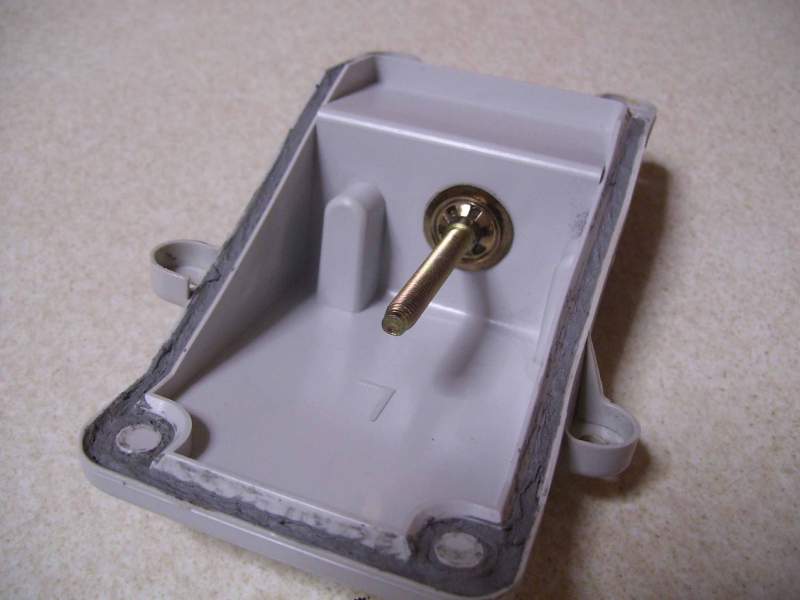
Sorry Mantav8, I meant the seals that surround the headlight itself. The one that fills the gap between the light unit and the bodywork. One thing that I have forgotten to ask though is, are the original moisture absorbing tablets past their sell-by date or can I re use them? If not, what should I consider putting back in their place? I should not have left it this late really, as now if they are no re usable, I will be held up. damn. Still, I do have the metal work to refurb to be getting on with.
-
Not much in the way of progress today I'm afraid. Still, every little bit helps I guess.
-
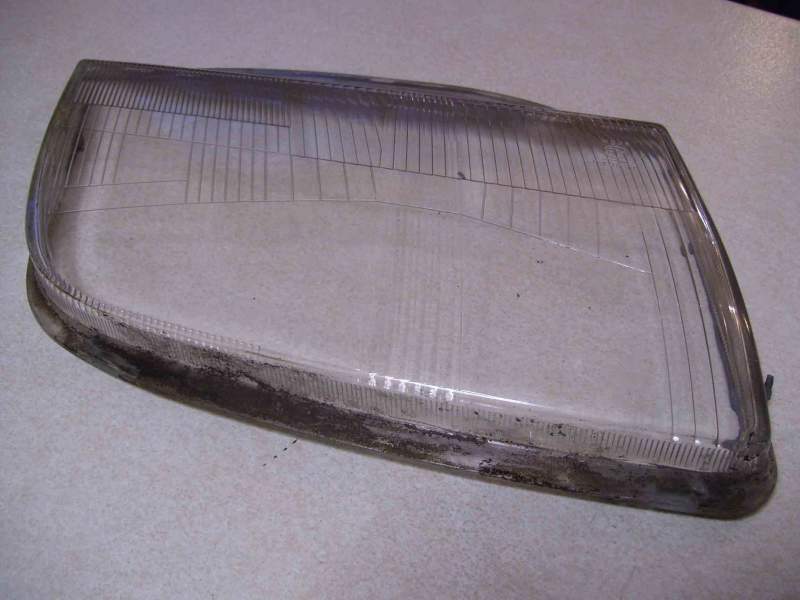
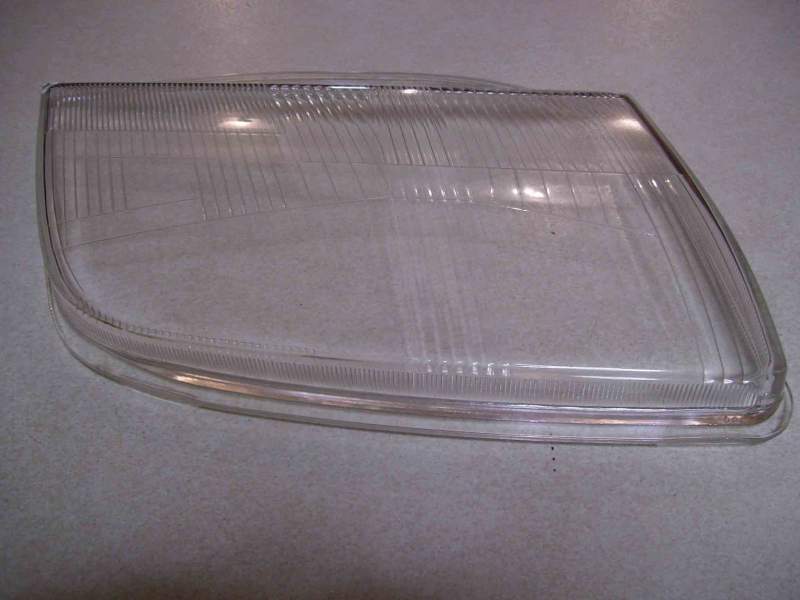
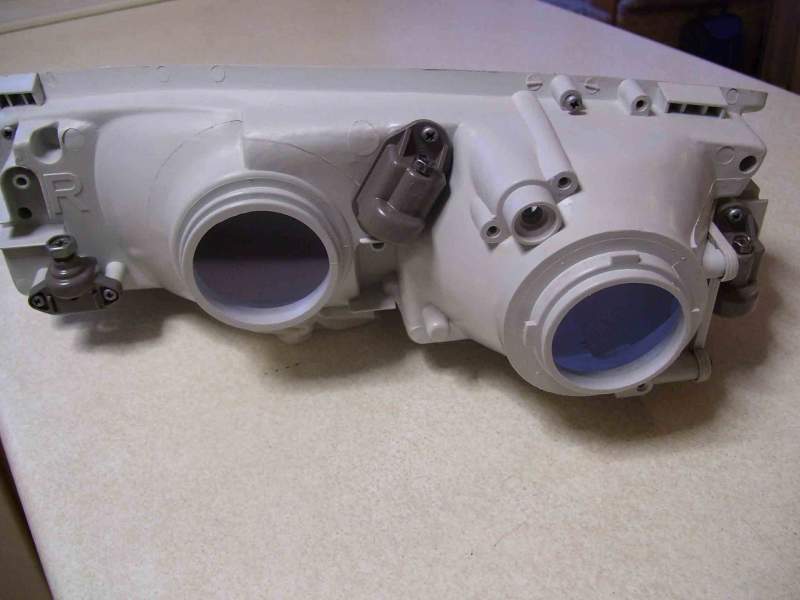
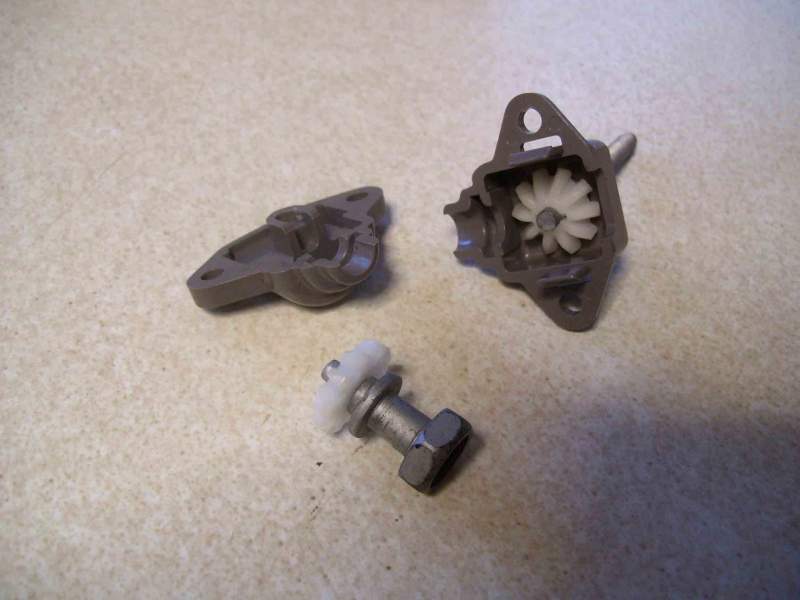
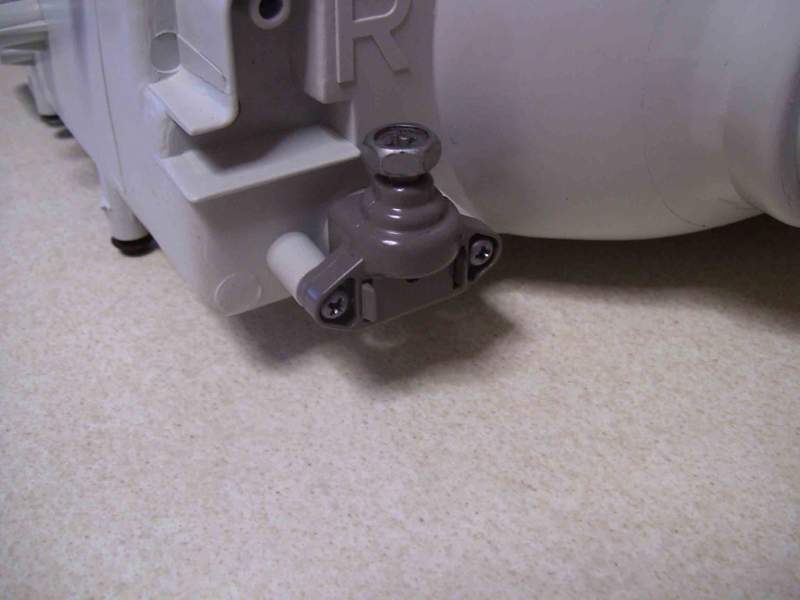
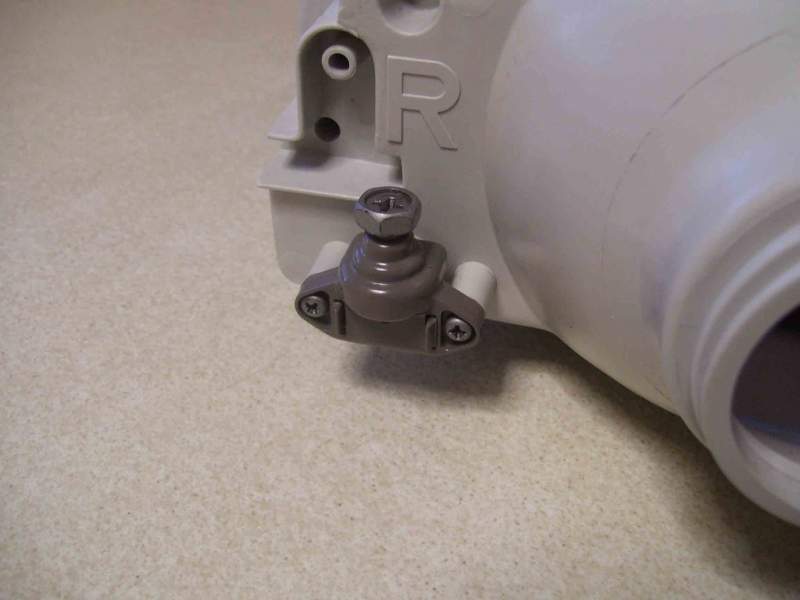
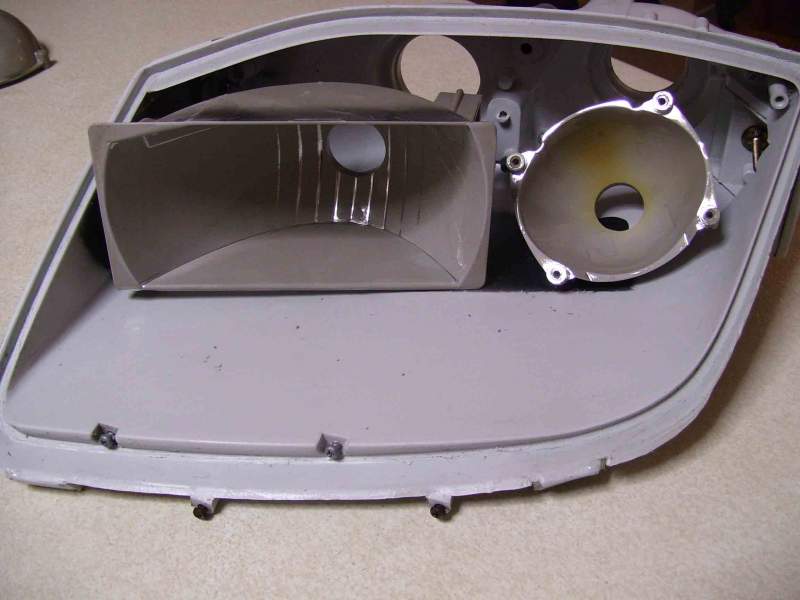
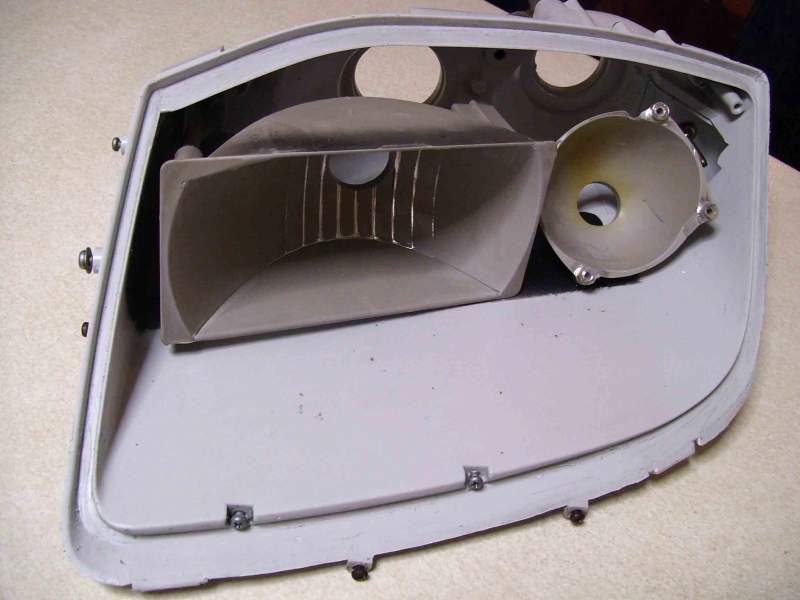
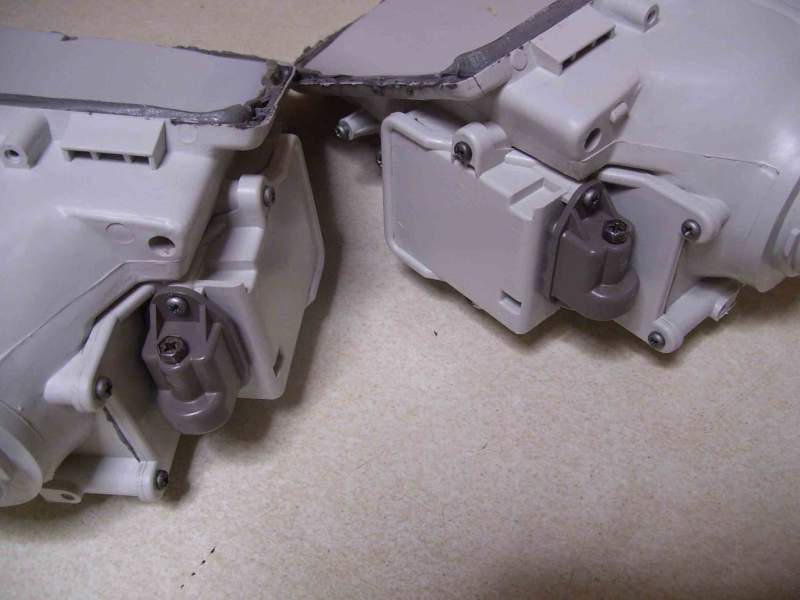
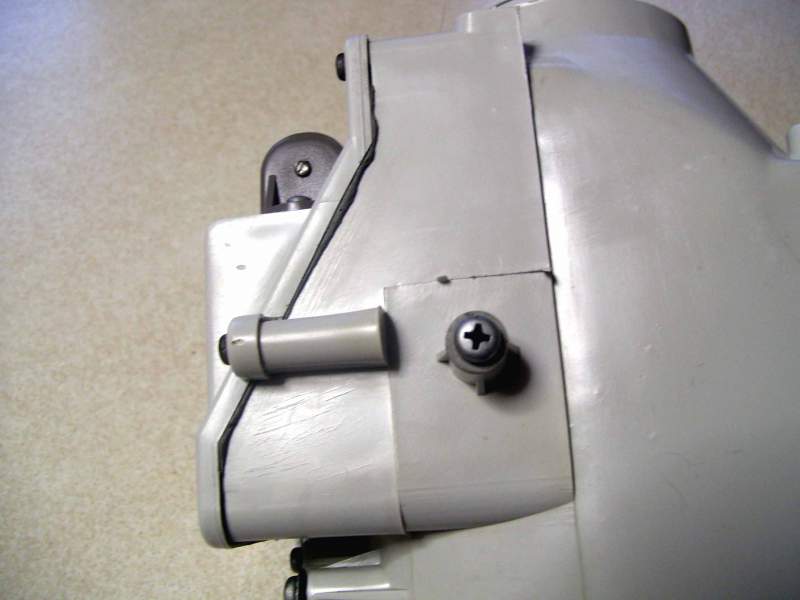
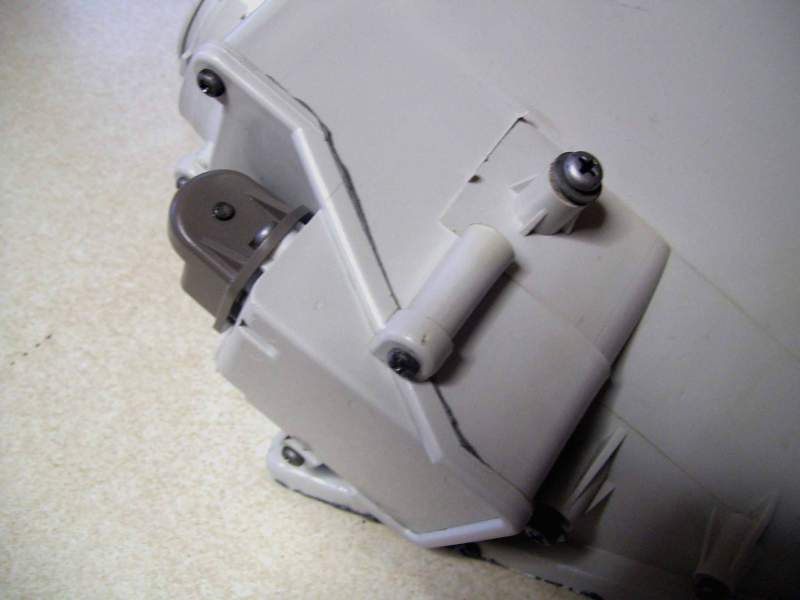
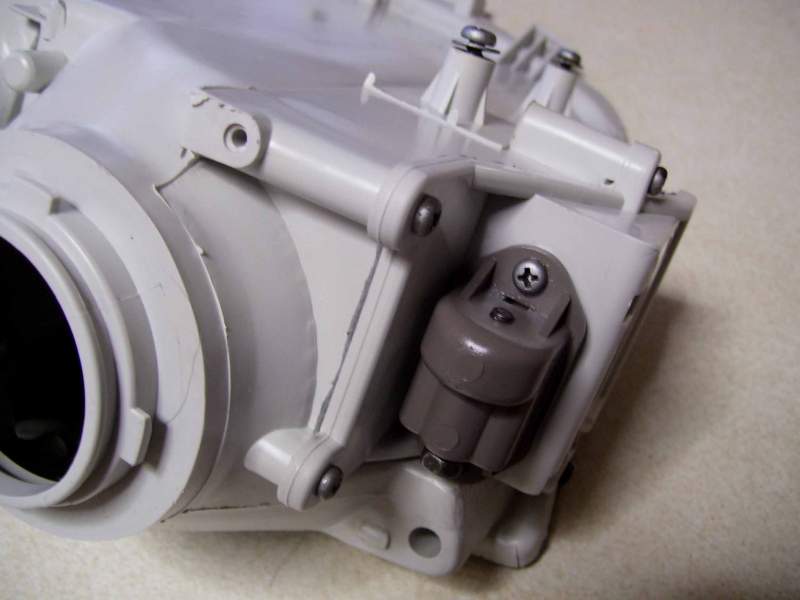
Cheers Streams.:thumbup1: Glad that my efforts are of interest Managed to get both sets of adjusters fitted today, and even if I say so myself, they do feel very smooth. Well chuffed. Can't wait to pick up the reflectors next week. In the mean time, I will be cleaning up the glass. Also, I will be stripping the ancillary metal work back to bare metal ready for new paint. I was thinking about using the original seal that surrounds the headlights, but having gone to this much trouble, I would like to fit new. Are they still available does anyone know?
-
Mmmmmm, Thats a good thought Mantav8. I was looking at staying original, but will seriously think about your idea. Nice one.
-
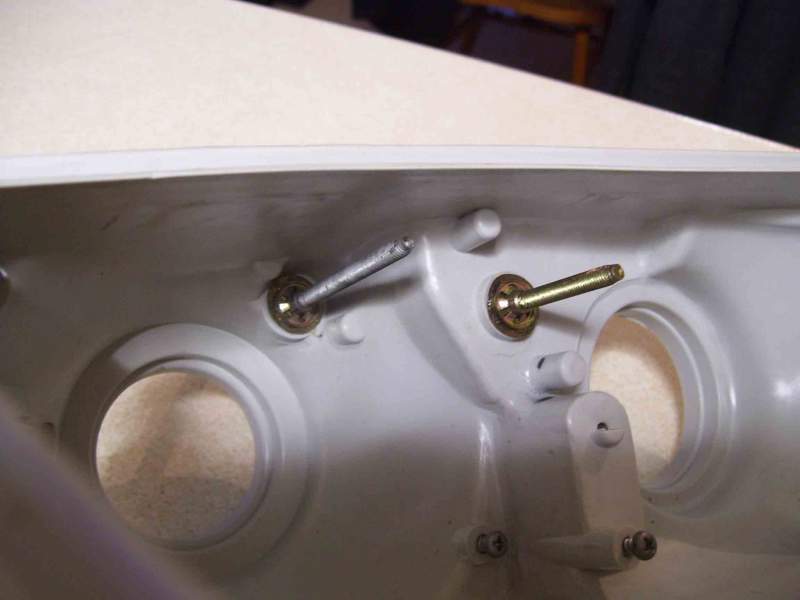
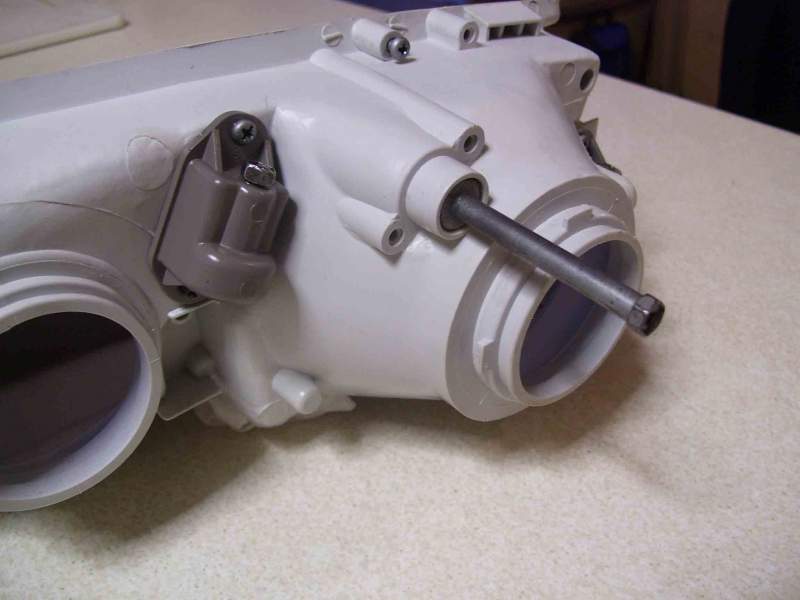
Finally, after hours of cleaning etc' I can now start rebuilding. So I started final fitting the rest of the adjusters, packed with grease for good measure. Happy days!
-
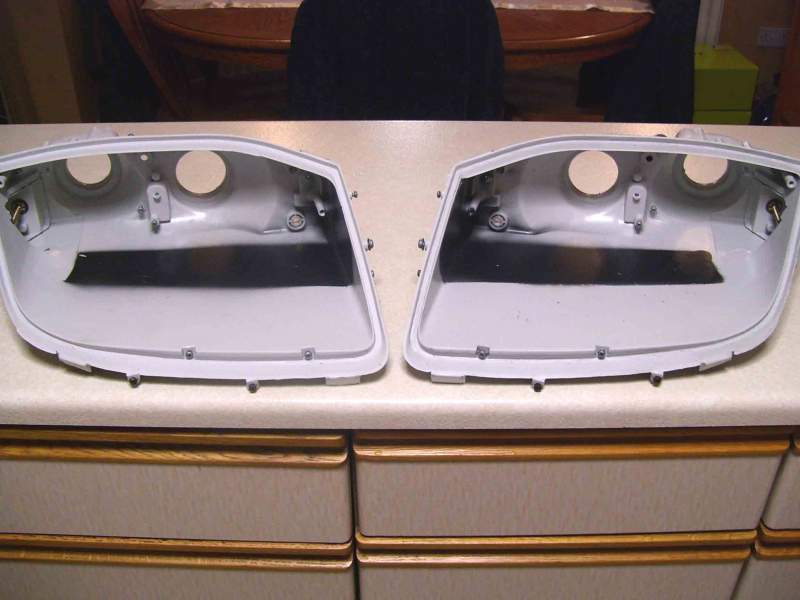
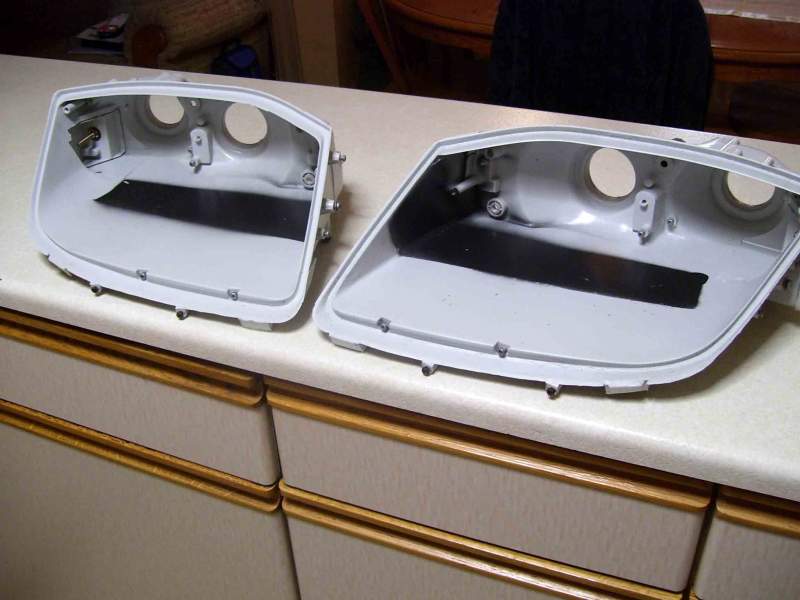
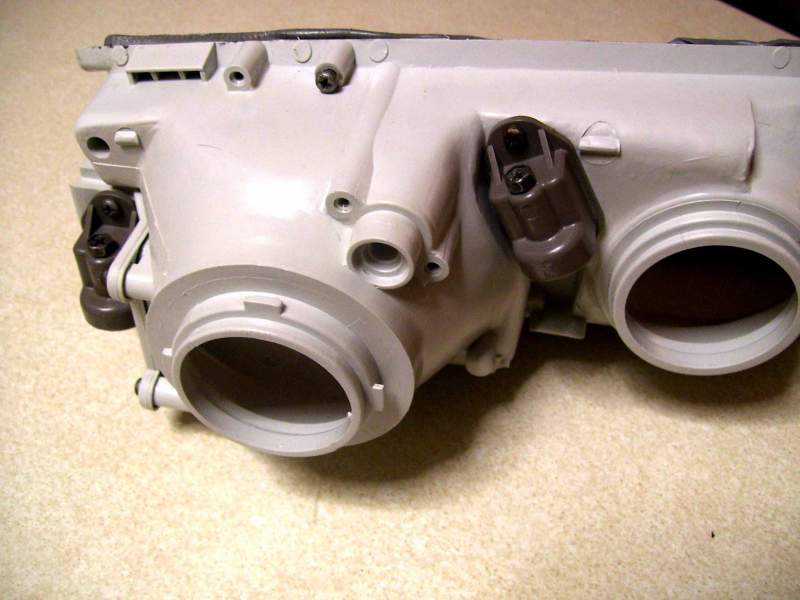
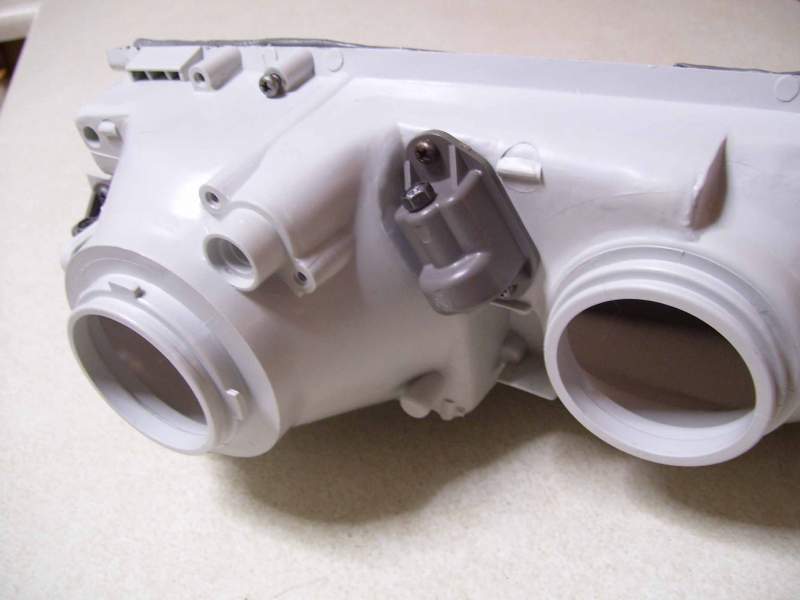
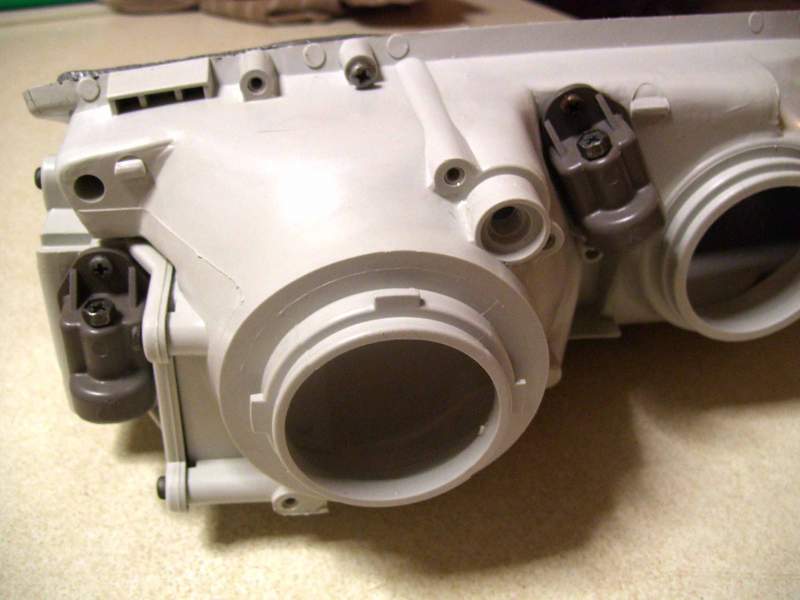
Dropped the reflectors off today, should be ready for Monday. Then the re build can really begin. In the mean time, I stripped the rubber sealant from the second housing. Now I have a matching pair! God! I hope you guys are not getting fed up. lol

-
Could not watch it all the way through! Baaaaaad!
-
Cheers Znut :thumbup1:
-
Well, I thought I would look into the possibility of getting the reflectors re silvered. (Vacuum Metallised to be more precise) After a short Google, I managed to find a company close by that will be able to help. So, having spoken to the guy there, I decided to strip back most of the reflector and let him have a look at them tomorrow. Once done, they should look as good as new. (if not better)
-
http://www.thepaintandbodyshop.co.uk I can't vouch for them, I just did a local search. Maybe worth a call?
-
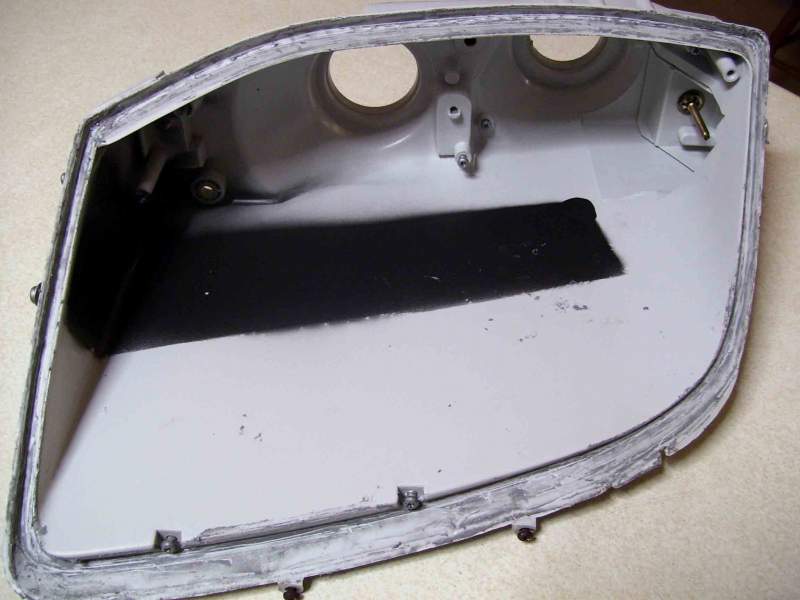
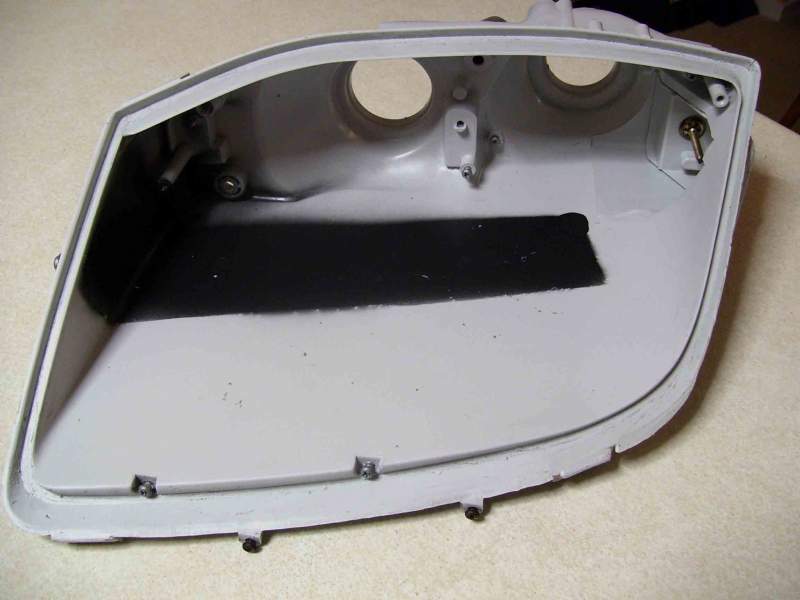
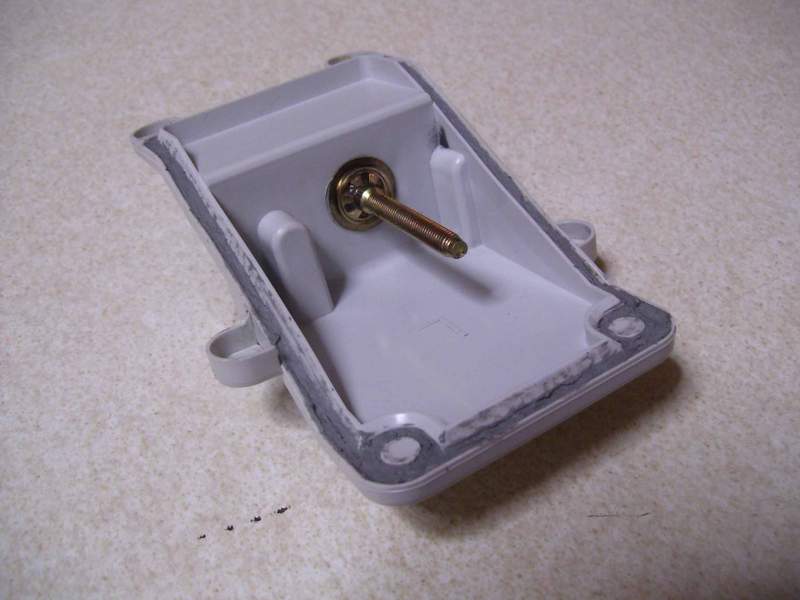
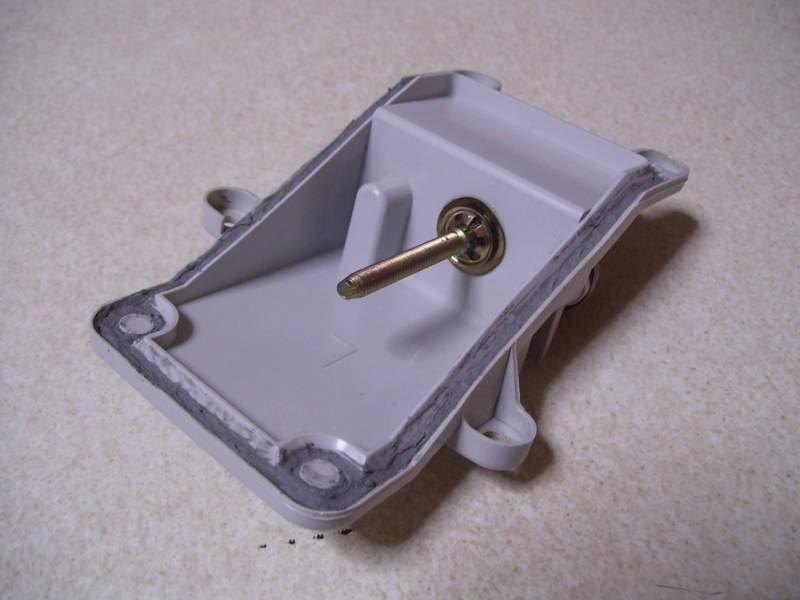
Well I thought I have come this far, so might as well go the whole hog and strip off the original sealant. Not sure weather to re use the existing or go for new though.

-
Managed to finish off the second side today. Both went very well. Mind you, I did manage to use a little more sealant on my second attempt.

-
Virtually no MOT or tax. Maybe that's reflected in the price?
-
Ditto.
-
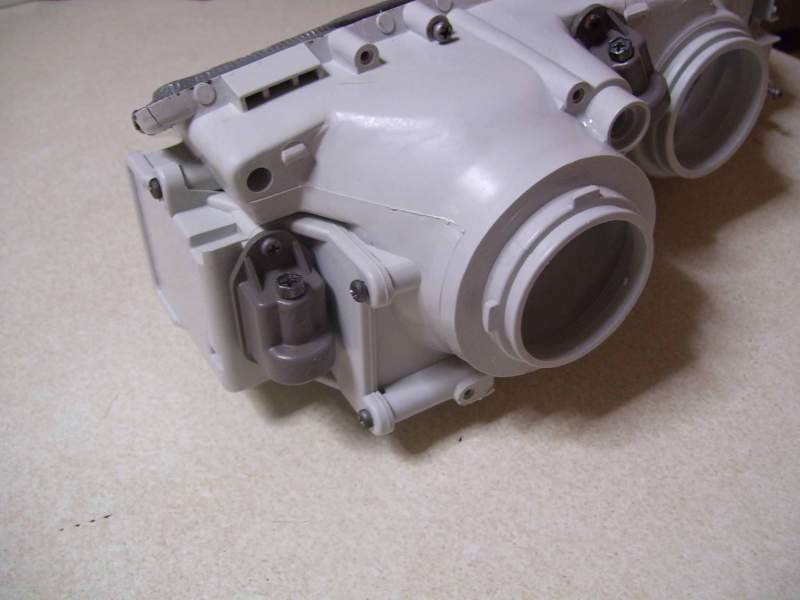
What was the weather like? If the rain was bad, you may have got the connector to the MAF, or the MAF itself wet.
-
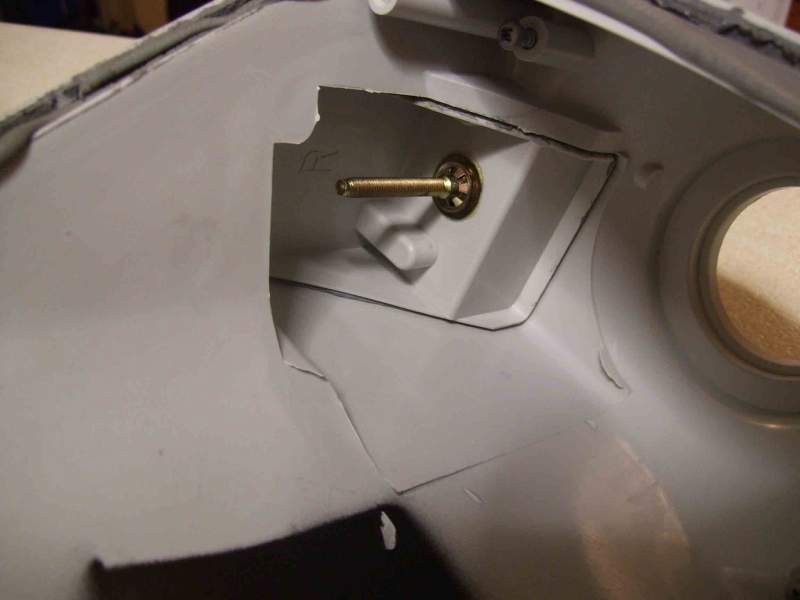
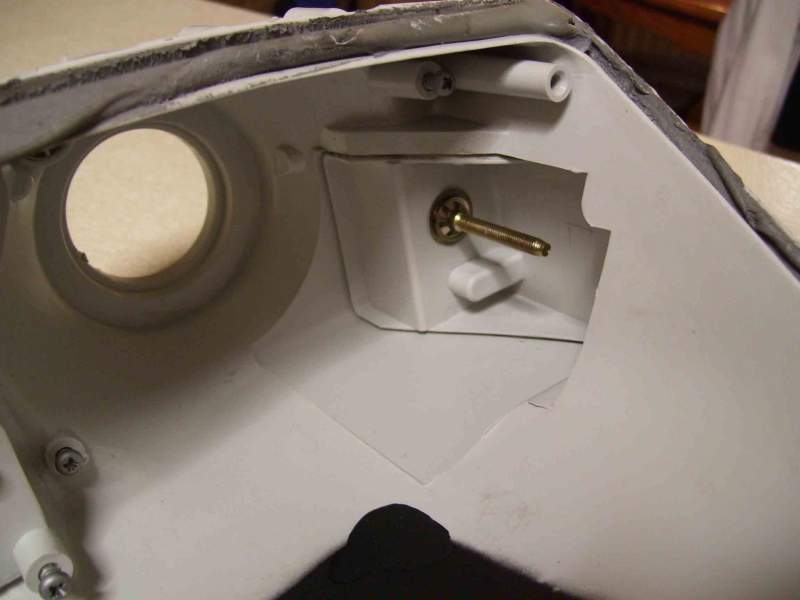
Firstly, apologies if I am pushing this thread too much. The last thing I want to do go overboard with it. I fitted the side panel today complete with sealant. One thing I would say is, if anyone is contemplating doing the same. Please make sure you press the cover all the way home around all edges before tightening the screws. This way you will avoid pulling down the local area around the screw itself and fracturing the mounting points of the cover. I would add also, It was well worth re working the sealant level before fitting, It really did help with an even overspill once fitted.

-
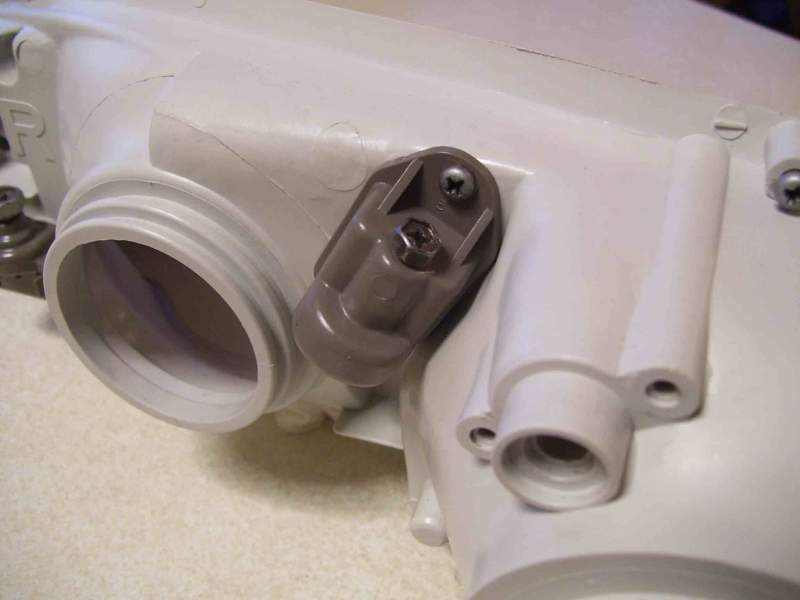
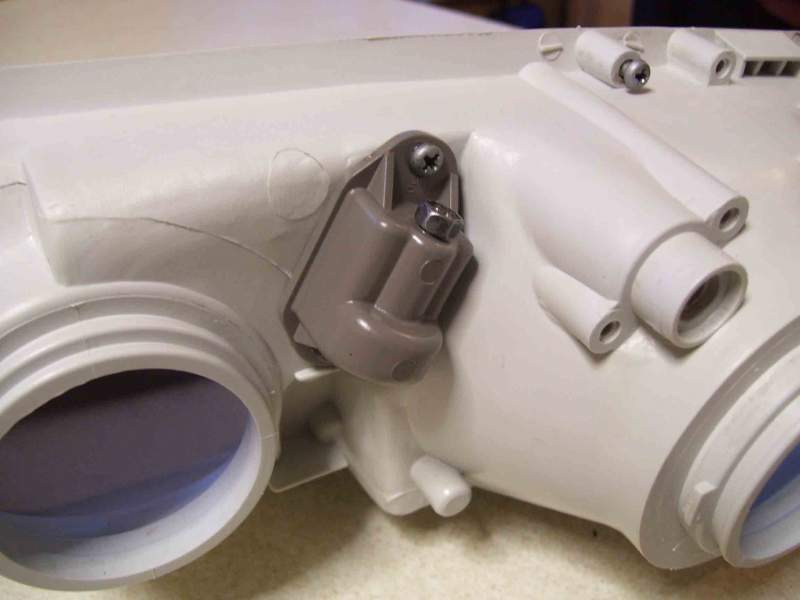
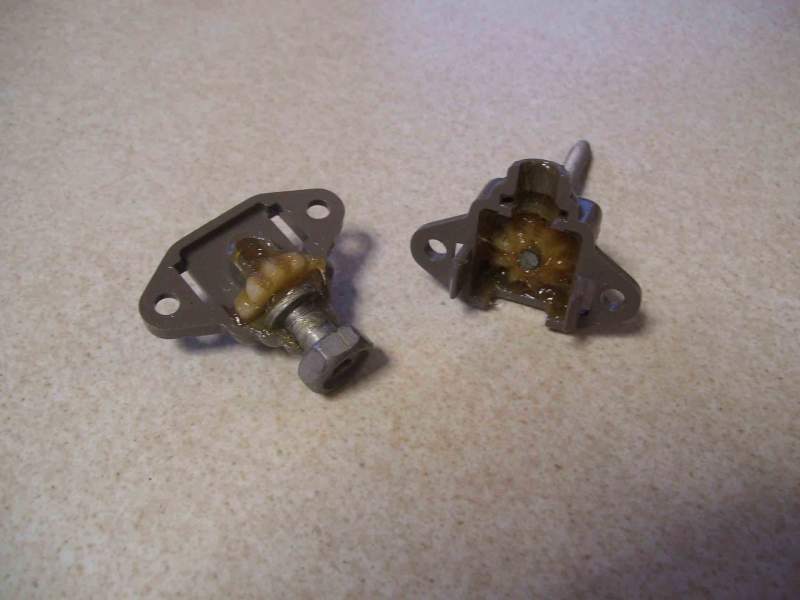
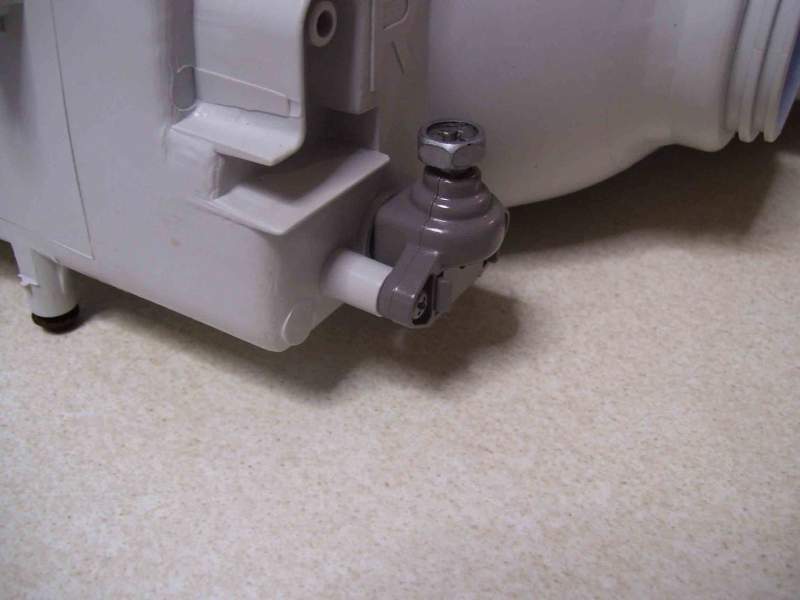
Thanks guys. I thought I would final fit one of the adjusters along with wavy washer and new star spring clip washer. Before assembly, I did pack the gears with new grease also, along with a liberal coating on the O ring. I have to say, it does feel a lot smoother. Well worth the effort I think. One thing I was a bit unsure of, was manipulating the sealant evenly back into the groove, but with some advice from Medallion Man it went fairly well. Just need to be careful now when final fitting, I will have to keep things warm as I screw the 2 halves together.
-
Sorry DaZvert, I just re read your post. I thought you asked if I thought it was possible to remove the lens. Sorry to appear to contradict you mate. I must learn to read things a bit more carefully. lol
-
Thanks mate. As for removing the lens in situ? My initial thought would be that it would not be possible. The reason I say this is that the surrounding brackets that help to hold the seal in place would be in the way. To be honest, I never took much notice when I removed my lights, but I did take plenty of pictures. When I get a chance, I will look back through them and check for you.
-
Couldn't resist doing a bit more detailing I'm afraid.

-
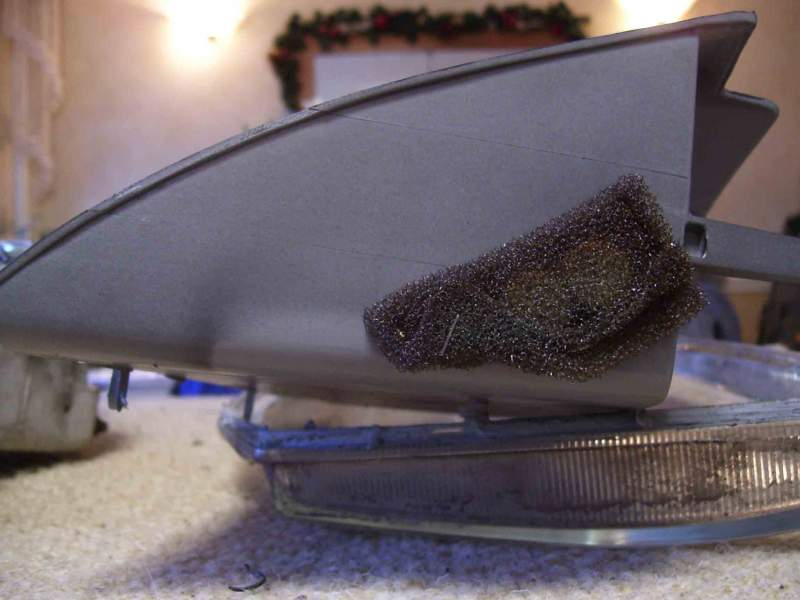
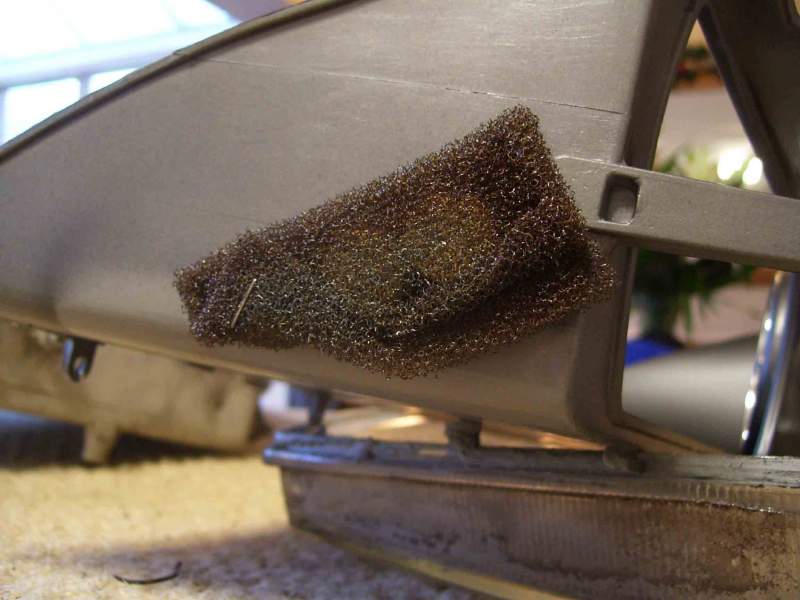
Hi Znut, I use Janitol Plus at around 10% to 15% in hot water. (it just depends on the degree of dirt.) I have a variety of cheap childrens pain brushes, along with pipe cleaners for the fiddly bits. For the easy to get to areas I use one of my smaller alloy wheel cleaning brushes. I also find that cocktail sticks are very good for getting into the very tight corners etc' you can get a bit more purchase as well.
