




Everything posted by nickz32
-
Looking forward to seeing this implemented. How does it compare to the majority of social media platforms for uploading media?
-
I have the ATi damper. I’ll double check but I’m fairly sure my WP/Alt is a 4PK985 and PS is a 4PK 938
-
The Z is still in Warminster and I’m hoping to go down and see what progress is being made this weekend, so wont be able to make this now I’m afraid
-
Good stuff
-
A quick update Car won’t start. There is an electrical issue with the trigger setup that we’re working through that’s causing all sorts of symptoms. Hopefully will have a diagnosis soon
-
Nothing like finishing as last minute as it gets
-
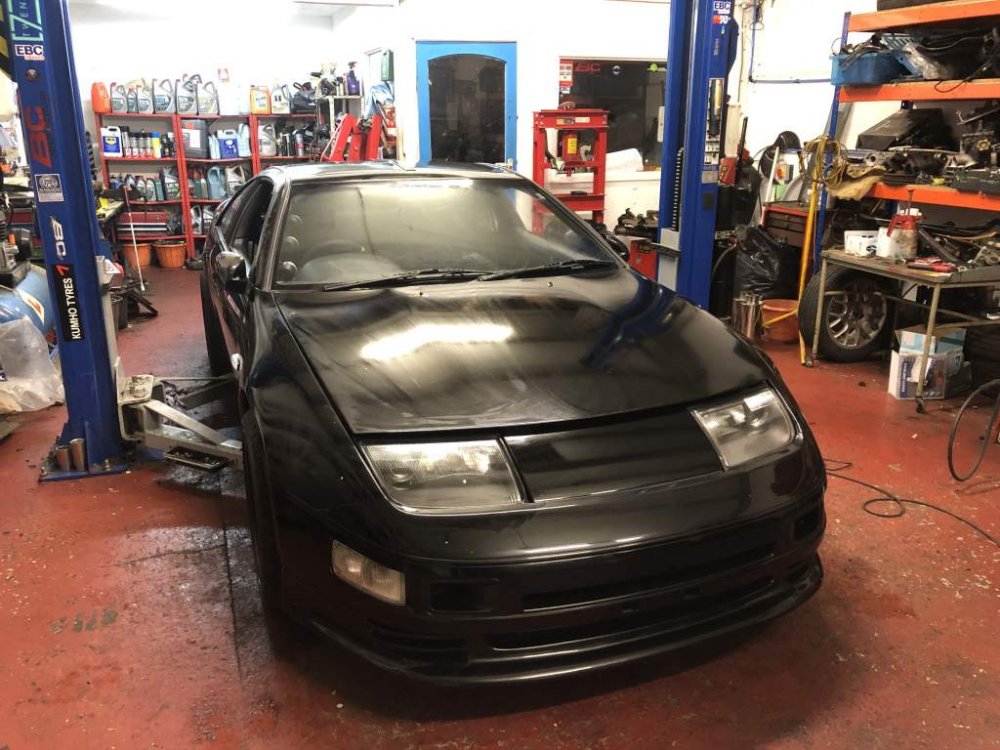
And that’s where I left it after a 13 hour day yesterday working on the car. All the wiring has been finished, I just need to prime the oil system, button up the last few bits, give it a wash a load her up for tomorrow


-
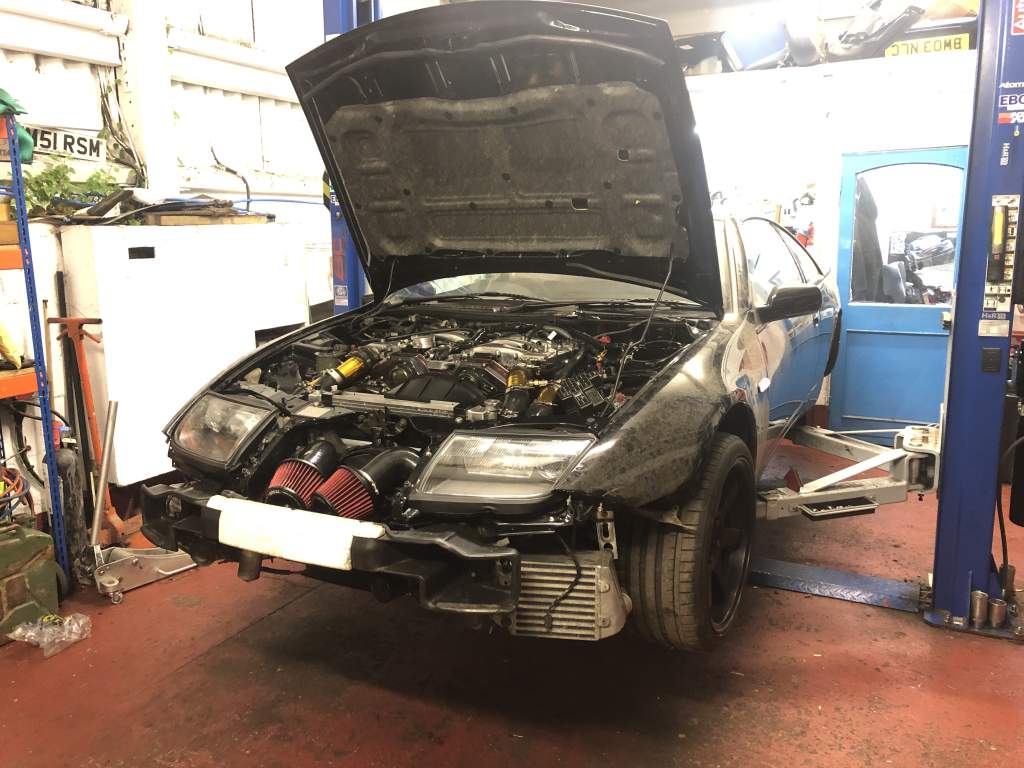
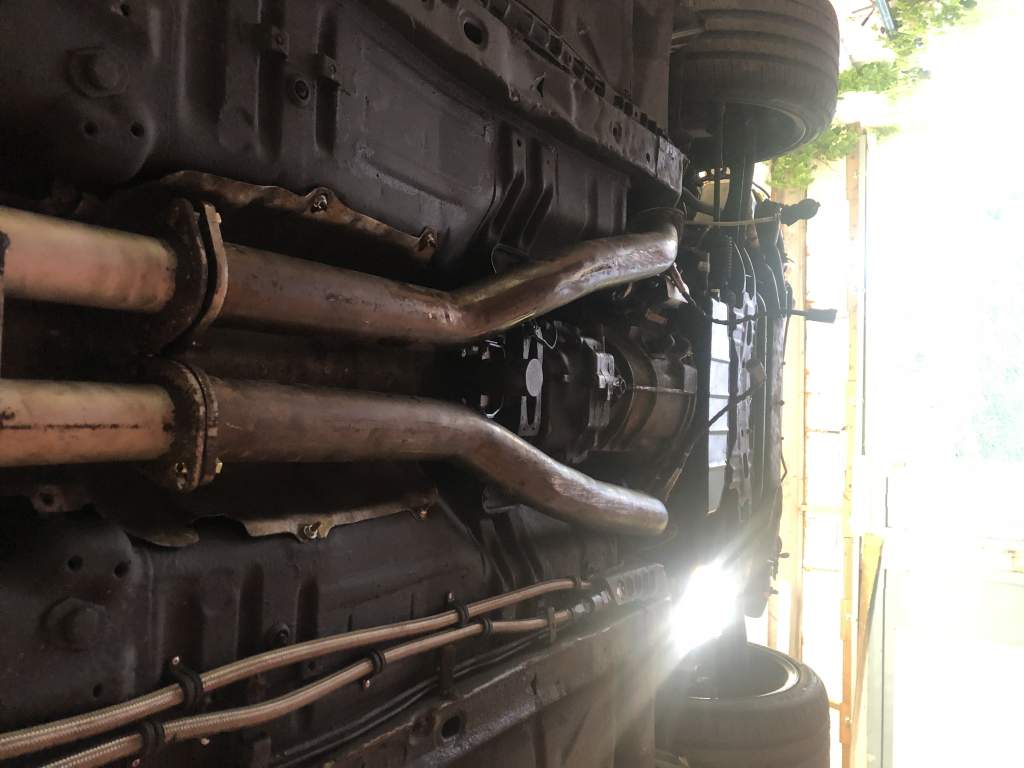
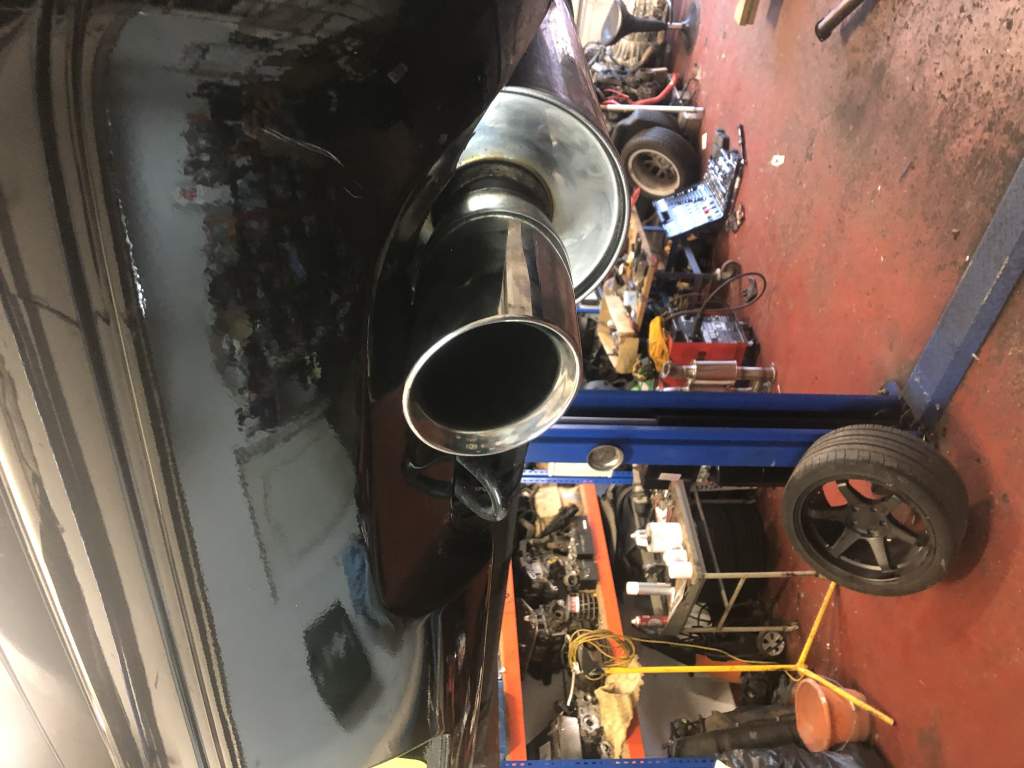
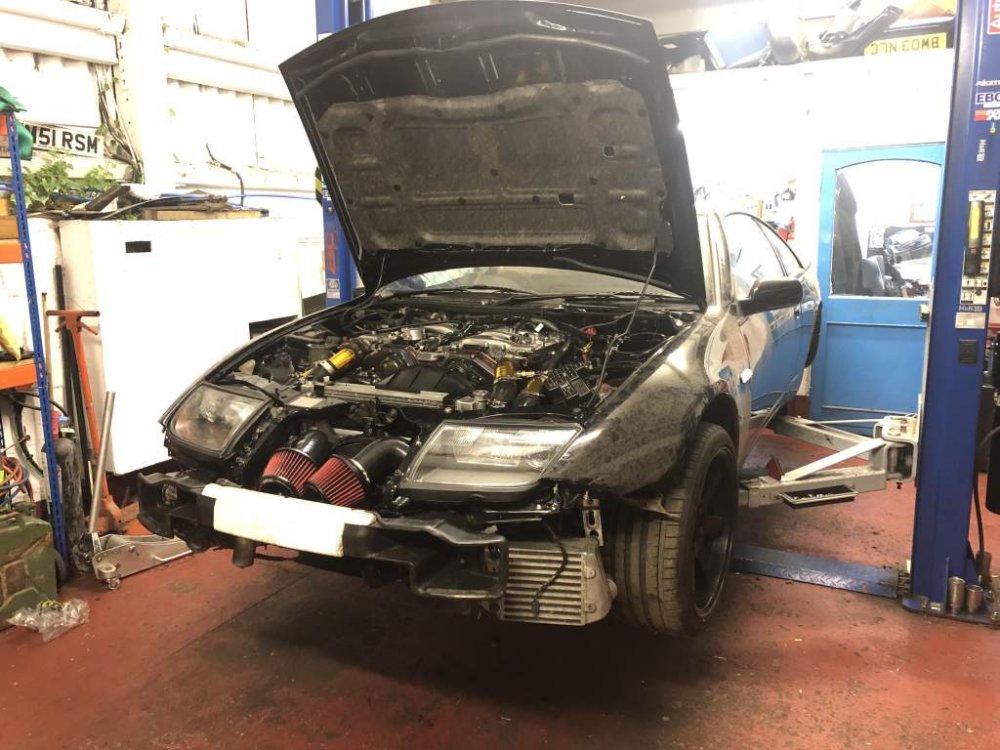
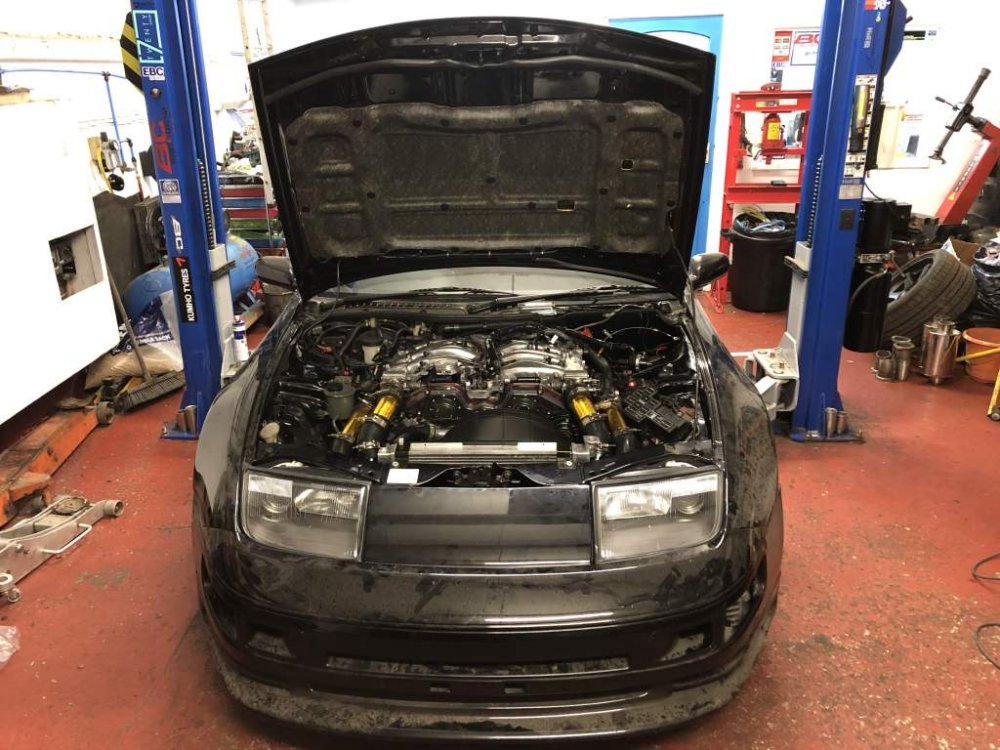
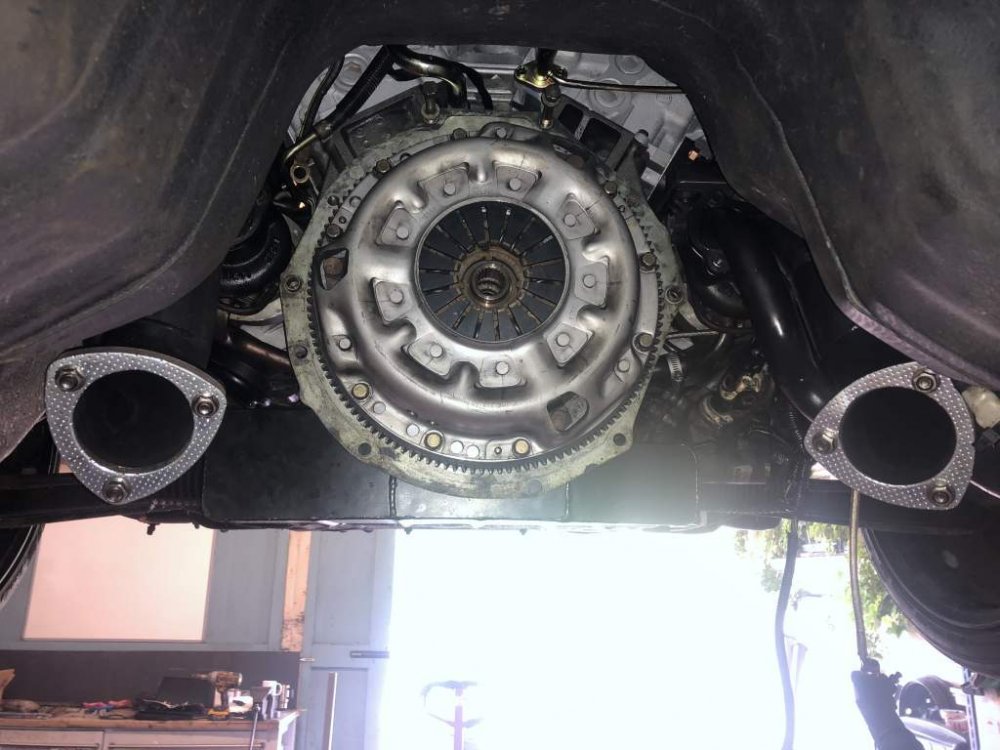
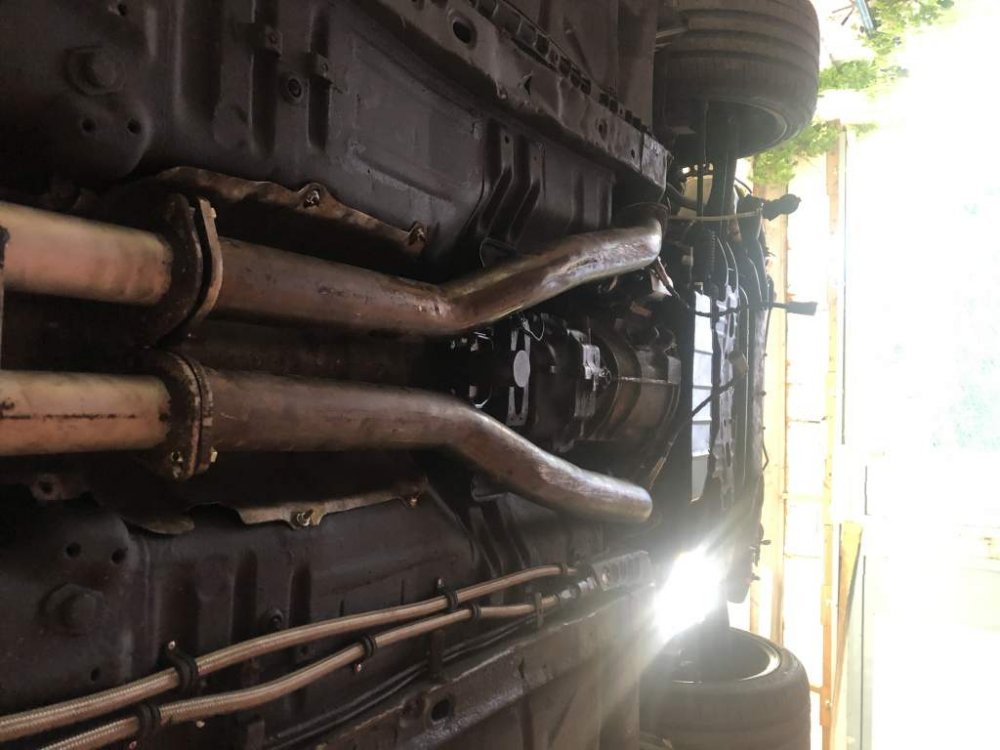
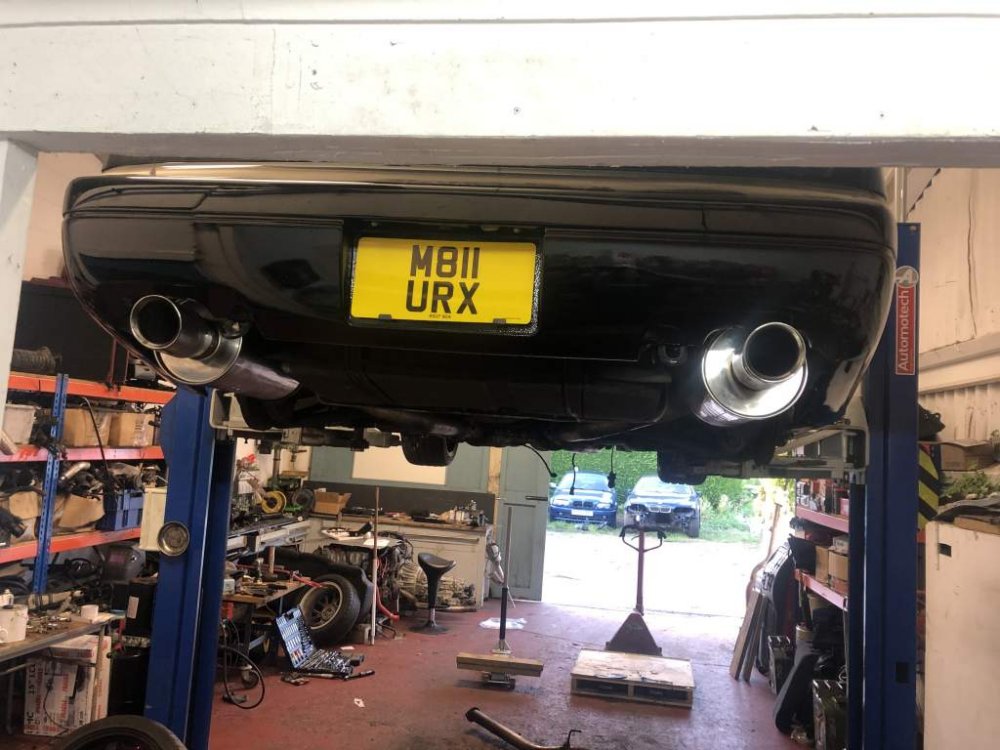
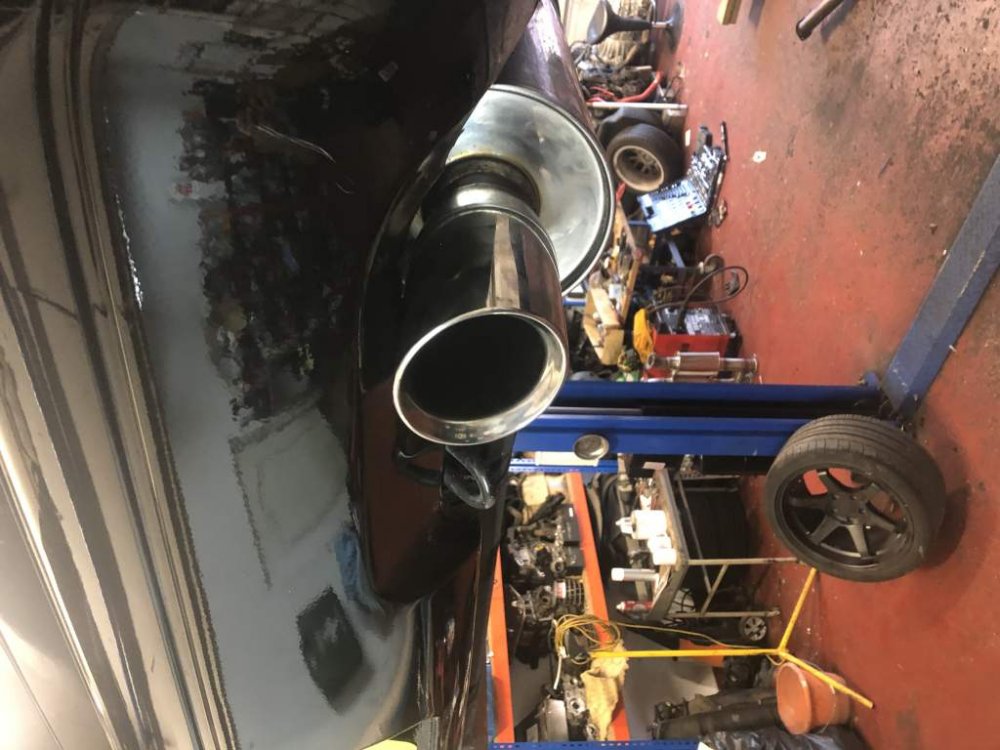
Drivetrain and exhaust fitted Unfortunately the H pipe I had made doesn’t fit as the ultra quiets hit the floor, so I’ll gave to have that remade in the future. In the mean time I’ve borrowed a Blitz cat back system from a friend. It’s only a 2.5” system rather than a 3”, but needs must with mapping due on Monday
-
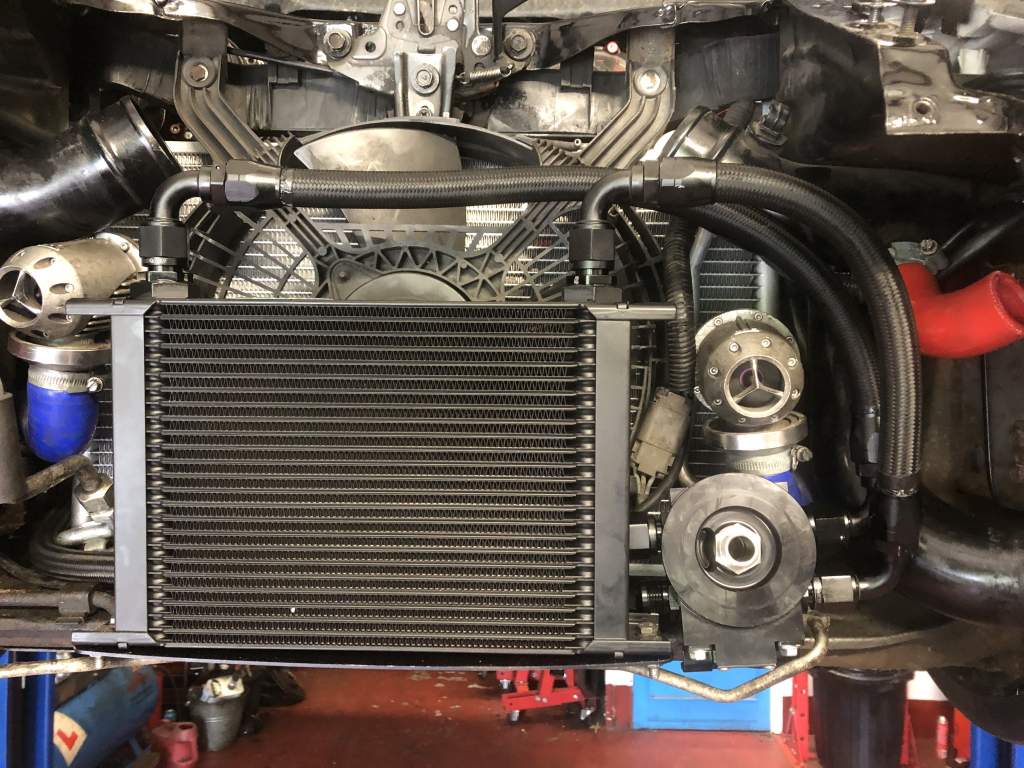
Oil setup finished


-
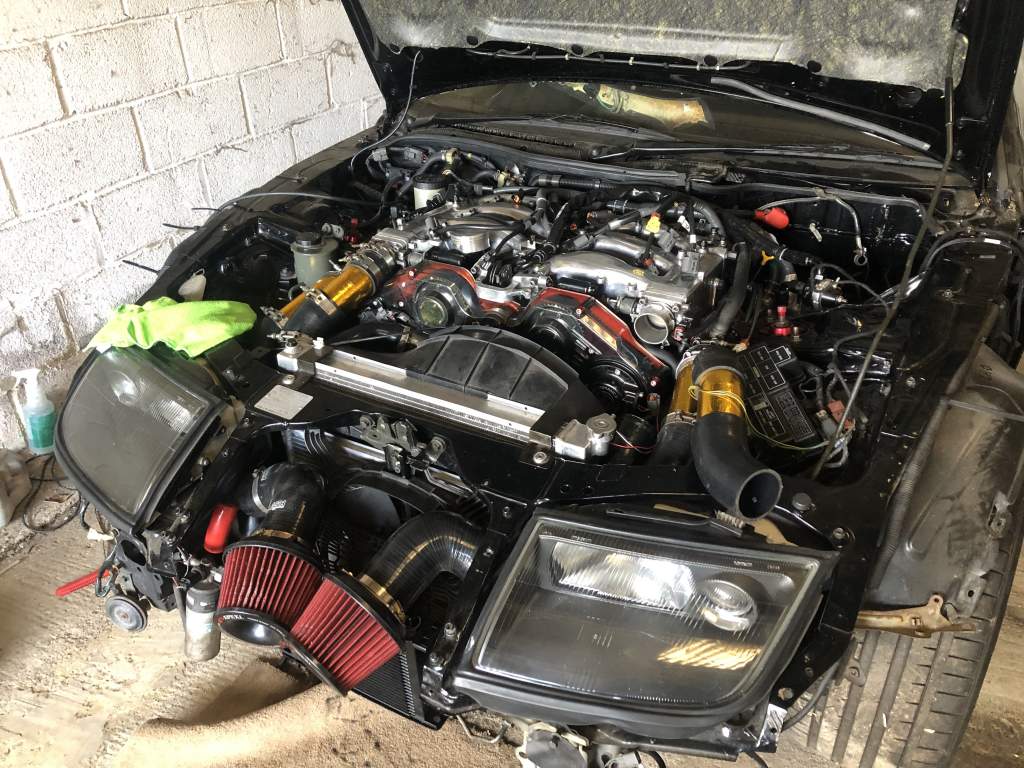
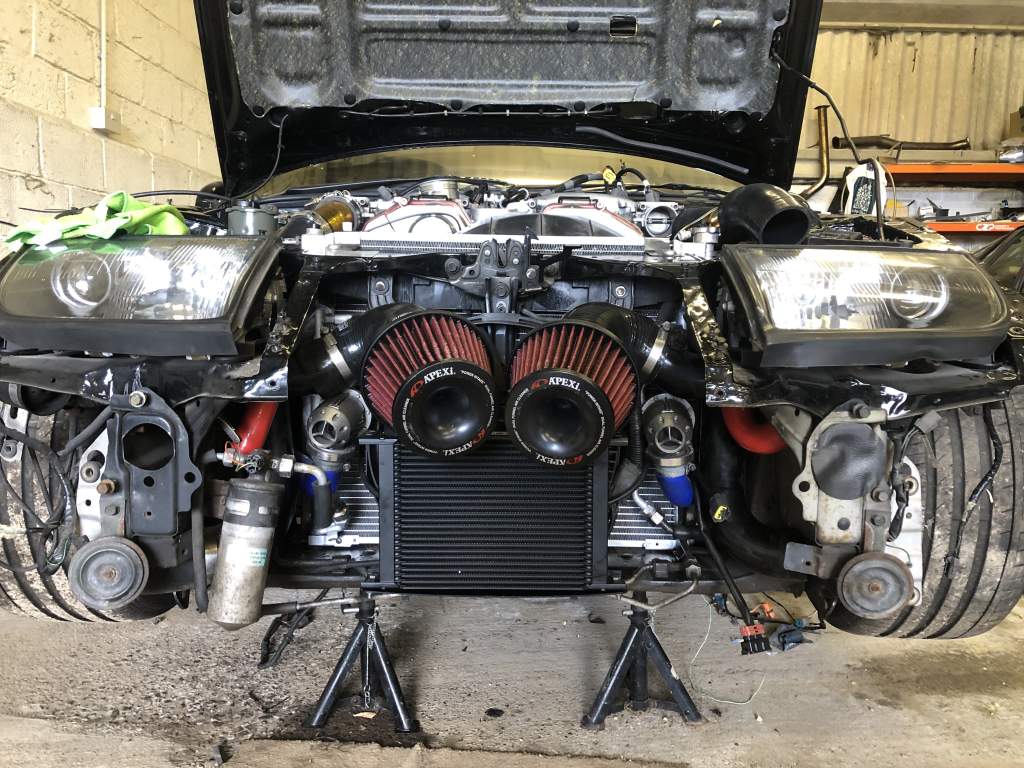
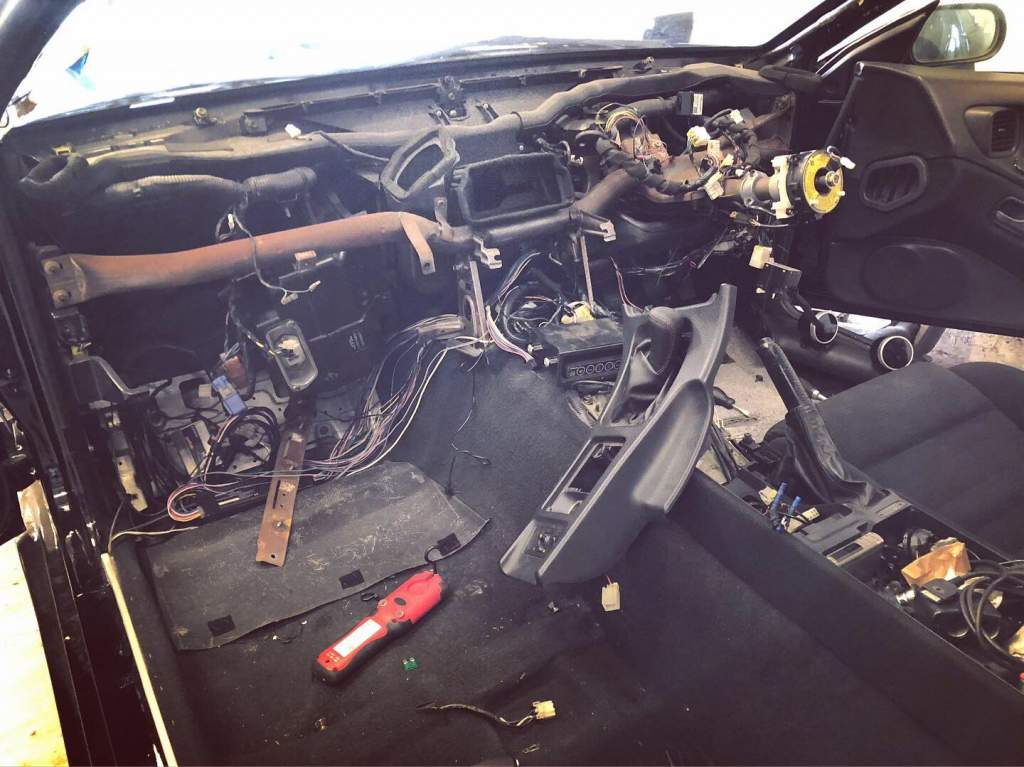
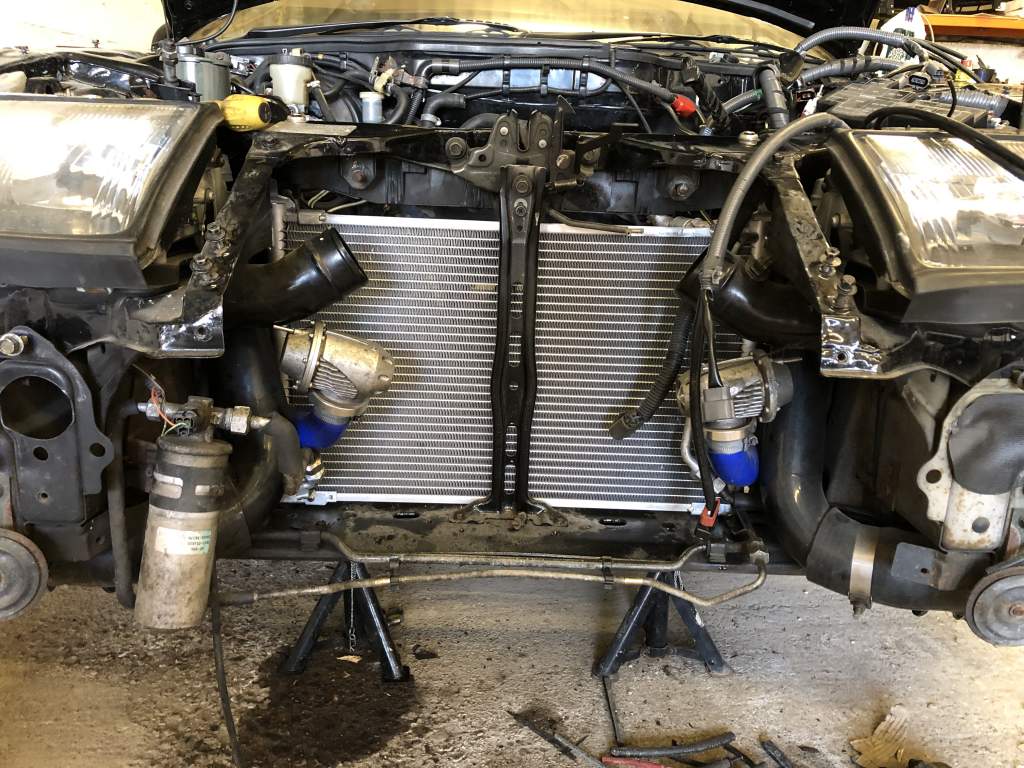
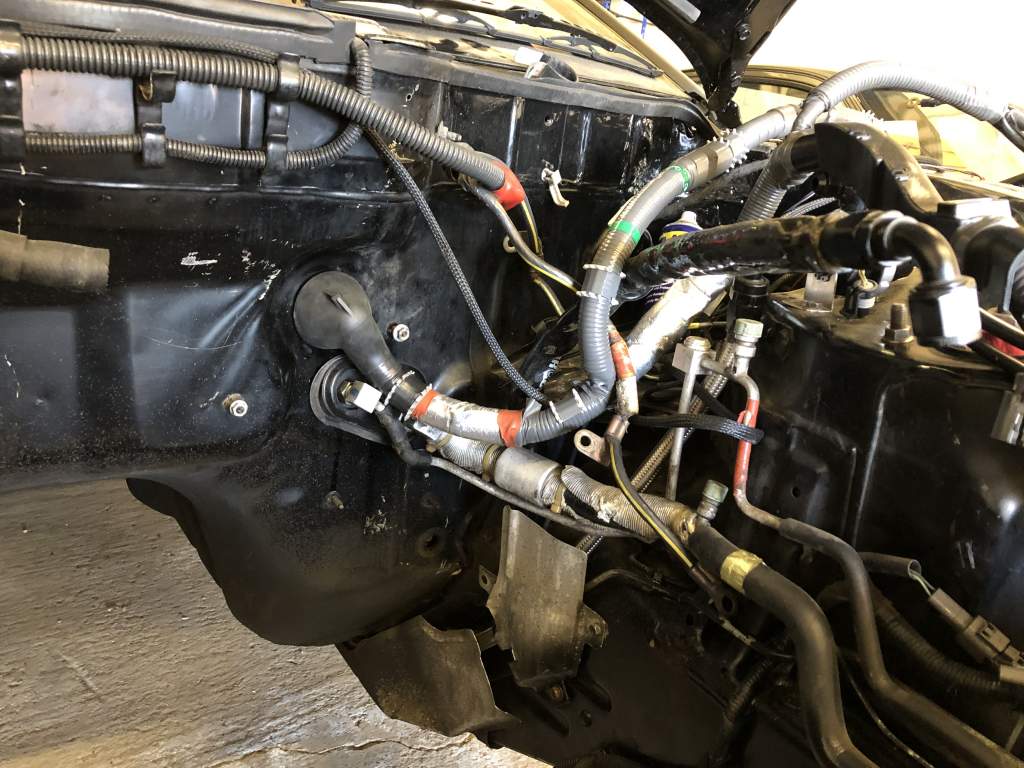
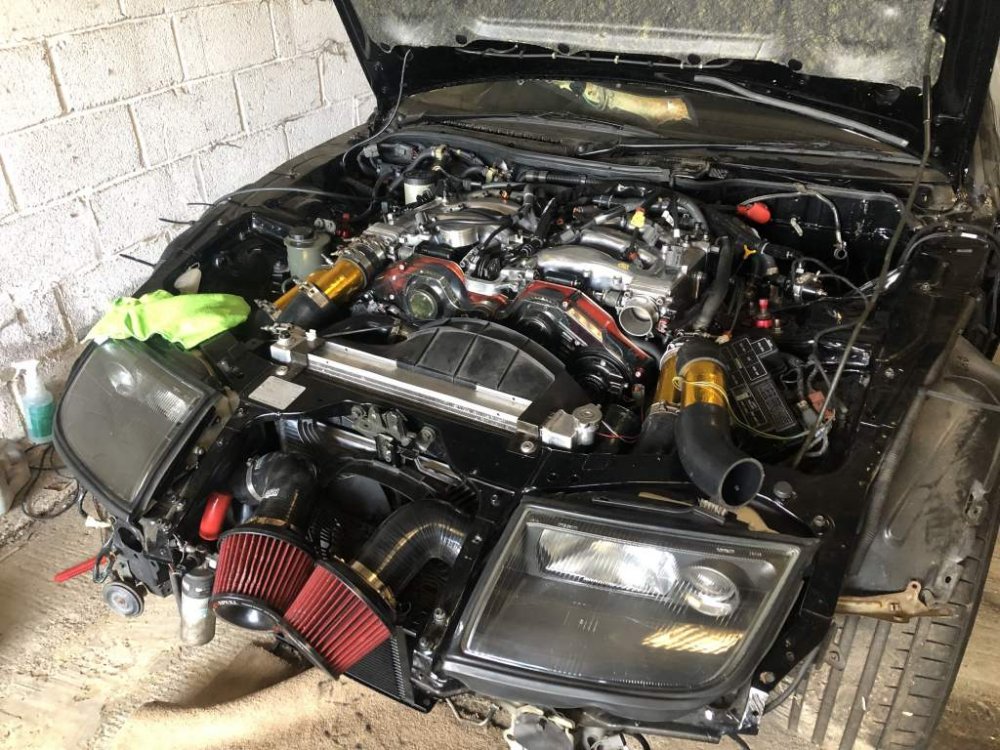
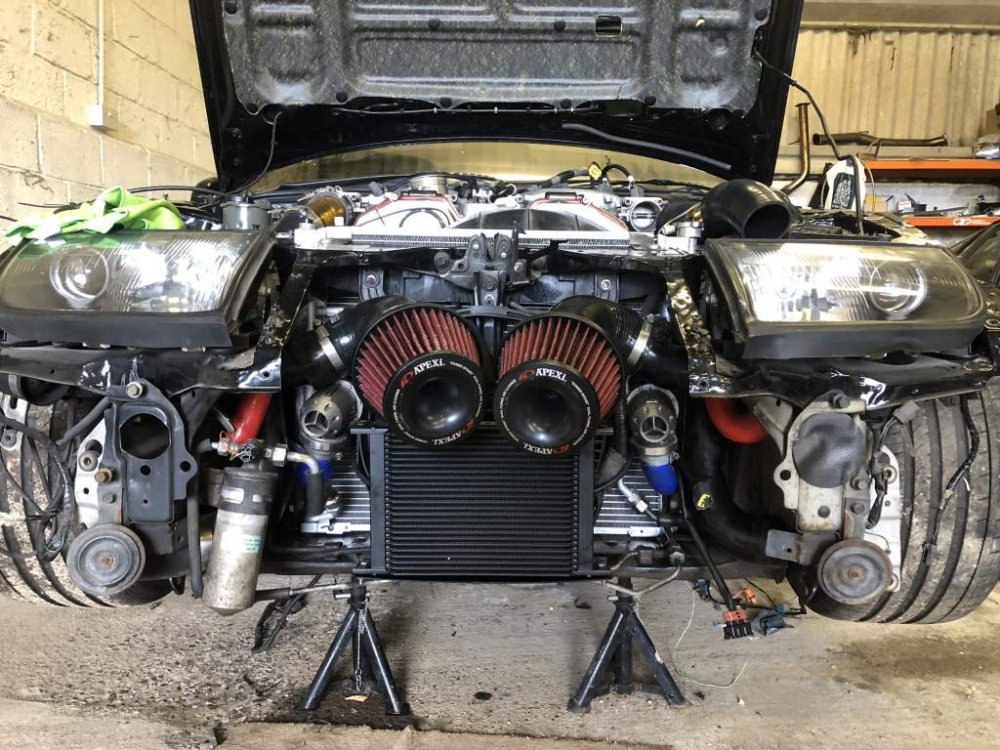
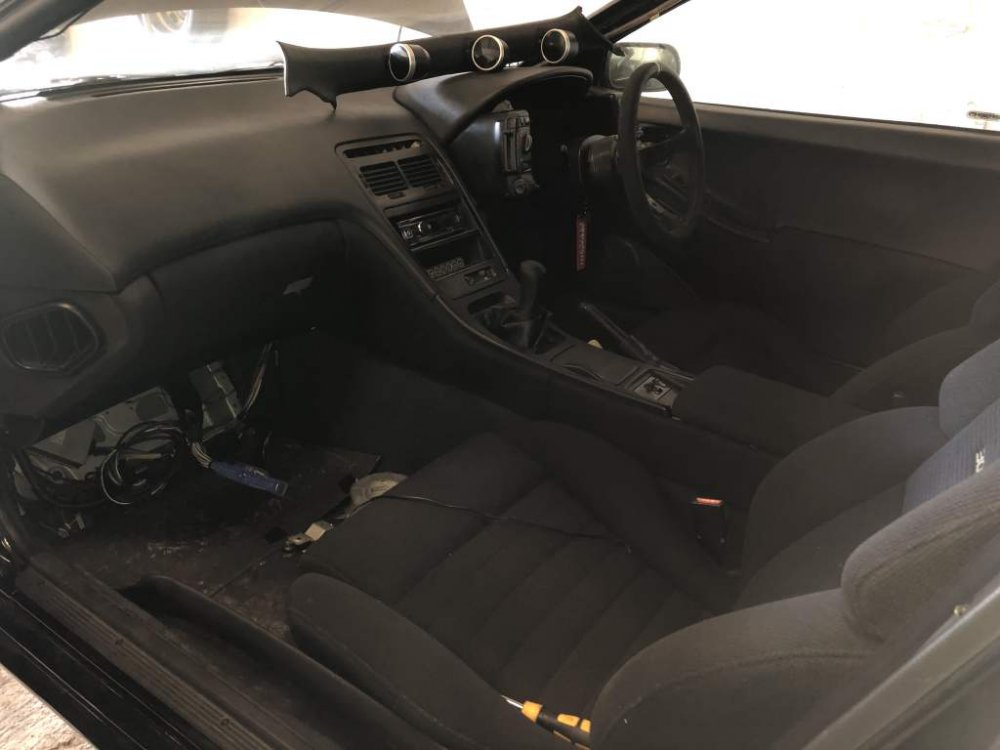
Been ticking over the last couple of days working my way through the engine bay and interior Trying to get the new loom to sit nicely is proving to be a bit awkward, but will keep working at it. Not sure what to do with the unused connectors that are just lingering around (O2, EGR, PRVR etc etc etc). Don’t really want to cut them off,m as it’s a brand new loom, but also don’t want them cluttering up the engine bay. The 2.5” piping makes it that little more awkward at tucking them away. New Setrab 23 row oil cooler turned up today, which was duly fitted The dash 10 lines and AN fittings are due to be delivered tomorrow, as is the vast quantities of oil for running in. Managed to get most of the interior back together. Annoyingly, the very top clips on the A pillar trim broke, so will have to figure out how to beat fix those Flywheel, clutch, Gearbox, starter, prop and exhaust will all go back on on Thursday when I get access to a ramp, and the remaining wiring modifications (trigger system and injector connectors for ID injectors) will happen at the weekend.... hopefully I’ll get time to give it a wash before it goes for running in and mapping on Monday
-
But people are posting stuff they’re doing to their Z’s in that thread.... why wouldn’t they post it in their own build threads/journals/garage pages?
-
Curious
-
He’s read it numerous times.... just a voyeur when it comes high performance VG building
-
How was Route Nap Si?
-
I’m sorry my build thread is boring you Jeff.... and yet I haven’t seen you post a single comment, question or reply on its 26 pages. So in short you’re moaning that there’s not enough content being created and commented on, and yet you’re criticising those of us who are making an effort to post content. I’m not really see the point in this thread other than to rock the boat
-
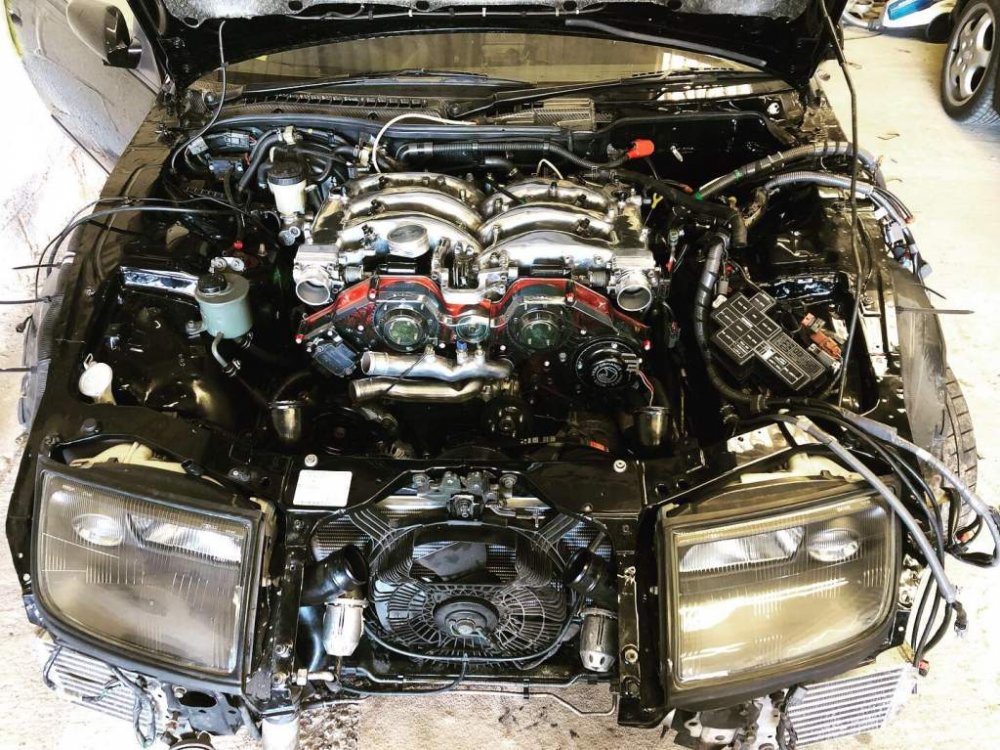
I’ll let the pictures do the talking

-
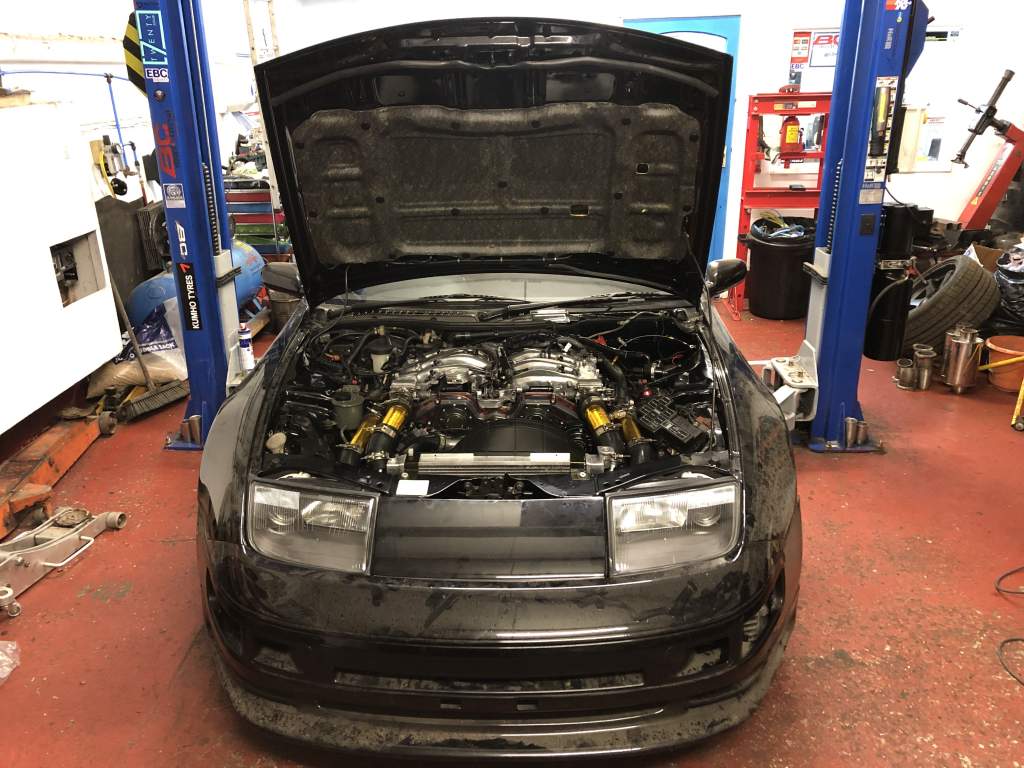
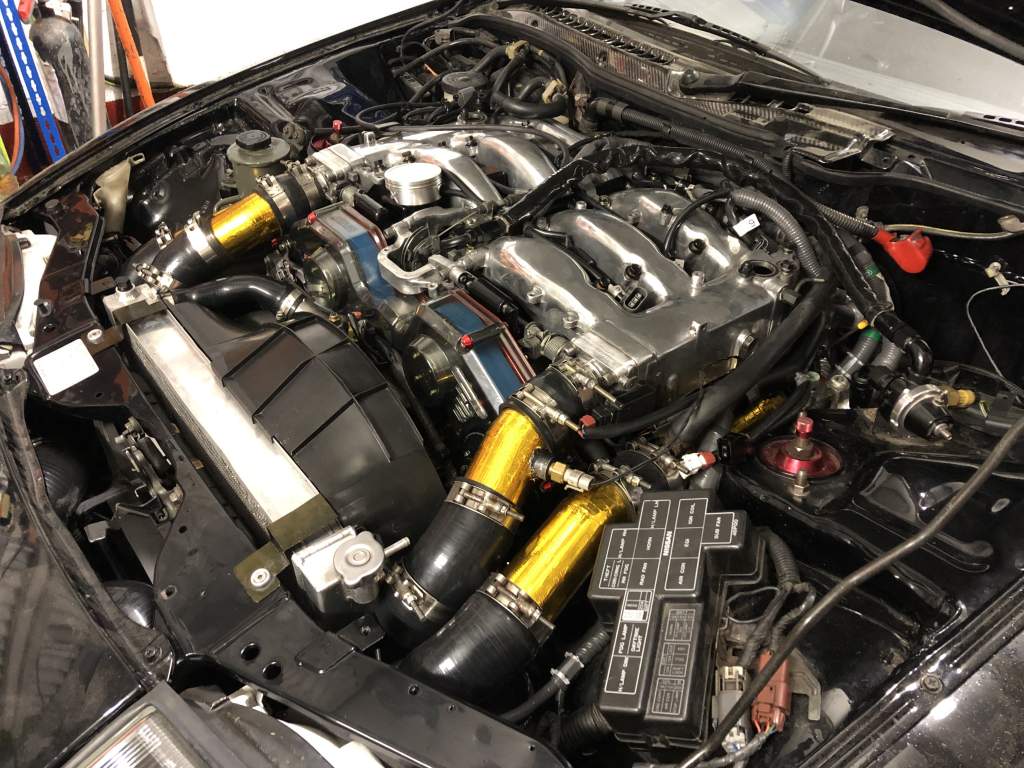
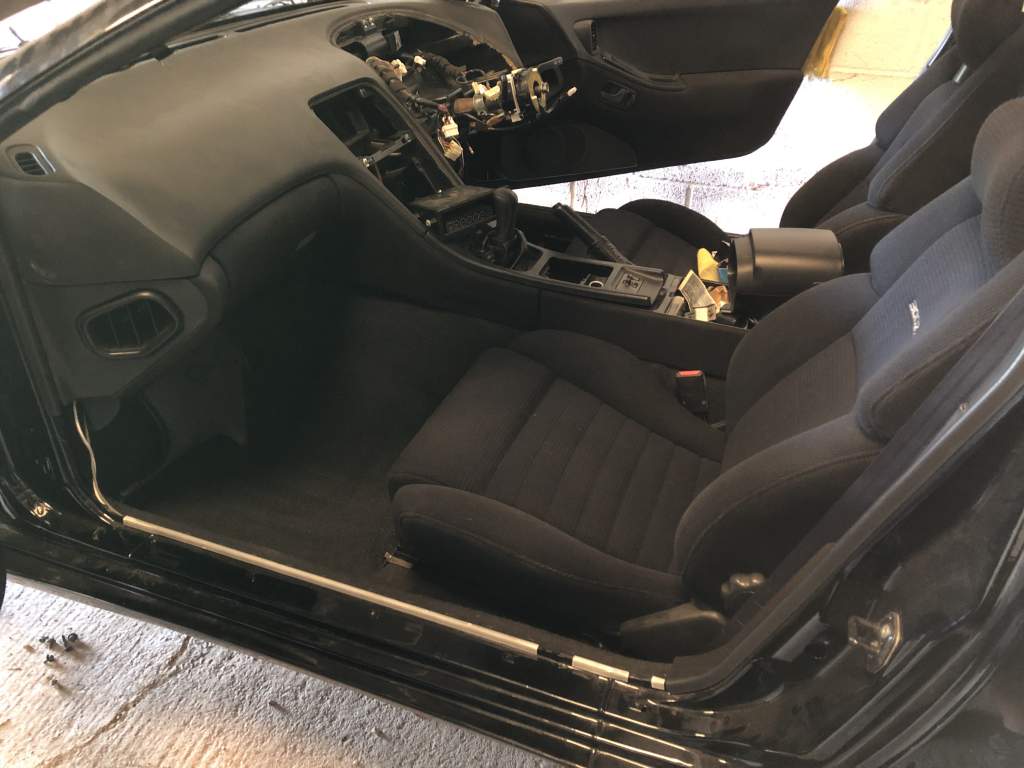
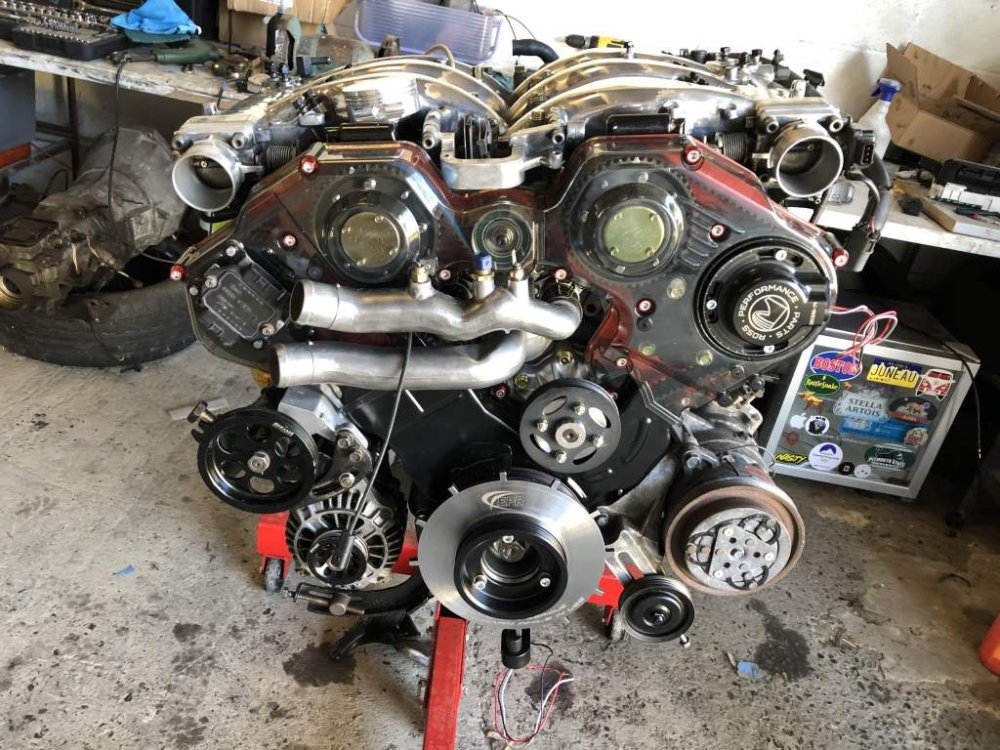
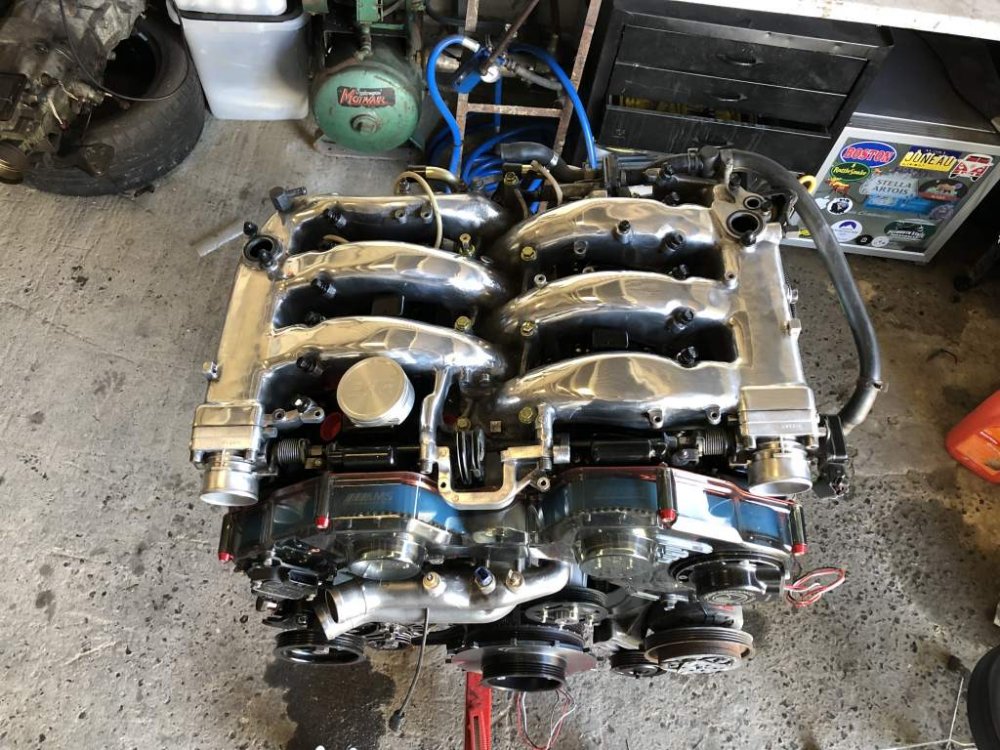
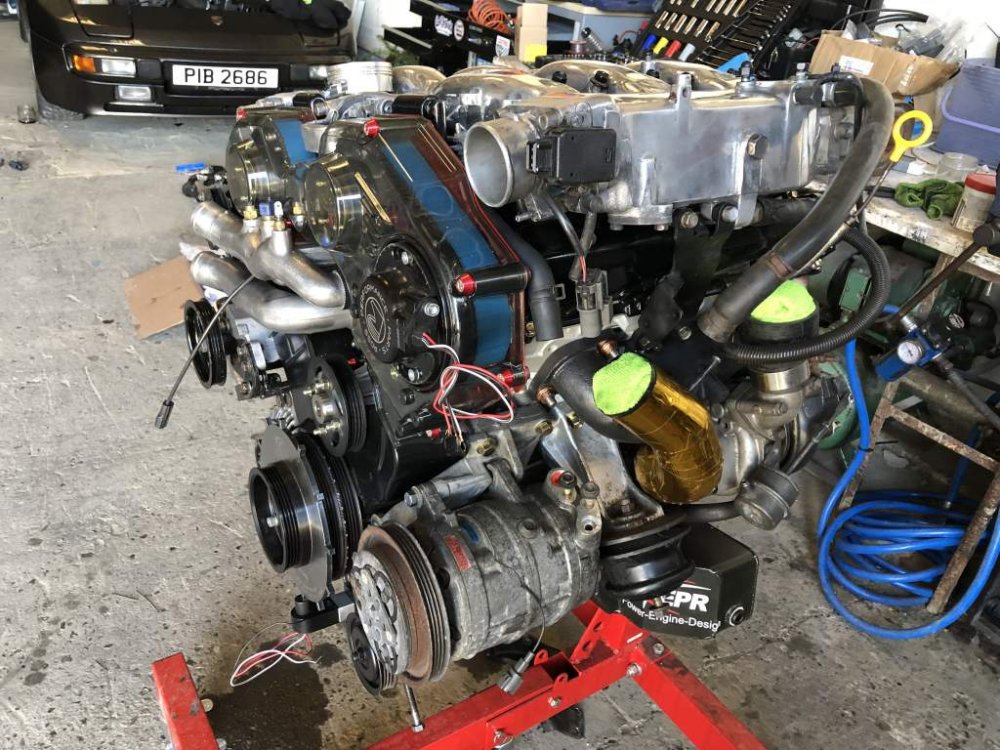
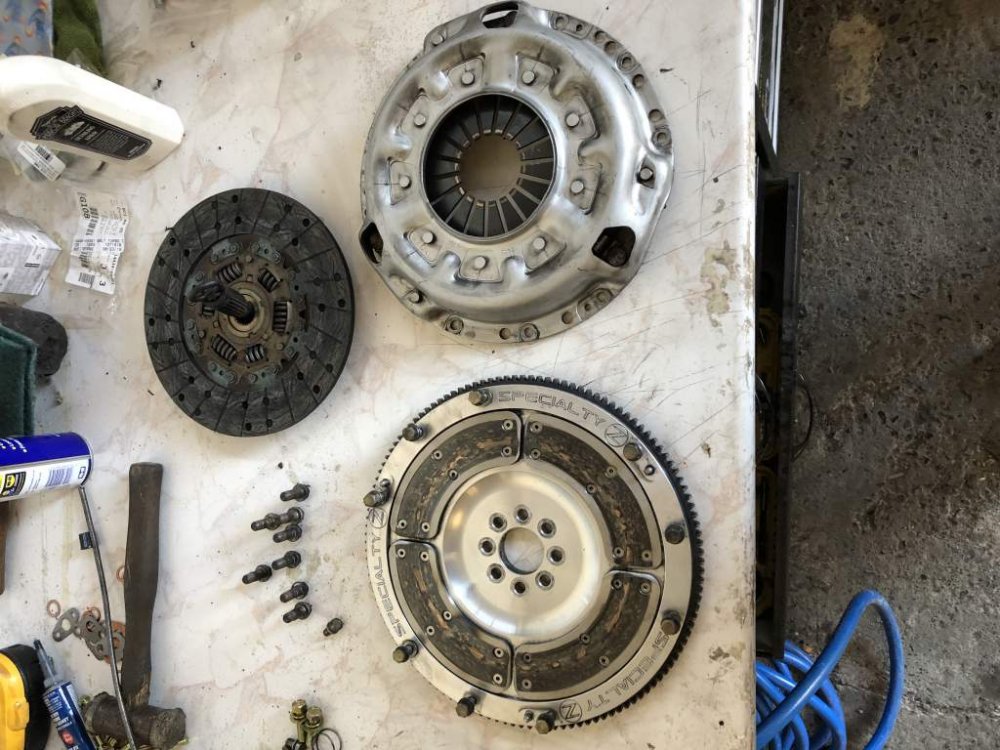
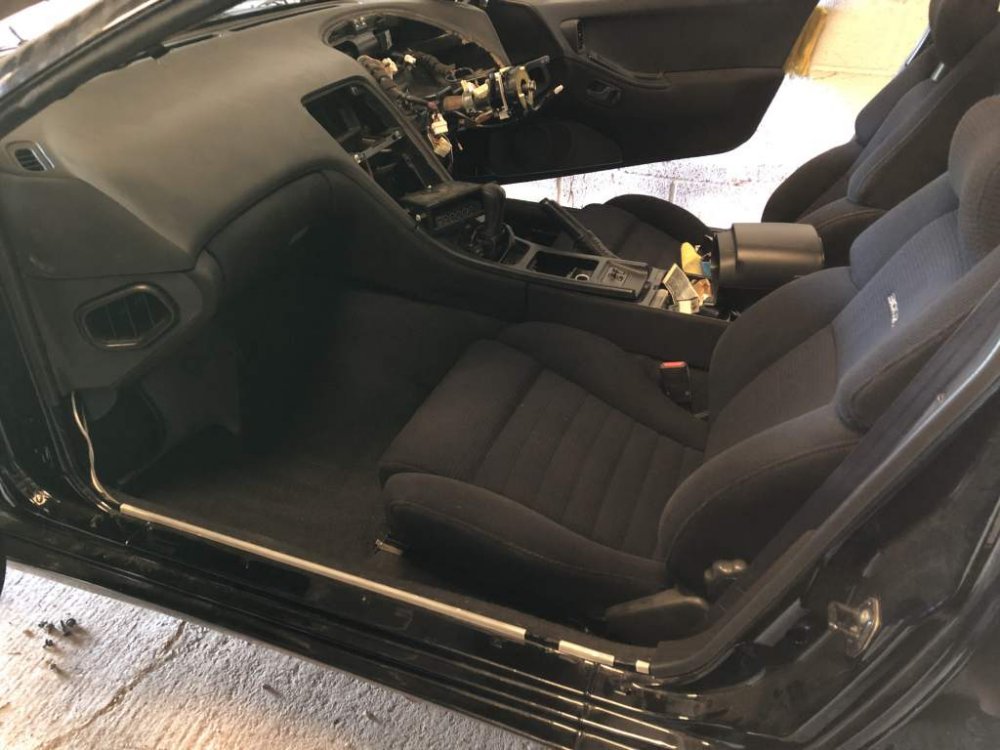
Well bar the aux belts, it’s ready to be installed Gave the clutch and flywheel a bit of a clean before installation And did a little more interior work Will finish the interior tomorrow while I wait for the belts to be delivered, and being well the engine will be back in the engine bay tomorrow
-
Mate that sucks. Glad everyone’s OK
-
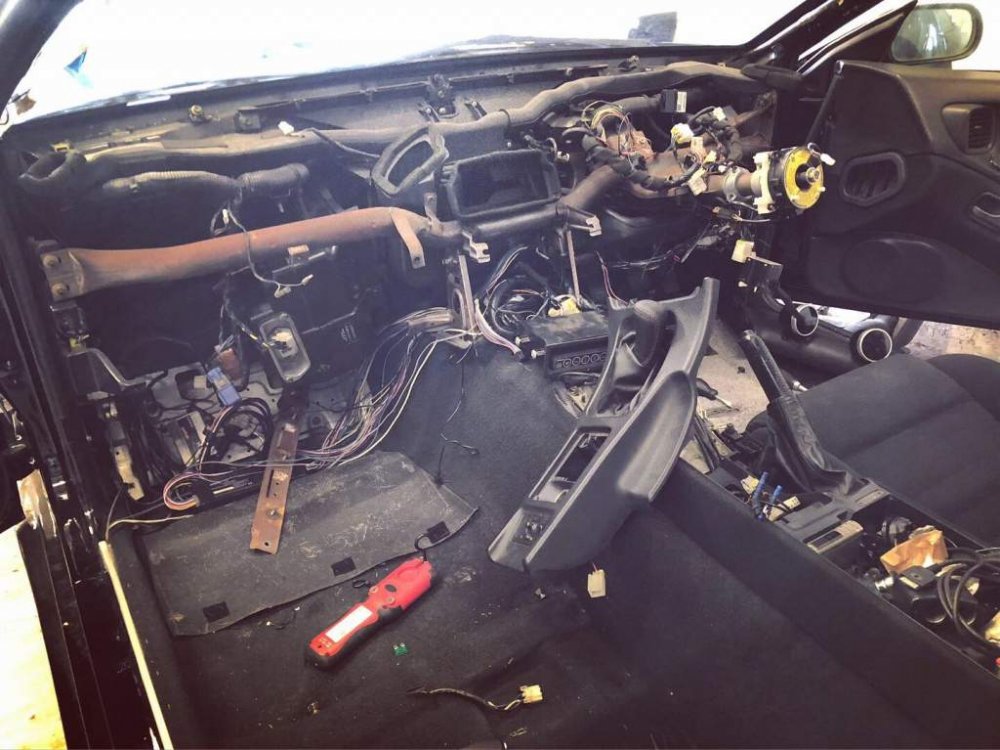
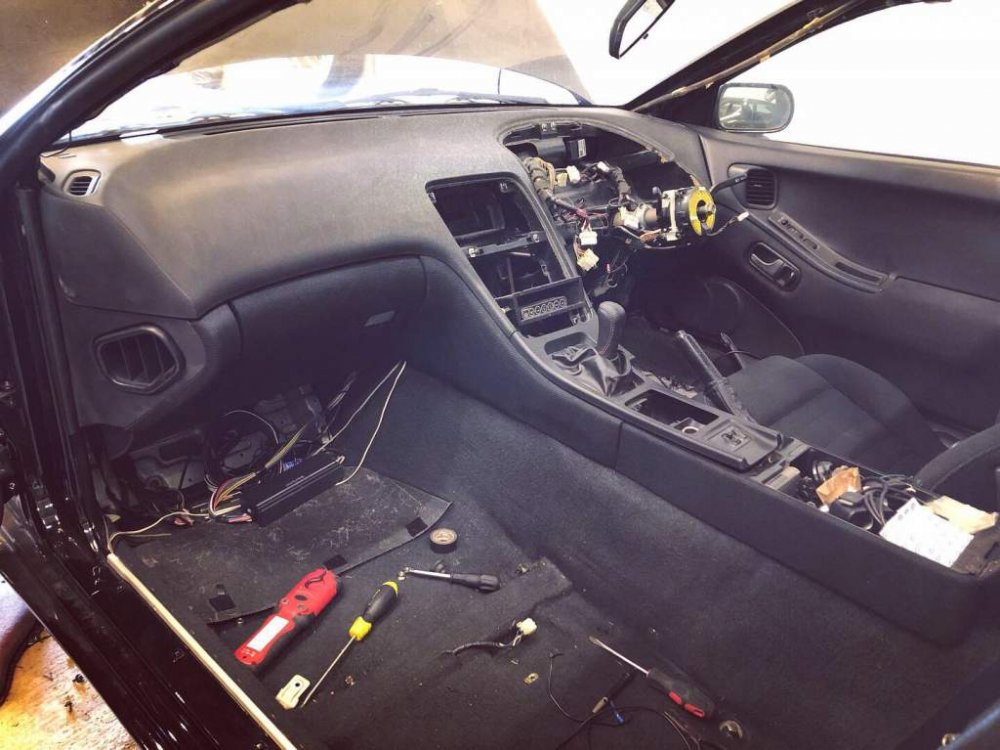
Reasonable progress today Took a bit of time to swap the brake pedal assembly over for the cruise control as well as sorting some of the wiring out under the dash. Hopefully the rest of the interior will be back in tomorrow
-
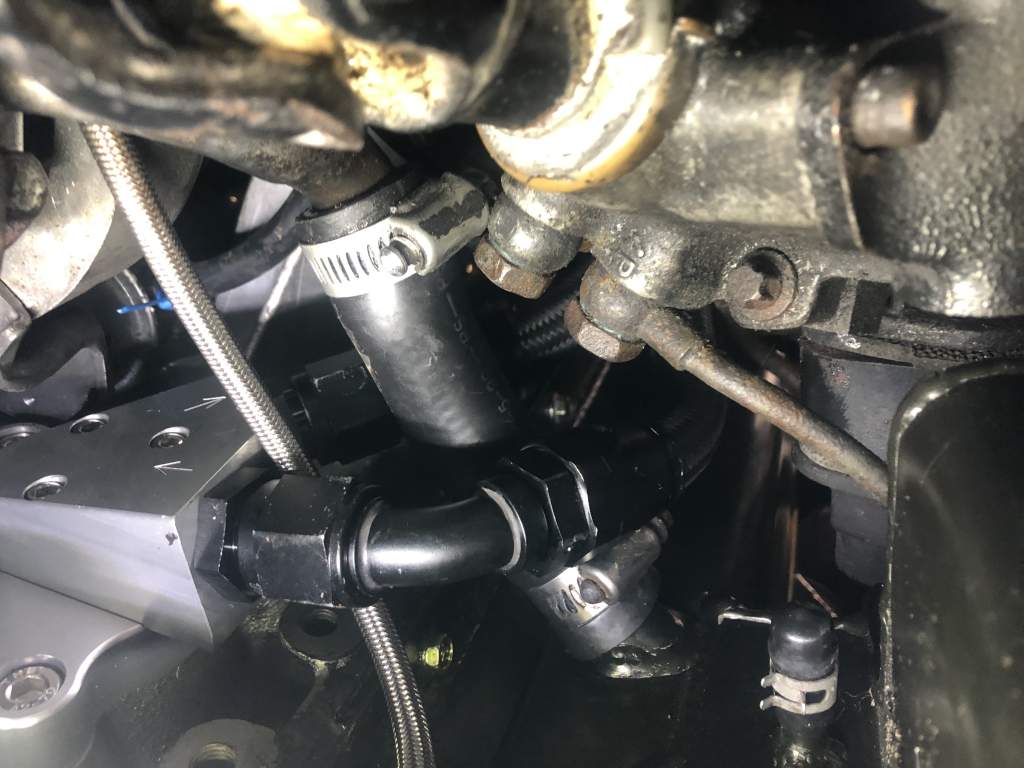
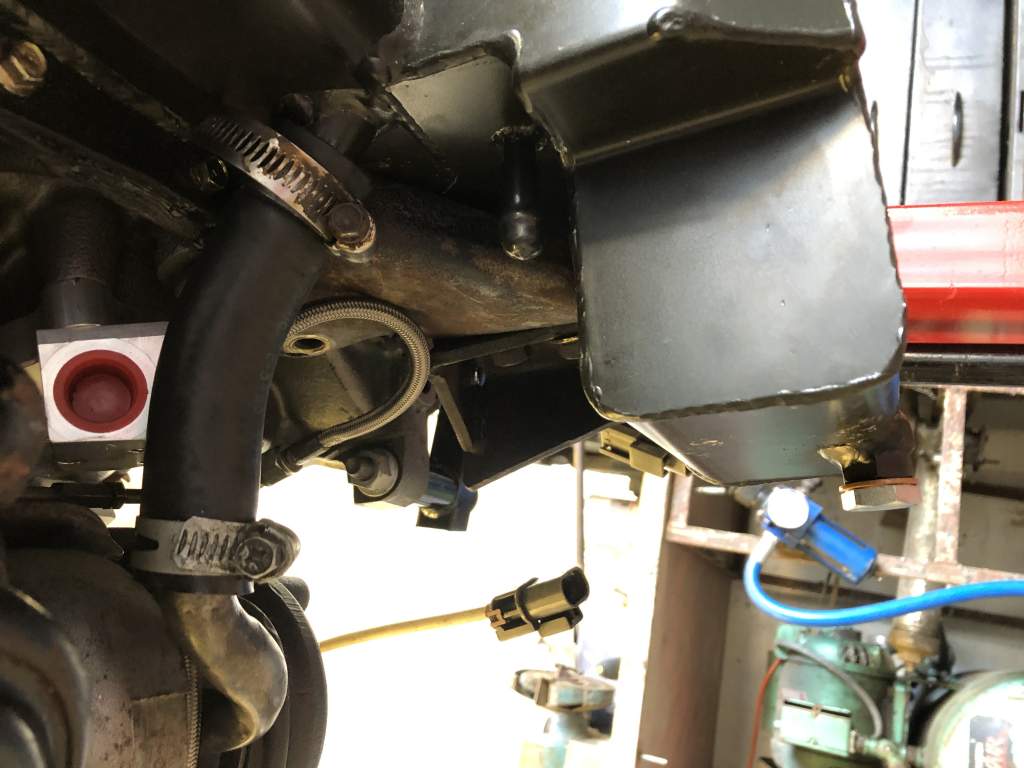
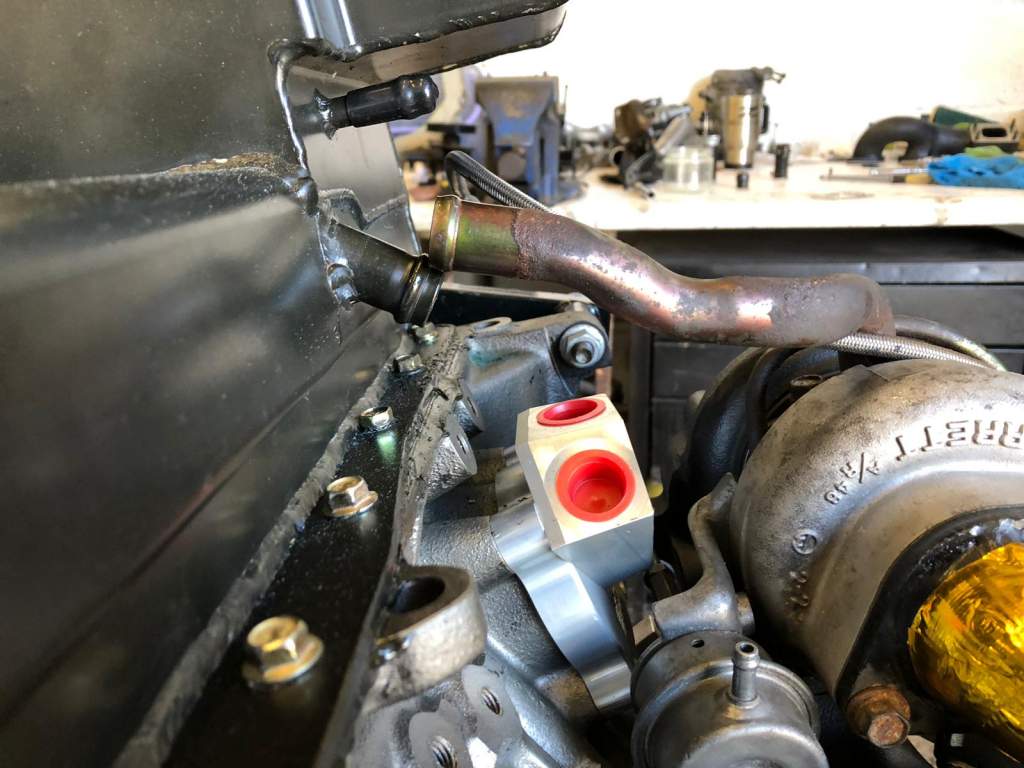
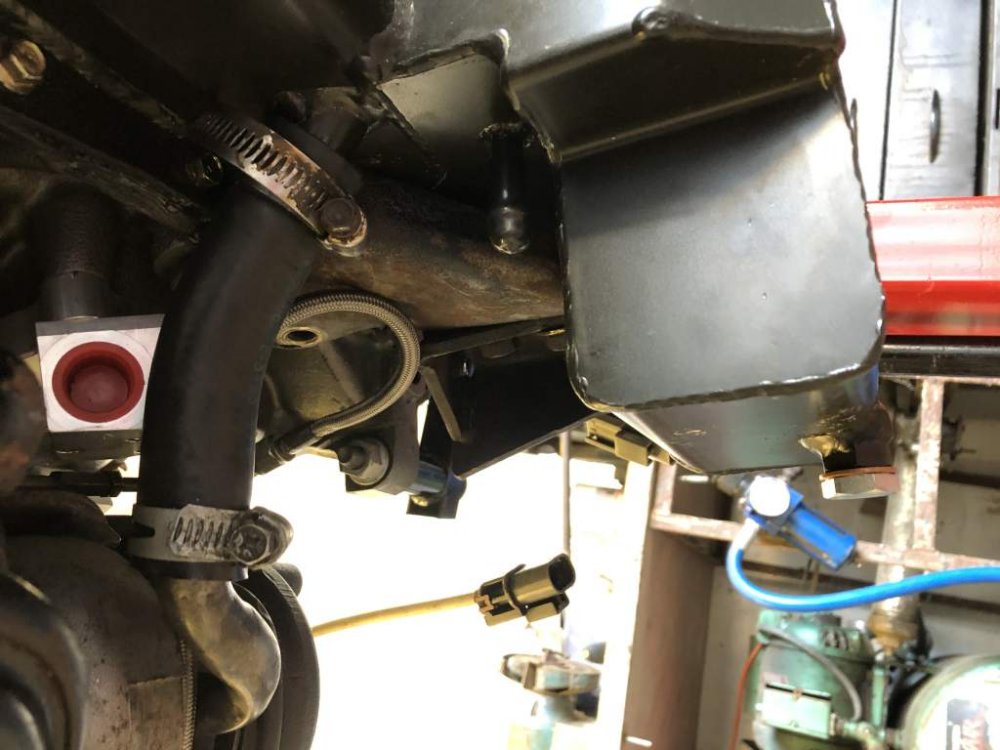
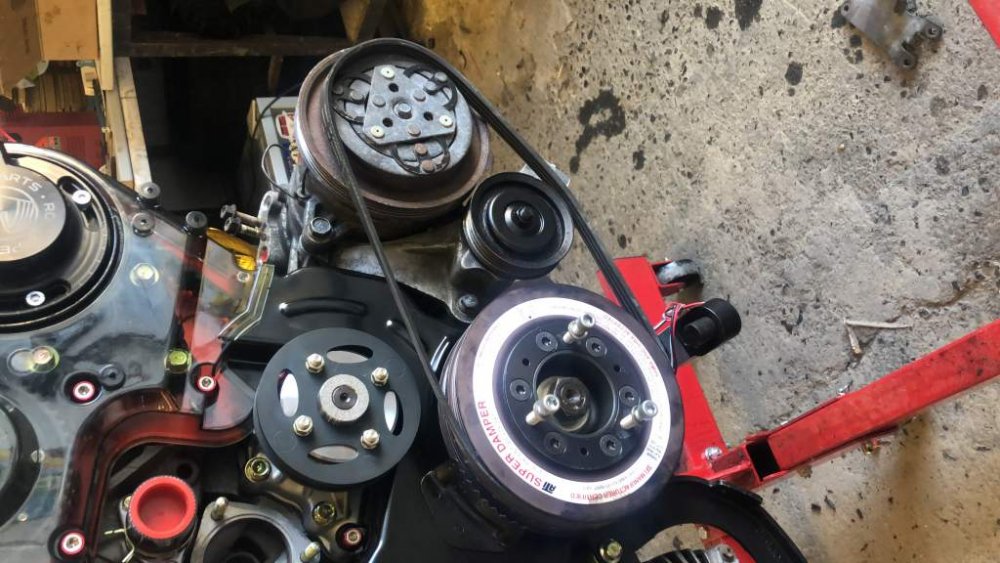
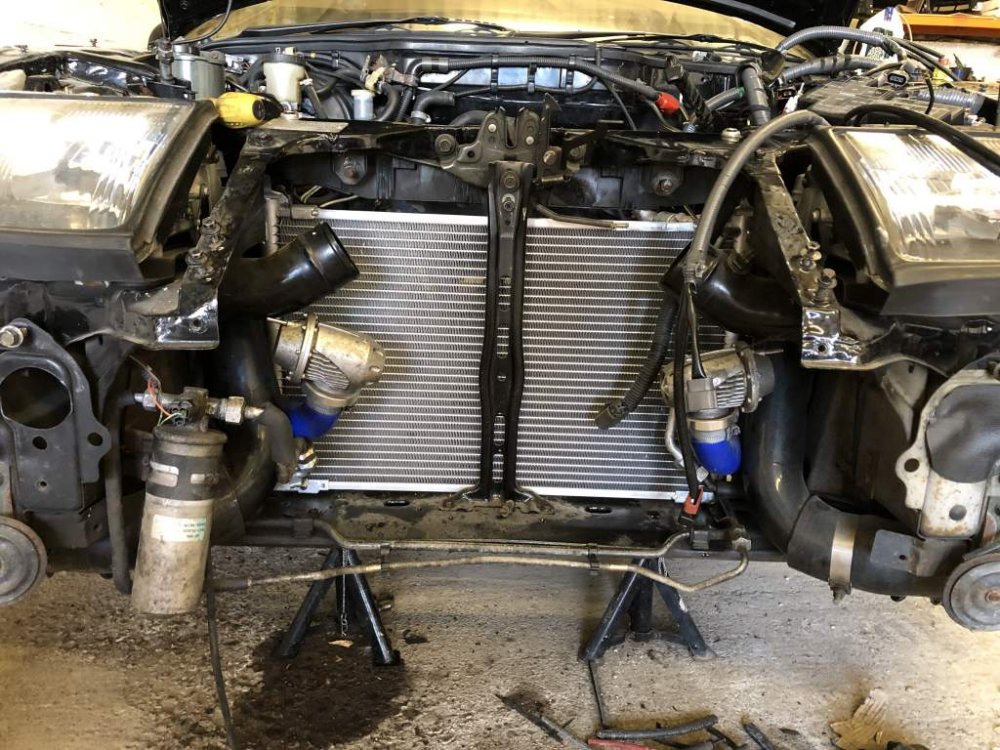
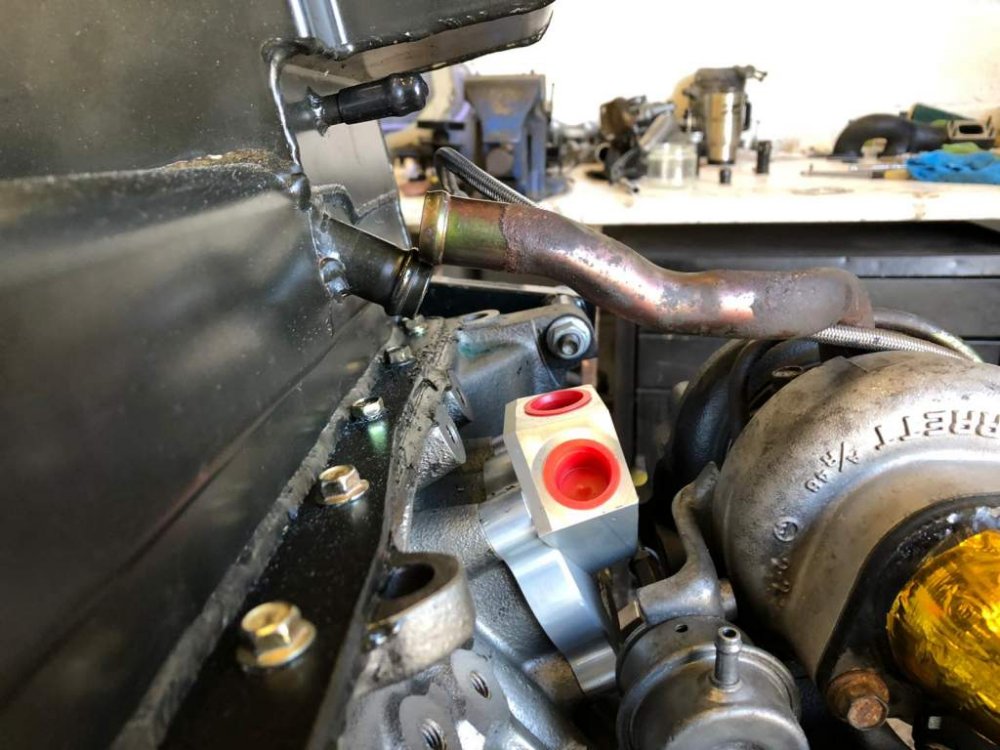
As promised, here’s a pic of the turbo drain modification Managed to get the ancillaries on, but noticed I’ll need new aux belts (forgot the ATi Damper isnsame sized as stock, while these belts were for my underdrive pulley) While I’m waiting for parts to arrive to allow me to finish the engine, I started on some of the other jobs. New AC condenser went in And I started on the wiring loom install Tomorrow I’m planning on cracking on with getting the AC matrix and blower back in and start getting the dash back in
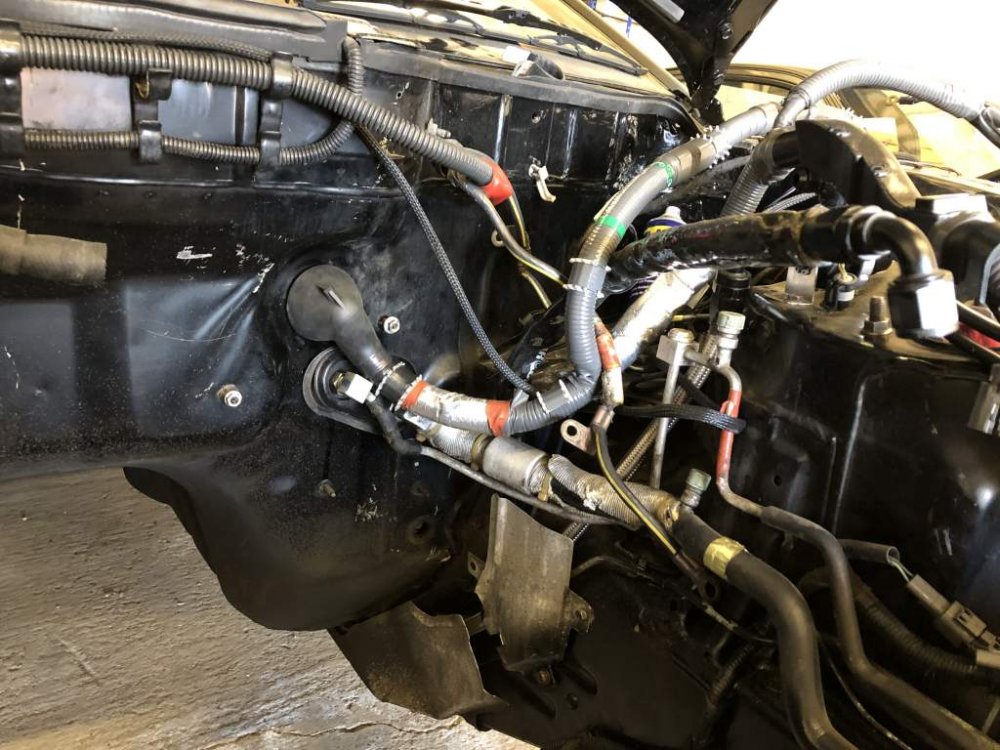
-
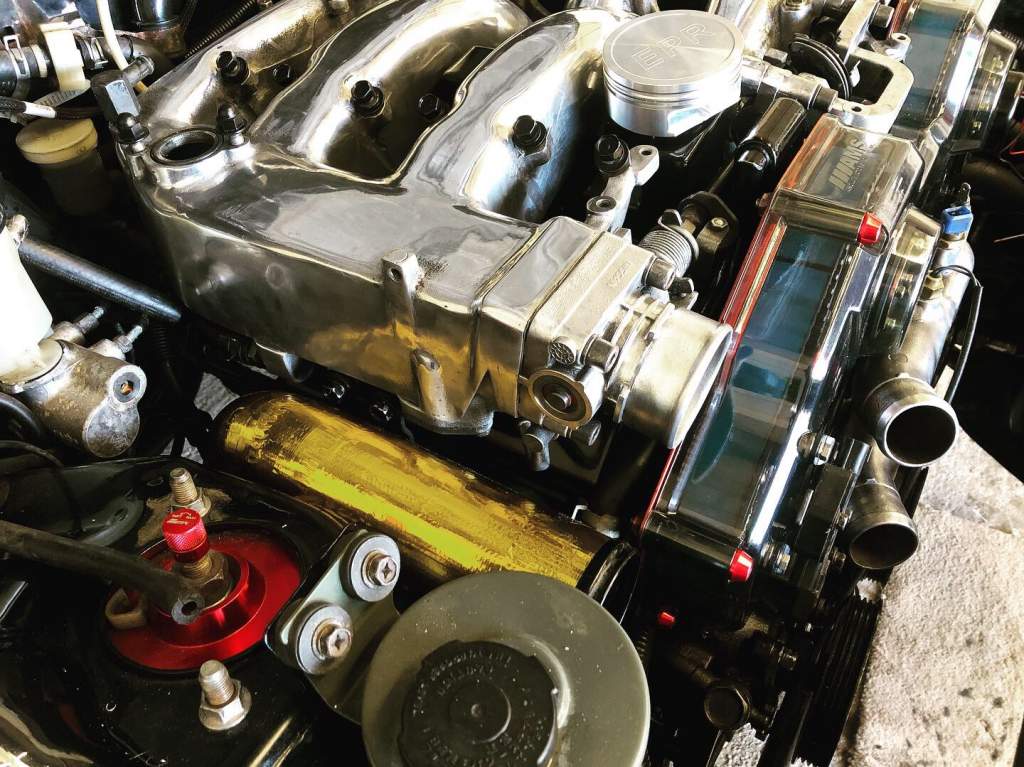
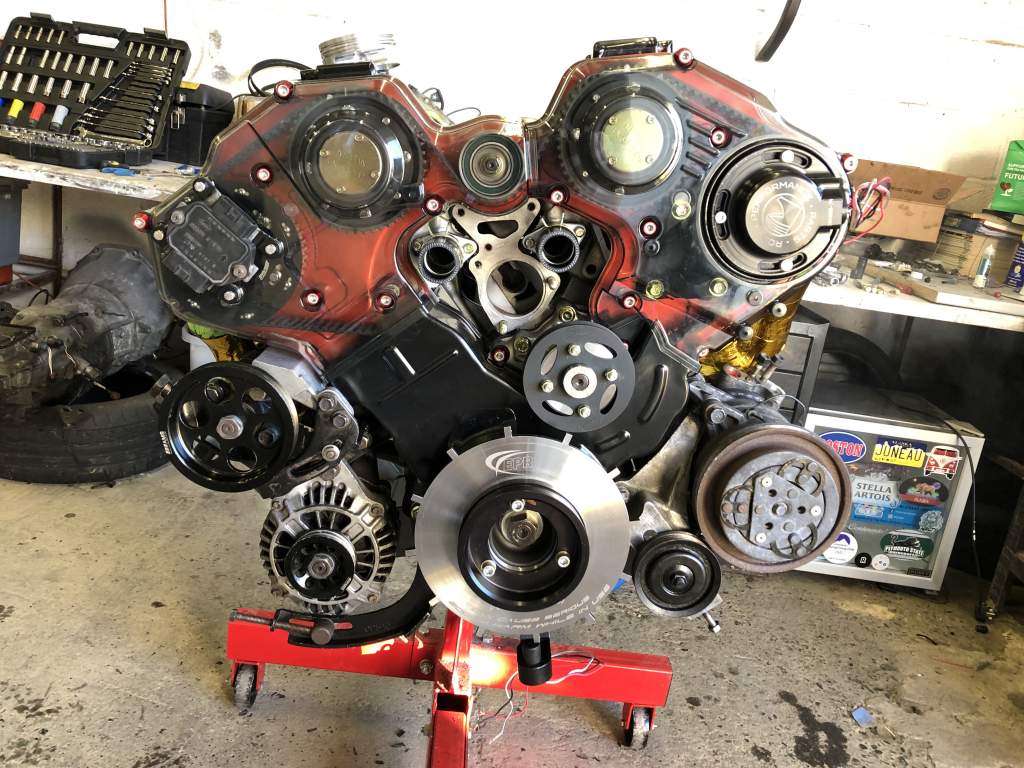
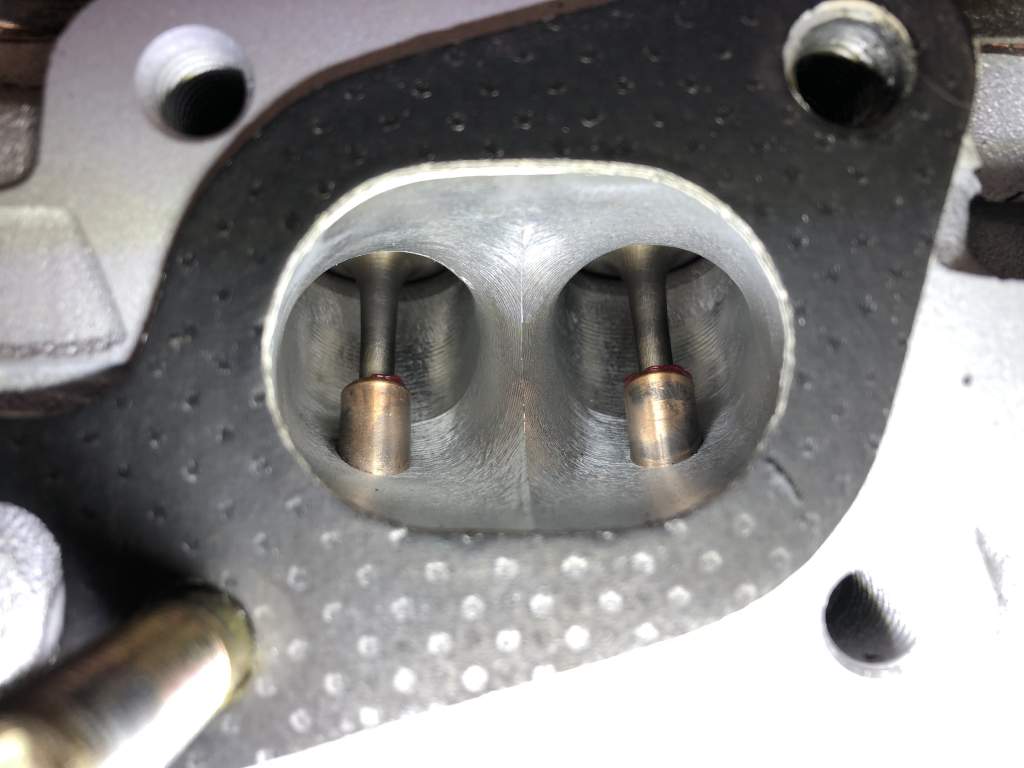
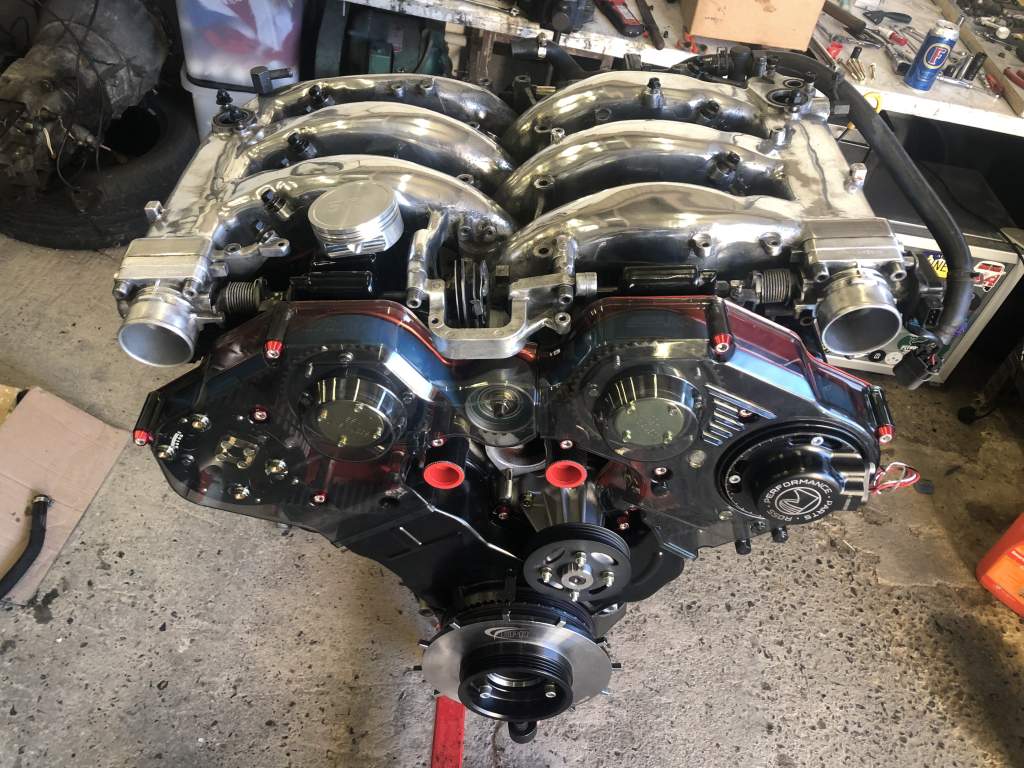
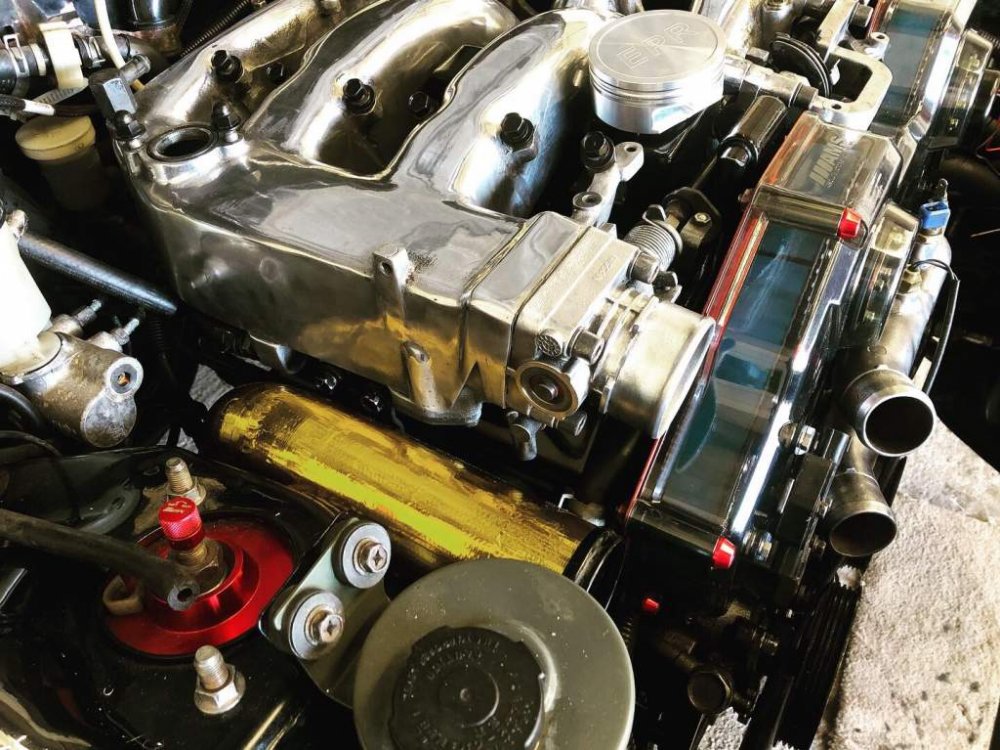
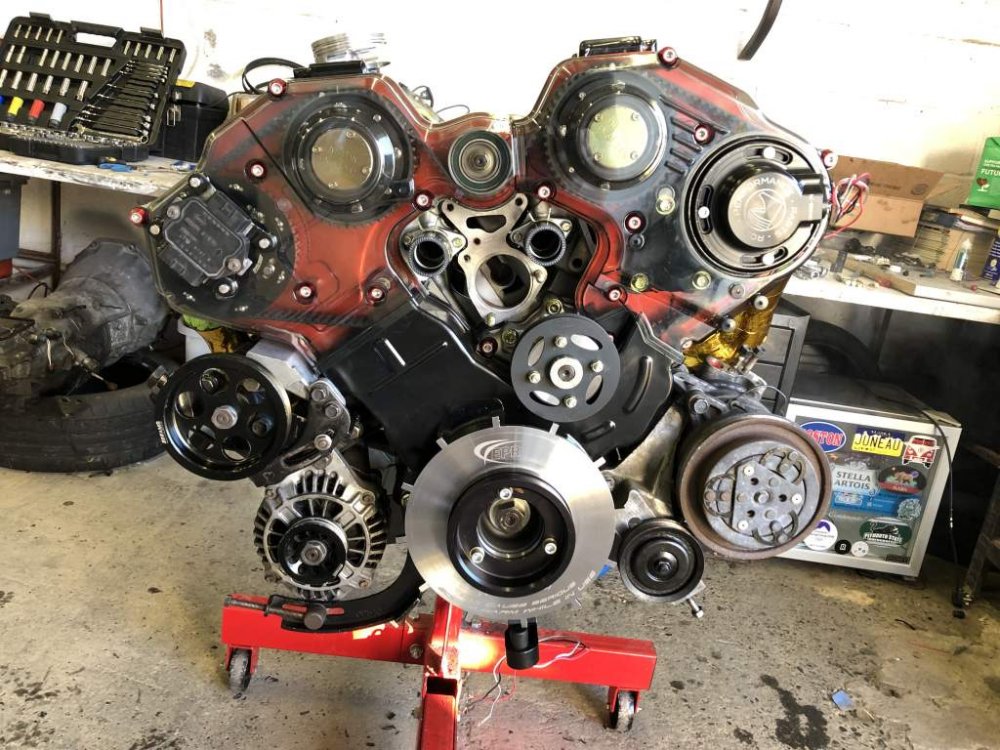
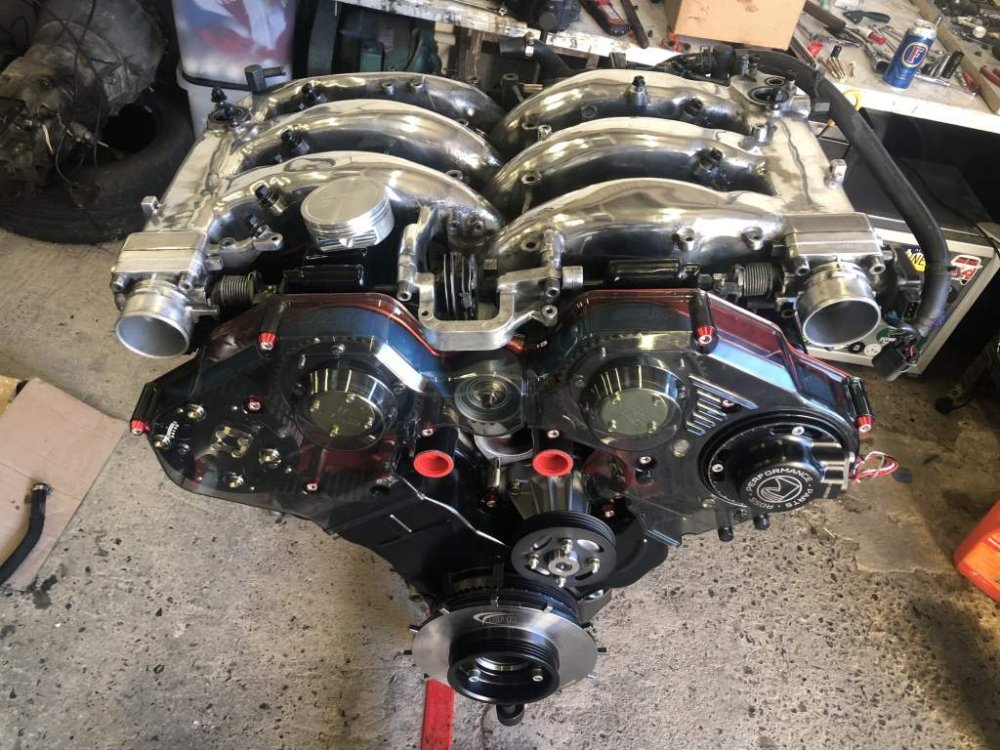
Also took a few pics showing some CNC details I love on my engine
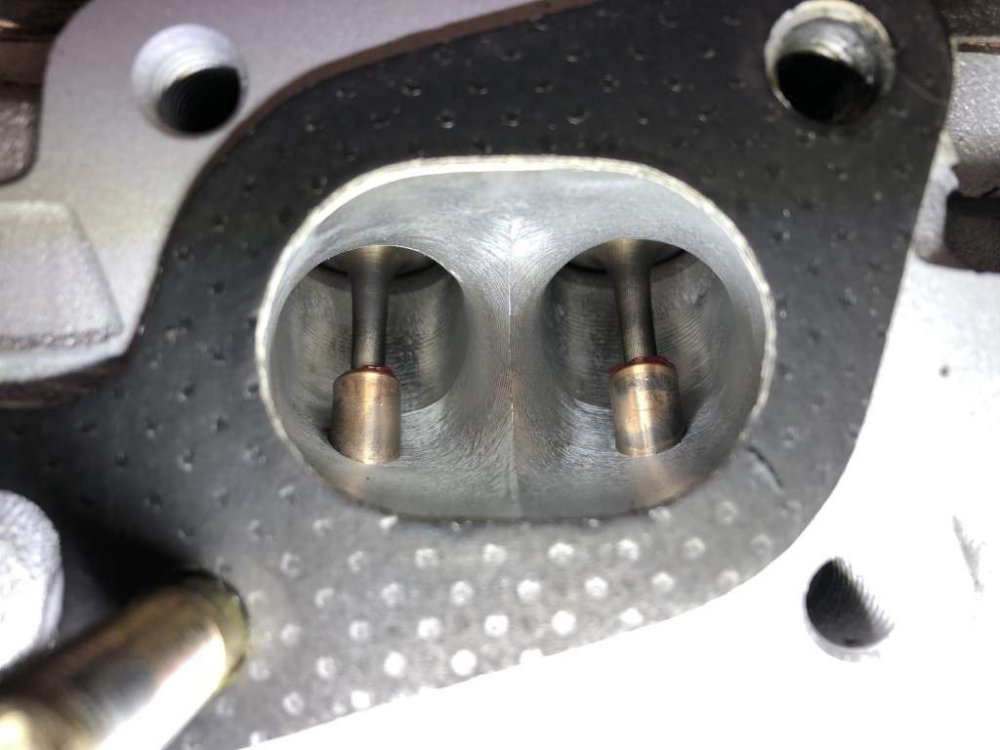
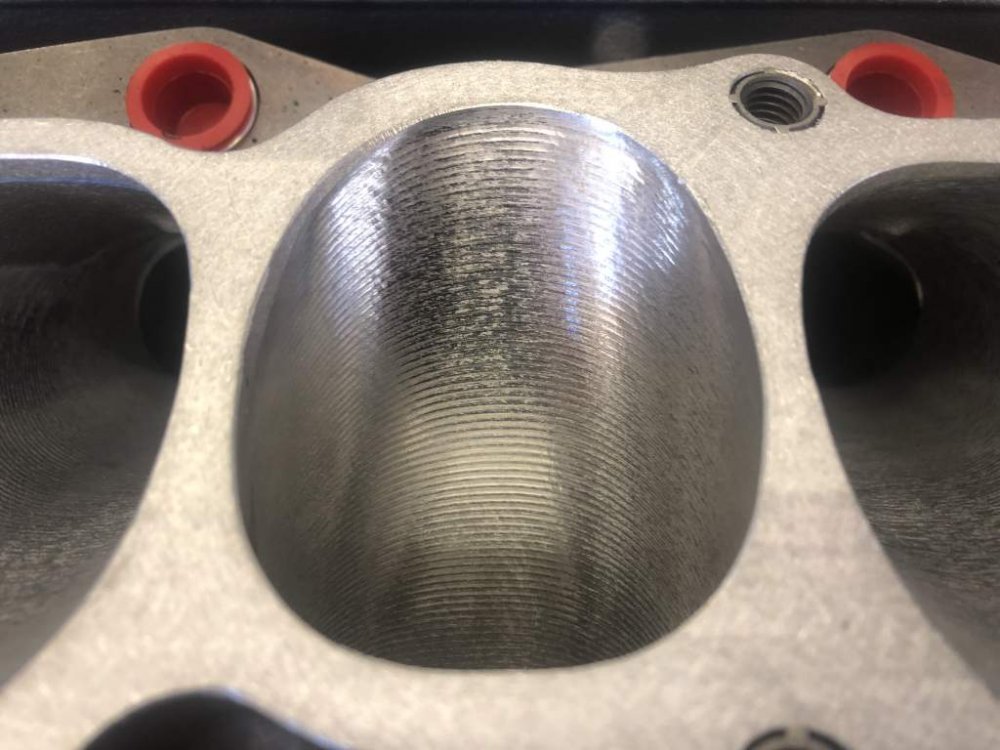
-
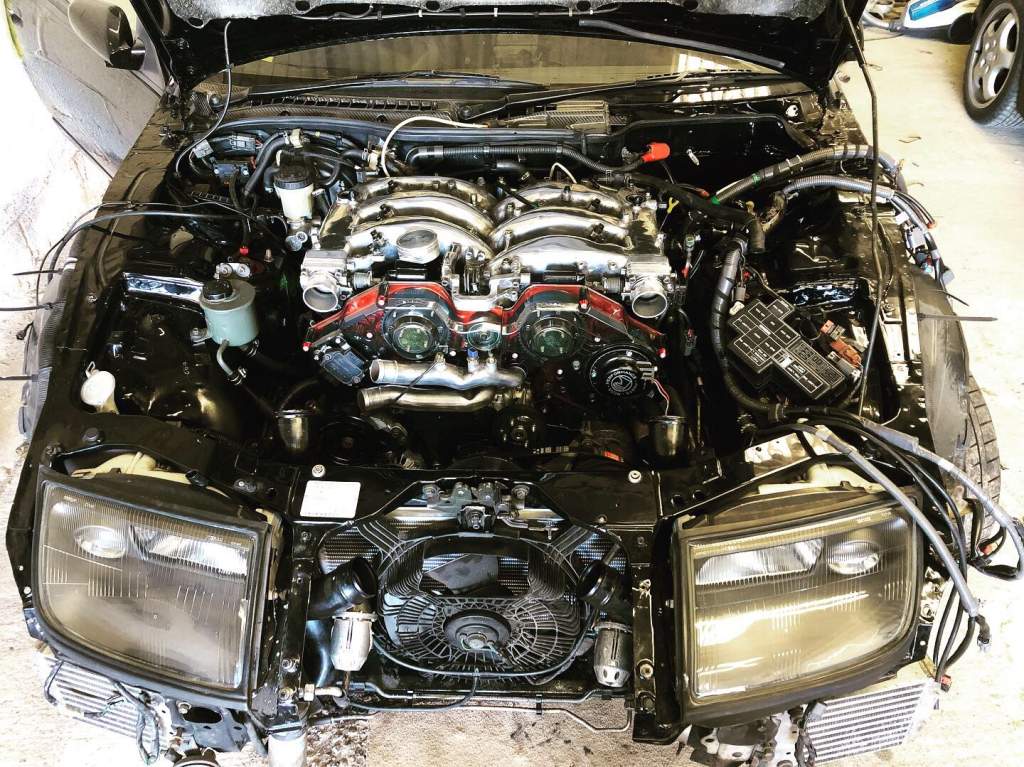
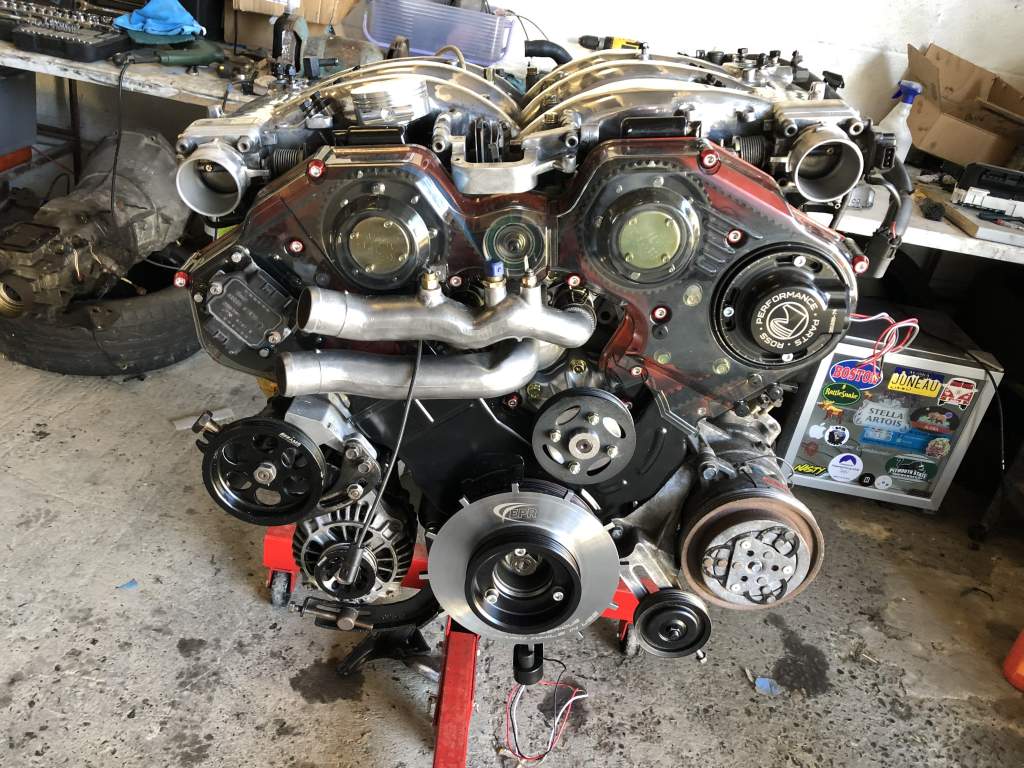
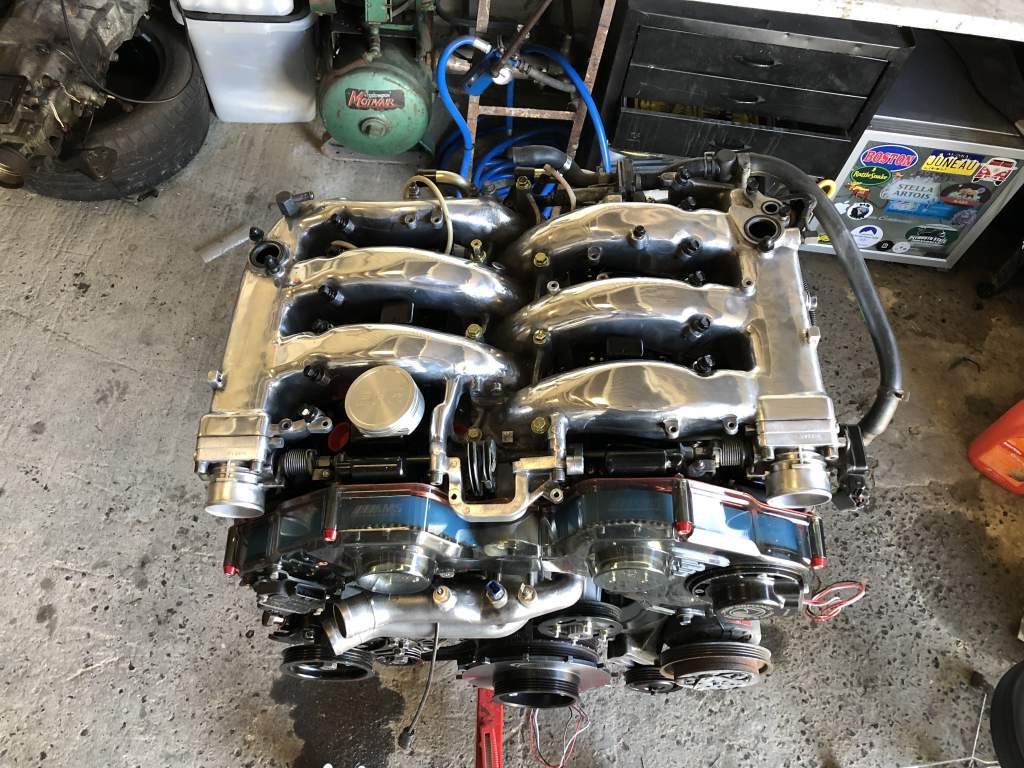
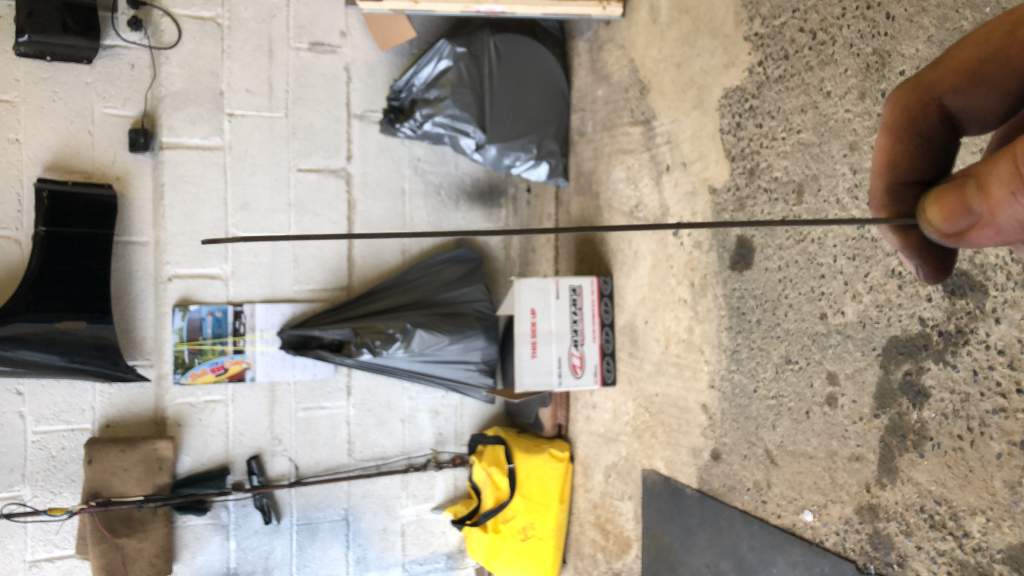
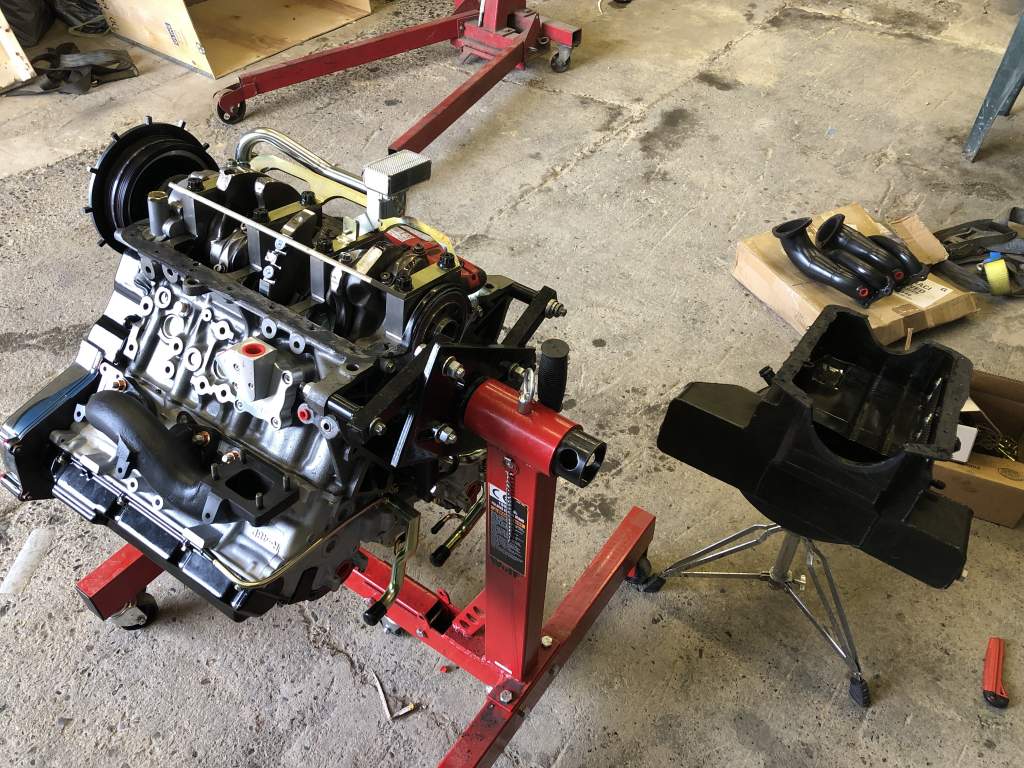
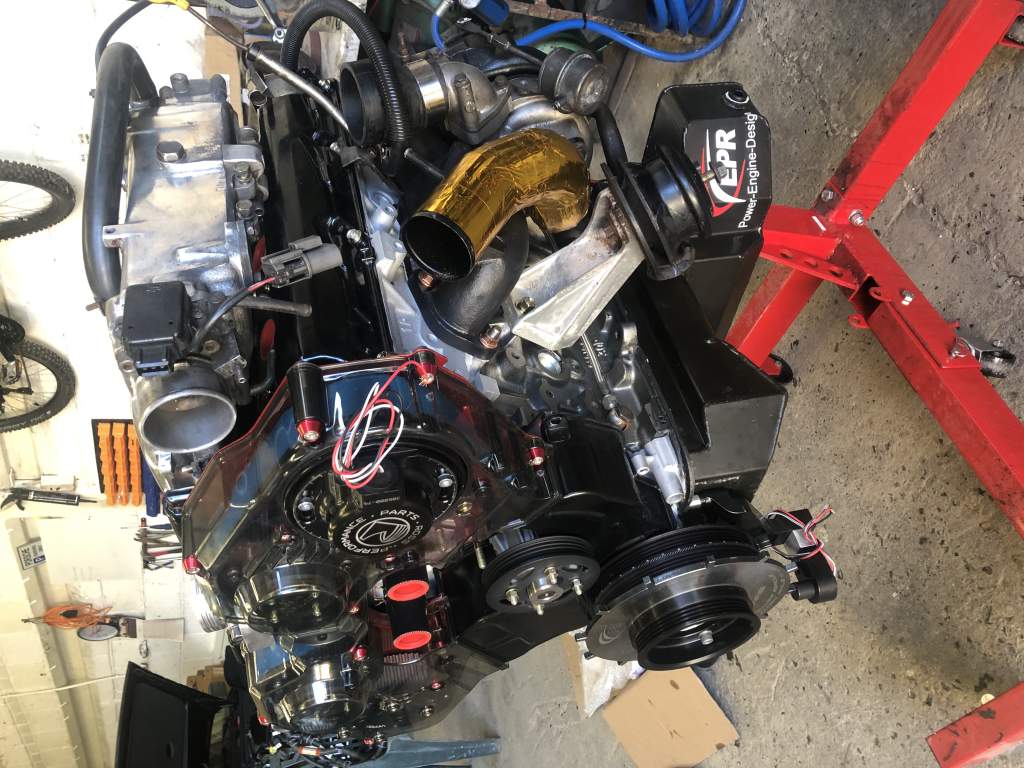
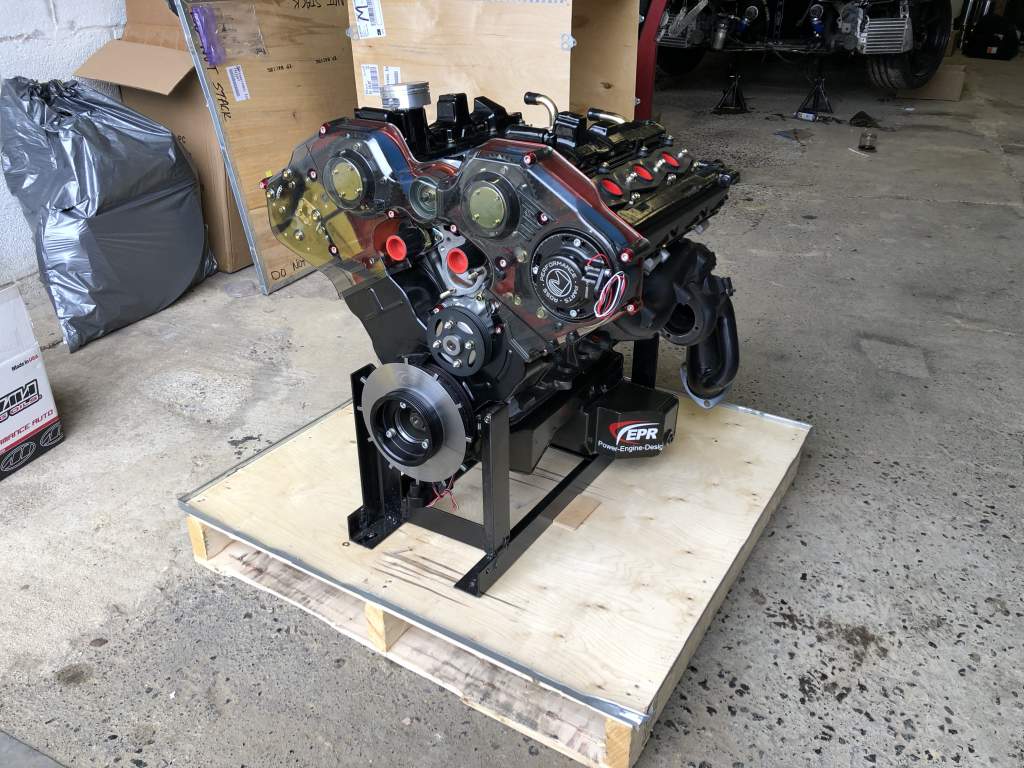
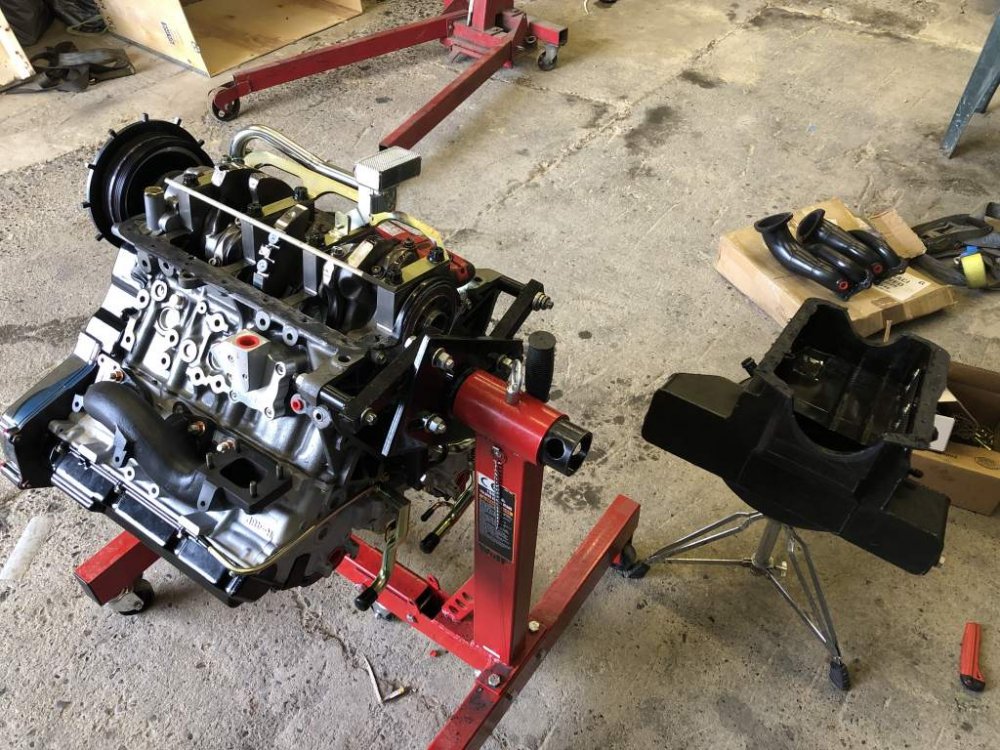
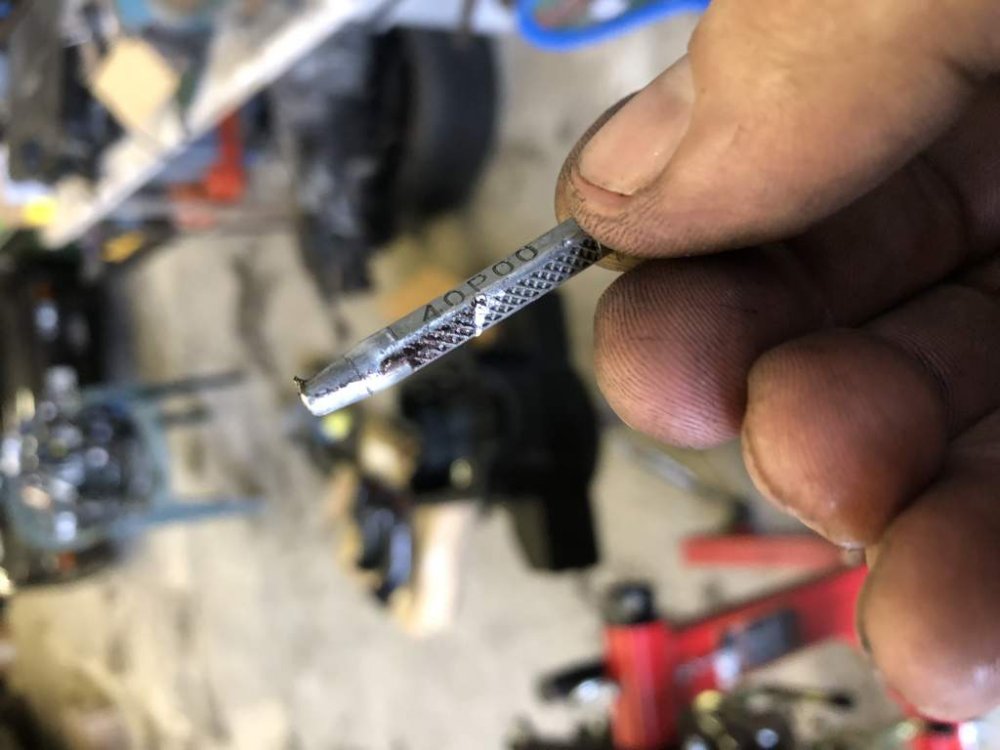
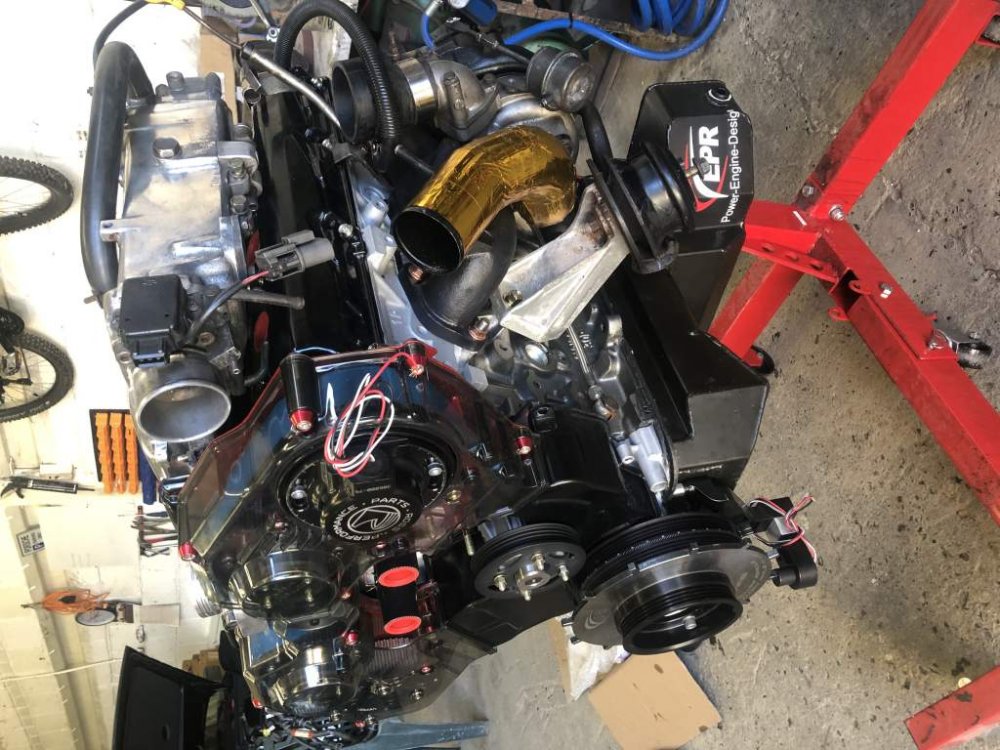
Well it’s not been a straight forward couple of days! A mixture of expected and unexpected issues have made for very slow progress in the reassembly process. Issue #1 (unexpected) I’ve installed the dipstick tube as per usual and obvious gone to install the dip stick... only to find if won’t go all the way in and I can hear it fouling against something metal inside the sump... how odd. Message Mitch to find this is an unheard off issue to him with all the main caps kits he’s sold. So I try rotating the dipstick and it drops in. Sweet. Go to pull the dipstick out with one finger and it instantly grabs and releases leaving me with... What the eff! The measuring weight at the end of the dipstick had come off leaving me no option but to have to remove the sump to retrieve it.... balls.... but at least I got to see my engine internals first hand Managed to retrieve the end without any issues It appears to be a clearance issue between the girdle and the pickup that’s grabbing onto the dipstick. Obviously I’ve made Mitch aware and much pondering is being hand as to how to resolve the issue as easily as possible. Issue #2 (expected) I’ve then moved onto rebuilding the turbos. A new one for me as I’ve never rebuilt a turbo before. While the assembly is straightforward enough, getting the “clocking” of the housing correct look a bit of trial and error Issue #3 (partially expected) Onto installing the turbos and the issue became apparent As with all after market parts, tweaking is always required, and I come to expect it. So to solve this I cut down the drain pipe just before the upward turn, flared the end and used a section of reinforced rubber hose to join up the drain to the sump. Didn’t have chance to take a pic as was a little stressed out by this point. Issue #4 (unexpected) Assembly moved on, to find that I was missing a few parts that I’ll need to finish the engine before it goes back into the engine bay. A few of my PCV hoses, thermostat and couple of the Plenum bolts had been missed during the packing process. So I’ll have to wait for them to arrive to top and tail the engine before installation. So as it stands, the engine currently looks like this Plan for tomorrow is to get the ancillaries back on the engine and get the belts on. Then I’ll make a start on the wiring loom and refitting the interior.... hopefully tomorrow will be a little less stressful!
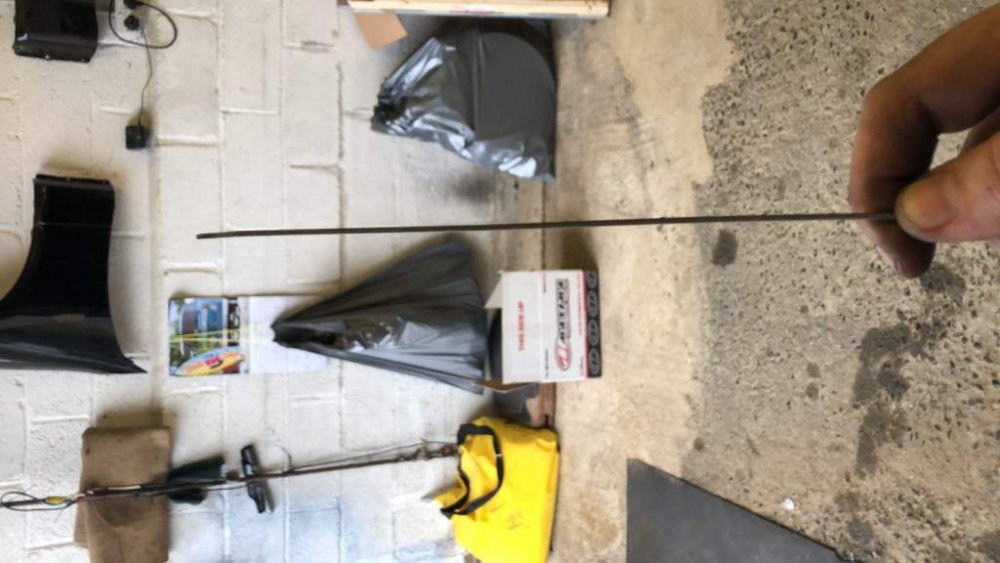
-
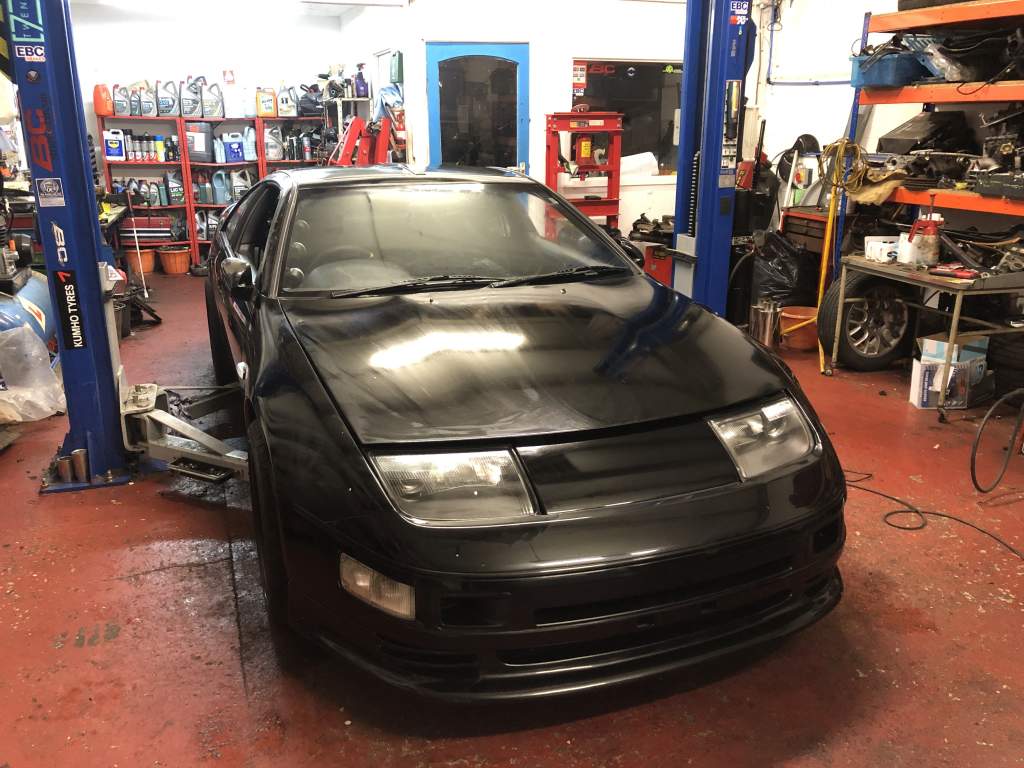
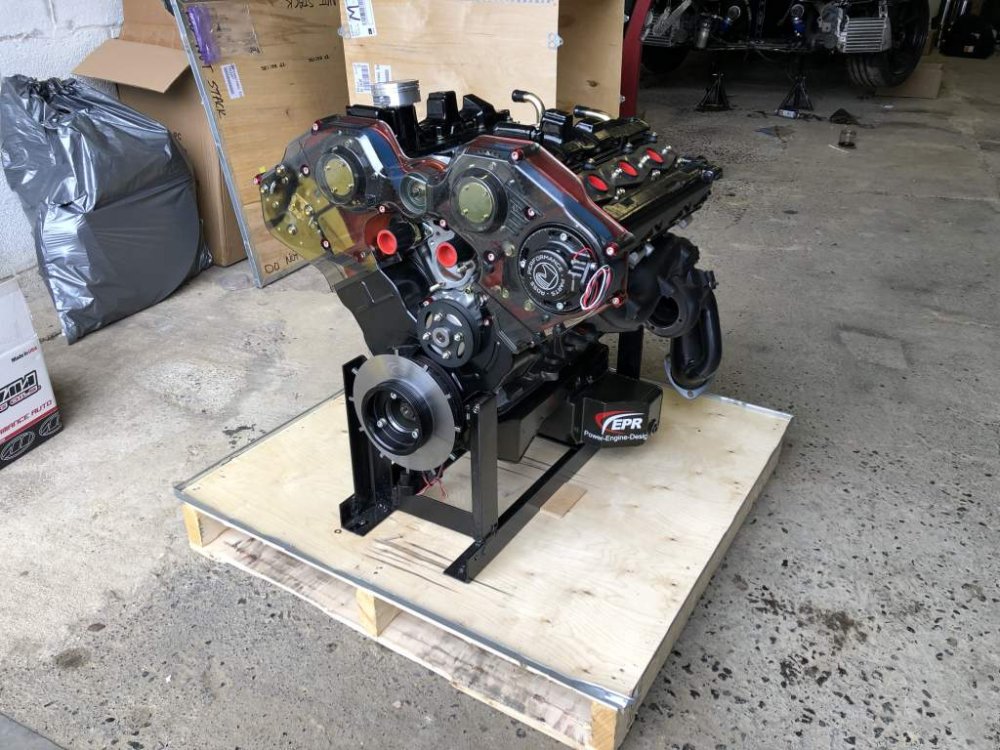
She’s home! I’ll post more pics tomorrow, been a hectic day...
-
I repainted mine, it’s in my build thread
-
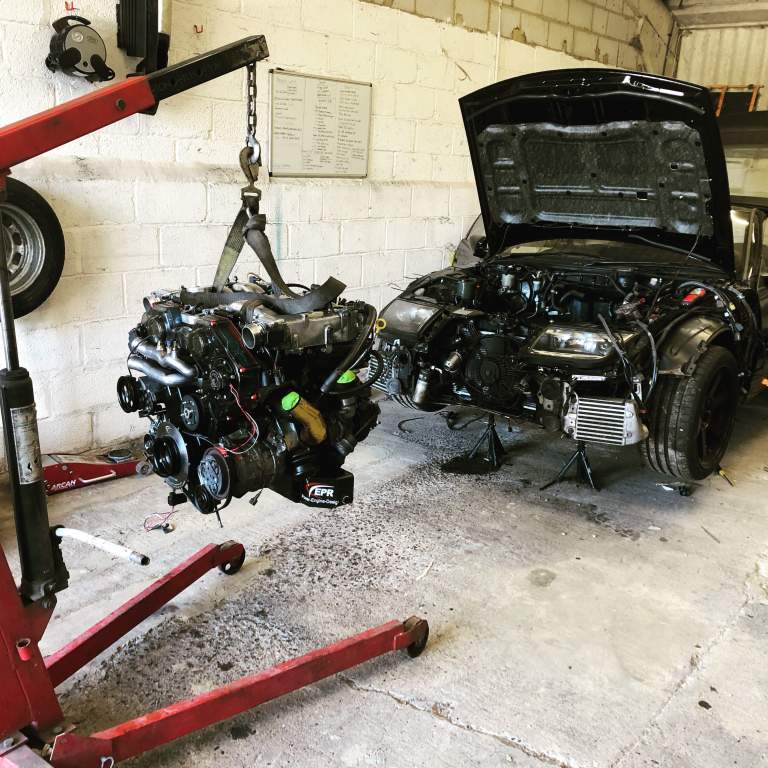
No mate, just the complete engine