Everything posted by redwine300
-
As you say, far easier to cut pieces away as opposed to break my neck trying to access some of the more difficult welds. I will have to figure out however, if I can actually get in to mig weld also. May have to consider coming at it from both sides as there appears to be a couple spot welds hidden within. I'll know more as I start removing it.
-
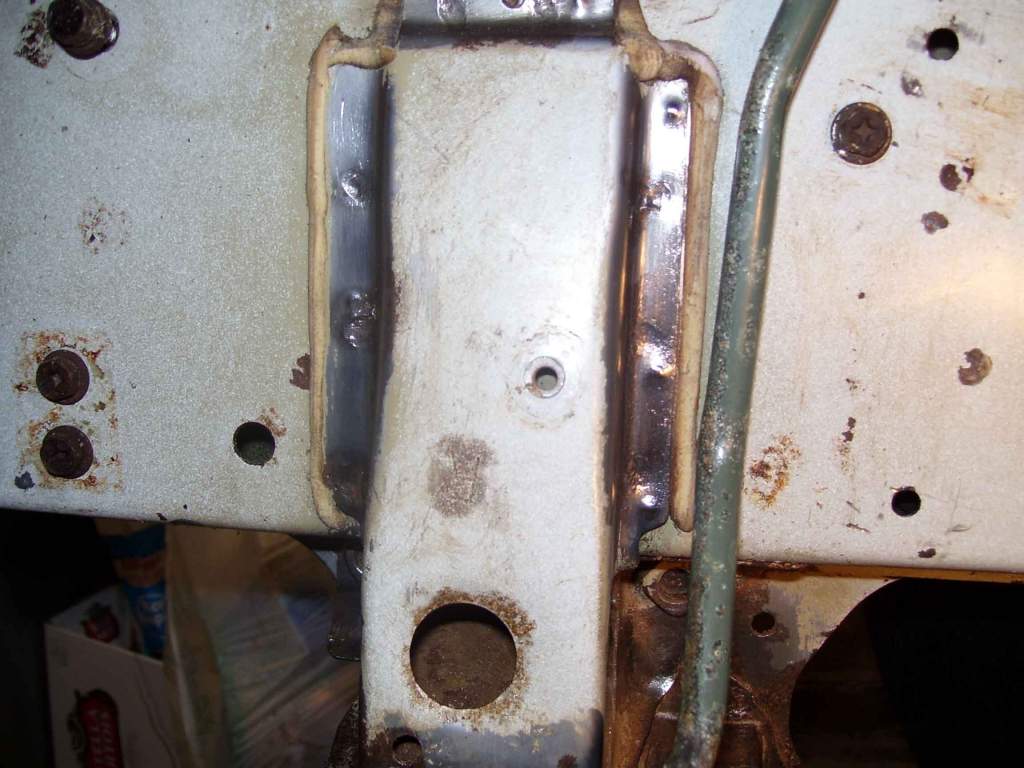
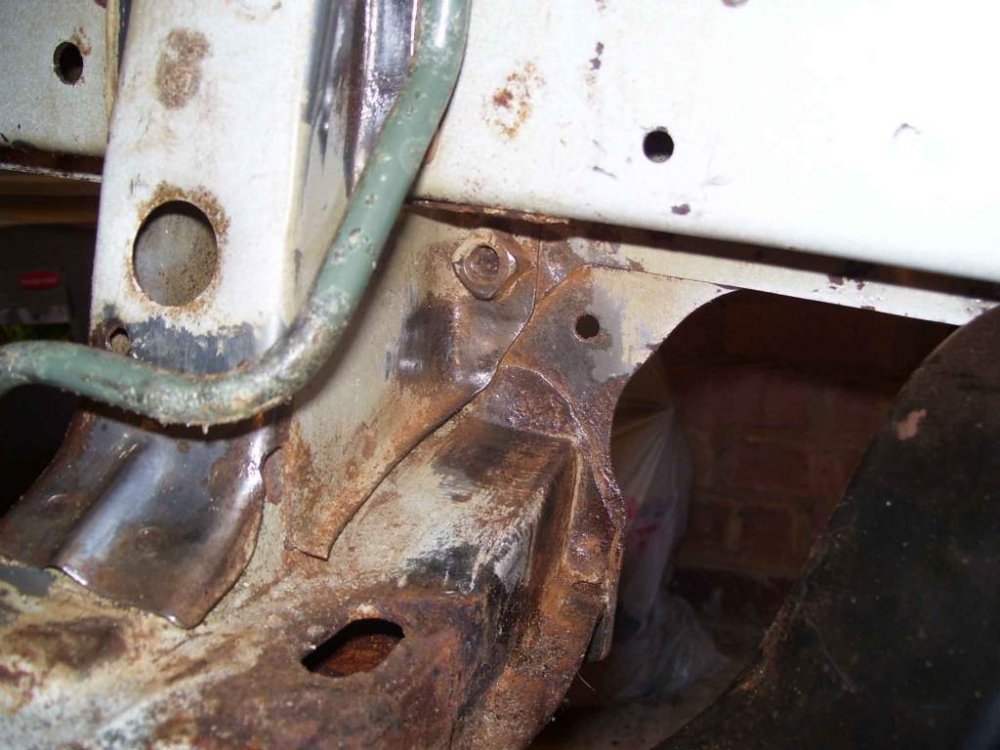
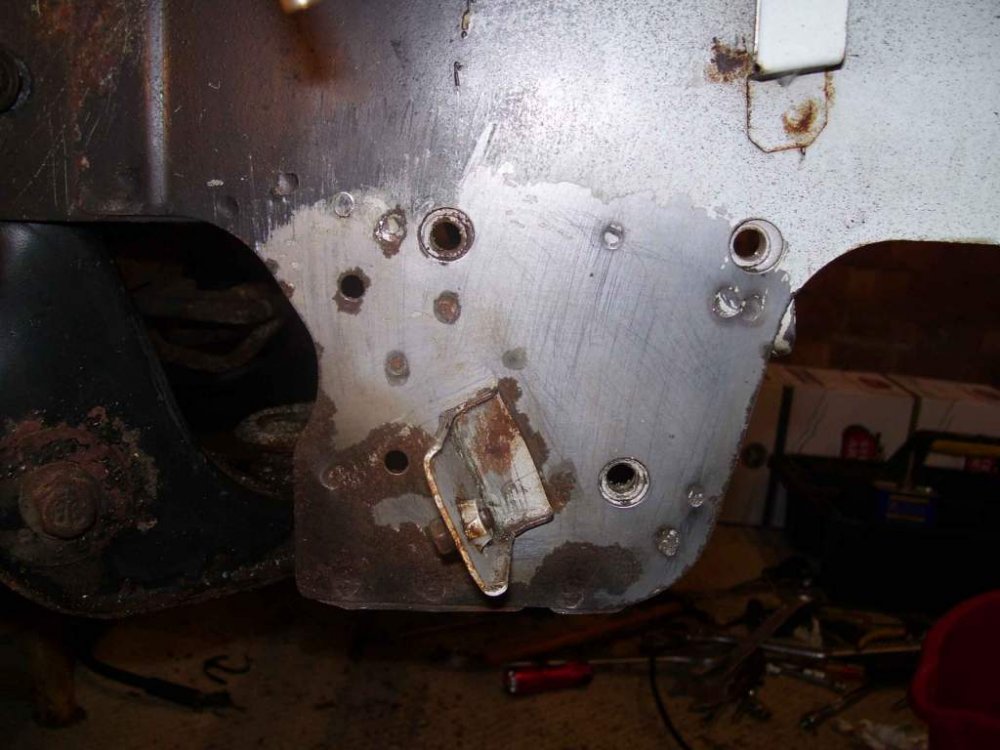
Well, after another grueling few hours stripping back paint etc' I think I have exposed most, if not all of the spot welds on one side. All I have to do is repeat on the opposite side! Oh what joy. God knows how I am going to present a drill bit too the little blighters, I guess I will be getting the Dremel out. Best pull my finger out mind, as my new replacement crossmember should be here in about a week.


-
Not yet mate, I share your impatience. Can't wait to see it cut out. I'm hoping to have it removed by the weekend. On a positive note though, ordered a new cross member today along with a new set of O rings for the Air Con.
-
It's a shame it can't be restored to it's former glory.
-
Don't be too hasty cutting metal away, make sure you make notes of important reference points. It's so easy to cut everything away and then go, Oh, what did that bit look like again. Have a read through my exploits, may help. http://www.mig-welding.co.uk/forum/threads/thanks-everyone.15465/
-
Cheers Lymon, One of my biggest concerns was the alignment of the replacement cross member, I feel a lot more confidant of getting it right now. Nice one.:thumbup1:
-
Thanks Lymon, I hadn't thought of using those bolt holes for initial fixing if I was honest. Great tip.
-
:happybday:
-
Well, after a couple of more hours scraping and wire brushing I have called it a day for now. Pretty happy with my progress so far.

-
You're right, I will bite the bullet and go for new. As for a beer, I've gone through 3 cases of Stella to get me this far. :lol: Best stay tea total when it comes to the welding mind. :sweatdrop:
-
Agreed Steven, I will look at treating affected surrounding areas once I have the crossmember firmly in place. As you say, it would be shame not to.
-
I get what you are saying mate, and I agree to some extent. Only problem is me, I'm a bit of a purist at heart, I need to put in a genuine replacement I'm afraid. Started to clean away the dirt,rust and old paint this afternoon so as to locate all the pesky spot welds. It's going to be a long job me thinks.


-
Good point Pete! Good job it's my Birthday and Father's day this month. I shall have to pass the hat round.
-
Very nice!
-
Hi Joely P, Yes, I have been in contact with Coz at Concept Z in the US. Total price for part and shipping comes in at $536. Tempted to be honest. Not sure about any costs once cleared customs though.
-
Just had another thought, could it be water from the air con condenser causing the problem?
-
Hi Steven. Yes, the rad is original and as you say, the main corrosion is below the filler cap. That said though, I have never had a coolant level problem during my ownership. However, when I bought the car, the expansion pipe work was adrift and the cooling system was in poor condition resulting in a leaking rad cap. Mmmmmmmm
-
Not yet mate. To be honest, I am torn between a good salvage part or a new one. Trouble is, a new one is a tad expensive.
-
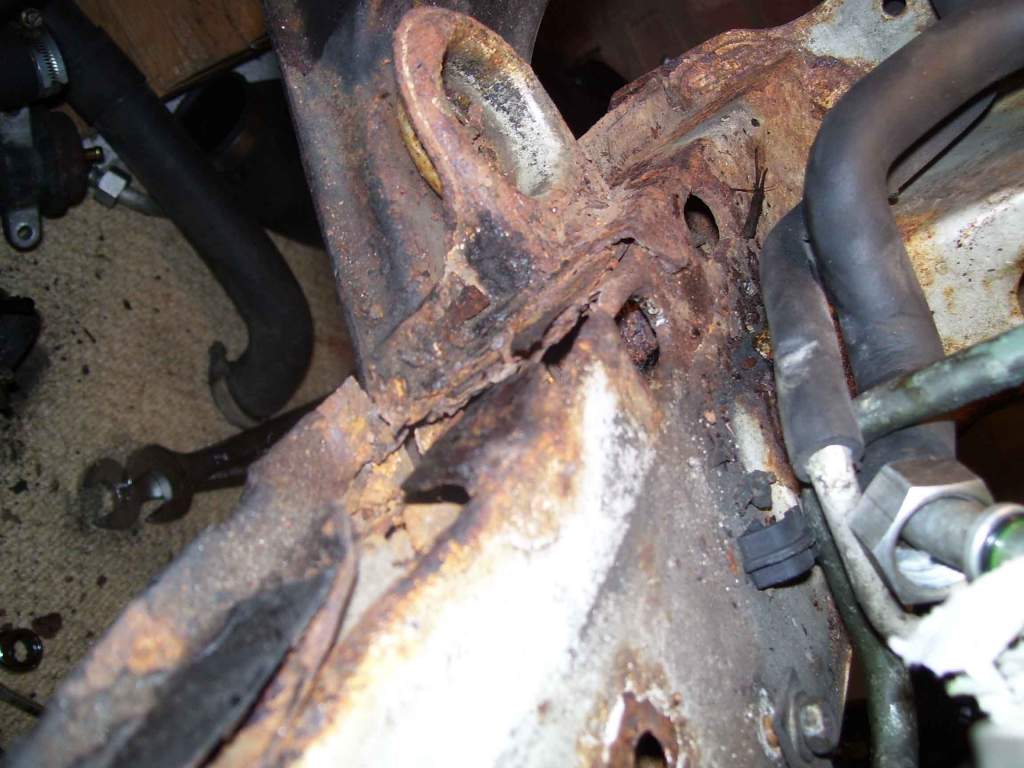
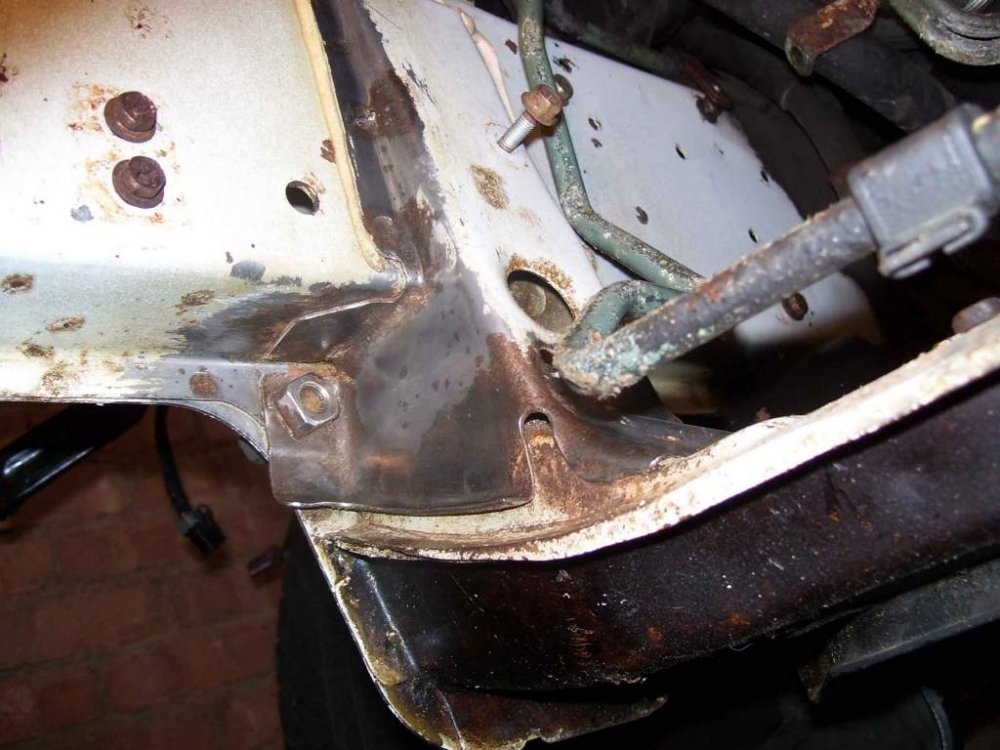
Thanks for the photo's NemesizX Totally understand about the weather mate, it's not as though I am going anywhere in a hurry, but I am making daily progress. My only worry is, that for some reason, mine has completely rotted through on the back edge and not the front.

-
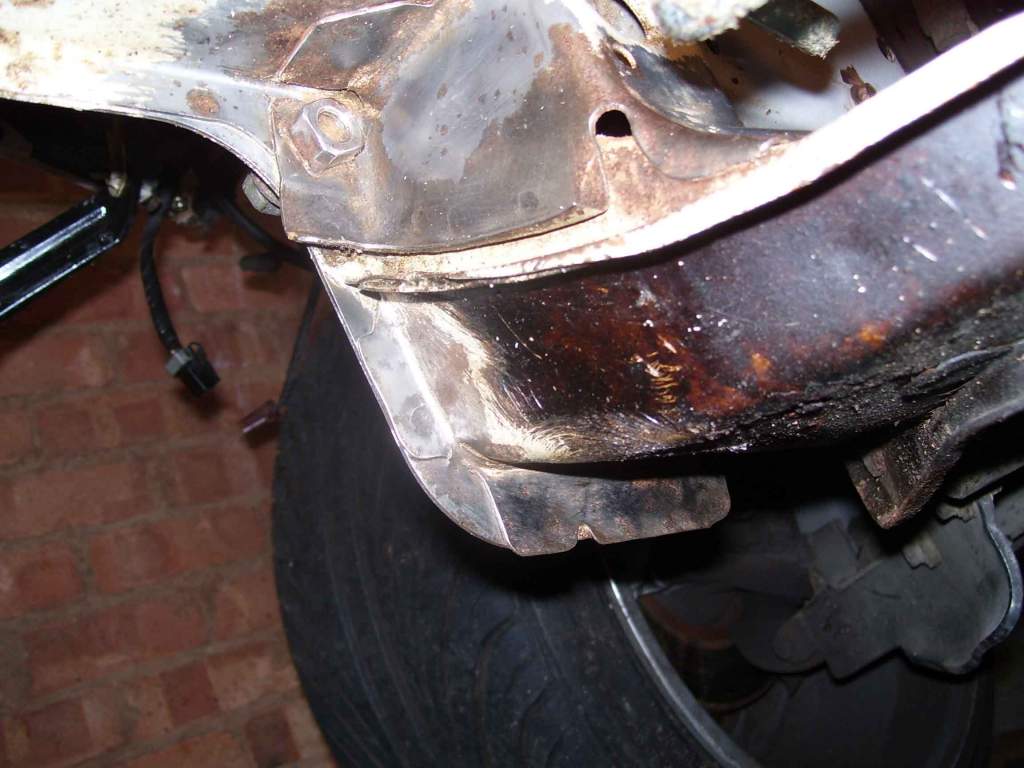
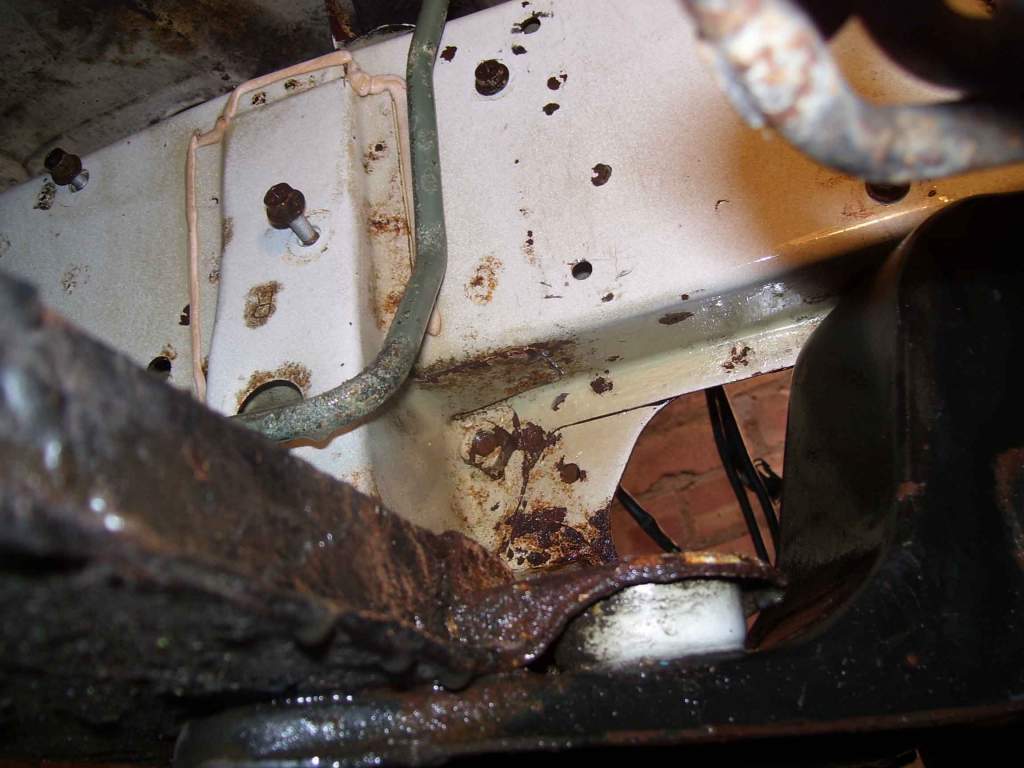
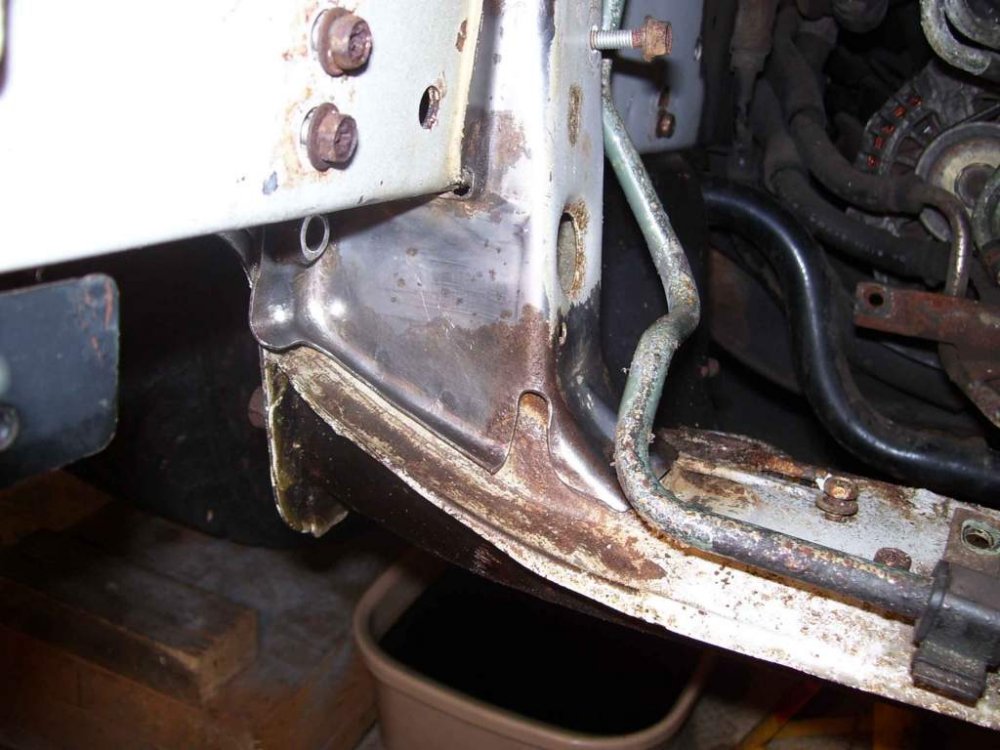
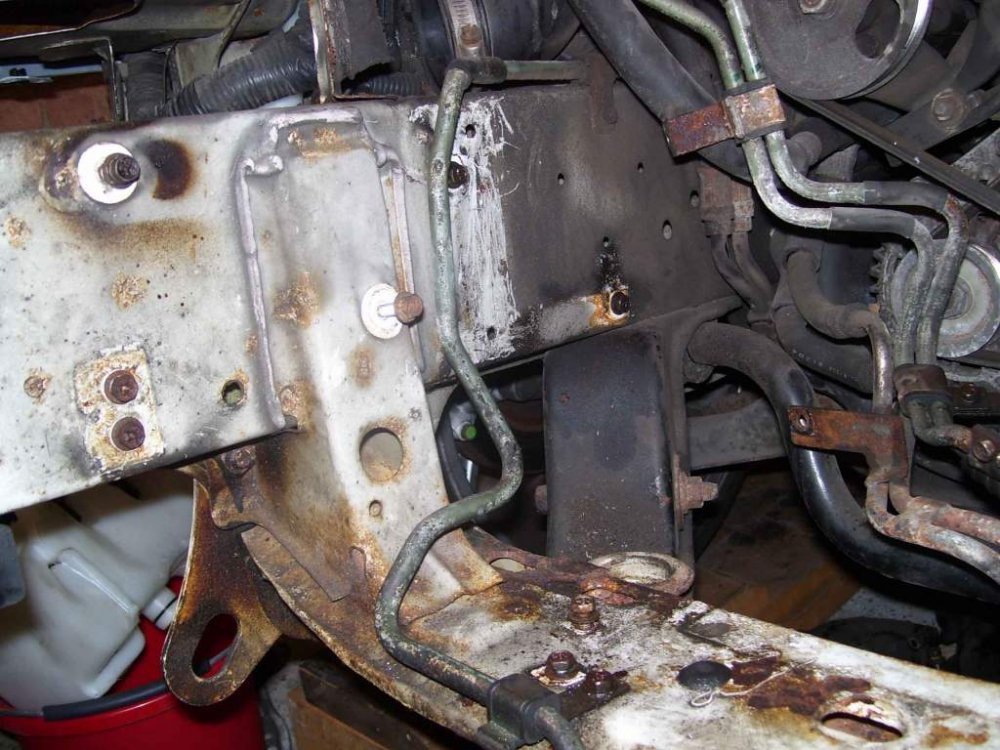
Yet again, another painfully frustrating 3 hours of joy, not! Still, managed to get very close to completely clearing the way ready for removal. Also managed to get a better view of the corrosion. (bl==dy British weather)

-
Cursed it for a moment!

-
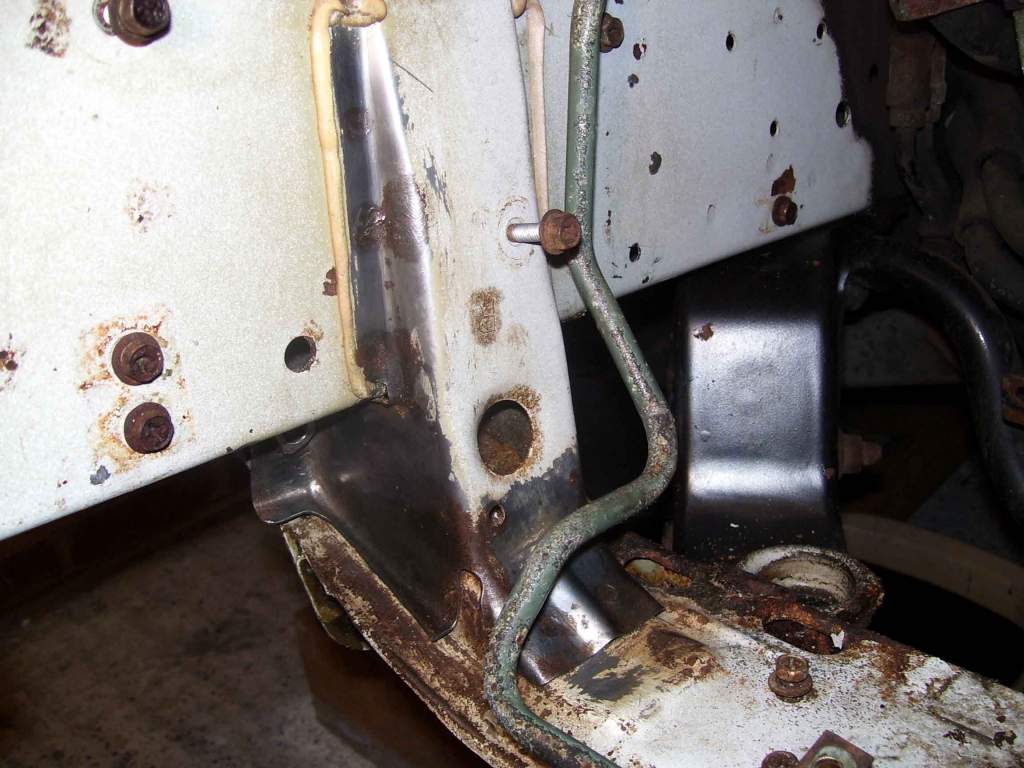
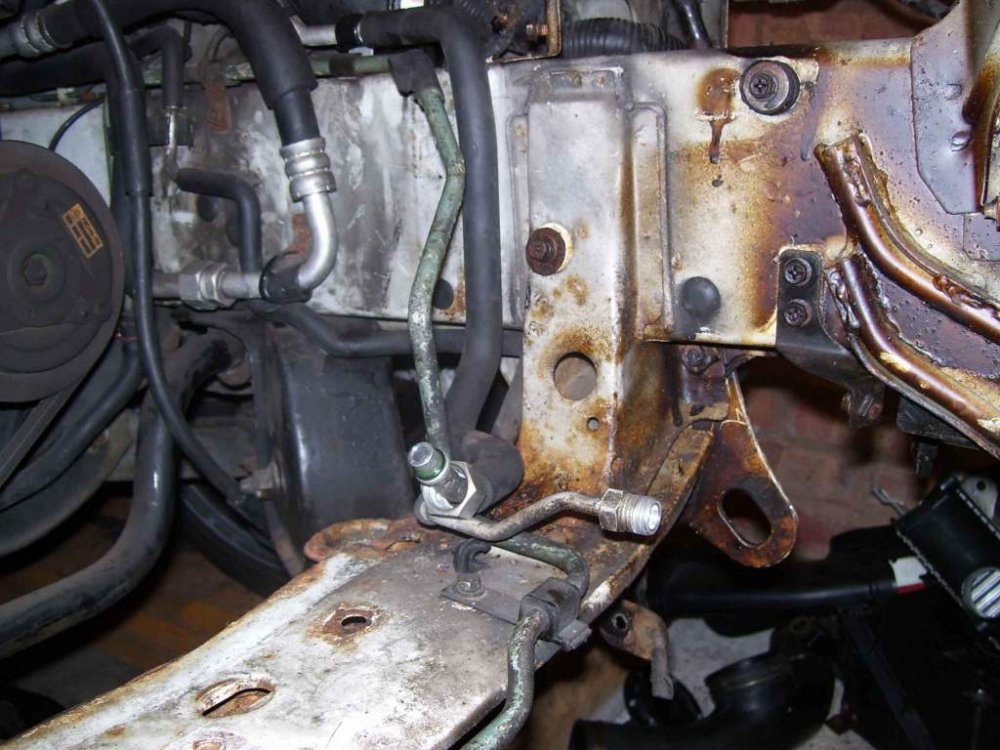
Once again Lymon, thank you for your valued input. I was thinking about dropping the tension rods only so as to use the brackets as a form of support, and also a reference position for aligning the replacement crossmember. Or would that influence location in a negative way? just trying to plan ahead so as to be sure in my mind when it comes the big moment of welding the new piece in.
-
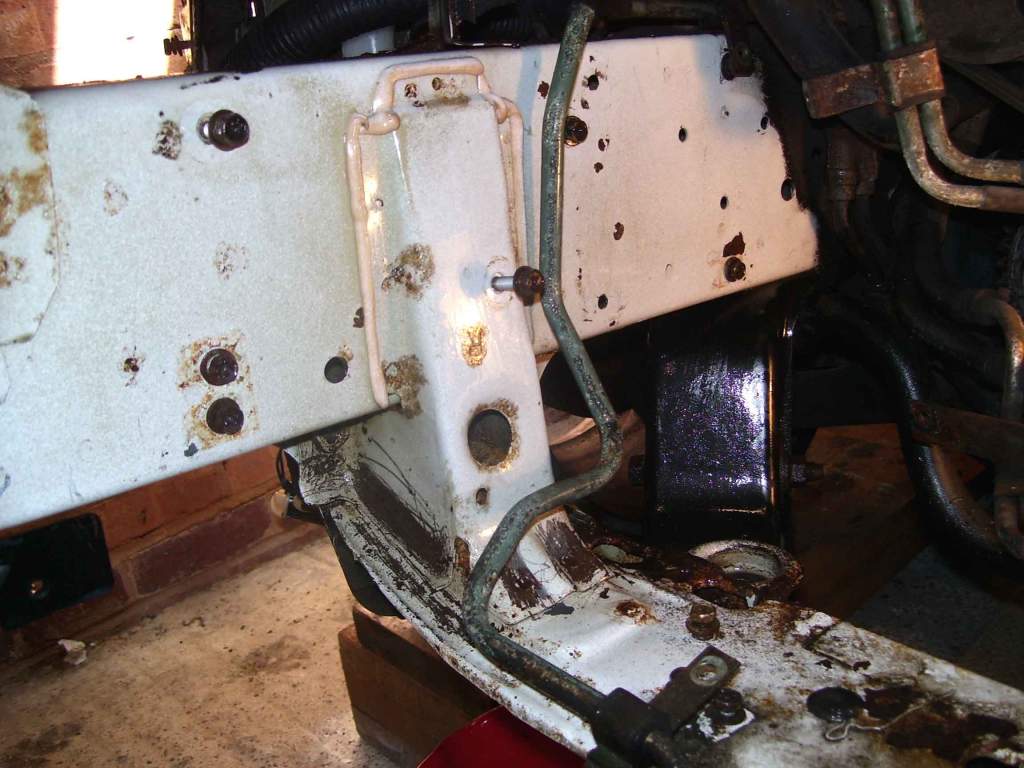
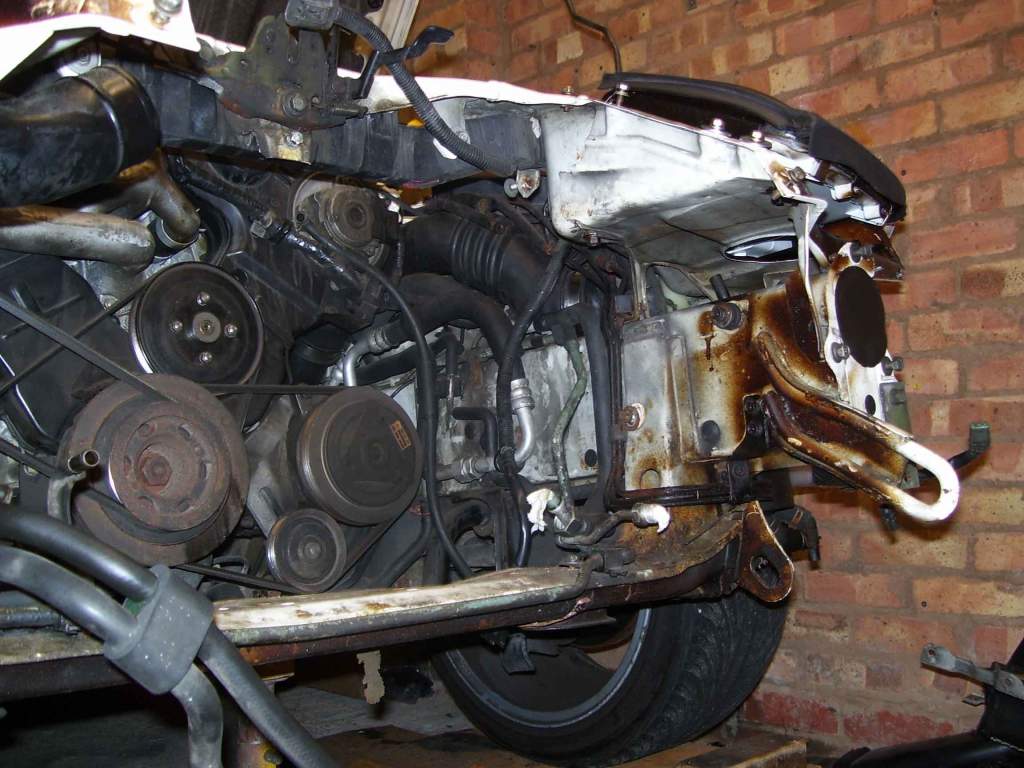
Correct Andrew. As for my front wheels, they are still on. However, they are barely in contact with the ramps. they're there just for safety to be honest. Hopefully now knowing this, I will aim to have everything clear this weekend ready for cleaning and measuring. Thank you.
-
Good point Andrew, but I only let the car be jacked up when going through the MOT, and I specify and supervise during the test. Other than that, I fit exhausts myself and the tyres get fitted off the car. I would just like to understand if there is any load being held under compression from the suspension as I am getting close to removing the fixing bolts.
-
Cheers bud. :thumbup1: