
Everything posted by Stephen
-
The lamp is dim because there’s insufficient power, wether that’s due to high resistance or low current I couldn’t say.
-
You could pop off the ECU plug and continuity test the wire. I had a similar issue which turned out the ECU plug wasn’t sat right.
-
I suspect you have an issue with the ground return from the ECU.
-
You need a noid like Pete suggested. If the injection ohms ok then I doubt they are the issue.
-
So you put the positive in the connector and negative to the battery neg or similar? You know the rail is constantly live, then ground is given by the ECU. Yeah?
-
How did you measure the voltage supply at the plug Alic?
-
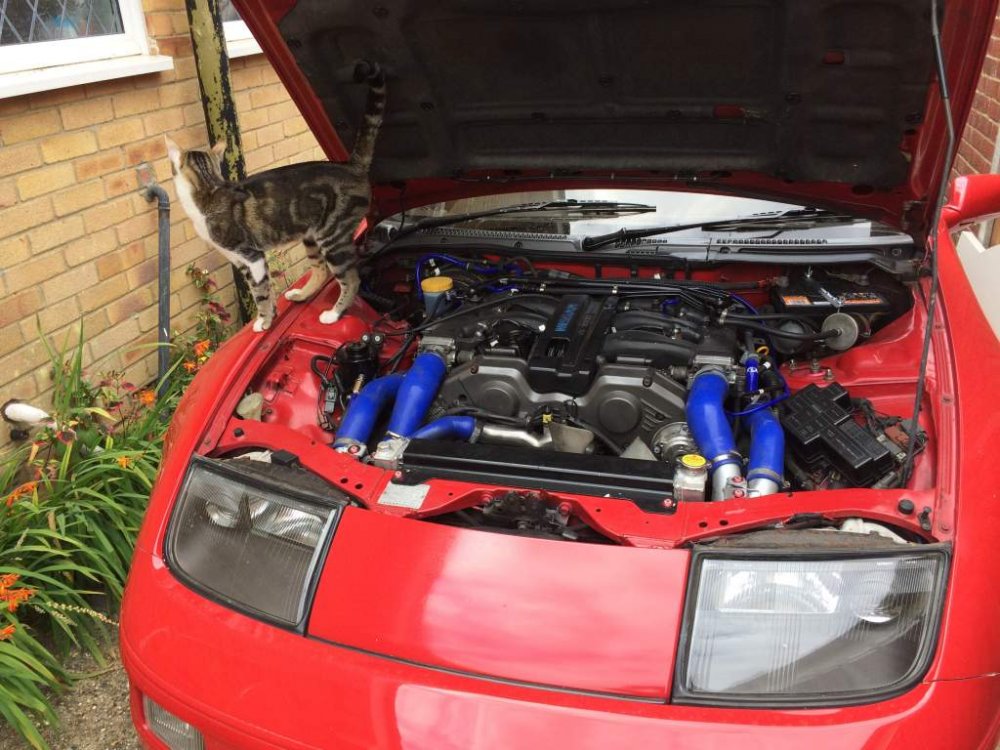
Reinstated the cat apparently;
-
To clarify. I have with the ignition on; 12v at the ignition fuse. 0v at the meter, aircon And FR wiper fuses. Any ideas guys this is getting very annoying.
-
The plot thickens. I got out my little circuit tester today and had a poke around. Applying 12v to the 20a fuse for the wipers activated the pod! I then removed the pod and with it still attached to the loom applied 12v to the pins. I found the wiper activation cables but no display. The top block did nothing obvious other than apply power to the orange wire illuminated the display orange which promptly failed. I can only assume that the display isn’t 12v and has now failed. Repeating the 12v to the 20a no longer activated the display. So it wasn’t the pod it’s a supply issue and now the pod because I killed the display :lol:
-
Yeah, changed both blue ones. When they were faulty there was no 12v feed at the fuses.
-
I’m thinking I need a new fuse box
-
Still got issues with this. It worked fine for a week or two and now it’s dead again. The whole left pod doesn’t work and near does the mirror switch. There is power at the fuses. I’ve arranged for another CC pod and module to try but I think the issue is elsewhere.
-
IMHO v6 ones don’t look right. You need at least an 8, preferably a 10 or 12.
-
Been there done that. You’ll wear gloves next time won’t you pike.
-
Bloody treacle mine.
-
Steady and consistent Pete.
-
:lol:
-
I understand that Chris but I thought it was mostly for cars with McPhearson struts where the towers are tall and are part of the triangle. We don’t have that, we have squat towers, the mounts are very close to the chassis rails and triangluation from the suspension itself. Hopefully Pete will enlighten us as to what difference was made in reality on his next track day.
-
Our suspension doesn’t work like that though does it? From wha I understand...It’s double wishbone. The vertical force is applied to the upright and any horizontal force applied to the inner wing. This is why the strut can be held in with a pair of small bolts that require low torque settings, the strut is simply located by them. As far as I’m aware the Z32 chassis doesn’t benifit from a front strut brace, particularly those that aren’t solid. There’s some minor benefit to be had in the rear to reduce lateral flex of the shell, some. The major flaw to be rectified and braced is where the front rails meet the main part of the chassis. Those trianglar braces that go behind the wing.
-
Kg per mm, the amount of force required for compression.
-
I wouldn’t worry about, mechanics is a hobby. If I was on the customers time I’d be anal like you but that level of fuss is not relevant to a non show car.
-
I re fitted that belt when I was putting the engine in, in situe. Your right I didn’t care to even think if the text was the right way round. :lol: The pulley. Oh that was a pain. It was on my original engine when I brought the car. When I did the cam belt it was quite obvious compared to the stock pulley the doner had on the marks didn’t align. Based on this discovery I tried to use the stock one but the belts didn’t fit, too short. Being in a hurry and not knowing what I do now I chose to reuse the alloy pulley. What I did though was to mathematically work out the mark and remark the alloy pulley. Checked it mechanically and 0BTDC was observed at TDC. Yes replacing the belts was probably faster but I wasn’t in the position to just grab the belts.
-
Not many updates at the moment. As you can imagine the house is taking a lot of my time and most of my tools are still in storage. I can’t remember wether I’ve mentioned this but I’ve discovered the radiator has a pin hole. It’s a Japspeed item for probably 7-8 years ago. It’s up the top and is a tiny drip only when pressurised so it’s not actually a massive issue. I wouldn’t take the car on a long journey like this but it only leaks if I top it up. The quandary I’ve got is wether to just pull the rad and have it welded. It’s on the core itself centerally. Or to simply replace. Obviously a blob of weld will cost me virtually nothing but I’m concerned it’s a larger corrosion or defect issue. If it’s a seam on the core, I’m not sure how those tubes are produced it could split. What do you think guys, repair or replace?
-
Had a quick inspection today. No jack atm so didn’t have a proper look but the Fan/Alternator belt is near on maximum adjustment and is this belt. The Power Steering belt has no markings on it, so I assume it’s old... swear I changed it in my ownership... it’s visibly shinny on the contacting surface though which would suggest to me it’s been slipping. The other is matt. Bit of independent research revealed; The belt I can read is a 4PK1010 First number is the number of ribs, in this example 4. Then the Type of belt, PK. Then the final numbers are length in MM, 1010 in this case. So effectively you can simply count the ribs, take the length and buy generic belt to suit. Brilliant.

-
Oooo nice task. You’ll have fun cutting that out to clean metal. :thumbup:


