Jump to content
View in the app

A better way to browse. Learn more.

300ZX Owners Club

A full-screen app on your home screen with push notifications, badges and more.

To install this app on iOS and iPadOS
  1. Tap the Share icon in Safari
  2. Scroll the menu and tap Add to Home Screen.
  3. Tap Add in the top-right corner.
To install this app on Android
  1. Tap the 3-dot menu (⋮) in the top-right corner of the browser.
  2. Tap Add to Home screen or Install app.
  3. Confirm by tapping Install.

So this is my project rewind.


The OLD mission


To restore a 94 UK manual TT back to bone stock. However the car will be run as an OEM+ to include larger wheels and a double din radio with OEM part ready to be refitted for the right occasion.


The NEW mission


To build my dream OEM+ 300zx


History


The car was registered in May 94 and given as a company car to a banker.


In May 96 the banker bought the car outright and covered a total of 94073 miles. Throughout these years the car was serviced at a local Nissan dealer.


In December 2001 a registered forum user bought the car. At this point the owner, Mark, had intended to keep the car and started to customise it. These modifications include the flip paint job, 5 way adjustable shocks, Mania 18inch wheels, custom exhaust, larger brakes, poly bushes to the dif and rear subframe, helix clutch, cone air filter, deleted headlight washer, ICE and a top hard pipe kit. Mark covered a further 15883 bringing the total to 109956.

Marks For Sale post


The car


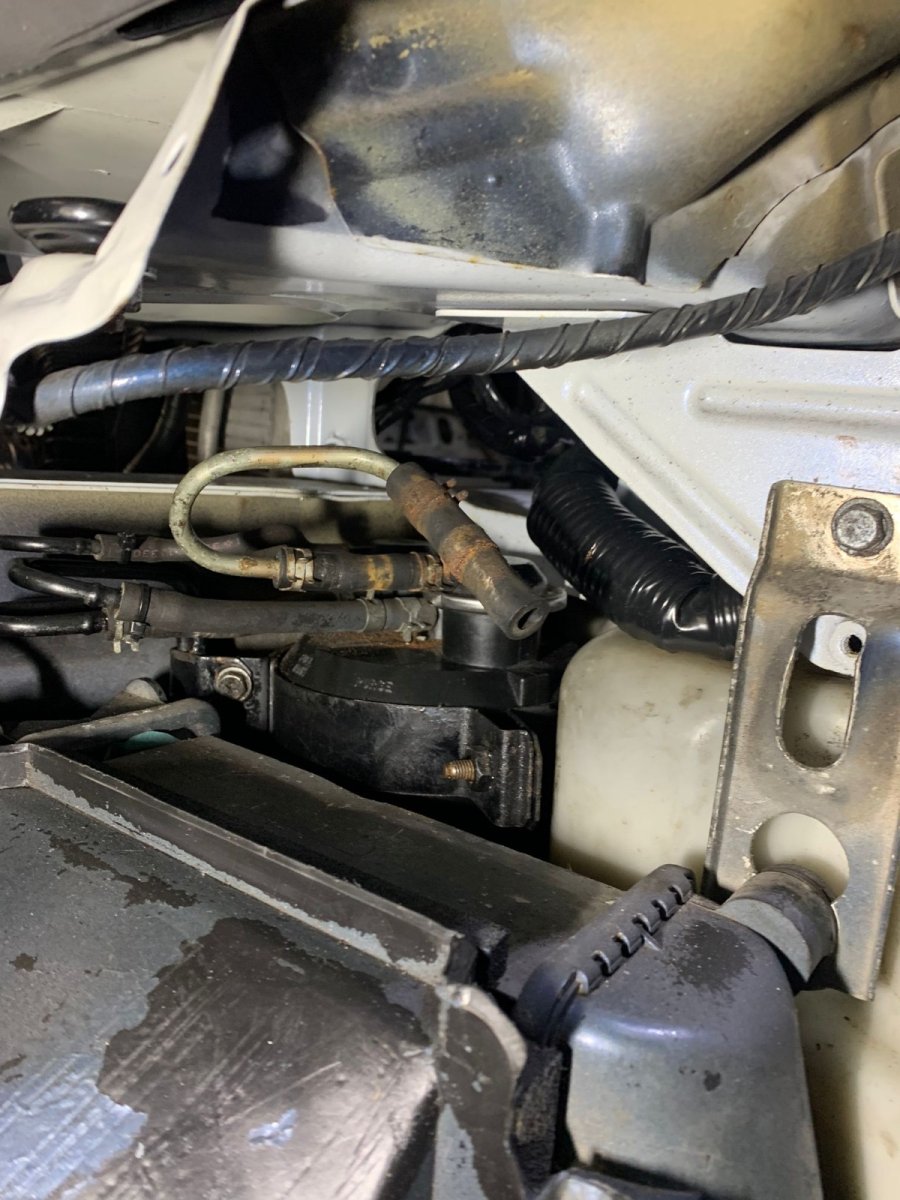
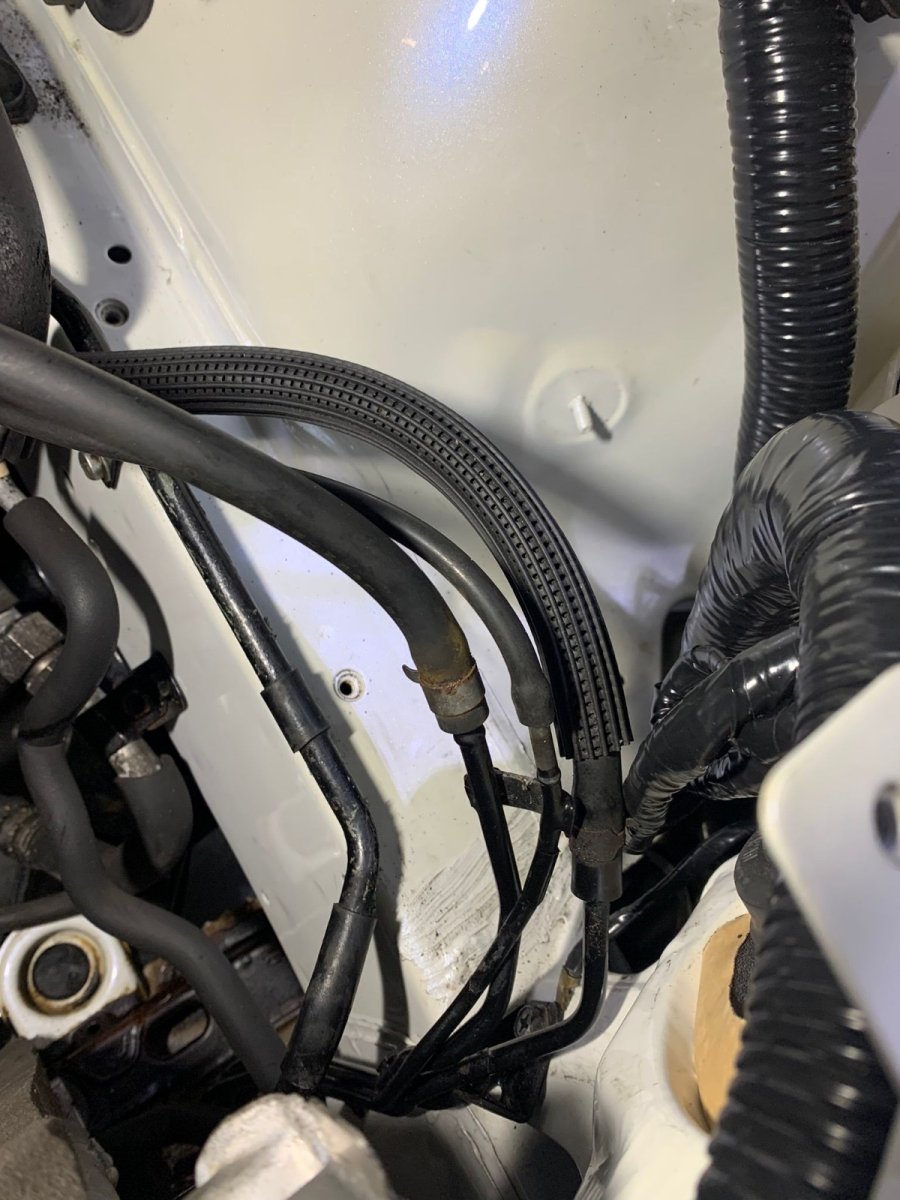
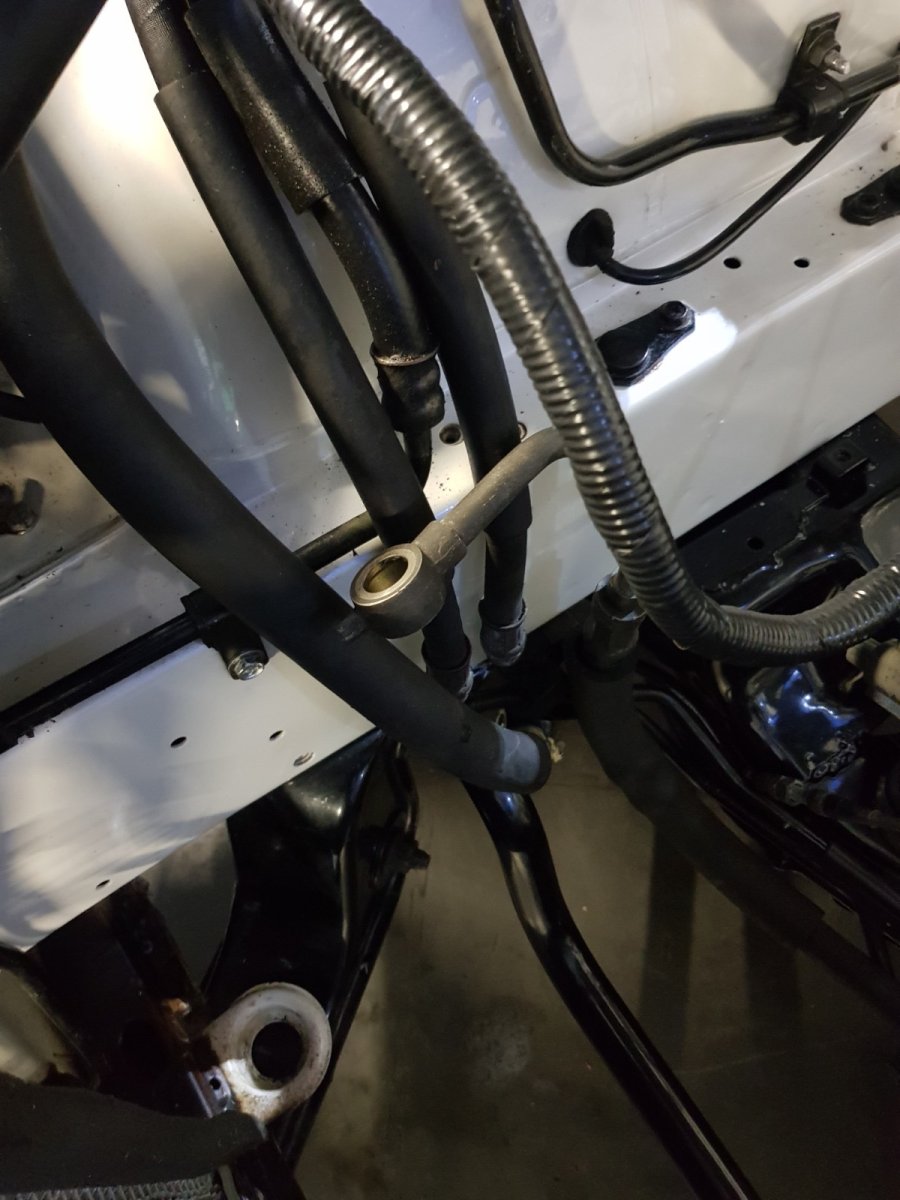
Overall the condition of the car seemed good. The body work had a few issues including rust in the engine bay near both suspension mounts, paint bubbling on the spoiler and a cracked off side mirror surround. However the biggest issue with the car was the colour! The finish was very VERY good and to stand next to the car made it much more agreeable than any photo achieved, in fact I actually quite like it. The problem though is matching the colour: after talking to a few paint shops their verdicts were touch up work is impossible (thankfully there is 1/2ltr of the original paint which I'm hoping will cover the new spoiler and mirror). Eventually it will need a full re-spray.

The interior is in good shape for its age, a few scuff marks in the leather and it's looking very dry, a hole in the centre radio surround where I imagine an alarm light went and the alcantara is looking very flat.


So I hope you enjoy the following updates as I try to bring my car back to the 90s.


Cheers,

Chris.

Edited by Chris300

  • Replies 206
  • Views 46.1k
  • Created
  • Last Reply

Top Posters In This Topic

Most Popular Posts

  • Paint went down today, unfortunately the pictures are great but you can see the Pearl a little on some of them. Looks nice and lickable to me. ?? They're dropp

  • Just had a great result with the 300zx. I complained to my credit card company that I felt I had had my pants pulled down by the arsehole that took my car apart and, after an investigation, they have

  • I’ve dug the chameleon out ready for Duane at DWM Vehicle Transport to run up to Jim at PowerZed on Tuesday for the following work; 4x cam covers 6x new Nismo 740cc injectors Fit new OEM “95

Posted Images

Featured Replies

  • Author

Today I finally got around to replacing my split flexible hydraulic clutch line for a nice new braided line. It was very simple to replace and the new line fitted perfectly. Unfortunately I didn’t have time to bleed the system but hope to do this next week.


Old leaking line...

9B72FAB4-34DB-436B-83FC-50237E3BC008.jpg


New Hel line, £25 from eBay...

1E824B0D-A497-4AEC-BC86-48ED0E3ADFC6.jpg


Fitted...

0678B247-B8F2-46B0-B6F8-8D7C8F4266DC.jpg

  • 1 month later...
  • Author

Whilst at the recent Boxhill to Brighton summer run I was asked to pop the bonnet of my 300zx. This has always been a shameful task for me as my engine always looks grubby. Previous attempts to clean under the hood have always been disappointing, I’ve tried steam cleaning and G101 with both products having little effect. During the recent shaming Andrew suggested I tried brake cleaner and I’m very pleased with the result. I only had a few hours but here are the results so far...


Little test area...

31273AB9-E1C2-48D3-80DA-83A4D3EA5EB8.jpg


FC65324F-3AE2-4E90-ABEC-78D04B60D975.jpg


4E6C49E9-FF41-4ADD-BA81-BACD40DE893B.jpg


757FBF1B-67D6-4CA6-9526-45504E185984.jpg


242FE03F-50A6-48BA-91A4-34238205BB0D.jpg


F1D07B9D-D3CE-47C3-872C-6B9A129796E7.jpg


60CE3BAF-008D-4E9A-AAA4-1AD624120E65.jpg


After I’ve cleaned everything I can get to without unbolting parts I’ll try and get parts off for painting. I’ll be looking for advice on what can come off simply.

  • Author

Thanks Andrew. The problem is I now want to start unbolting parts to send off to get painted but I don’t know what parts are simple and safe for me to remove. For example is the balance bar easy to remove (just a few bolts and gaskets) or will it need “setting up” once it goes back on?

You can just unbolt and refit. Take care pulling off the vacuum tubes that connect to it. The bar uses three O rings (which are

a non standard size) as seals which can degrade over time and may require replacement.


Ref: https://conceptzperformance.com/nissan-infiniti-nissan-oem-300zx-balance-tube-o-ring-set-z32-14033-30pkt_p_1110.php

Project 1547 - Out of the Blue

She's so fine, there's no tellin' where the money went - Simply irresistible.

  • Author

Thanks Andrew. I’m doing a big Z1 order in the next week or so, if you can think of any other nicnacks please let me know. :wink:

That's much better! I got through a fair number of BC aerosols doing mine using a toothbrush and

paint brush - worth the effort.


Good idea; cheers Andrew - I must try that....:wink:

I have something to say............ It's better to burn out than to fade away..... :tt2:

  • 5 months later...
  • Author

Christmas has come early for me today! I got a call from RalTech Finishers and Macro Developments to tell me that my 38 items had been powder coated and my outrageous amount of bits and bobs had been plated. I’ve taken a few pictures of some of the items before and after the work for your entertainment. Most of these parts will likely never been seen again other than by the eyes of Jim at PowerZed.

0ED0C699-267D-4B52-B45D-341A7616F54E.thumb.jpeg.7242628cbc0ed4bd37e945cc9e6090f7.jpeg

5D60BAA3-C52C-4C55-BE97-1B85B400E5D2.thumb.jpeg.33121eaa749d51841d9245ccfd5d8724.jpeg

B95B7084-8B39-4A93-945A-62BD5D2DAA17.thumb.jpeg.fb6e4b9818ea3e16e71ef61ec8e64481.jpeg

3A57086E-4D2D-47F3-A20F-93E7ECAFE3AA.thumb.jpeg.62365326f90e52dd89ee75ce5ff1e7ba.jpeg

689D9049-652A-40BD-B2D5-B0F529CA1467.thumb.jpeg.09ae6da6add46bf61e58b9b86cebf3fb.jpeg

9AEF129C-2F17-451B-A9E9-903A44E452AD.thumb.jpeg.5445583227d3f0cbbb5040fbc851fd7e.jpeg

85507999-BE28-499F-8A5D-1F9B7E8C9AFA.thumb.jpeg.1eaf474113f77d90b524277c88efbcad.jpeg

8C408214-4123-4236-BFD6-A78B5974D852.thumb.jpeg.df8bca653802cc56d12574ed8b009301.jpeg

94A686E0-609B-4F16-8926-D70CC1F7C2FC.thumb.jpeg.b0202d8cb412f3b8d377db1f8e5f5440.jpeg

E2FC77F0-51D8-4ACA-B421-4231024EAB8F.thumb.jpeg.4128e496ef8d935efe2d179e4875e7e4.jpeg

Now I have the fun of putting it all back together again before I strip and send the next batch off. ?

  • Author
19 minutes ago, Gaz 300 said:

Like new Chris ?

The parts are good and it’s coming along but still a way to go.

The main issue will be the paint around the area now where there rust got fixed. Unfortunately the repair was good but the paint job not so and they didn’t put a great seem around the repair. I’m sure I can tidy it up and the day the engine comes out it will go to the body shop for a respray.

67F33704-9E3C-45DE-BCC3-14152ECA52C8.thumb.jpeg.58aa0f058f83f11c279fce4fcc6c6a27.jpeg

DC16BB66-2113-4C4C-B5F4-B37C12CCCC75.thumb.jpeg.c35995b2d2d952971edd8efb1b3a6b39.jpeg

  • Author

It’s the little things...

5C8730F4-E367-4D74-9D7B-B10B36BE65B2.thumb.jpeg.44c65db8208e35e0ac5c029457b6cec4.jpeg

8883E531-B20E-4557-BA2C-0329A3E28664.thumb.jpeg.afb854e2b9a891ec880d385bf39bbee5.jpeg

0948EB0A-1848-4AC5-A4AC-C8ED3B8BC242.thumb.jpeg.309113adc13fdd8eb69d950710af61dd.jpeg

DAE22E20-2267-42C6-A637-8F1F3DAE464B.thumb.jpeg.8d961b7b76106a0097ba4598bcfce277.jpeg


Is the bonnet sensor OEM or is this part of the alarm? This wire had tape wrapped around it that was flacking. So after stripping the old tape to rewrap I found this. ? Another job to sort out.

0115FA0F-DB50-45A4-8F6B-D7C66D93EBDE.thumb.jpeg.b0cd4f50671a756417957a7a99d01392.jpeg

  • Author
7 hours ago, Joely P said:

Great to see the attention to detail and thought going into this project Chris. It’s inspiring me to get started on mine and give it a proper freshen up. emoji41.png


“Just another grand”!

Thank Joel. It very satisfying and not overly expensive, very labour intensive though.

  • 2 weeks later...
  • Author

I forgot to post this picture today. My sister dropped of my cars early Christmas present...

79209665-BD8F-4C2E-B165-3B8754B54ED7.thumb.jpeg.308faea7804af09828d3b4f7aa8cdab1.jpeg

5 minutes ago, Chris300 said:

I forgot to post this picture today. My sister dropped of my cars early Christmas present...

Your sister doesn't wrap prezzies ?.

  • Author
10 hours ago, phutumsch said:

Your sister doesn't wrap prezzies ?.

That might have been taking the piss, she only collected it for me as she lives near Luke and was down for a family Christmas get together. It was actually brought by my wife for me and I wasn’t going to risk it getting damaged under the tree. ?

  • 1 month later...
  • Author

I’ve started the power steering pot refurb today. It going very well, only very minor surface rust in a few places to deal with and a bloody good clean. All tapped up and I made a very sturdy stand for it to sit on so I can get round all the funny angles.

019C84AA-E944-4EAE-98EB-422C9A2EF8F9.thumb.jpeg.69c0300dba1eacac8adc10ab0b3ea4dd.jpeg

46183FDA-F86C-4CBB-AC20-331B783FAF8C.thumb.jpeg.b442f08dbdb60b24230d209098d46687.jpeg

6440C26D-BB2F-4AAD-AABD-F0927585B2A9.thumb.jpeg.6a62be575a6f34f9907878d4d883a8ac.jpeg

E0D28878-FB88-4CD0-9BB9-064E09F1C166.thumb.jpeg.e159ad20903b58de0d98f526292d9080.jpeg

One question i have is how long do long do I have to wait between primer, colour and lawyer. I know about 15 minutes between coats but do you think 24hrs between paint types?


63770717-5426-4B09-A28F-93DD9FBD8B16.jpeg

Edited by Chris300

  • Author
7 minutes ago, JaiKai said:

Very inventive stand you made ?


Lol. I wanted something that left every external part available to paint, still be able to pick up the pot to paint the underside and be easy to put back on and spin around. I did make a vid to show how stable it is but can’t get it to upload. (Obviously I’ve bunged up all the holes)

Join the conversation

You can post now and register later. If you have an account, sign in now to post with your account.

Guest
Unfortunately, your content contains terms that we do not allow. Please edit your content to remove the highlighted words below.
Reply to this topic...

Recently Browsing 0

  • No registered users viewing this page.

Important Information

Terms of Use

Configure browser push notifications

Chrome (Android)
  1. Tap the lock icon next to the address bar.
  2. Tap Permissions → Notifications.
  3. Adjust your preference.
Chrome (Desktop)
  1. Click the padlock icon in the address bar.
  2. Select Site settings.
  3. Find Notifications and adjust your preference.