
Everything posted by JeffTT
-
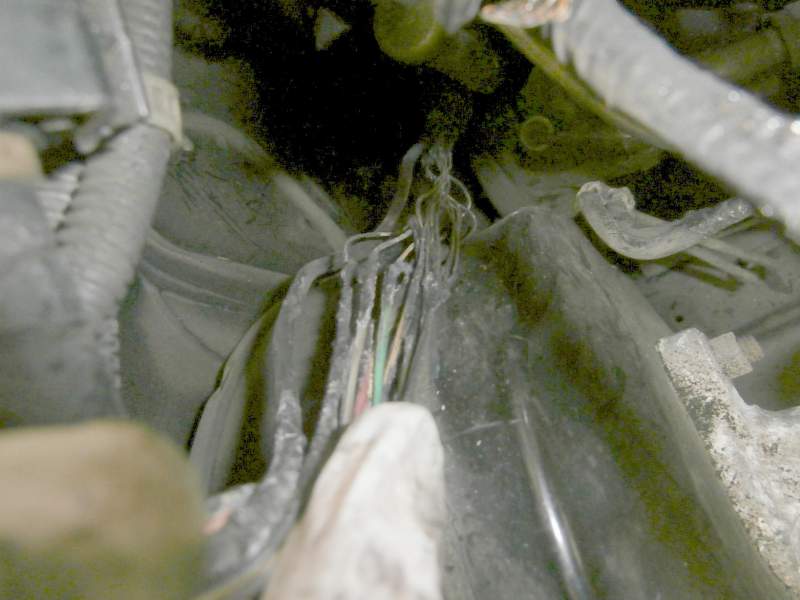
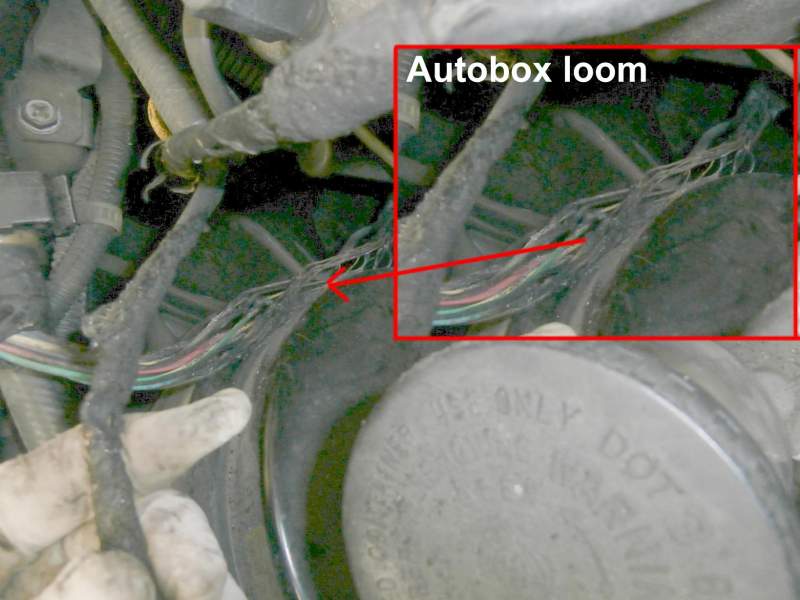
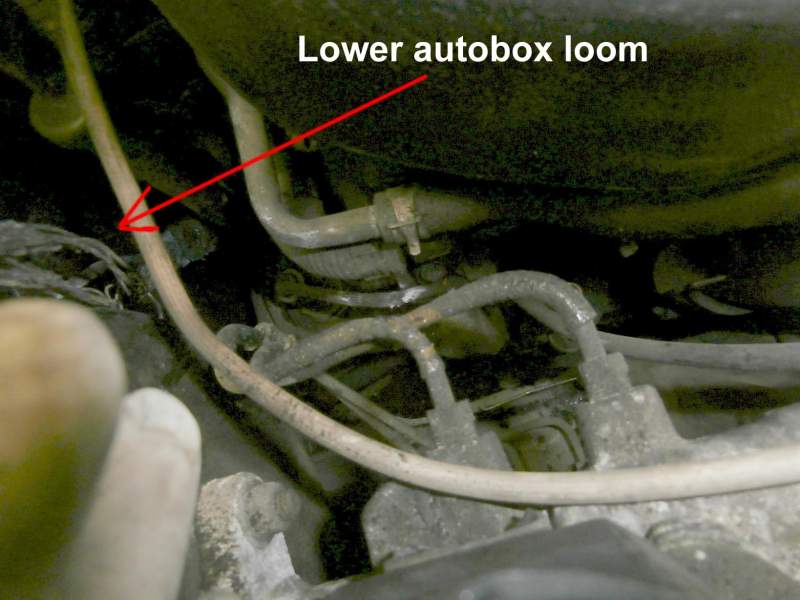
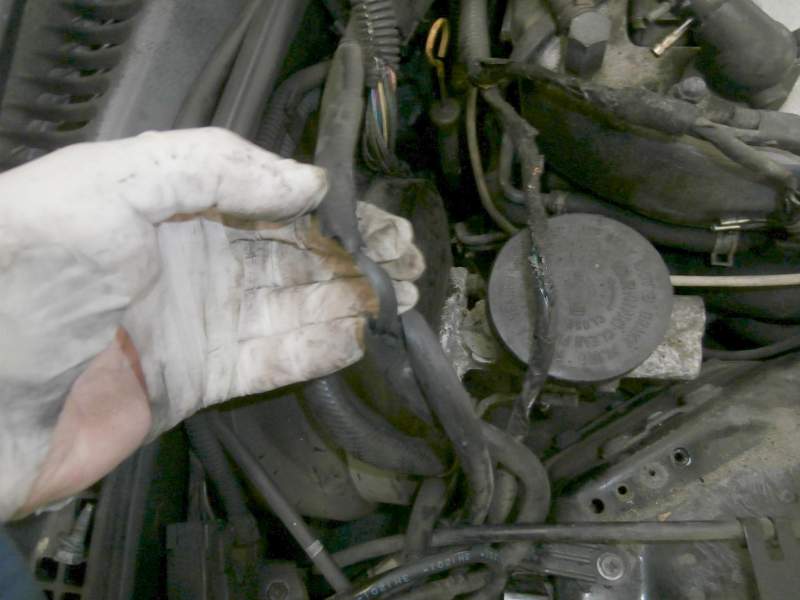
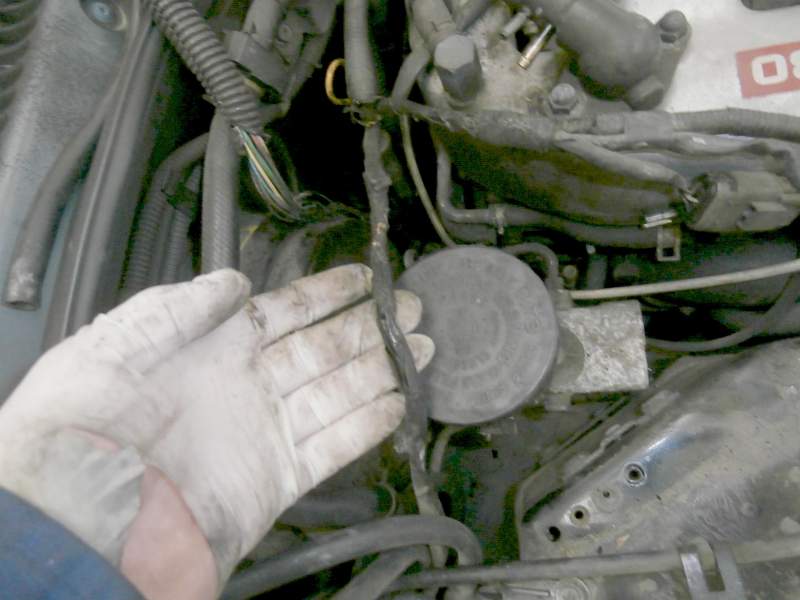
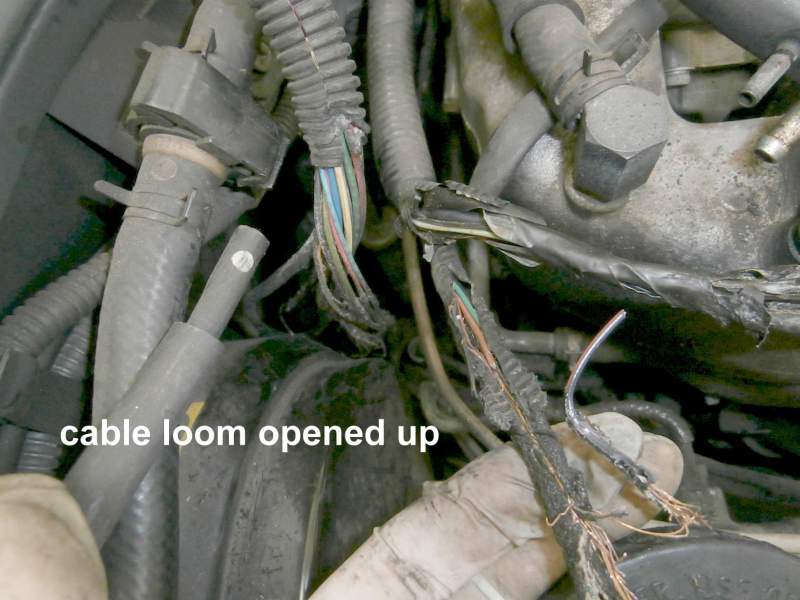
So eventually the source of the issue is revealed...the auto-box loom? and odd one for sure as the fuse for the autobox had clearly gone as a result of the shorting cables. So quite why it actually ignited into full on flames is unknown, no oil or fuel in the area, just purely the cable loom brittleness and dryness came together at that point of short ( against the engine block) and ignited, the owner reported full flames... very scary. Now we currently are writting a report for the insurance company as per usual they are trying their level best to not pay out??? Jeff TT
-
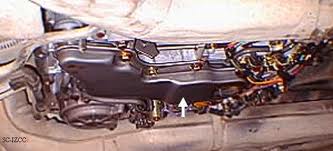
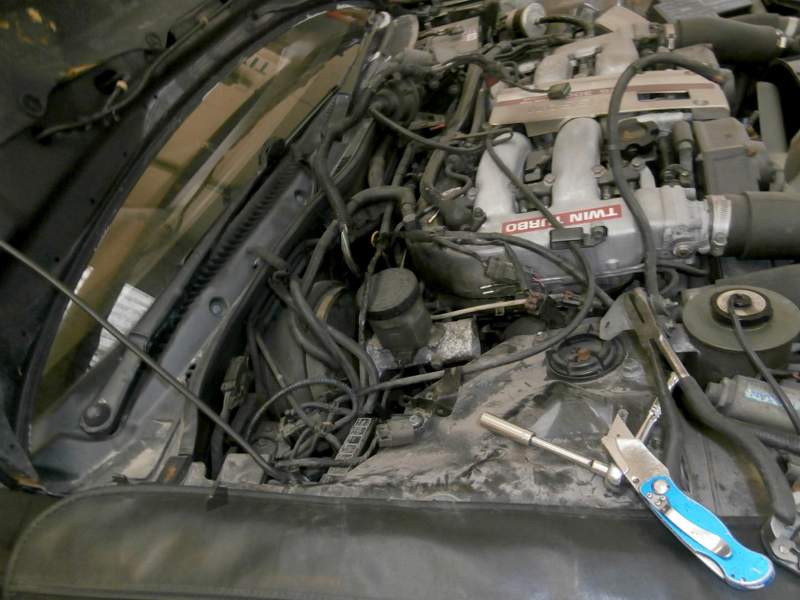
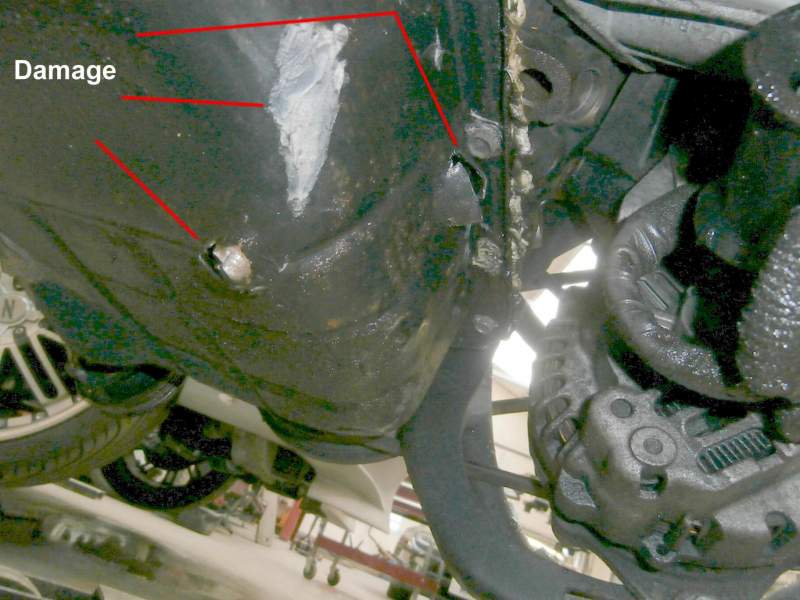
Seems odd how over the years we have dealt with jobs that seem to follow runs or trends, such as cambelt changes or heater matrix failures, one is a maintenance job which is understandable but the other is a failure that cannot be predicted but we do one and then we will do 4 or 5 in quick succession ?? so over the years we have gotten used to this but this year we have dealt with 3 or 4 engine fires this year? which is very odd, and have seen there is at least 2 more been reported here over the past few weeks. A case in point, we recovered this particular zed early last week, the engine fire had occurred at the end of an uneventful journey and whilst ticking over on turbo timer, lucky for the owner he was alerted to the problem and the prompt dispatching of a fire extinguisher saved there been too much damage. We picked apart the damage to see what we could salvage in the area of the fire, as the cables and vacuum pipes were removed and /or pealed back we replaced as we went along. Jeff TT
-
Might prove a little expensive. Jeff TT

-
Hi Andy, defo got one tailored for a zed with the mirrors etc. cannot remember if it is totally waterproof though, will check tomorrow for you. Jeff
-
Yes seen a few now, available in smoke as above and non smoke. A definate better looking option over the standard orange indicator ones, the 99 spec units are expensive in comparison ( 3 times dearer). In my opinion the ones above also look better than some of the round ones that stick out. The plastic construction material is not as good as 99 spec units but considering the price is more than good enough, the only criticism I have is the top edge is a chrome finish and looks odd, but as this is only view-able when the tailgate is open than its no biggy, or you could always cover the top edge with black vinyl or similar. Does freshen the look up, I prefer the smoke ones. Jeff TT
-
Ok so belt come off then? most likely ok, saying that because the camshafts will very swiftly spin to the closed valve position due to the pressure from the camshaft lobs / valve springs, anyone who has done a cambelt swap and touched the pulley a smidge past the timing mark will have seen how quick they whip around. In all of our time have never seen damage done from a broken or belt off situation as the above tends to save the day, however if the timing belt jumps but stays in place it can be more of a problem. Best bet is to strip and sort out the broken pulley stud, refit the old belt in the correct position and with the minimum put back together start the engine, if starts and runs shut down and fit a new cambelt, nothing to loose, would be confident though. Jeff TT
-
Anyone got experience of using dog rocks to prevent grass scorching by pet urine? Jeff TT

-
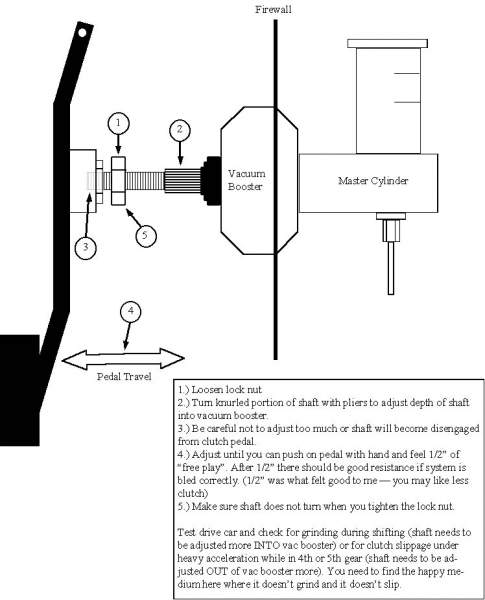
Taken from the TwinTurbo.net site acknowledgement to the poster there Maj My clutch is slipping! It's most likely (99%) the clutch pedal adjustment! I had a Clutch Masters Cyclone 3.5 installed and it slipped like hell, especially after warming up. It was down to the fluid going hydroscopic when the clutch pedal was adjusted too high! (Basically it means the fluid got hot and expanded throwing out the clutch and making it disengage a little). If you have a Pre 1992 300 then your clutch master cylinder may need changing - The later cylinder has a bigger bore for the fluid and helps to solve this problem. The Nissan service bulletin recommends changing this part and the clutch return spring. Only replace these parts if clutch adjustment fails to fix the problem. Adjust your clutch pedal so that the engagement is around the middle (between clutch up and down)... After many adjustments I found the best position was 1/3 way from the floor. This gave quick engagement and correct disengagement without crunching the gears, it also cured the hydroscopic problem. Advice: 1. If it disengages near the top it's adjusted to high and it may well slip, especially after warming up. 2. Too near the bottom and it may not disengage correctly and crunch the gears or even lockup, especially when cold. 3. If the clutch position changes when the car warms up and is exaggerated when stopping at lights, (it can also feel more hard to press) then it's still too high. 4. Just two turns on the clutch adjustment nut can make a big difference. 5. Remember how far you've turned the nut and what the results were in case it needs several adjustments. If only I had done this! Jez The procedure is best done by laying on your back with your head placed just below the clutch pedal (so yeah, a good idea to shake the crud off those floor mats prior to this drill). With light in hand, look towards top of clutch pedal. There is a clevis with a rod (pointing towards front of car) and jamb nut attached. Loosen the jamb nut (14mm). See below for which way to rotate adjusting rod. Note that rod rotation direction is when viewed from the DRIVERS SEAT perspective. BEHAVIOR: Engages too close to floor, may grind when putting into 1st or reverse. REMEDY: rotate rod clockwise (rod is unscrewed from clevis making it longer). BEHAVIOR: Engages too far away from floor, slipping may also be present. REMEDY: rotate rod counter clockwise (rod is screwed into clevis making it shorter). Working room is quite tight and a pair of long needle nose pliers work nicely for rotating the rod. A little rotation goes a long way so don't rotate more than several revolutions between test drives. If things are getting worse you are probably rotating the rod in the wrong direction. It is sometimes difficult to see if the rod is even turning since you can rotate it only about 1/10 revolution at a time (due to aforementioned tight working quarters). Take a thick tip felt pen and place a few marks on the shaft to help monitor rotation progress. And don't forget to tighten the jamb nut when through.
-
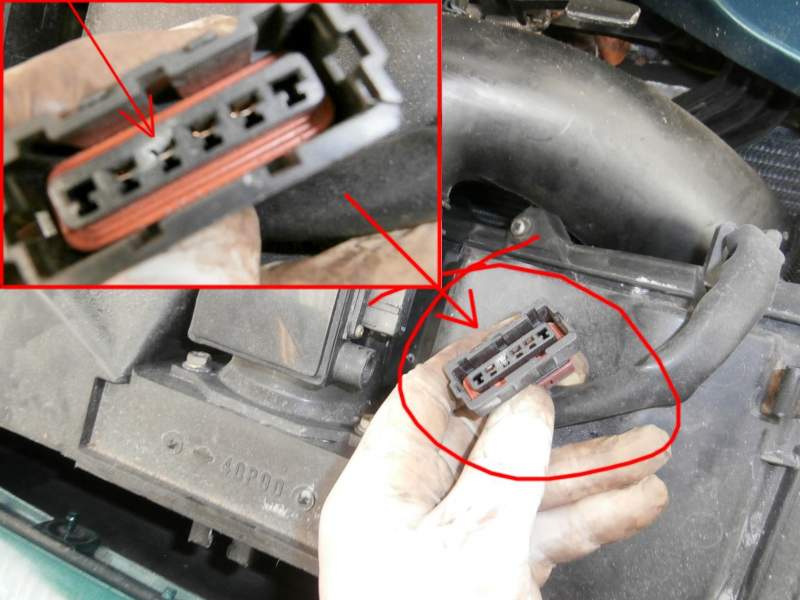
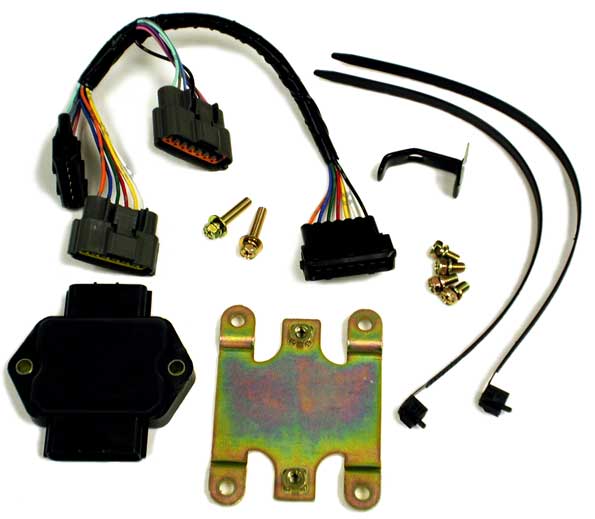
During general servicing its not a bad idea to check those common issues that can occur and hopefully prevent a breakdown at a later date, last week during a routing service in the workshop the air flow meter connection was removed for inspection / clean, this was despite any running issues or fault codes. As you can see in the picture one of the terminals had started to corrode and had a very different look to the others, a quick clean and all was the same. Prevention been a better route than just assuming all is well, these connection issues can actually be the cause item failure, a case in point is the ptu which suffers from corrosion of the lower set of pins, this can eventually leads to internal damage due to the larger current passage through the unit as a result of the bad connection, often mistaken for heat from the engine. Note: The series 1 ptu has a bad rep, however a good percentage of zeds are still running perfectly well on them 20 years on, our own dealings with series 2 ptu`s is their faiure rate is slightly higher than the earlier ones as most them fail are less than 3 years old. I have concluded this to be the same issue, corrosion of the terminals leading to high current draw, the smaller later unit is even less tolerant to this and power spikes than the earlier unit, so when changing to later one the connections must be super clean and check them as a parts of the service schedule. Back to the afm connector you will note that this zed had a standard airbox was low mileage and a 97 model so can happen to any zed really, so boring I know but keep on top of those bad connections hopefully before they get too bad. Jeff TT
-
Assuming it was a like for like unit so no differences with the bearing carrier it most likely the pedal adjustment, the pedal bite position is adjustable behind the pedal by changing the length of the rod. Sure there is a how to somewhere with pictures, will try and find it. Jeff TT
-
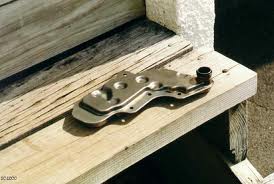
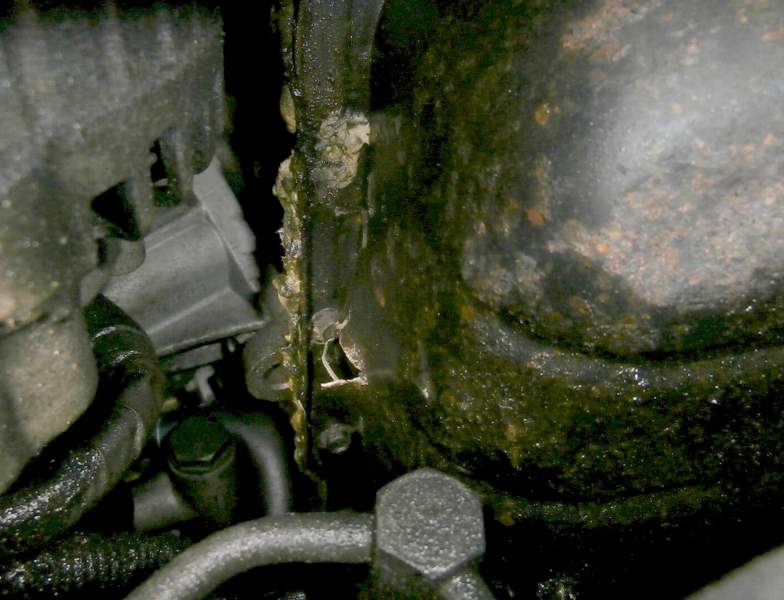
Workshop zed with a nasty noise when running was a bit difficult to see in the car but could just make out this....additional vent hole! So popped the engine out for a closer look...... Even more going on than original thought, something banging about in the sump :( Jeff TT
-
How is it that non specialist garages charge more than specialist ones? seen this so many times, almost like they over charge it on purpose to make it go away but if you say yes they have the bonus of doubling the quote. Rocker cover gaskets should be max around the £300 to £350 mark, most of it is labour with a few gaskets and fluids so £650 is criminal. Jeff TT
-
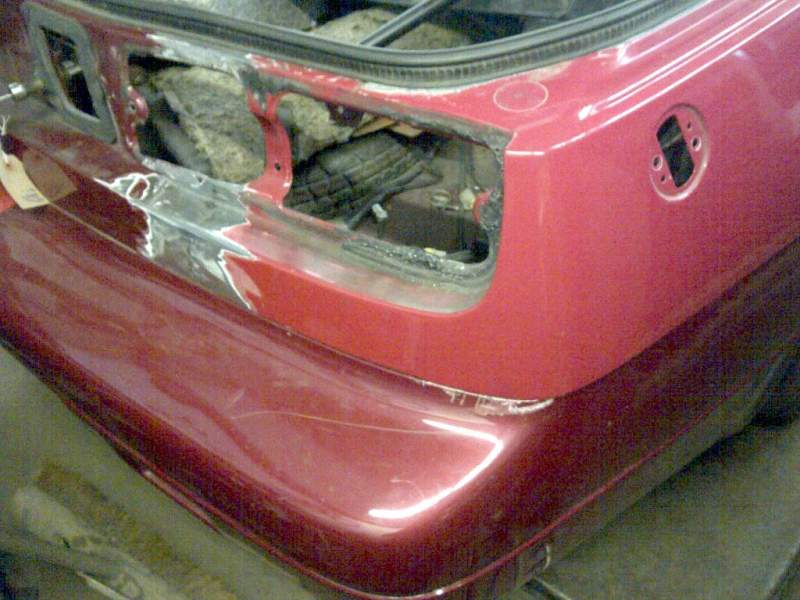
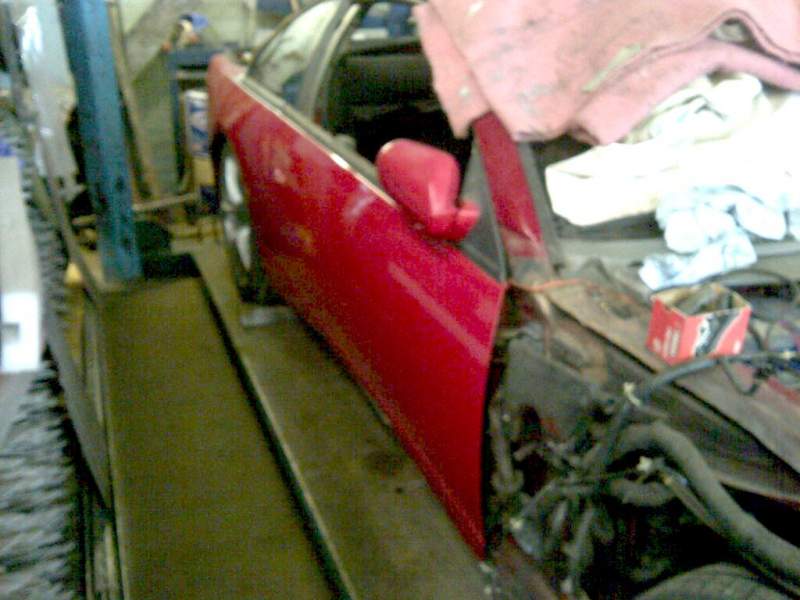
Small update, rear quarter, sill and door in place. Jeff TT

-
Yes that is the horn live feed, there should be another one the other side in the same place, the feed comes from a relay in the black box on the inner wing passenger side, this also houses the 10 amp fuse for the horn feed, the relay coil is switched by the the neutral ( earth ) from the horn buttons on the steering wheel. Jeff TT
-
If you look at the starter there is a clear level where you can go no further due to shape/design, take it to the max unfortunately you will still probably get the occasional grinding...yuk! Jeff TT
-
Car alarms can and do get corrupted by low battery levels, it could be just that, the four beeps suggests something other than normal so bet the immobiliser has defaulted to stop engine start in case of tamper threat. Jeff TT
-
Be quicker and more reliable to use the Nissan patch lead. Jeff TT
-
Might be worth disconnecting the battery for a few minutes and then reconnecting just in case the alarm/ immobiliser has thrown a wobbly, it should reset it then. Jeff TT
-
The starter motor teeth cannot reach the smaller n/a flywheel, as a work around you need to grind some of the starter face away where it meets the box to get it to mesh better, only a work around not a complete fix, fitting the correct box or a TT flywheel/ clutch assembly is the only way to do it reliably. Jeff TT
-
Yes no worries should have good news for you this week can open up on the Bank holiday weekend especially for you to collect, due to work load taking multiple weekday calls is not always possible and Lynda does sterling service in that department. Jeff
-
Nice....
-
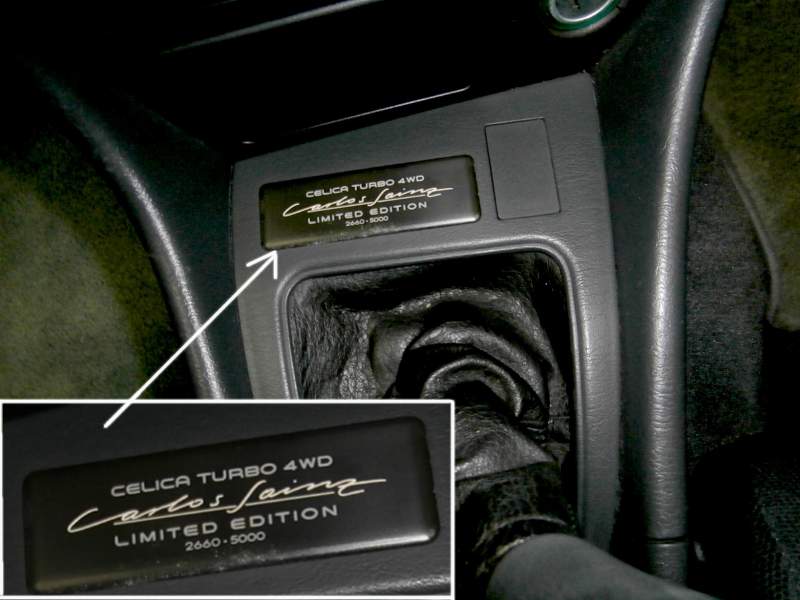
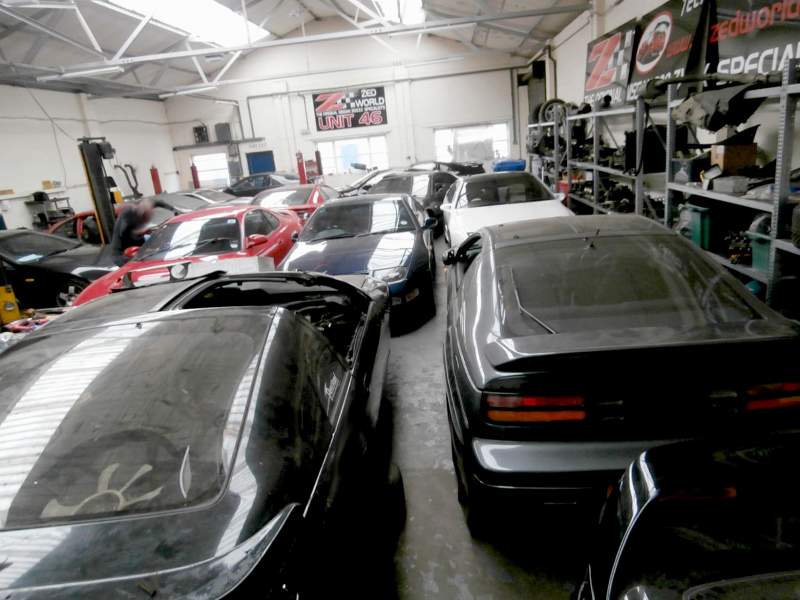
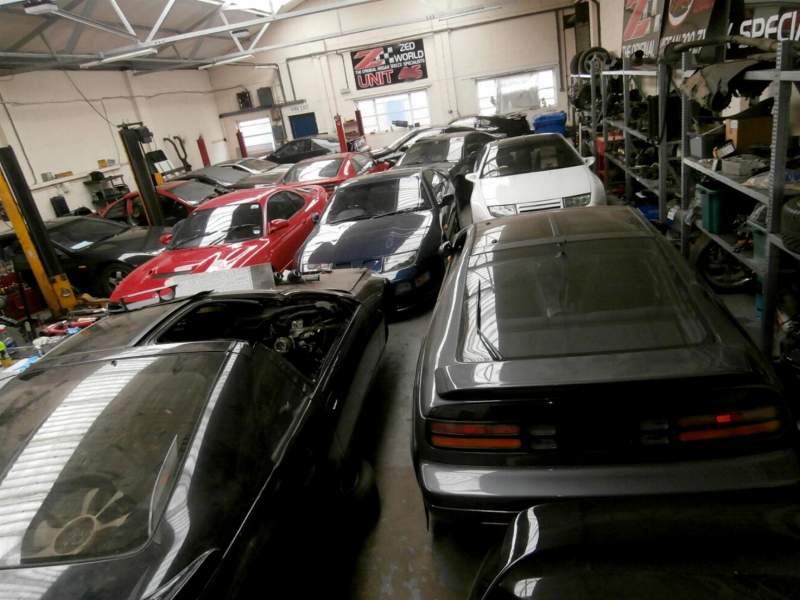
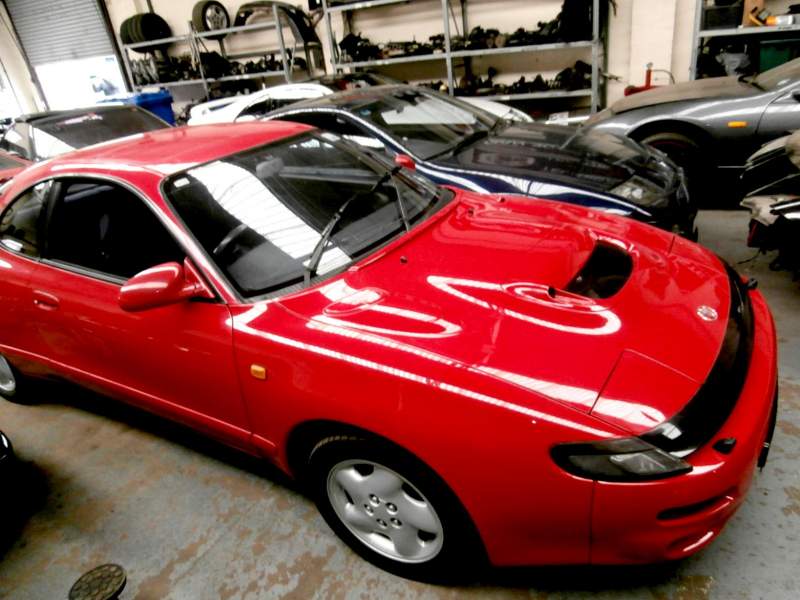
Saturday change over is always busy but today the phone has been red hot, which suggests many more zeds are getting Summer ready this year, lets hope the weather makes it a good year!! When we closed up we had a little trouble squeezing them all in but as always we managed it, however it seems a particular little red number sneaked in!!!


-
Can guarantee you will have drive back, just see how it is. Jeff TT
-
Exhaust, heat shield and of course the old prop, to refit the new unit you will need to loosen the diff bolts not completely but enough for the nose section to drop down a little so you can get the end flange cup into the diff pinion. Note prop is held by 6 x Allen bolts at the diff end Jeff TT
-
Ok the noise is the fluid pump complaining, the lack of drive is the drive pump been unable to supply line pressure, the cause is the pick up strainer in the sump is blocked, when you switch the engine off the fluid drains back clearing the strainer briefly so you have drive back for a short time. So the plan is to drain the box, then remove the sump pan be aware it will still contain about 1 litre of fluid in the sump pan so can get messy (be prepared) the strainer is very obvious and can be removed by undoing 3 x 10 mm holding bolts. Once removed give it a really good clean out with some brake or carb cleaner, take a closer look at the particals that have blocked the strainer, they will be either fibre, metal or a combination, if just fibre its a good chance a clean out and new fluid will be all you need to do and drive should be returned. Of course if there are any metal particals in there it may point to bigger problems but its worth a try and should not cost too much, get 5 litre of dexron 3 if you can a sump gasket, if not be careful and you can reuse the old one with a little sealant provided the gasket remains in one piece. Hope that helps Jeff TT