Jump to content
View in the app

A better way to browse. Learn more.

300ZX Owners Club

A full-screen app on your home screen with push notifications, badges and more.

To install this app on iOS and iPadOS
  1. Tap the Share icon in Safari
  2. Scroll the menu and tap Add to Home Screen.
  3. Tap Add in the top-right corner.
To install this app on Android
  1. Tap the 3-dot menu (⋮) in the top-right corner of the browser.
  2. Tap Add to Home screen or Install app.
  3. Confirm by tapping Install.

I thought I’d document this as I have a funny feeling this little project my spiral into something a little more interesting than a tidy up.


The initial plan is to remove what can relatively easily be removed to clean it, powder coat it or zinc plat it. There absolutely nothing that NEEDS to be replaced as the car is/was working fine before I started this job. However in the interest of doing things as well as I can I’ll be replacing some minor bits and bobs.


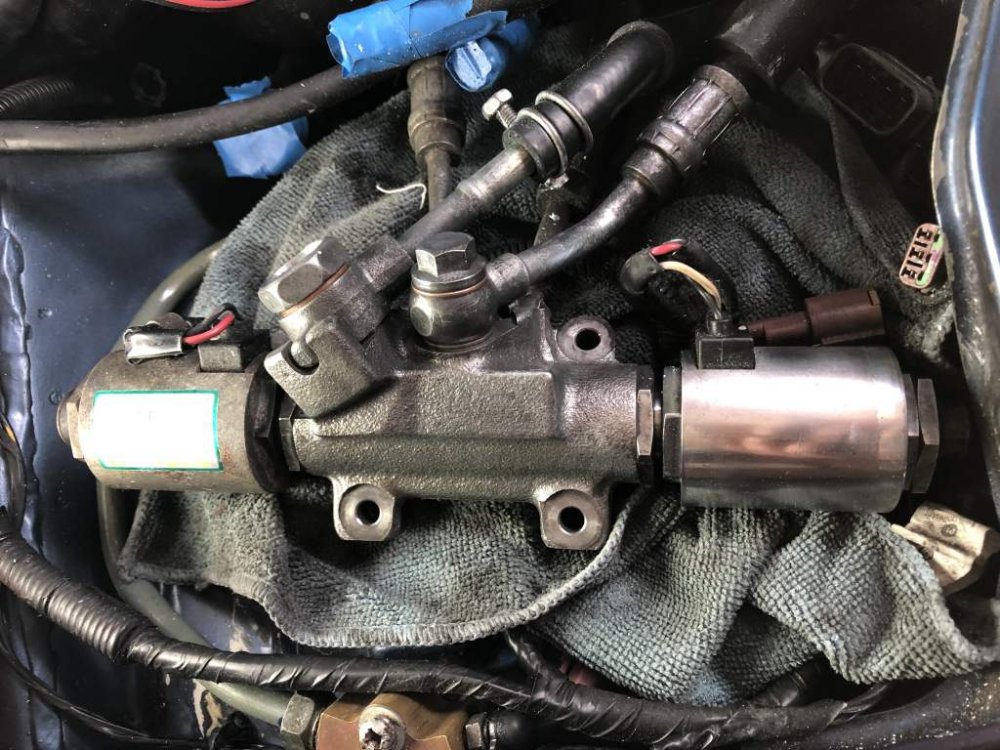
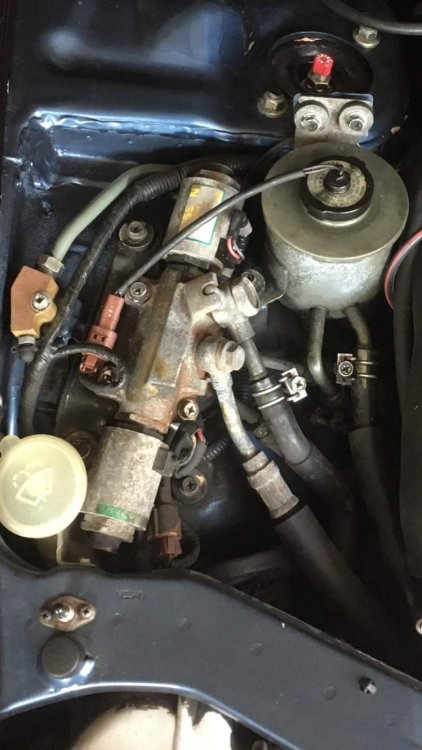
Anyway here’s the car on the stands with the bumper removed awaiting its first job...


D2865DE6-3605-4D92-8336-14A3A48C41E9.jpg


1241E877-8CC9-4421-9AA7-AF710AF0CC27.jpg

Edited by Chris300

  • Replies 45
  • Views 2.5k
  • Created
  • Last Reply

Top Posters In This Topic

Posted Images

Featured Replies


There absolutely nothing that NEEDS to be replaced as the car is/was working fine before I started this job.


^^^^^^^^^^^^^^^^^^^^^^^^^^^^^^^^^^^^^^:lol:^^^^^^^^^^^^^^^^^^^^^^^^^^^^^ You should know better Chris, having owned a Z before!

  • Author

I know Howard, why am I doing this to a perfectly good car. :confused1:


So I managed to grab an hour to have a go at removing the headlights today (every little bit of time helps) and had a bit of a mixed bag.


Firstly, what a pig it was to remove the near side headlights rear off side bolt. I couldn’t get to it without removing part of the intake and in doing so snapped my first bolt and split the grommet in half (I’ll be posting a request for the proper name of the offending intake part in my What’s this part called? post soon.


Offending intake pipe

B6E8F90F-D1C2-4CFA-BBCB-03A112EA8539.jpg


Snapped bold and rubber grommet. IF ANYONE CAN POINT ME IN THE RIGHT DIRECTION TO REPLACING THESE PARTS I WOULD BE VERY GREATFUL. I will try Nissan but I doubt they’ll be able to help.

DC206943-63AF-4195-9205-5F2DE2B58049.jpg


Nice rust free empty space where a headlight once sat.

79157FDB-2EB4-4FD7-8C7D-39DB76E36E57.jpg


And a dirty light that is the cause of all this effort.

5293F767-FB60-4E49-B118-CA964E6604F8.jpg


So who thinks I should clean up what I’ve got off and reattach before I do something silly and who thinks I should carry on going and see where this road ends?


Oh and for your amusement here is a picture of all the parts I’ve had to take off to get this far.4275D380-0A81-44A1-84DA-02B584CCAC84.jpg

Has anyone told you about cutting a slot in the end of the bolts to make life easier?

[sIGPIC][/sIGPIC]

  • Author
Has anyone told you about cutting a slot in the end of the bolts to make life easier?


Thanks Ian, they haven’t but to be honest I kind of like the perversion of having to fight to get them out properly. :devil2: Now welding a nut to underside so it’s fix from the top for easy removal and cleaning would be cool.

  • Author

So I had a bit more time today to pull a few bits off. Nothing overly exciting...


All four parts to the undertray (I’ll be replacing all of this with new as it all got damage to an extent).


Fog light.


Front crash bar. This was in fare condition but some brackets attached to it were rusting, damaged or missing.


And then I started to doubt that this was all a good idea. I’ve been taking things off and bagging it up to clean later and I thought I’m never going to remember where it all goes. So I decided to take something off, clean it then put it back on for some instant gratification and remind myself why I’m doing it.


The oil cooler support bar.


EFBC41BE-4B91-4360-8F72-2B43818DA773.jpg


384AD241-2D46-47A5-8A0F-A44850A44D47.jpg


18DD2C2C-A47F-4629-AF6F-2183B2D0D1C3.jpg


That and looking at some pictures of Joel’s engine bay have done me the world of good. :wink:

  • Author

Am I being daft? I’m trying to remove the electrical connectors from the air condenser tank retaining bracket however they’re not playing ball. Do you need a special tool for these or are they not supposed to come off when fitted. There seems to be no give in the obvious push tab to release them.


A26D4B25-5DF9-4349-8BA3-D52F859A9195.jpg

Am I being daft? I’m trying to remove the electrical connectors from the air condenser tank retaining bracket however they’re not playing ball. Do you need a special tool for these or are they not supposed to come off when fitted. There seems to be no give in the obvious push tab to release them.


[ATTACH=CONFIG]118649[/ATTACH]


They have a click in barb that stops them from being removed.

However, I removed mine by prying delicately between the underside of the connector and the bracket whilst pushing the connector off the barb.

A tad of WD40 will help.

Am I being daft? I’m trying to remove the electrical connectors from the air condenser tank retaining bracket however they’re not playing ball. Do you need a special tool for these or are they not supposed to come off when fitted. There seems to be no give in the obvious push tab to release them.


[ATTACH=CONFIG]118649[/ATTACH]


Those type of clips are a real pain, had some on the side bracket on the engine, if you hold the plastic connector angle it upwards it will just give the underside enough room to slide off, while holding the bracket. Some have no access to the underside.

2002 Porsche C2 996 3.6 
1991 Nissan 300zx TT Project

1995 Nissan 300zx TT Crashed 🥲

1997 Jaguar XK8 Scraped ☹️

Am I being daft? I’m trying to remove the electrical connectors from the air condenser tank retaining bracket however they’re not playing ball. Do you need a special tool for these or are they not supposed to come off when fitted. There seems to be no give in the obvious push tab to release them.


[ATTACH=CONFIG]118649[/ATTACH]


Get that powder coated. :)

  • Author

Thanks Simon. I did mean powder coating not stove enamel all parts that I can remove.:oops:

  • Author
Yuck!!!

[ATTACH=CONFIG]118657[/ATTACH]


I pretty please how the washer tank cleaned up, however I may have to buy a new neck and lid as mine have stained a bit.


888A9F44-71E5-4F32-8762-188D3D4DB974.jpg


Whilst cleaning the tank an found that the tank measuring tube had come off and that by reattaching it to the lid you can measure how full the tank is. This is my 3rd 300 and each of them had lost the measuring tube so I had always thought it was a case of filling up until you can see the fluid in the neck. For the benefit of those who didn’t know this then you need to cover the little whole in the lid with your thumb, remove the lid and withdraw the tube, then take the reading from the tube. (I’m sure this must all be in the service manual but I confess I’ve not read it)


4717626B-ED92-4701-B7DE-65D551A667E2.jpg

Washer neck not available anymore, only the expansion bottle neck is still available.

  • Author

Does anyone know if the intercoolers metal pipe work come out or was the 300zx actually welded around them? :confused1:

  • Author

Cheers Andrew. I’ve got the bolts off, the valves off and the boost hose off but I still can’t seem to find the angle to get the out.

  • Author
Cheers Andrew. I’ve got the bolts off, the valves off and the boost hose off but I still can’t seem to find the angle to get the out.


And I give up, I just can’t seem to get these pipes out without taking the condenser rad out so have cleaned around them.

Does anyone know if the intercoolers metal pipe work come out or was the 300zx actually welded around them? :confused1:


They do come out but they’re a pain in the ass, refitting them is even worse.

  • Author

That’s it, I’ve had enough. I’ve come to the conclusion, whist trying to clean up the front end, that I’m not going to achieve the standard of finish I’m looking for with the engine left in place.


So I’ve arranged storage of the engine while I’m working on the engine bay. Now all I need to do is pull it out the car. :scared::lol:


I know there are a few experts on engine removal and refitting so I think I’ll start a new post on the subject to ask all my silly questions.

If you want my opinion, don't do it, as you said at the start of this thread the car was working fine, put it back together and enjoy it, keep the bonnet closed if you have to and join me in the OEM- club

Join the conversation

You can post now and register later. If you have an account, sign in now to post with your account.

Guest
Unfortunately, your content contains terms that we do not allow. Please edit your content to remove the highlighted words below.
Reply to this topic...

Recently Browsing 0

  • No registered users viewing this page.

Important Information

Terms of Use

Configure browser push notifications

Chrome (Android)
  1. Tap the lock icon next to the address bar.
  2. Tap Permissions → Notifications.
  3. Adjust your preference.
Chrome (Desktop)
  1. Click the padlock icon in the address bar.
  2. Select Site settings.
  3. Find Notifications and adjust your preference.