Jump to content
View in the app

A better way to browse. Learn more.

300ZX Owners Club

A full-screen app on your home screen with push notifications, badges and more.

To install this app on iOS and iPadOS
  1. Tap the Share icon in Safari
  2. Scroll the menu and tap Add to Home Screen.
  3. Tap Add in the top-right corner.
To install this app on Android
  1. Tap the 3-dot menu (⋮) in the top-right corner of the browser.
  2. Tap Add to Home screen or Install app.
  3. Confirm by tapping Install.

I posted at the start of this month i had bought a SWB N/a with a naff engine and was planning on doing a TT swap among other things and general tinkery stuffs.... ( BTW i bought this with a Big end Bearing gone.....)


Well i started to strip her down and upon removing the R/h Wing i found this abomination!


IMG_0635-1.jpg


Then obviously having to remove the engine and planning on stripping the underside i start removing the engine beginning with the Fluids and find a certain something peeping out the sump! (the dipstick i knew about when buying the car and the look on the owners face when i asked him where the rest of it was was priceless)


IMG_0636-1.jpg


IMG_0637.jpg


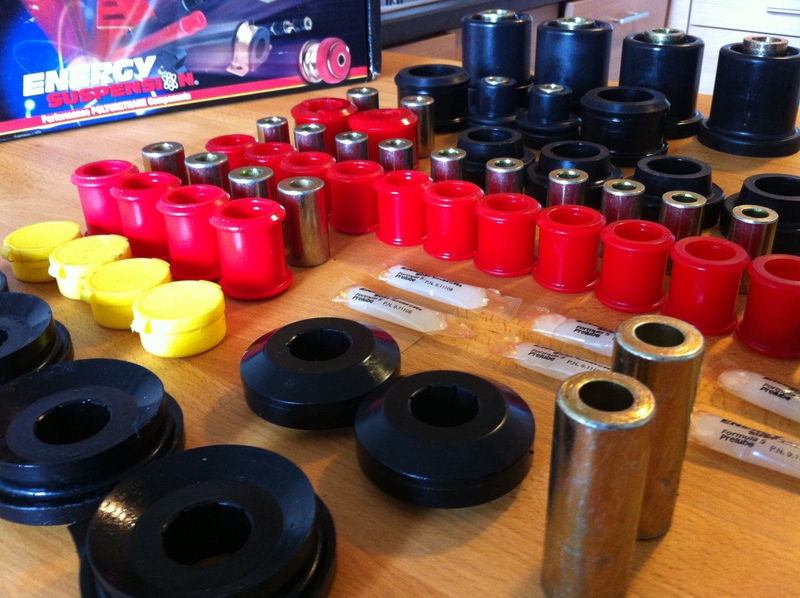
This next one isnt detrimental but i thought, at least I've gained something so far from buying this.....


IMG_0638.jpg


Now for my favorite surprise ive had yet...


L/H Sill


DCDA84E6-25C4-4252-966B-4104B172AA4D-10571-00000441FB89E957.jpg


R/H Sill


26876700-BAB2-4EE0-B92A-827537D7282A-10571-0000044205928D19.jpg

  • Replies 405
  • Views 33.4k
  • Created
  • Last Reply

Top Posters In This Topic

Posted Images

Featured Replies

It is isn't it.....pmsl


Certainly :)

On another note I didn't know is was going thin on top till I got my cameras installed:blushing:

right wheres the just for men

Certainly :)

On another note I didn't know is was going thin on top till I got my cameras installed:blushing:

right wheres the just for men


I didn't know my hairdresser put so many grey highlights in until you got that camera either, will have to have a word.....:lol:

  • Author

well it could be a worse look-a-like, so laugh it up you old cretins


not at all agreeing that i look like him either...


JAE is defiantly off the cards this year.... haha

Edited by Hollings

well it could be a worse look-a-like, so laugh it up you old cretins

Point being that im not old.Just had a hard life:wacko:

well it could be a worse look-a-like, so laugh it up you old cretins


not at all agreeing that i look like him either...


JAE is defiantly off the cards this year.... haha


Thought you might do a bit of a gig at JAE this year Rick

  • 4 weeks later...
  • Author

Well, a little update with the things i have achieved...unfortunately no pics atm.


Battery in boot and all wired in.

wired my Astra G PS pump in...IT WORKS :tt2:

plumbed the pump in.

assembled front and rear calipers....


Front calipers: Carbotech XP8 pads with Mtech 350mm Slotted and dimpled Disks.

Rear: stock crap as i have no bias valve and no ABS, anything more and id probably lock up.


Purchased and fitted my Federal 595RSR's


fronts 245/35/18, Rear 285/30/18. The rears turned out to be a bit thinner than i thought so they have a bit of stretch which some people will dislike but they are there to stay.


Bled all brakes with some DOT 5.1

Bled PS and blew a few fuses in the process haha.

  • Author

PICS...yeah.


This is my pair of spacer from Clarke motorsport which Lexx referred me to, Cheers bud!


76E56922-09C9-4077-8EF1-AFE4A955FC5D.jpg


Mtech disk against the stock wheel..


51D29775-F161-4BC3-9973-0C00C8ABB81B.jpg


Fitted..


F9DE21B9-39B9-41C6-A9E0-900D904B296A.jpg


576BB7F0-57D0-4BDF-A6C0-4B4A3A15196C.jpg


With wheels on..random pics now


78E8ED3D-9781-4AE4-8FB9-23A2F868721B.jpg


0409F3EE-E683-4301-A05E-2EE5B1905802.jpg


8839011C-D855-4F99-8A80-42562478D755.jpg


9335D985-F440-4A19-B7EB-19900AEE7674.jpg

  • Author

Now for the rear...Which needs work and the geometry is WAY out so dont get jumping to any conclusions....Body Mech is going to be having a play with this!


2BDD33C0-8601-4F6B-8C09-CD42037B8397_1.jpg


F0576204-903C-4718-9B65-D6079646F266.jpg


CE1B2FFF-A415-4C88-A93C-79F8172799AF.jpg


2990D388-8ABC-4348-A51D-665D6C72A49D.jpg

Edited by Hollings

Looking good Rick..(couldn't resist)

So is the P/S still speed sensitive or just 'free running'?

  • Author

free running atm, however it seems to have some sort of feedback loop or something due to the speed varying under slight differences in load...also when at full lock it doesnt like it and blows fuses. i plan to set up a variable resistor switch to allow me to tweek it once ive sorted these teething problems out.


- - - Updated - - -


9D7137F4-3761-4134-8181-FA1B46E35BAE.jpg


87E2C183-27A5-4912-93B4-B678C310D68F.jpg

Looking awesome mate, what a car it's turning out to be :)

Wotcha Adam . good talking to you today , i,ve caught up on what you,ve been building ! lol

It,s gonna be a beast bud , rear arches certainly look like a tight fit !!

  • 1 month later...
  • Author

its that time again


The dilemma i had a while back was my engine wouldnt clear the subframe/steering rack due to the sump. so i chopped it up and put some replacement plates in.


after cutting it im glad i did as the oil was like stodgy muck! (i did drain it for a few days before cutting so what you see is what was tucked away in the crevices)


8975ED08-BEE9-4613-8760-0910C42D68B2.jpg


66F9B559-42B3-404F-9913-B34CE7B0E6BA.jpg


CC9D877B-CFAF-4BFA-BA22-2B415D994790.jpg


4D14AE92-9790-4947-A87E-19FD9CCE6189.jpg


A5405471-2DE9-46BE-94FB-FAF11117EF2F.jpg


7B954E1A-4DA0-48B2-9928-BB3BA86665C9.jpg


As you can see the last picture the has filler on the sump...it just so happened the piece of sheet metal i used was my mixing surface earlier haha


Also in total i have lost around half a liter of oil capacity. Although i plan to overfill this anyway by half a liter im fitting it with an oil cooler which they don't come with standard.

Edited by Hollings

  • Author

Casual pic of my car as it is at the moment in the garage awaiting engine (very dusty)


3A1CC6AB-A393-41F6-B8EA-29139084F59C.jpg


Stripped the intake manifold and runners off with the fuel rail and coolant system to give it a clean.


ED76CABA-9A7D-4376-9716-4DDC190E10BC.jpg


Gave it some paint as it looked mucky and boring


D76C1DC1-C671-4B8E-9495-6894E778A243.jpg


1E9E1A28-21A4-42F3-88EB-8D3D1E0B9FC7.jpg

  • Author

Im no pro at welding im the first to admit that so here was my first attempt at welding my RH sill up with a patch repair


693EFC14-710E-48A1-9BE5-566902D96324.jpg


Welding upside down sucks ass.... and i wasnt happy with it so i cut it out and started again!


2A5FD61A-3A95-4981-9751-19061CD3794D.jpg


825C6C65-827C-4993-B1F0-0E90D8537F7E.jpg


6978A1FD-7B12-4DFE-A8B3-629704E4CEFF.jpg


AF458176-3355-4B35-9820-A06A8F68E620.jpg


84AB8ECF-F4C7-414C-82BE-2EA966F61C52.jpg


Any eagle eyed peeps would notice the line of the arch lip is too big where i have repaired it...and too be honest its because both arches were missing it so i had no idea how big it should be so when body mech have a play they can cut it to size...more is sometimes better ;)

  • Author

Here are some after shots of the LH sill in need of a skim of filler as my grinder was slightly moe aggressive than i wanted.


60DC4FCF-BAC0-4975-841D-785F6E8476AF.jpg


F477E134-F8A9-45A8-8D99-C7DEB746600D.jpg


Haha dont mind the dents, its all about character :helpsmilie:


After welding up the sills, im going to drill a convenient hole above them to fill them with this stuff!


EB123B52-EAF8-4FF8-B3F1-79CC3F27089D.jpg

Edited by Hollings

Join the conversation

You can post now and register later. If you have an account, sign in now to post with your account.

Guest
Unfortunately, your content contains terms that we do not allow. Please edit your content to remove the highlighted words below.
Reply to this topic...

Recently Browsing 0

  • No registered users viewing this page.

Important Information

Terms of Use

Configure browser push notifications

Chrome (Android)
  1. Tap the lock icon next to the address bar.
  2. Tap Permissions → Notifications.
  3. Adjust your preference.
Chrome (Desktop)
  1. Click the padlock icon in the address bar.
  2. Select Site settings.
  3. Find Notifications and adjust your preference.