FASTREDZ
Standard Member
-
Joined
-
Last visited
Everything posted by FASTREDZ
-
Hey Gents, I have stripped my rear shocks and the dust boots have all but disappeared, where could I get new ones from or can anyone measure there's and I can maybe get one from another car?
-
Thanks ill have a good read through - - - Updated - - - Thanks ill have a good read through
-
A good point about the waxoil i will defo do that I have bougt energy suspension subframe and diff bushes The instructions arent clear about the subframe bushes about the shells Anyone done these? Bigh thanks for the reply im not sure about the kunifer for fuel i better check Your right
-
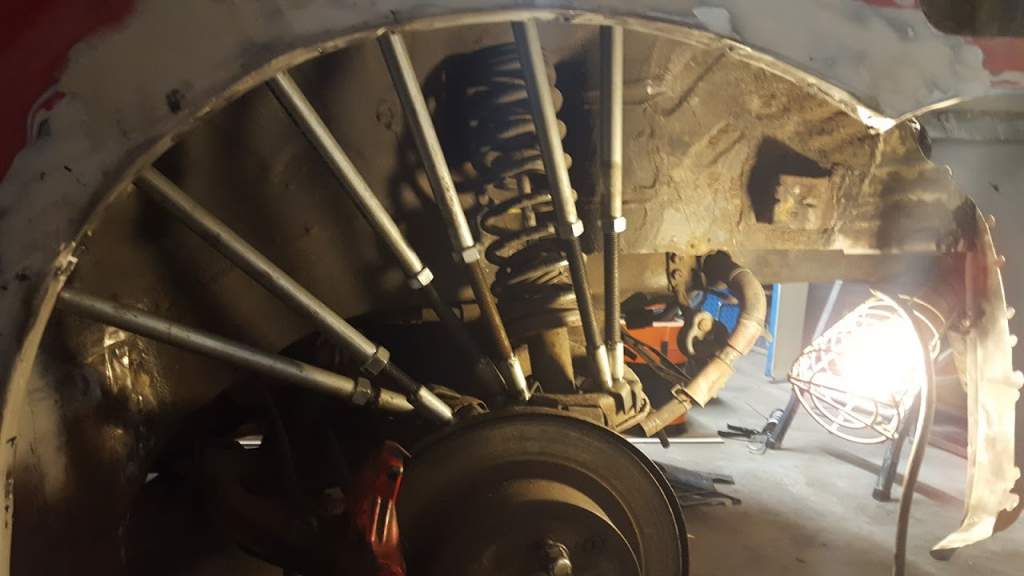
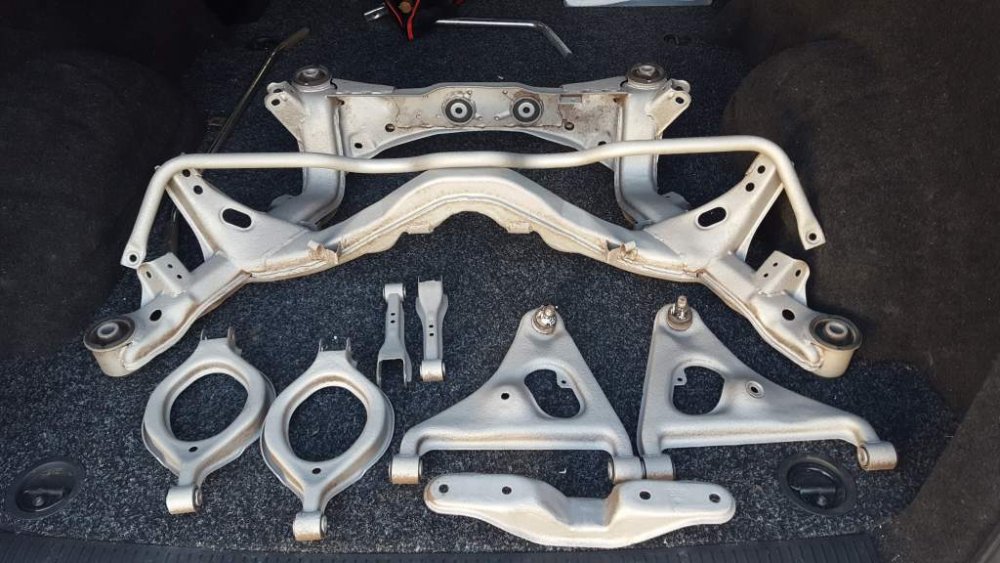
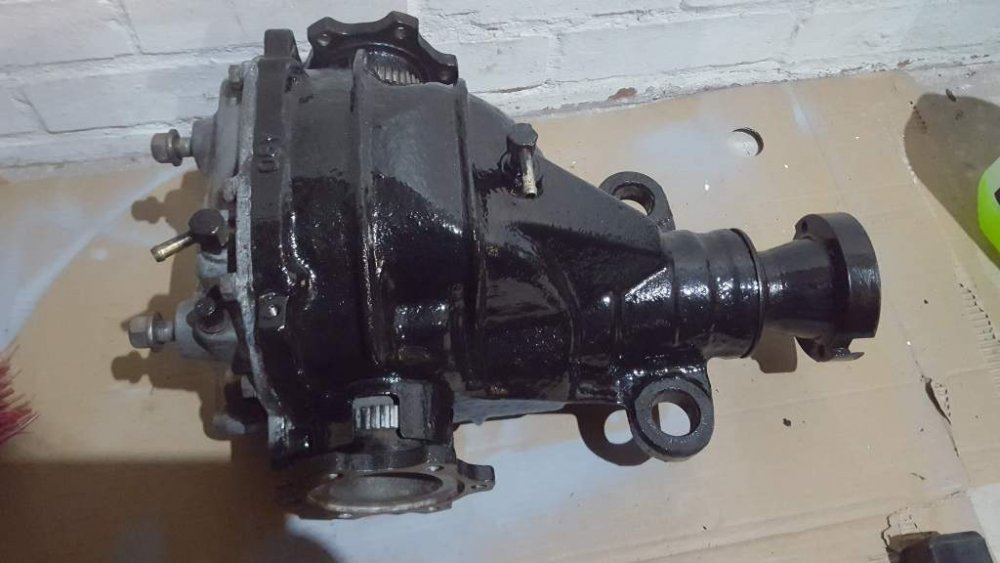
So after dropping the subframe i have stripped it and had it blasted ready to be coated with por 15 I managed to get a set of rear hubs from banzai breakers that were already poly bushed so thumbs up Diff also cleaned up and coated with por 15 Since my subframe is out of the way could anyone help who has replaced all there solid brake lines Front to rear all mine are corroded so im looking to replace them all in kunifer 3/16 Anyone know how much i need? Im guessing about 30ft probably more Can i also use kunifer for the fuel ine?
-
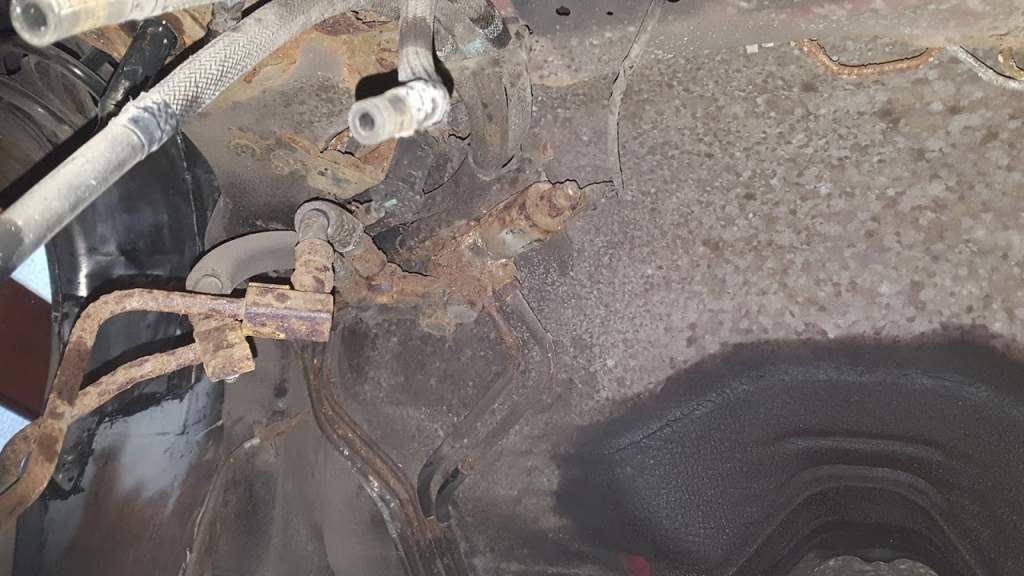
Im hoping to replace my rear lines also front to back in kunifer, am I also able to use kunifer to replace the fuel line? my hicas pipework looks bad aswell not sure how im going to replace the steel line from front to rear?
-
Is it a special double flare that is required im sure I have read something on another forum about it? Sae flare does spring to mind, but as I have never done the job im not sure what is used
-
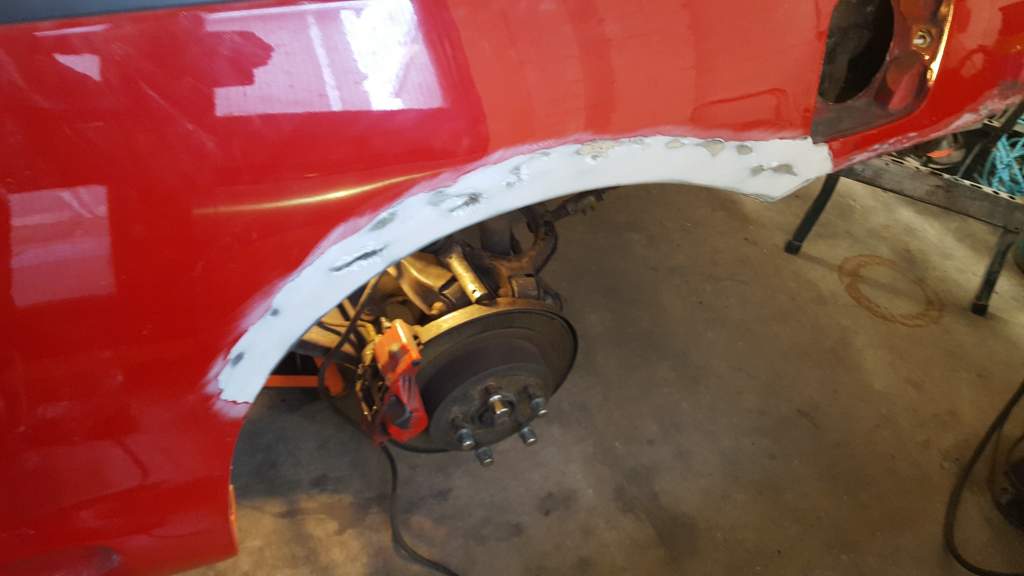
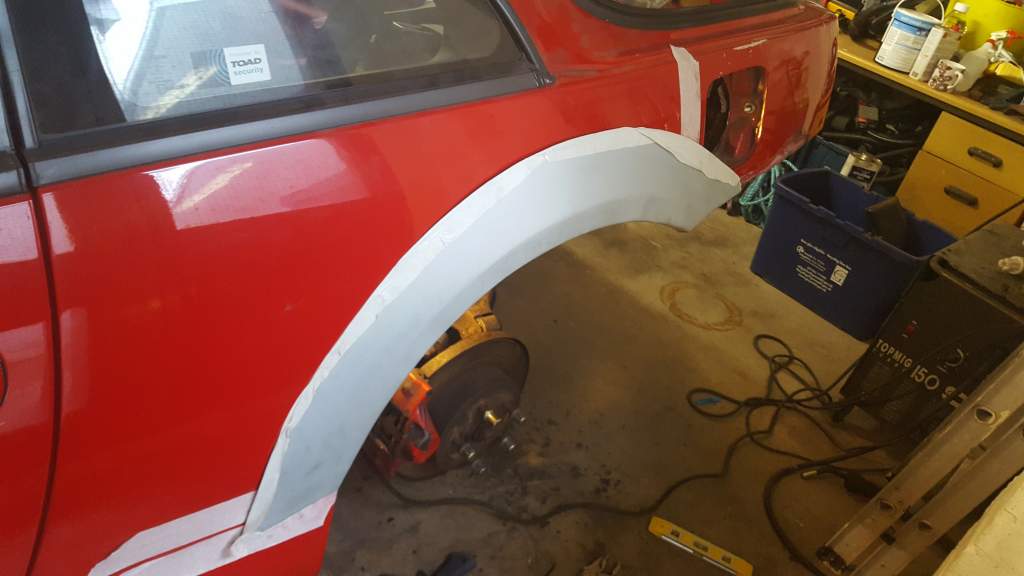
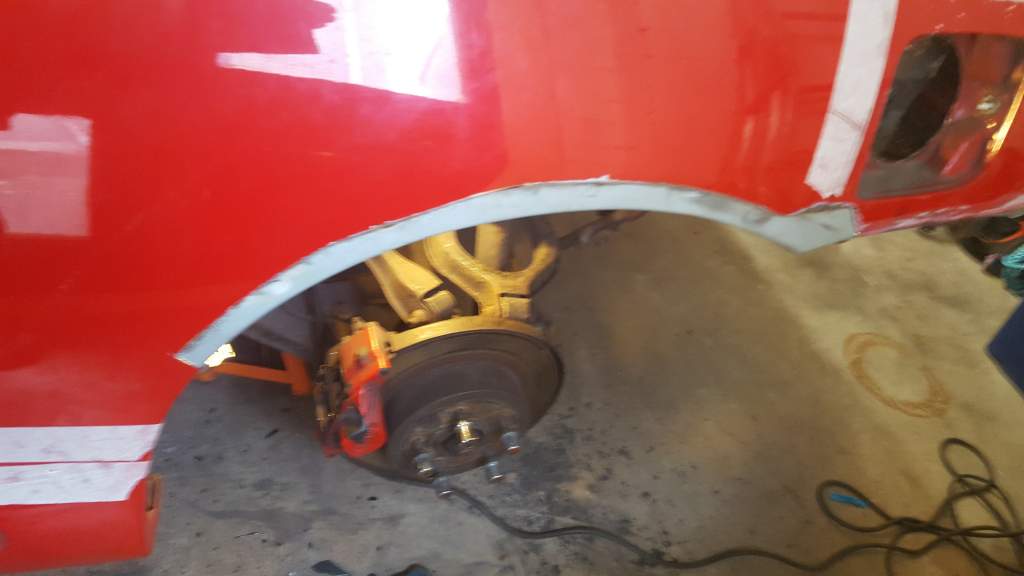
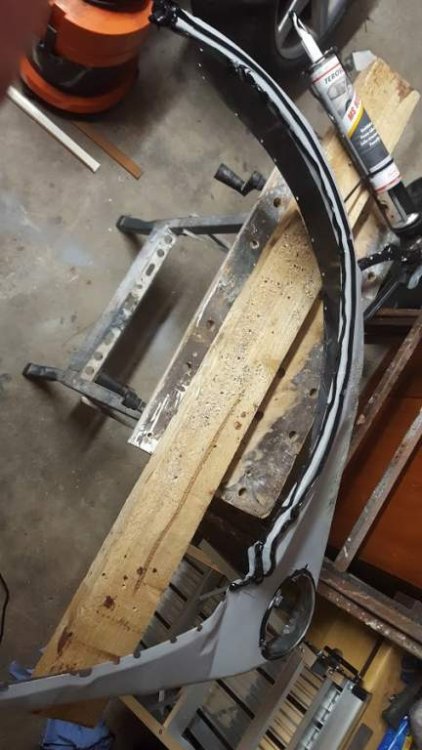
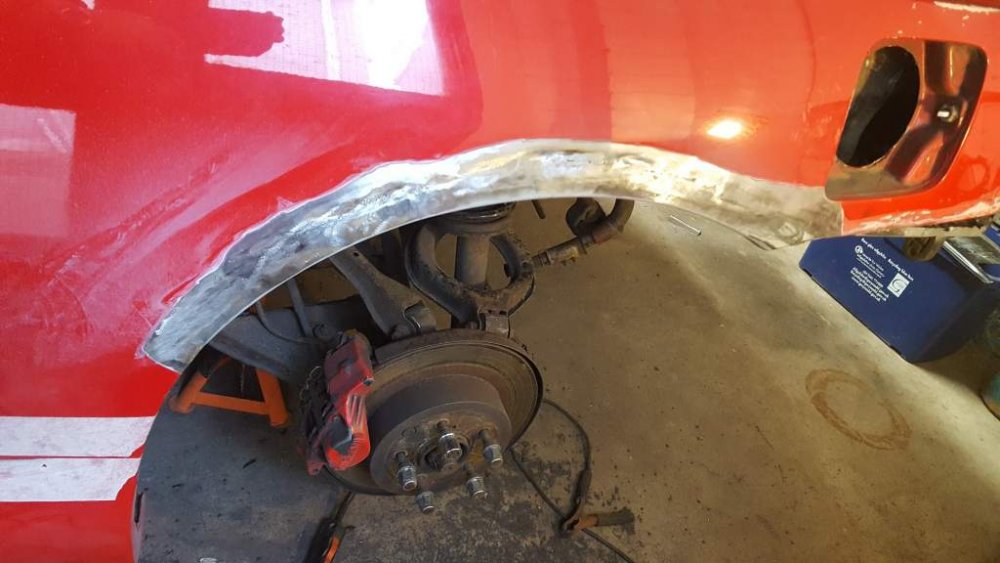
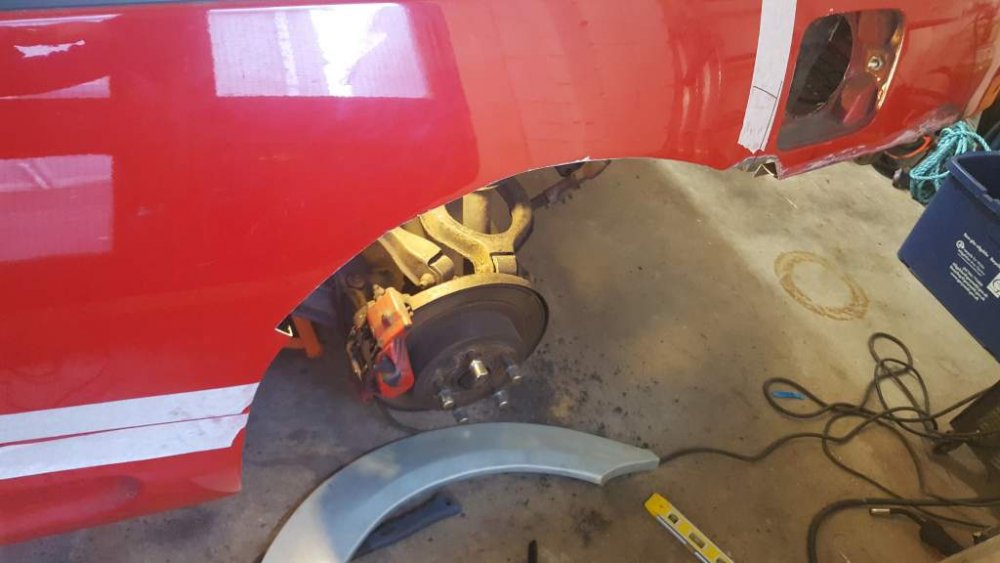
I cut about 15mm from the swage line allowing a bit of an overlap, ive bonded the repair arch back in place and will also Be welding it too so hopefully no rust will return. Shockingly all the rust i found was actualy rusting from the inside out.
-
I took measurements of the rear arch so im kind of crossing fingers it will ft ok, ive only replaced the inner arch And the box section at the rear of the arch section under the rear bumper, I still need some bodywork before refitting the rear bumper.
-
Thanks matey :) it all started out from a bubbling wheel arch and very soon turned into me cutting out every piece of bad rusted steel I could see now the subframe is out looking to do the brake pipes next
-
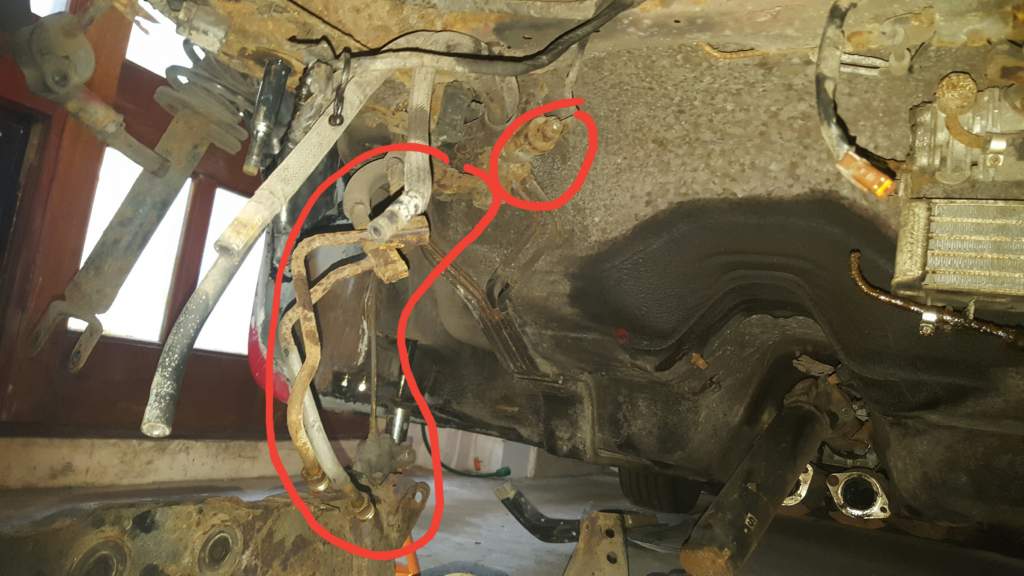
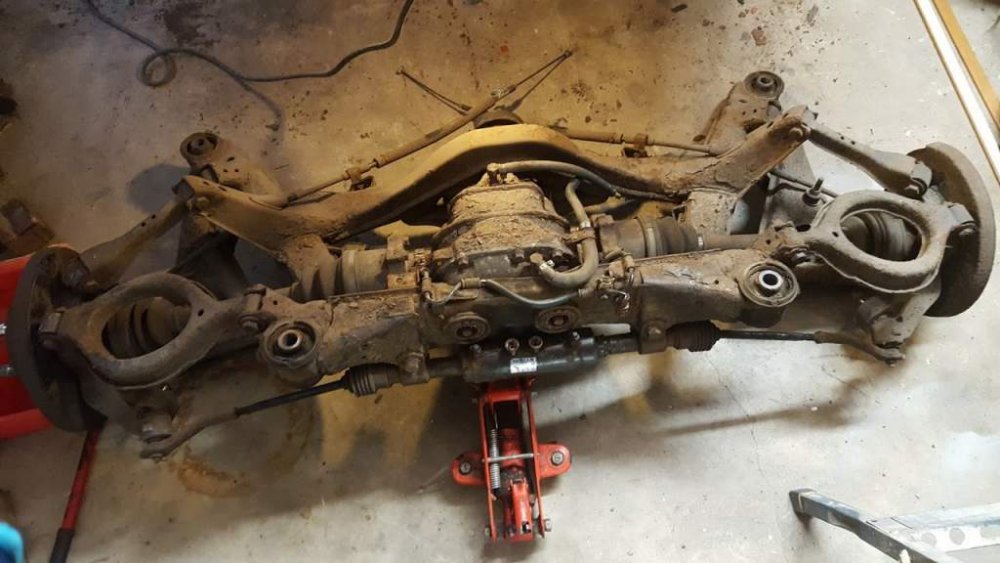
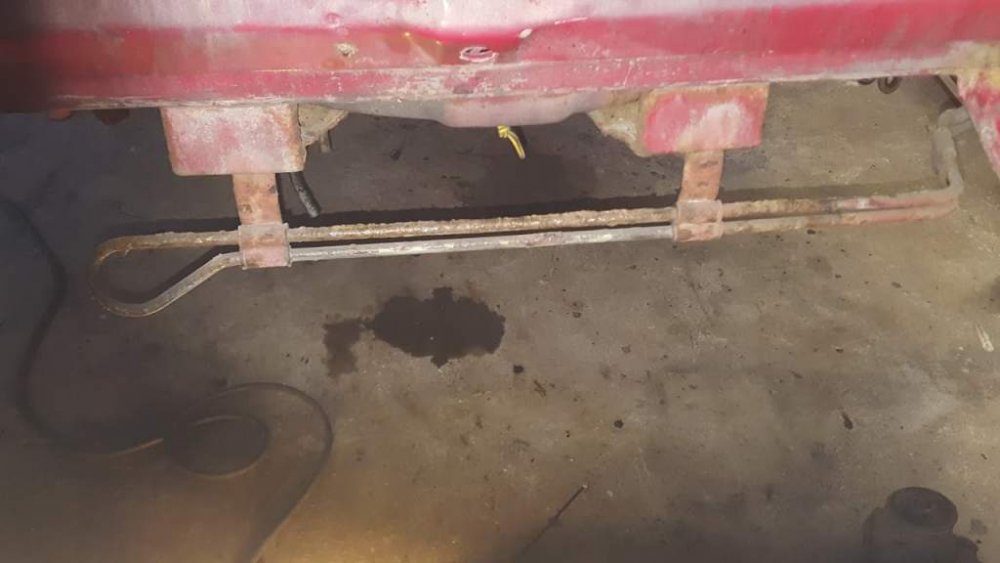
Quick update on the work so far :) ready to be bonded in bonded in and set so ive decided to drop the subfame also underneath you can see the hicas solenoid and pipework that is rotted hopefully someone has a spare one for me to replace mine rear diff cooler pipework


-
I also want to do this job and replace my brake pipework, I think 3/16 pipe and there double sae flared but im not sure and hoping someone will be along shortly to confirm
-
Im restoring my rear subframe at the moment and The Hicas pipework and rear solenoid under the passenger side By the rear arch look quite bad I know many of you have deleted the hicas Does anyone have th rear solenoid and the pipes to the hicas rack please

-
Wanted Rear bottom arms in good condition with good bottom joints please
-
Hi I see your going to powder coat the subframe im thinking of doing that too but also thought of using something like por 15 or something from eastwood paints what do other people think of powder coat verses special painted coatings?
-
Wow that's really impressive work, how did you manage to strip all the underseal, im looking to do mine too, did you strip it too bear metal? im thinking of using bilt hamber epoxy mastic. http://www.bilthamber.com/epoxy-mastic
-
Yes it is apparently so, these are the rear arch repair panels that are available Its intresting to see how the panels were put together in the 90's compared to today, on the zed I can clearly see the rust has spread through the seams where the spot weld are, today cars are bonded together and the seams are sealed so this is what im doing with my zed when im putting the parts back my advice to anyone who has a half decent non rusting zed would be to get the inners sills and inner arches and box sections all rust cavity coated to preserve the zed, I wish I would have done this when I first had mine, interesting to see also that most if not all of the rust seems to come from the inside out...
-
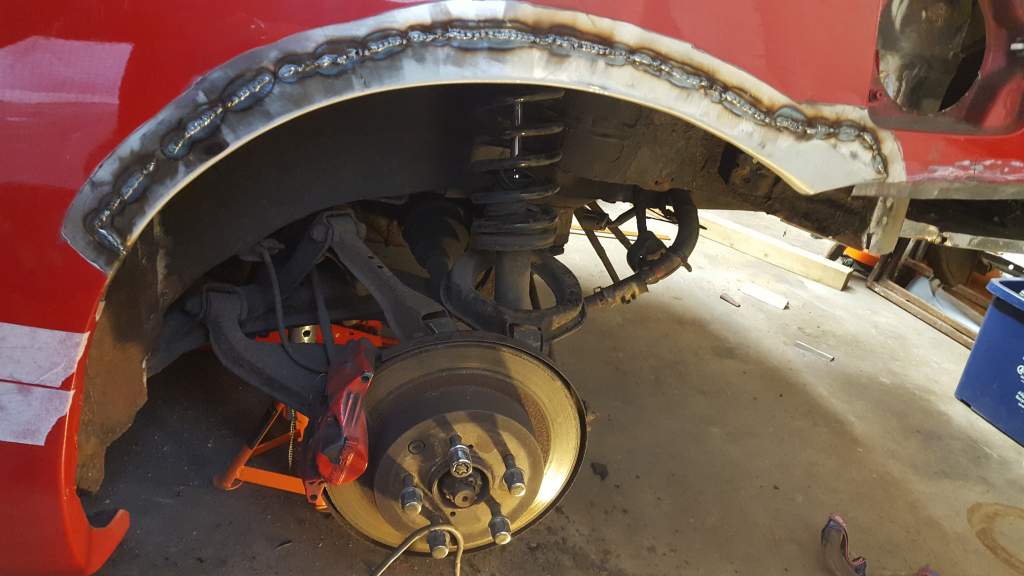
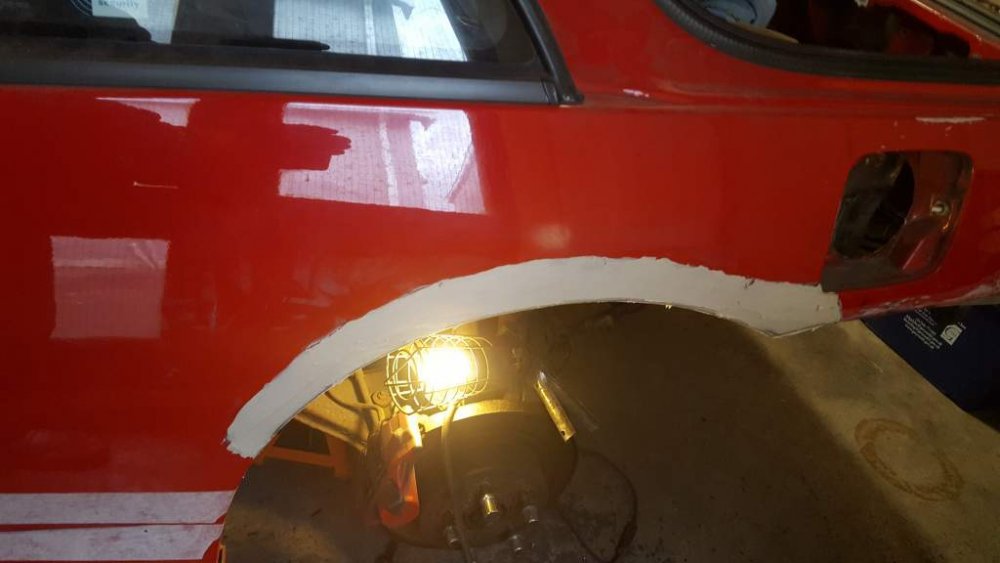
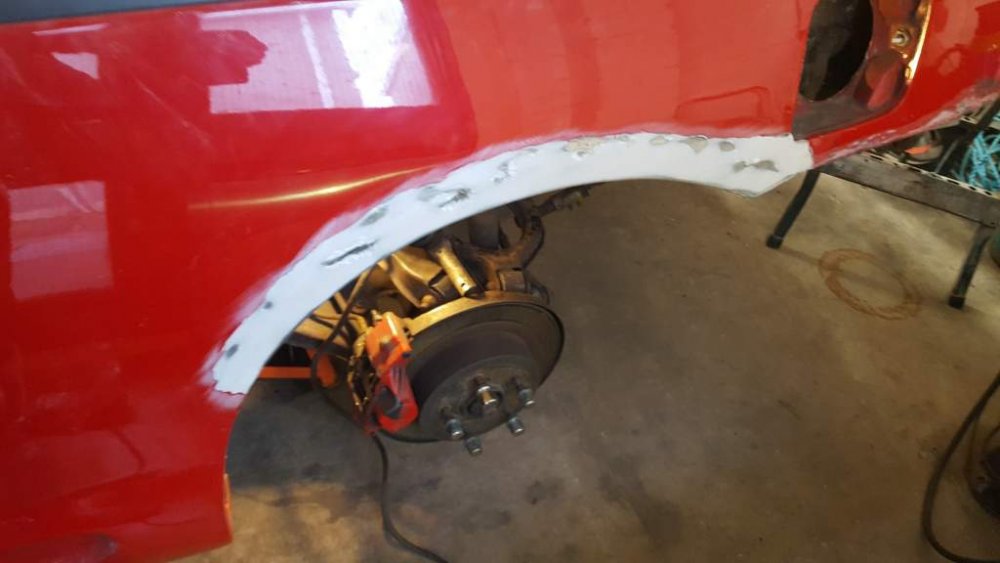
So that is the bulk of the work for the repair panel, next is the sanding, filler and painting. after this we need to work on the inner arch and rear inner panels.
-
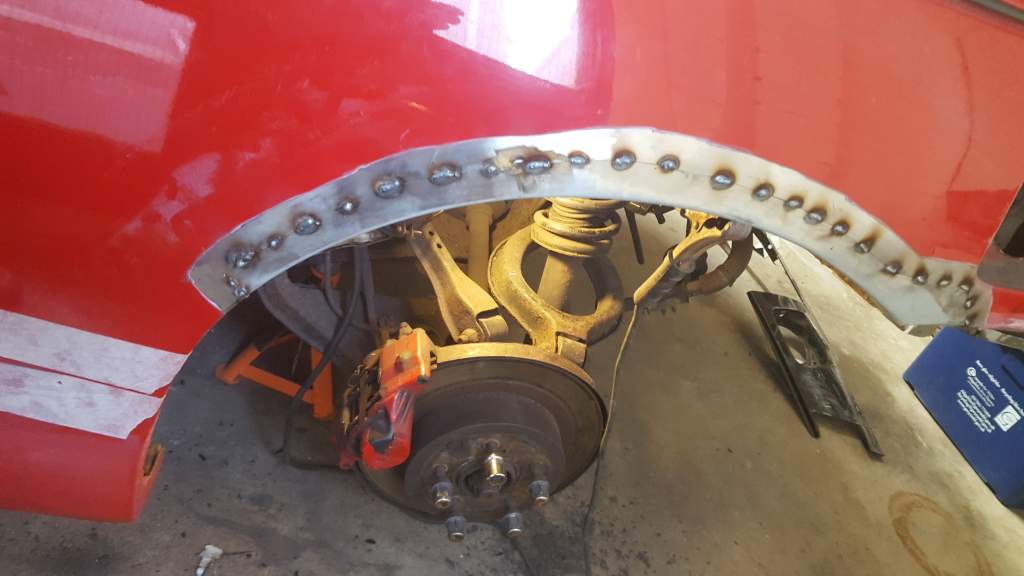
Time to update the thread, its been a slow process im afraid with other commitments but I have managed to move forward a bit so here are a few pics to enjoy. so after cutting out the rotten part we are left with this trying on the new repair panel that we will scribe from the inside and after cutting the repair panel to suit we can now hold it in place ready to be tacked on.


-
I don't think I ever got round to finishing this write up but it will give you a great start I hope AUTO TO MANUAL CONVERSION.pdf
-
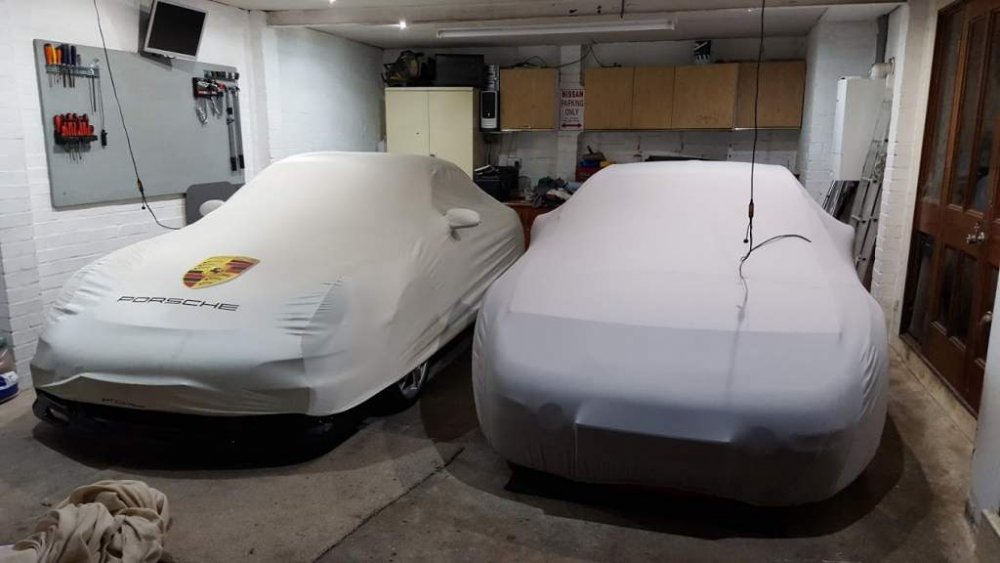
Got this from classic additions I believe it was fits quite well considering I have the high level rear wing
-
So sorry to hear of this mate, glad your ok, A sad loss of the zed im sure
-
If you are doing a swap with everything then I personally would try to waxoil and rust treat every nook and cranny of the the donor zed before putting anything back in it, If you are determined then you can accomplish anything but it will be hard work on the driveway and as pointed out the winter is soon upon us, but yes if your determined there is plenty of help here for you
-
I have removed my inner arch complete so I am able to get a joggler behind quite easy, I do agree its quite a job to keep the step in the right place isn't it, I will see when my panel arrives see if the step matches mine, What did you use to cut the panel? I have a grinder with a very thin cutting disk
-
Just what I was looking for thanks matey, Did you seam weld it all the way, did the panel distort at all? did you cut it just above the arch flare if that make sense :) looks brilliant, I have just ordered my arch repair panel so will be looking to do mine real soon
-
The mid level is what I have, looks great but you can forget using your rear view mirror :)