Jump to content
View in the app

A better way to browse. Learn more.

300ZX Owners Club

A full-screen app on your home screen with push notifications, badges and more.

To install this app on iOS and iPadOS
  1. Tap the Share icon in Safari
  2. Scroll the menu and tap Add to Home Screen.
  3. Tap Add in the top-right corner.
To install this app on Android
  1. Tap the 3-dot menu (⋮) in the top-right corner of the browser.
  2. Tap Add to Home screen or Install app.
  3. Confirm by tapping Install.

Hi,

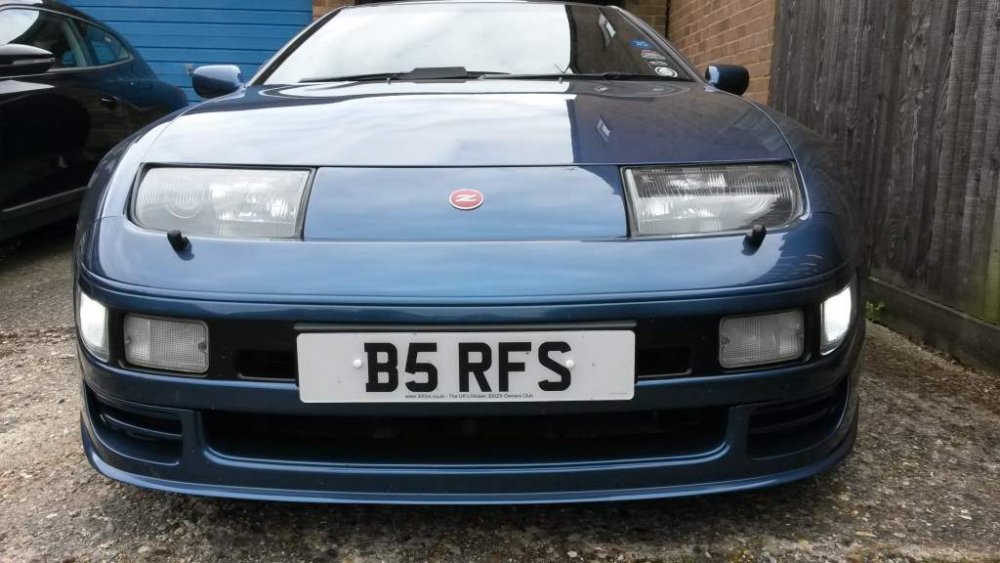
Just joined as I have just started to restore my UK spec 300ZX twin turbo.

Have owned the car since 1997, it's a 1993 model in red. So far engine that is still stock fully serviced, uprated clutch ready for engine mods, new brakes front and rear fitted ( 8 pot on front and 4 pot on rear), full respray (mostly back to bare metal) after sills, arches and some under body restoration, new lights all around except headlamps and new later spec spoiler. 18 inch Noble M12 wheels. Will post photos once I know how to.

Hope to get to a few meetings and look forward to meeting you all and discussing best places to get engine mods etc

Rob.

Edited by Robert W

  • Replies 40
  • Views 6.3k
  • Created
  • Last Reply

Top Posters In This Topic

Most Popular Posts

  • Hi Akita, The post concerning clearing the orange was from RichardS, you may need to message him unless he reads this thread.

  • Hi all,   A few pics of the restoration so far, Sill repairs, rear arch repairs, prime and respray etc. Car now nearly back together currently having a wiring harness fitted to fix the rear perspex

  • With patience..... Take the indicator bulb out, then using a soldering iron (or heated-up a screwdriver), slowly melt an "X" into the orange lens. Melt away more if you wish, but take your time..

Posted Images

Featured Replies

  • Author

Hi all, it's been a while since i last posted an update, the latest work carried out has been exhaust, fuel tank and the rear sub frame with all the suspension etc all off the car, rear brake lines upgraded to copper, all bushes replaced and a one piece prop fitted as the original two piece was found to have a slight vibration at about 40mph+ when refitted (UJ bearings worn), all under sealed and MOT passed (no advisories). just need to get the engine bay cleaned and the drivers seat bolster repaired (small patch wearing) and the car should be ready for its first trip. Can anybody recommend a car detailer that can clean the engine bay back to as new condition as possible? Thanks in advance Rob.

Might be a bit late this year to use the car but will definitely be about next year to enjoy it and attend a few meetings, hopefully get the car next week so will post a few photos.

Edited by Robert W

  • 4 weeks later...
  • Author

Hi All,


A few more photos, just a few more jobs to get the car back to where i want it to be. Can anybody spot whats different in one of the photos? Was trying out something to see which i preferred.

C__Data_Users_DefApps_AppData_INTERNETEXPLORER_Temp_Saved Images_ftsf-d437a117-30be-47d4-89b2-50.jpg

WP_20191011_005 (1).jpg

WP_20191019_004.jpg

WP_20191019_005.jpg

WP_20191019_006.jpg

WP_20191019_001.jpg

WP_20191019_003.jpg

WP_20191019_008.jpg

WP_20191012_003 (1).jpg

WP_20191012_001 (1).jpg

  • Author

A few more. Any eagle eyed members may have spotted the passenger window switch common problem, checked the site for a fix and found the electrical crimp method but found a different way, photos below, used a spring locking washer, works really well and easy to fit, also can be adjusted to get the correct fit.

WP_20191012_004 (2).jpg

WP_20191012_002 (1).jpg

WP_20191027_002.jpg

WP_20191027_005.jpg


Will post some better photos if we get any decent weather and i can get out in the car.

Looking forward to getting the car out to a meet, are there any more this year?

The car is looking great mate. It would be nice to see some pictures of the under side. :wink:


How’s the engine clean coming along? I’ve recently been cleaning mine up. It’s a long thankless task but it will be great to know, when everything is bolted back down again, that all the metal work will be better than new and will be clean enough to eat your dinner off.


Great fix with the switch. As for the “99 spoiler, I think it works if you go for a “99 front bumper. If you’re not thinking of replacing the front then I would stick to the early spoiler.

I vote UK spec.


Me too. Although I have since replaced mine with tinted J-spec lenses (courtesy of Phutumsch), into which I have installed DLRs.


You can also clear out the orange in your indicators for a fresher look.....:wink:

20190505_165252[1].jpg

I have something to say............ It's better to burn out than to fade away..... :tt2:

Really nice zed you have their Robert, love the paint!! And cheers for the good tip on the passenger switch


I'd agree with UK spec for the lenses


  • 2 months later...
On 31/10/2019 at 21:11, RichardS said:


Me too. Although I have since replaced mine with tinted J-spec lenses (courtesy of Phutumsch), into which I have installed DLRs.


You can also clear out the orange in your indicators for a fresher look.....:wink:

20190505_165252[1].jpg

How’d you clear the orange? ?

  • Author

Hi Akita,

The post concerning clearing the orange was from RichardS, you may need to message him unless he reads this thread.

12 hours ago, Akita said:

How’d you clear the orange? ?

With patience.....:classic_wink:

Take the indicator bulb out, then using a soldering iron (or heated-up a screwdriver), slowly melt an "X" into the orange lens. Melt away more if you wish, but take your time.... Then use a pair of long-nosed pliers to break the rest of the orange plastic away. Once finished, turn the light unit upside-down and shake the rest of the broken orange plastic out. Job done!

Don't do what I tried first - and simply tap away at the orange with a screw-driver and hammer...… I went straight through the front of the light unit. JeffTT laughed so much at my failed exploits, that he kindly sent me a free replacement (Thanks Jeff...:classic_biggrin:).

I have something to say............ It's better to burn out than to fade away..... :tt2:

….And I forgot to add the obvious part - you'll need to install some orange indicator bulbs (straight pinned variety). I used the chromed bulbs, which flash orange, to avoid the "fried-egg" look behind the newly cleared lens:classic_cool:

I have something to say............ It's better to burn out than to fade away..... :tt2:

1 hour ago, RichardS said:

….And I forgot to add the obvious part - you'll need to install some orange indicator bulbs (straight pinned variety). I used the chromed bulbs, which flash orange, to avoid the "fried-egg" look behind the newly cleared lens:classic_cool:

Thanks very much for the explanation and tips ? A job added on the To do list ?

Join the conversation

You can post now and register later. If you have an account, sign in now to post with your account.

Guest
Unfortunately, your content contains terms that we do not allow. Please edit your content to remove the highlighted words below.
Reply to this topic...

Recently Browsing 0

  • No registered users viewing this page.

Important Information

Terms of Use

Configure browser push notifications

Chrome (Android)
  1. Tap the lock icon next to the address bar.
  2. Tap Permissions → Notifications.
  3. Adjust your preference.
Chrome (Desktop)
  1. Click the padlock icon in the address bar.
  2. Select Site settings.
  3. Find Notifications and adjust your preference.