Performance VH's Z32 VH45DE Build
- Replies 169
- Views 29.8k
- Created
- Last Reply
Top Posters In This Topic
-
PerformanceVh 82 posts
-
Eggs 13 posts
-
Gaz 300 11 posts
-
Hollings 7 posts


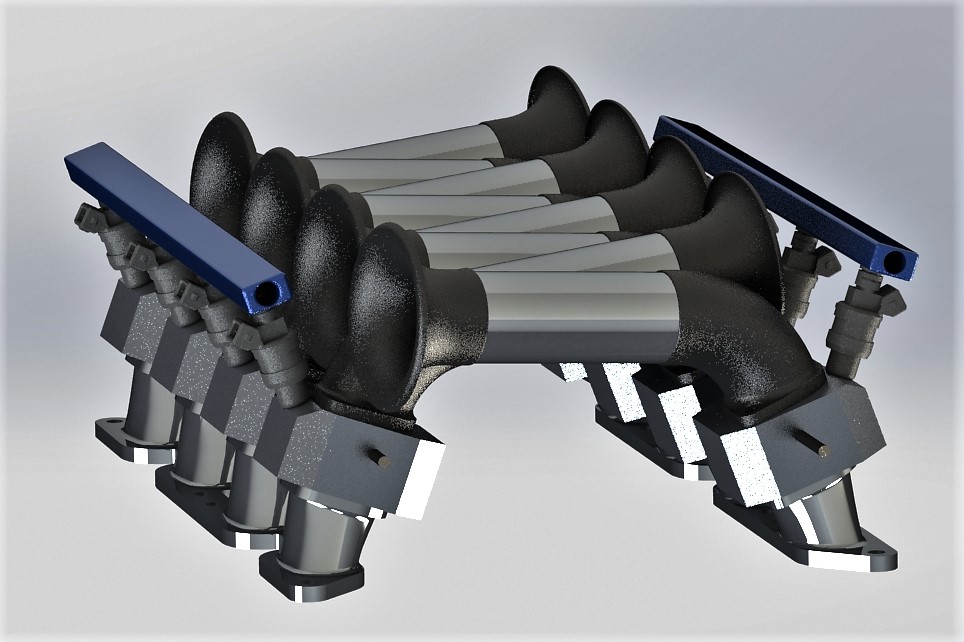
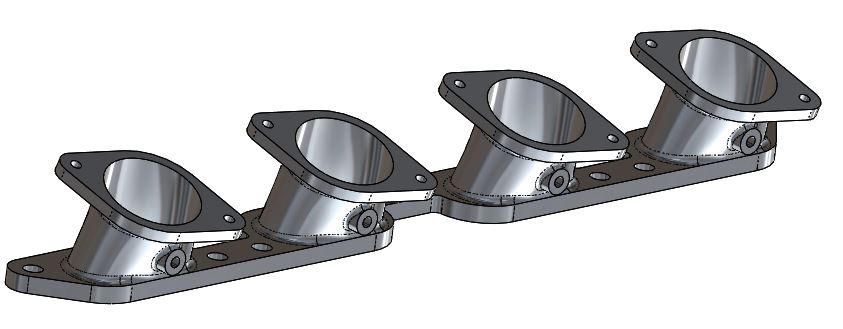
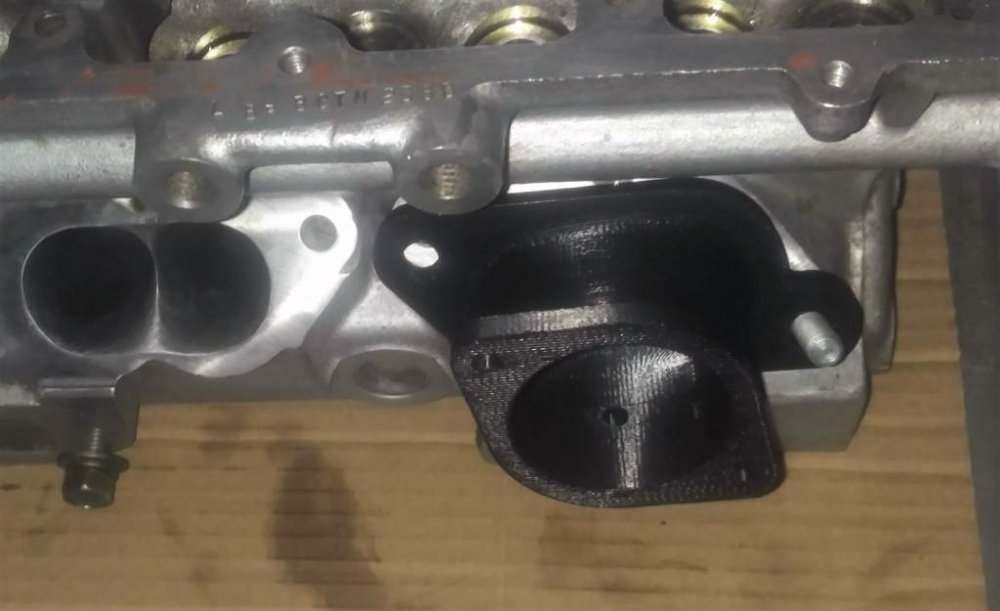
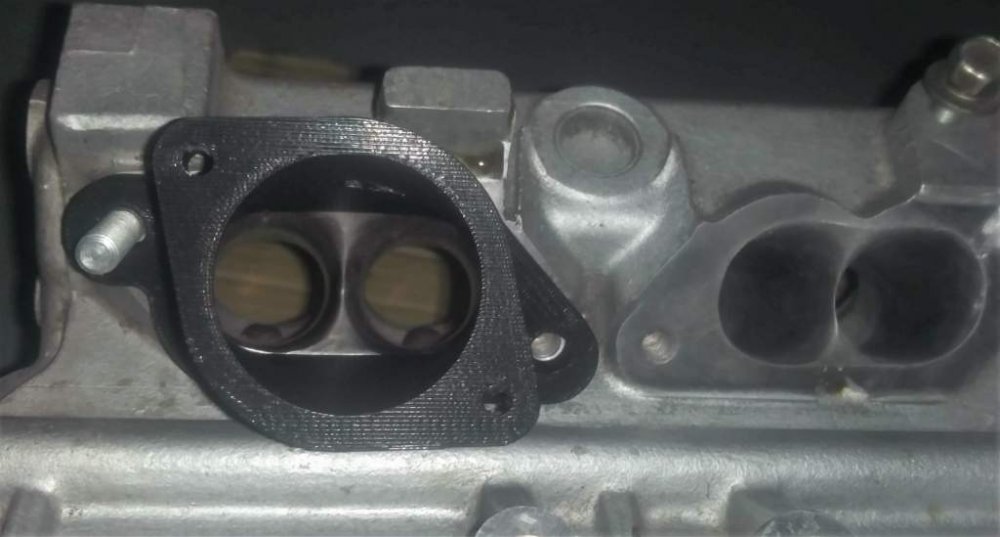
Hey guy's. Here are a few pictures to get you up to speed with my swap/build
Here is a link for more pictures http://s1209.photobucket.com/user/nismo300zxjdm/library/Project%20-%20Not%20So%20Fairlady%20Z
http://s1209.photobucket.com/user/nismo300zxjdm/library/PerformanceVH%20Products