- Replies 37
- Views 5.6k
- Created
- Last Reply


Most Popular Posts
-
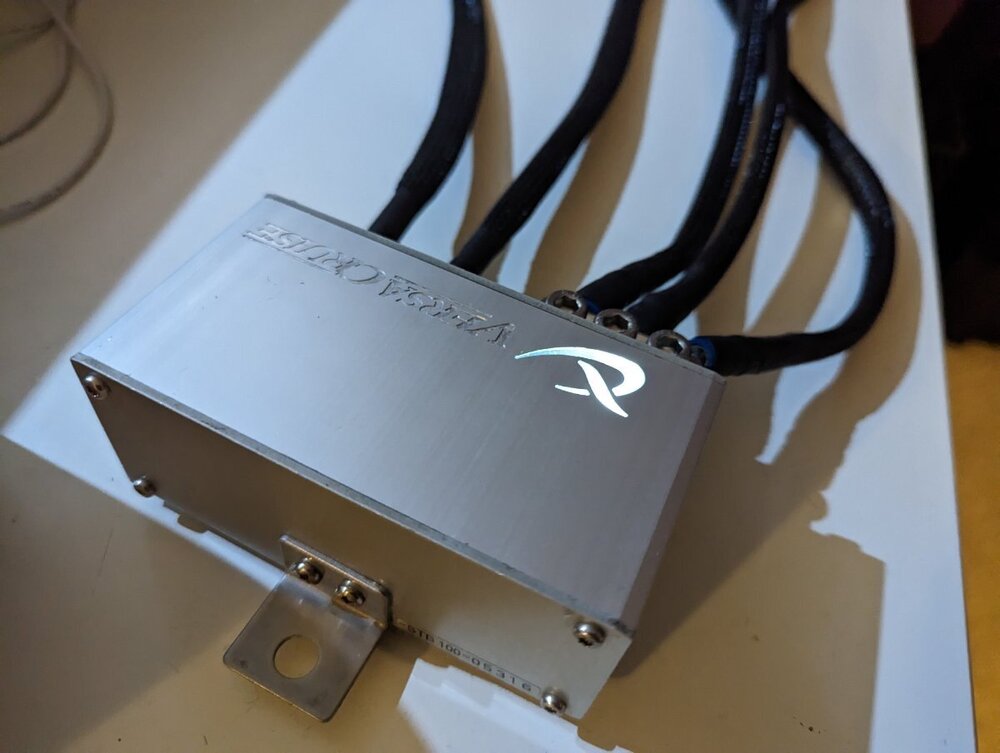
First changes for me were to have the big belt service done and fit some Rays 350z wheels along with some coilovers and a boost controller and a Specialty Z chip. After chip install I
-
Still playing catchup with this thread to present day. Next update is a miscellaneous one, plenty of jobs are not covered here as I did not take pics and have probably forgotten a lot (this work was d
-
Bit of an interior bits and bobs update here. When the car was on the road before, I fitted some generic boost and temp gauges. I like having a water temp gauge as I like knowing the actual water
Finally getting around to making a thread for my Z. Wanted to get one going for my own sake just to track the history and changes on the car.
Currently the car is off the road and has been for the last year as I started a business in January 2021 and needed a sensible vehicle for that, not to mention not being able to afford running a weekend car while trying to get a business off the ground but at least I managed to save myself from selling it! It was my daily driver for a period prior to going back into hibernation thought. It has undergone some changes while it has sat in my garage, I think not being able to drive it tends to drive you to fettle! It is probably going to take a while to get this caught up to the current day but will update as and when I have some time.
The owner prior to me had a thread going which can be found below - but any core info and pics are in this post.
I actually managed to get in contact with the previous owner via email and they shared some old photos and confirmed some details about the car. Prior to him taking it on from a friend of his in 2011, the car had been stood after said friend damaged the turbo housings after a failed downpipe swap - I assume it then became a project that was never returned to. I believe prior to that it was owned by someone who was also personally known to the owner before me and was bought as a work vehicle from new. Pictures from its initial rescue from "barn find" state are below.
The previous owners intent was to restore the car to OEM state only and when I bought the car it was indeed standard all the way through - including the original radio, etc. They mechanically restored the car and had a body shop perform a full respray in 2011 too.
The car then spent event more time unused between the project completion by the previous owner before it was sold on and listed for sale by a dealer sometime in 2017. Once again it sat around, this time for sale at that dealership for a couple of years and I believe they originally had a very high asking price (at the time) for it - at least based on the comments on the Pistonheads article about it here: Nissan 300ZX: Spotted | PistonHeads UK The comments in the link also feature some input from the previous owner and someone else who knew the car.
I ended it's time sitting at the dealership and bought the car in 2019. Pictures from the day of pickup are below.
Edited by Peage