Jump to content
View in the app

A better way to browse. Learn more.

300ZX Owners Club

A full-screen app on your home screen with push notifications, badges and more.

To install this app on iOS and iPadOS
  1. Tap the Share icon in Safari
  2. Scroll the menu and tap Add to Home Screen.
  3. Tap Add in the top-right corner.
To install this app on Android
  1. Tap the 3-dot menu (⋮) in the top-right corner of the browser.
  2. Tap Add to Home screen or Install app.
  3. Confirm by tapping Install.

Hello Everyone,


So after looking at prices for interior kits, full retirms and the like I decided to bite the bullet and go at it myself. I sewed a picture of a bird when I was 7, so how hard can a car interior be?... I have a tenancy to try and make things rather than buying them, for better or worse the experience is always great and learn a lot.


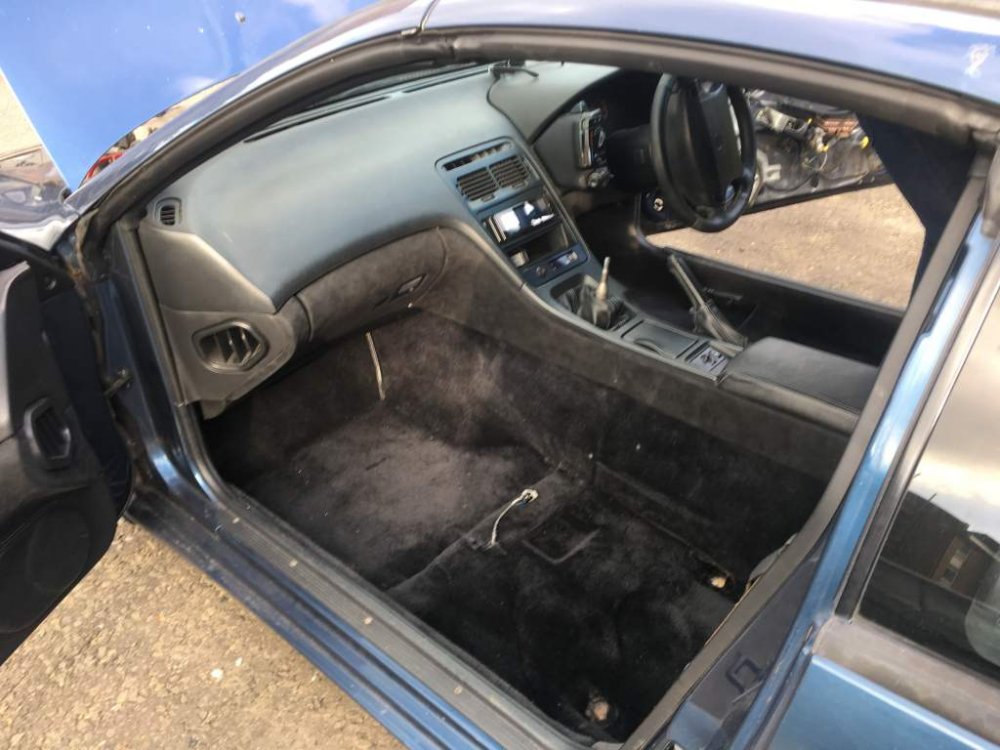
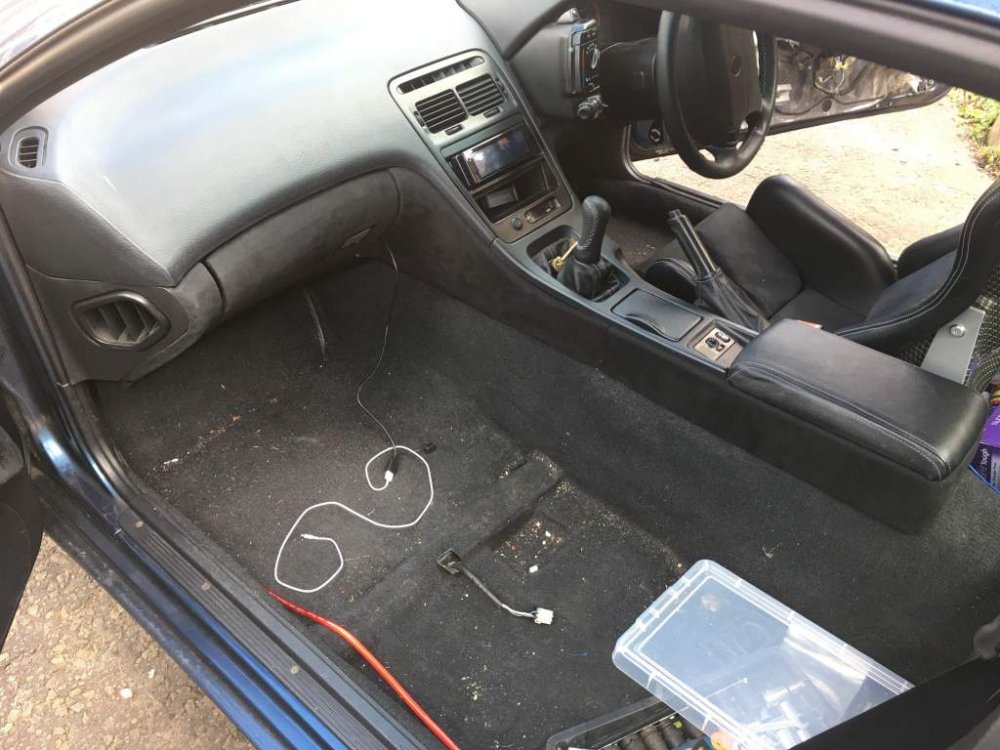
The plan is to retrim the arm rests, door cards, gear and handbrake gaitor, steering wheel and seats. First off, the Center arm rest which was trimmed in a crappy leather/vinyl.


So I ordered a bunch of Italian Leather, needles, thread, Calico Cotton, and went guns ablazing. I borrowed mums sewing machine but quickly found that it wasn't up for negotiating thick leather, and trying to do smooth stitches was impossible!! So ordered something new...


img_20150819_225902.jpg


img_20150821_230405.jpg


The old, but heavy weight Singer 211U566A Industrial Sewing Machine with a Walking foot and needle feed, both crucial for thick slippery material! And also a Servo motor, which allows very steady slow slowing!


So far the shopping list looks like this:


- Sewing machine £550

- Leather £85

- Alcantara Samples £ Free

- Original Steering wheel £25

- miscellaneous sewing bits £40

- Spray Glue £10

- Foam Lining £8


Here is the results of tonight's first try, using the original arm rest as a template.
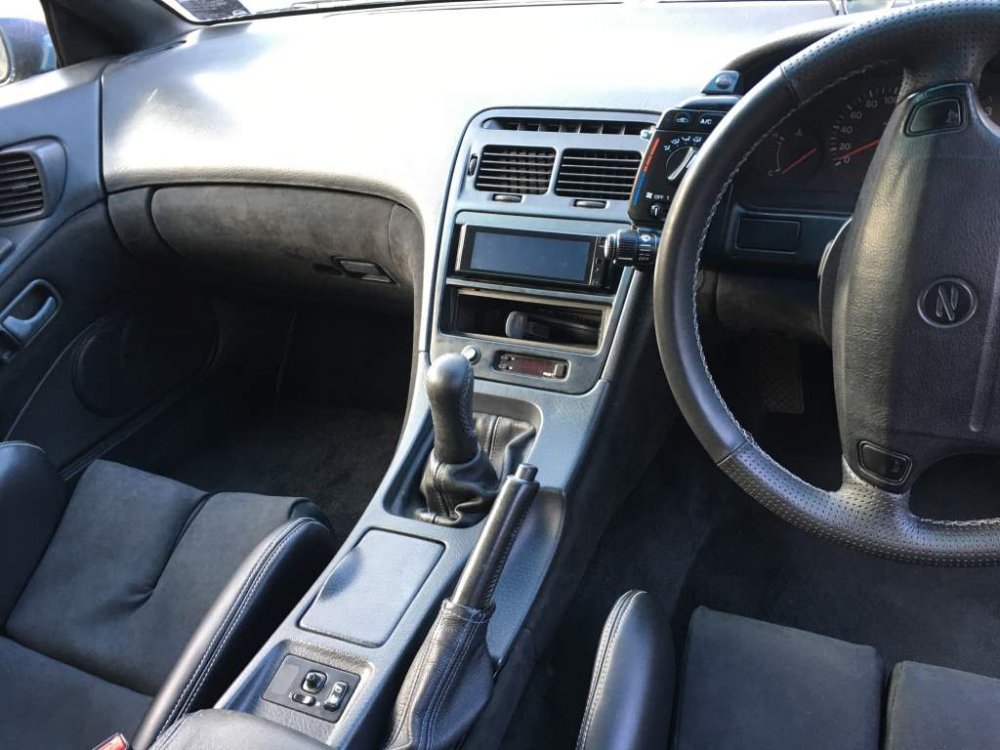
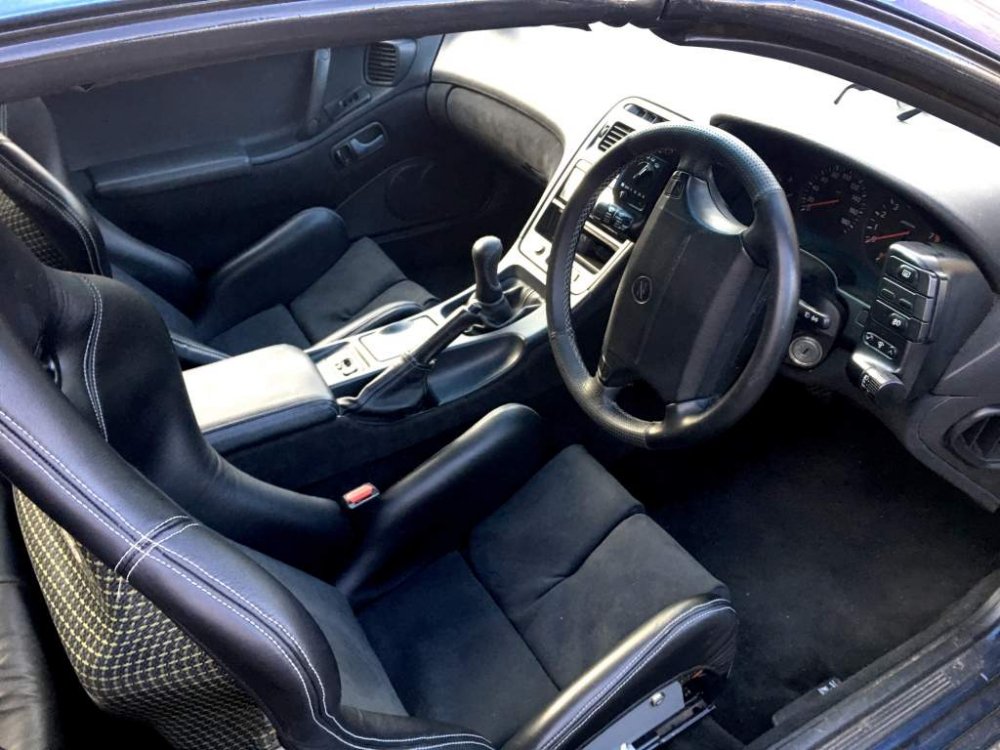
 

Original Interior:


img_20150718_124105_hdr.jpg


img_20150822_195833.jpg


testing top stitches:

img_20150816_195011_edit1.jpg


img_20150822_201100.jpg


img_20150822_195800.jpg


img_20150822_203556.jpg


img_20150822_203611.jpg


img_20150822_204940.jpg


Actually really pleased with the first try. And I must say that the sewing machine makes ALL the difference!! Spent hours setting it up just right for my thread weight, but well worth it.


I will try and use this as a record of my lessons learned and see who far I get!


Thanks for reading, William.

Edited by wchestnutt

  • Replies 101
  • Views 9k
  • Created
  • Last Reply

Top Posters In This Topic

Posted Images

Featured Replies

  • Author

Thanks Mate! That will be the last bit I complete for a while seeing as the seats will take weeks haha.


AARGGG!!!!!! Spent all evening taking the cover off my passenger seat.. if making new seats is as hard as it was to remove the old one then I am in for a real treat...


So passenger cover is off with all its intricacies. Time to start pinning the pattern on to the seat to check the fit. The good thing is that the foam seems in really good condition :)


Si, How you do this on a regular basis I really do not know! My Hands are red raw.

Edited by wchestnutt

  • Author

Update: So Today I test fit the steering wheel, only to find that the chassis for the airbag was different!! Screws in the wrong place, must have changed it during the later years :( So I went to take both wheel home thinking I will just retrim mine straight away, only to find that my Daily driver has died haha. Intercooler pipe popped off, and the clips seem to be worn away so it wont stay on anymore. I am hoping that it is just a bad pipe rather than an overboosting problem causing too much pressure/wear!


So back to the Zed, and have had to bodge the retrimmed wheel on to the car without the airbag connected just so I can get to work tomorrow. Oh and also there is only a driver seat in the car as I wasn't planning on driving it anywhere.


pffft cars!! Always fun !


Si, How you do this on a regular basis I really do not know! My Hands are red raw.


Nobody ever said it was easy...!


And putting the new cover on is far more time-consuming and stressful than removing the old one - I'm trimming a Z32 at the moment and I just lurve doing the front seats.... :2guns:

  • 2 weeks later...
  • Author

So, after a nice holiday and catchign up with work I am back on it. This week will be the front passenger seat.. Progress so far


Alcantara colour matched to the Zeds current blue tweed for the seat inserts.

img_20150917_142237_hdr.jpg


Cutting up and labeling the panels

img_20150917_184008.jpg


First Pattern in cotton

img_20150917_194628.jpg


testing the fabrics together

img_20150917_213941.jpg


starting to place the panels together

img_20150917_233306.jpg


Adding some quilting (not sure of exact name) to the alcantara. Going to redo this bit with a thicker foam backing, probably 3 layers instead on one to make the design really POP

img_20150918_231227.jpg


Added the Bolster with some horrific shapes!!

img_20150919_015109_edit.jpg


Unfortunately I will run out of leather this weekend before I finish the seat. More ordered to arrive early next week!


It has been VERY satisfying so far! excited to put the seat back in the car

I hope it's genuine Alcantara as it'll fade quickly in the sunlight if not...! You'll know if it's genuine as you'll have paid upwards of £90 per metre for it.


And there's a trick to making the pleats "pop" and it doesn't involve more foam. But I'll leave you to figure that one out for yourself... ;)


Those little add-ons at the sides of the very front of the centre? I find it much easier to sew them onto the centre section first, then sew the bolster covers on.


You're making good progress here. You should be very proud of yourself :thumbup1:

  • Author

Thanks for the words Si! Hmm okay I have some investigating to do now haha!


Yeah genuine stuff (i Hope) from the UKHide.co.uk I did test a couple of samples of the fake stuff and the quality wasn't as good and heard lots of stories about it fading! Spot on at £90 a meter!


I can't remember if I did those little triangles on to the center first or not, fiddly though! sewing 4 layers of leather and foam at one point.

Yeah, UK Hide sell the genuine stuff. Seems like they've lowered their prices since I last had any off them too - think I paid £135 per metre about 3 years ago!

  • Author

Its finished!! :)


Really bloody chuffed with this one. shaking from tiredness, but well worth it.


img_20150920_001717.jpg


img_20150920_001635.jpg


img_20150920_001458.jpg


A few wobbly bits, but overall I think it looks better than some of the kits I have seen people fit so I am happy :)


Also I will sort out the image sizes on this thread at somepoint soon, sorry for all the huge images!!

  • 2 weeks later...
  • Author

Progress! Finished the passenger seat, but it made me realise how faded the rest of the car is!


So I now need to retrim every panel with leather and black alcantara! I am still in two minds about the blue alcantara (on the blue car).. What are opinions? I just wanted a bit of a focul point rather than going black on black!


img_20151004_023034_hdr.jpg


img_20151004_023139_hdr.jpg


And also, here is what I will aim for with the panel retrim, with alcantara inserts in the door panels...


interior-mockup-01.jpg

  • 3 months later...
  • Author

Hola! Settled in to the new house and have started back on this set! So my aim is to finish this leather set asap, but also I was inspired by the Type R seats and the textured fabric used, so went fabric shopping and going to experiment a little... this is quite a cool texured woven fabric which changes colour slightly at an engle due to the 3d texture. Also I have a woken charcoal to finish the bolsters with.


IMG_20160129_212940.jpg

IMG_20160129_212931.jpg

IMG_20160128_190355.jpg


The leather seats are currently just having the rear seats trimmed up and fit, and then need to finish the front . Seat rear panel and they should be good to go :)


- - - Updated - - -


For some reason my camera gives everything a red tint.

Been following this thread from the start and waiting to comment. I have to say mate top marks for even trying your own retrim from scratch. As Mondo has said you should be very proud of yourself and im sure you are.

Can't wait to see it finished keep up the good work.

  • 2 weeks later...
  • Author

Thanks Ian it's appreciated! :)


Thanks to Ash for these seats - mocked up th new fabrics and the result is something very different to the leather... I think I like it but no completely sure yet.


What's people's opinions?!


IMG_20160207_200103_edit.jpg

IMG_20160207_200058_edit.jpg

IMG_20160207_201132_edit.jpg


And this was the WIP step creating the pattern for anyone interested

IMG_20160207_182659.jpg

I have to be honest with you here, William: I'm not liking either of those materials personally. :(


The sackcloth you've chosen for the bolsters doesn't have a very nice look to it... to me, it literally looks like sackcloth that's been dyed. There are far nicer woven fabrics out there.


And I'm not feeling the centres either. It all reminds me of a Mk1 Fiesta or something of that era, rather than a 90s sports car.


I'm not knocking what you're doing here in any way, shape or form - believe me, I know all too well how much work is going into this! Myself though, I'd have finished the leather trim first before side-stepping onto another project.


But yeah, my overall feeling about your latest retrim project is that I just don't like the fabric choices at all... sorry! :(

  • Author

Hi Simon,


Thanks for the reply, and I can see what you mean about the bolster fabric now. Once I put this together it had a very retro feel to it, the photos don't show the colour properly, but I completely get what you are saying and to be honest I think I will the same.


I wanted to have a shot at workign with some soft fabric as leather is such hard work, and also have a try at making my own pattern :) but yeah i probably won embark any further down this route, and certainly not before I have finished the driver seat in the leather set

  • 2 weeks later...
  • Author

So, finally managed to get the seats done!!!! Hands are red raw and a few bits left to tweak and change but glad to have it all back together! I am going to build the sound system before working on the interior again. Picking up the wood router and cables for speakers and amp next weekend


1189968154653359942_509567302.jpg

So, finally managed to get the seats done!!!! Hands are red raw and a few bits left to tweak and change but glad to have it all back together! I am going to build the sound system before working on the interior again. Picking up the wood router and cables for speakers and amp next weekend


[ATTACH=CONFIG]94441[/ATTACH]


Looks really comfy, good job, the blue really suits the car.

Well done on getting it all finished, William! :thumbup1: There's definitely a certain amount of satisfaction in standing back and being able to say "I did that!" :yes:


Harder than it looks though, isn't it...... :surrender:

  • Author

Thanks Si! Man such hard work!! Annoyingly i really want to start again as i think i could do such a better job second time around with the lessons learned - might end up swapping out for a set of the recaros at some point and will do It then!

Well done mate!! Really good, I'd try pretty much anything myself, mainly coz I'm tight. But I don't think think I'd have the balls to attempt this. You should be proud of yourself.

for a self taught exercise thats some impressive work!, i like to do a lot of my car things myself, but i think when it comes to this, the patience is something I lack so i'd hand it over to the professionals!, but must say well done! looks really good :thumbup1:

Join the conversation

You can post now and register later. If you have an account, sign in now to post with your account.

Guest
Unfortunately, your content contains terms that we do not allow. Please edit your content to remove the highlighted words below.
Reply to this topic...

Recently Browsing 0

  • No registered users viewing this page.

Important Information

Terms of Use

Configure browser push notifications

Chrome (Android)
  1. Tap the lock icon next to the address bar.
  2. Tap Permissions → Notifications.
  3. Adjust your preference.
Chrome (Desktop)
  1. Click the padlock icon in the address bar.
  2. Select Site settings.
  3. Find Notifications and adjust your preference.