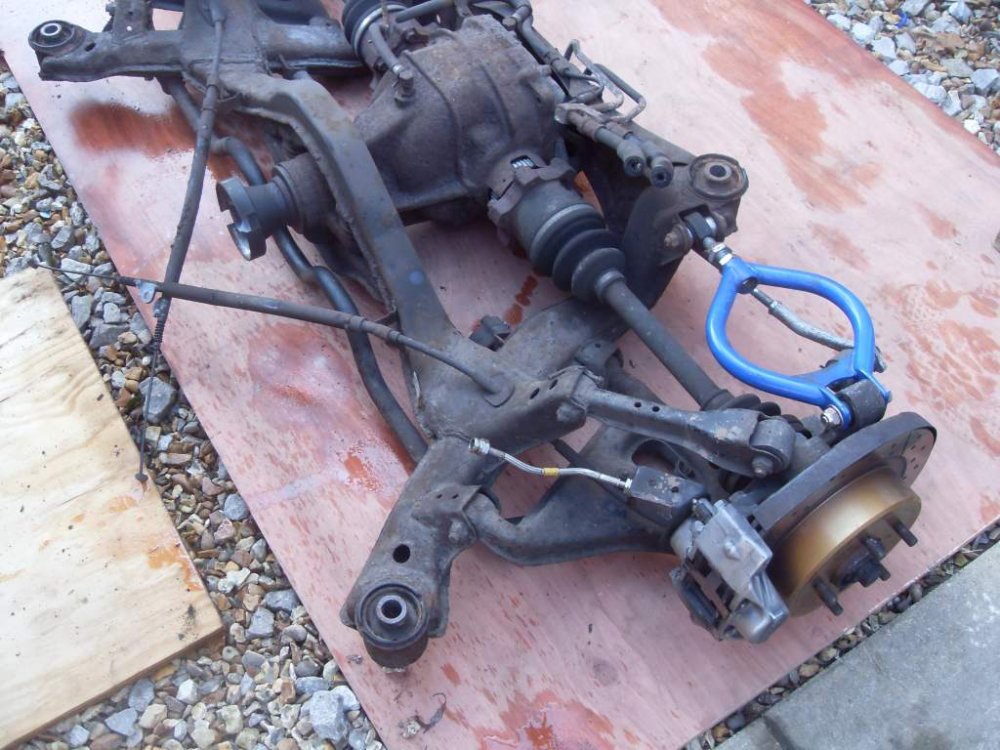
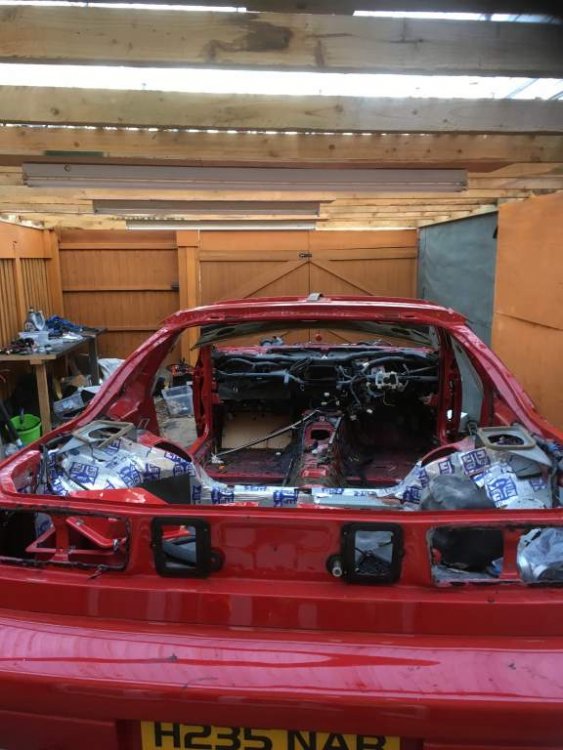
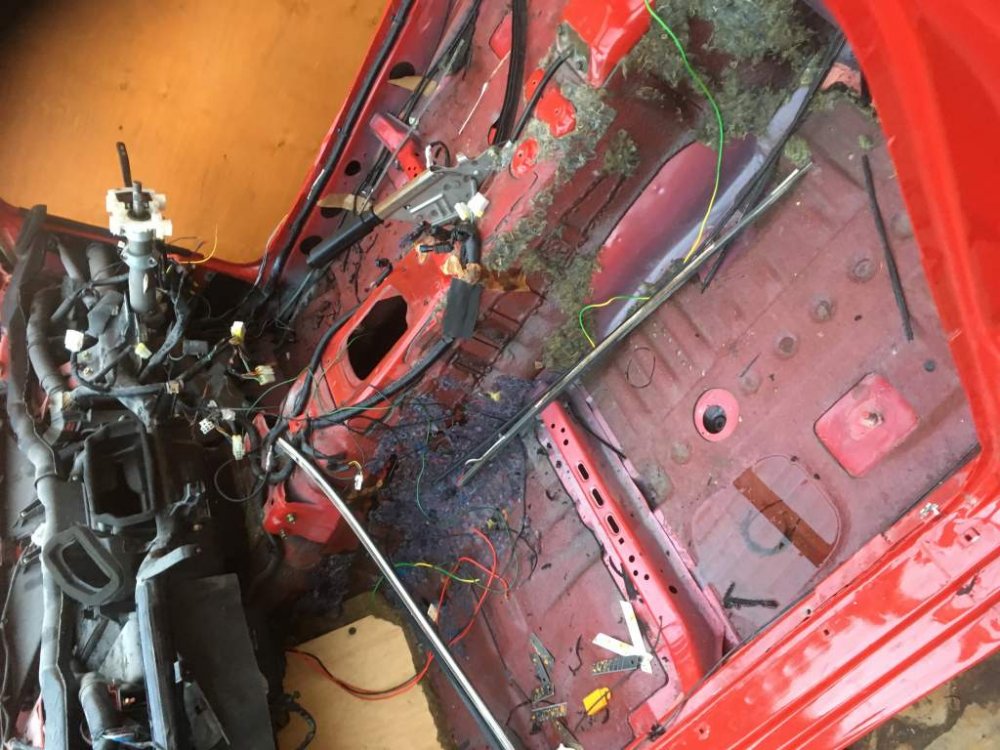
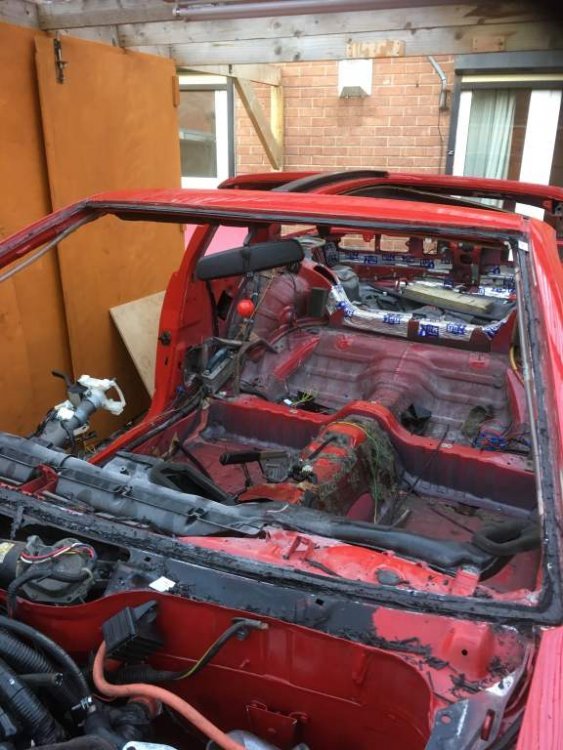
Jump to content
View in the app

A better way to browse. Learn more.

300ZX Owners Club

A full-screen app on your home screen with push notifications, badges and more.

To install this app on iOS and iPadOS
  1. Tap the Share icon in Safari
  2. Scroll the menu and tap Add to Home Screen.
  3. Tap Add in the top-right corner.
To install this app on Android
  1. Tap the 3-dot menu (⋮) in the top-right corner of the browser.
  2. Tap Add to Home screen or Install app.
  3. Confirm by tapping Install.

my build thread

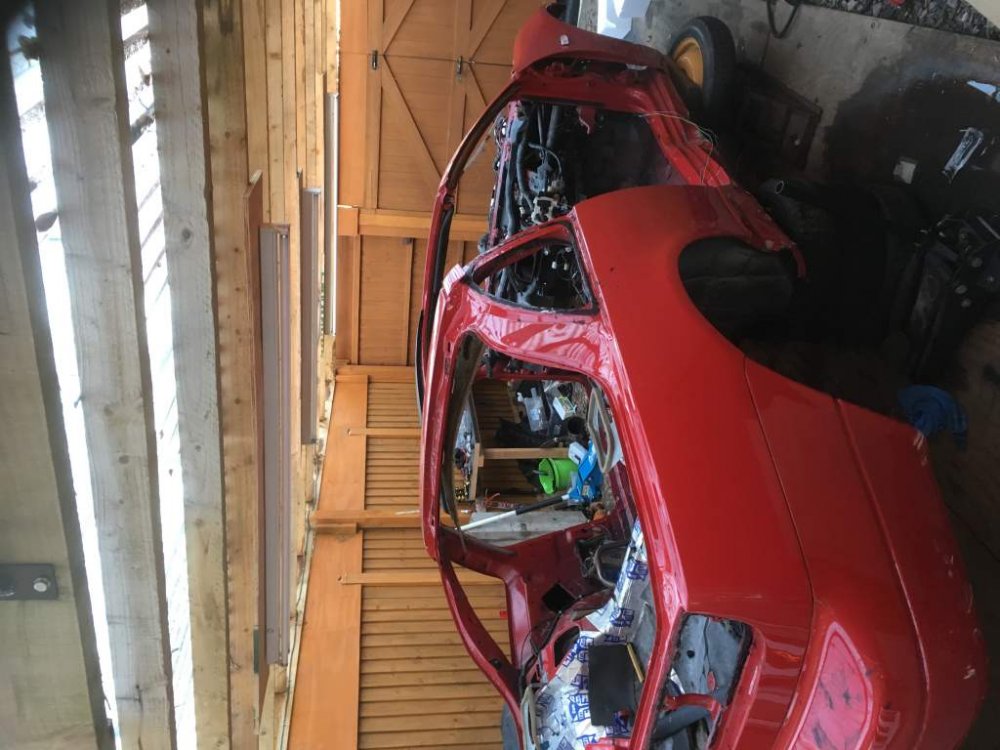
time to start a thread now so wil have a go loads of pics to up load so will start with some parts i have

IMG-20130714-00443.jpg the car 100% uk stock when i got it ,


now in bits ready for paint SDC12498.jpg


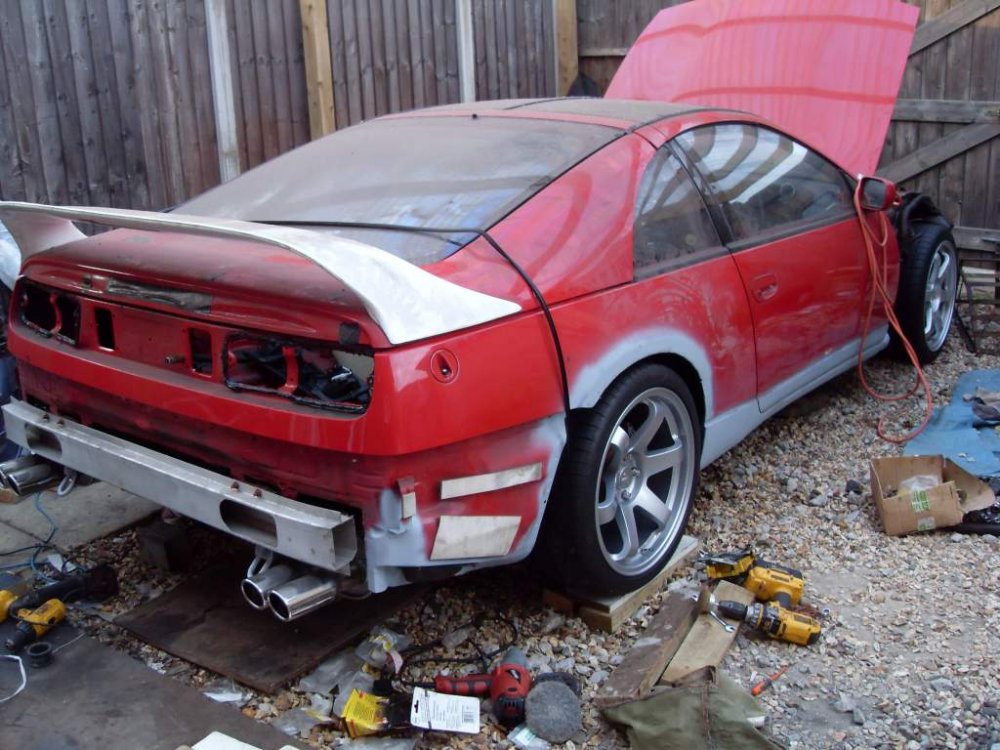
sub frame before and after SDC12322.jpg


SDC12350.jpg


SDC12366.jpg

  • Replies 442
  • Views 32.8k
  • Created
  • Last Reply

Top Posters In This Topic

Posted Images

Featured Replies

IMG_4740.jpg/attach]

IMG_4744.jpg

IMG_4743.jpg

Edited by dan300zx

today it was sort the scuttles out full run down with wet and dry degreased warmed up with a fan heater. then 3 coats of plastic primer followed by 6 thin coats of bumper black the out come was super looks brand me oem looking. has taken a few hours. before and after then some them its dry very happy with the out come.

IMG_4752.jpg

IMG_4753.jpg

IMG_4760.jpg

IMG_4763.jpg

IMG_4762.jpg

Edited by dan300zx

and before i did them


IMG_4749.jpg

getting the plenum ready for powder coat. its a spare on spend some time with the wire wheel on the drill then a de grease. will drop in off to moz deleted all the crap on the under side, to

IMG_4757.jpg

IMG_4759.jpg


IMG_4766.jpg

getting the plenum ready for powder coat. its a spare on spend some time with the wire wheel on the drill then a de grease. will drop in off to moz deleted all the crap on the under side, to

[ATTACH=CONFIG]95572[/ATTACH]

[ATTACH=CONFIG]95571[/ATTACH]


[ATTACH=CONFIG]95573[/ATTACH]


Get them threads and bolt holes on that plenum protected Dan with nuts and bolts (old ones) or you will be in for a life of pain putting it back on:cursing:

funny you say that i have been digging in that bag of bolts you gave me last year and have a load ready to do just that

throttle body stripped a cleaned looking nice you can see what i looked like before and after and the joining bar.

IMG_4783.jpg

IMG_4785.jpg

IMG_4784.jpg

new drivers side wing here at long last only taken 3 months for nissan to get there arse into gear. IMG_4794[1].jpg

IMG_4793[1].jpg

throttle body stripped a cleaned looking nice you can see what i looked like before and after and the joining bar.

[ATTACH=CONFIG]95614[/ATTACH]

[ATTACH=CONFIG]95615[/ATTACH]

[ATTACH=CONFIG]95616[/ATTACH]


What did you use to clean them up with Dan??

Very nice, long time since I have seen a brand new wing! I'm curious, what sort of packaging was it sent in?


not sure as it was repacked at mike its a genuine nissin wing like so i have both sides now brand new

got the system 3 inch polished up came up nice before and after pic left polished one just done IMG_4795.jpg

IMG_4799.jpg

IMG_4796.jpg

IMG_4798.jpg

think the pair was about £500 ish maybe a bit less

think the pair was about £500 ish maybe a bit less


Quite pricey then, might look for some for mine next year.

yes the bills are racking up fast. but all the 2nd ones are junk

the drivers side arch have a little rust on the edge so i had a new arch welded in went down to the spray shop today so i could role and flair the arch to match the other side i did a few weeks ago, was there for 3 hours bit of a pain a role is pretty easy but a flair it a lot more work, few pics of it IMG_4813.jpg

IMG_4815.jpg

IMG_4814.jpg

A lot of work has been done Dan :thumbup1: and I see another electric aerial has been deleted.


am doing all i can now gary. yes ist done also the rear wiper to, i have the maifold and cam covers and other parts in power coat now to. and other parts om the way.

dont think i will be going ,when ive done this a going to restore a old motobike the one i have my eye on is from 1937

more work done wheel arch plastic has taken 4 hours to do this, i could have get new ones but i like refurbing what i can as its not cracked the under try is so new a new one of then and fan shroud. were is what a did and before and after pics. or fairy washing up in red hot water scrubbed the life out them. rinsed. then in used tar removed and scrubbed again then some kitchen work top cleaner, then 7 coats of maguiars untimate protection trim restore letting each coat dry and warmed by the fan heater the after shots are not wet by the way there dry and finished hope you like

IMG_4817.jpg


IMG_4818.jpg

IMG_4819.jpg

IMG_4820.jpg

IMG_4823.jpg

IMG_4817.jpg

IMG_4818.jpg

IMG_4820.jpg

IMG_4823.jpg

IMG_4819.jpg

Jeez !! A lot of scrubbing done there buddy, I'd say your arms are tired:yes: Great job though:thumbup:

Join the conversation

You can post now and register later. If you have an account, sign in now to post with your account.

Guest
Unfortunately, your content contains terms that we do not allow. Please edit your content to remove the highlighted words below.
Reply to this topic...

Recently Browsing 0

  • No registered users viewing this page.

Important Information

Terms of Use

Account

Navigation

Search

Configure browser push notifications

Chrome (Android)
  1. Tap the lock icon next to the address bar.
  2. Tap Permissions → Notifications.
  3. Adjust your preference.
Chrome (Desktop)
  1. Click the padlock icon in the address bar.
  2. Select Site settings.
  3. Find Notifications and adjust your preference.