Performance VH's Z32 VH45DE Build
- Replies 169
- Views 30.9k
- Created
- Last Reply
Top Posters In This Topic
-
PerformanceVh 82 posts
-
Eggs 13 posts
-
Gaz 300 11 posts
-
Hollings 7 posts


Posted Images
Featured Replies
Account
Navigation
Search
Configure browser push notifications
Chrome (Android)
- Tap the lock icon next to the address bar.
- Tap Permissions → Notifications.
- Adjust your preference.
Chrome (Desktop)
- Click the padlock icon in the address bar.
- Select Site settings.
- Find Notifications and adjust your preference.
Safari (iOS 16.4+)
- Ensure the site is installed via Add to Home Screen.
- Open Settings App → Notifications.
- Find your app name and adjust your preference.
Safari (macOS)
- Go to Safari → Preferences.
- Click the Websites tab.
- Select Notifications in the sidebar.
- Find this website and adjust your preference.
Edge (Android)
- Tap the lock icon next to the address bar.
- Tap Permissions.
- Find Notifications and adjust your preference.
Edge (Desktop)
- Click the padlock icon in the address bar.
- Click Permissions for this site.
- Find Notifications and adjust your preference.
Firefox (Android)
- Go to Settings → Site permissions.
- Tap Notifications.
- Find this site in the list and adjust your preference.
Firefox (Desktop)
- Open Firefox Settings.
- Search for Notifications.
- Find this site in the list and adjust your preference.
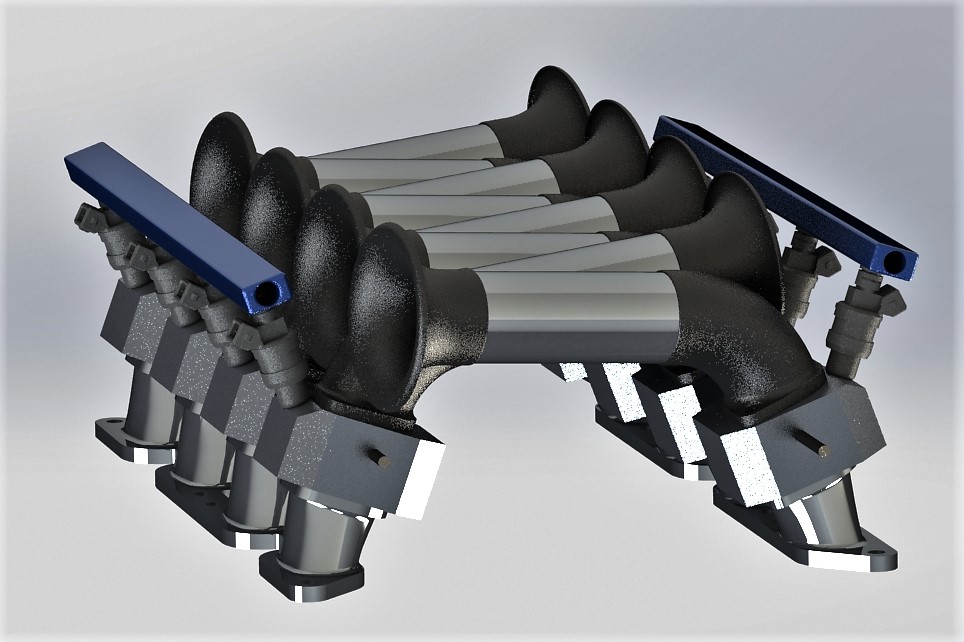
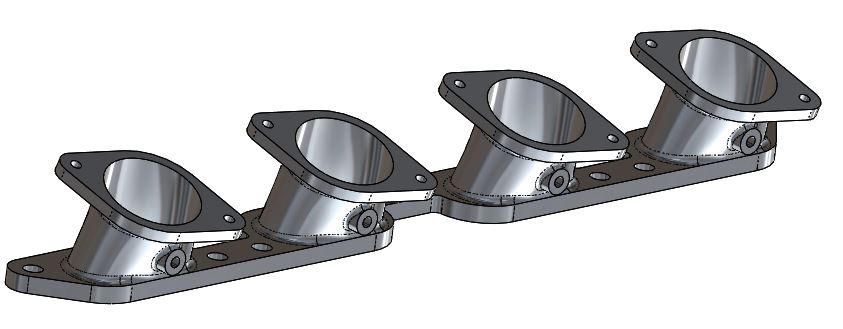
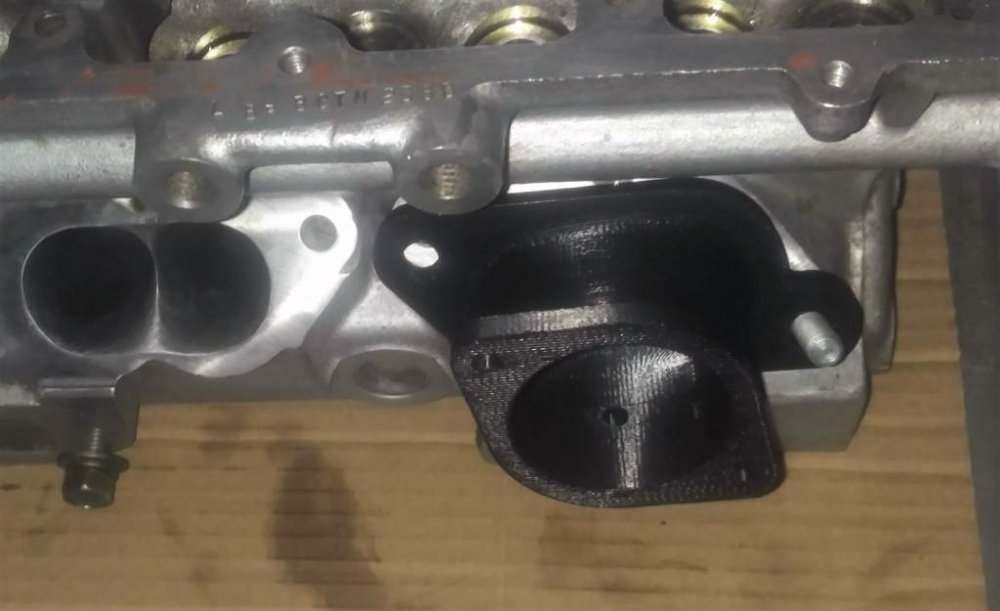
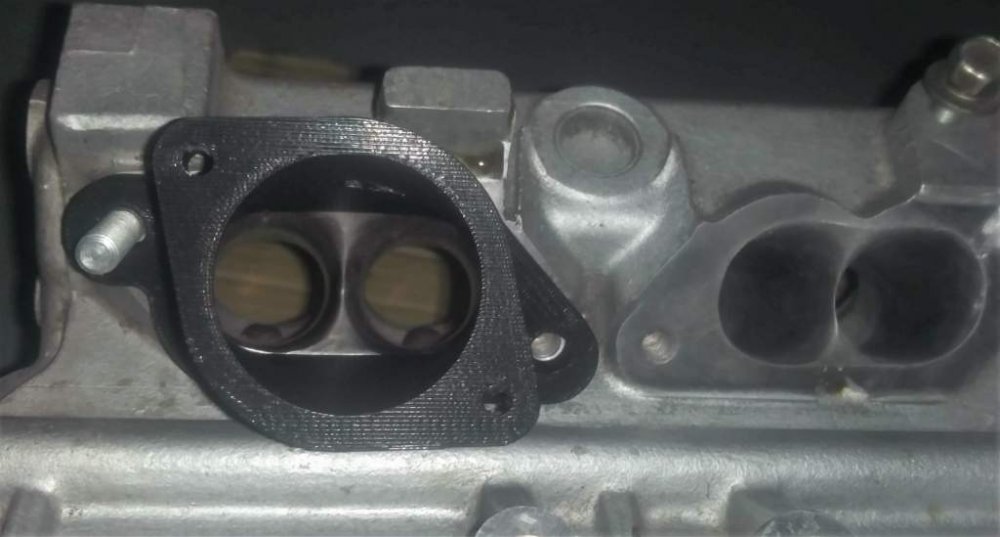
Hey guy's. Here are a few pictures to get you up to speed with my swap/build
Here is a link for more pictures http://s1209.photobucket.com/user/nismo300zxjdm/library/Project%20-%20Not%20So%20Fairlady%20Z
http://s1209.photobucket.com/user/nismo300zxjdm/library/PerformanceVH%20Products